As almost everything taking place in the game should be made using the blueprints, it is time to start working on the blueprints based on their importance for the correct construction of the gameplay loop:
As briefly described earlier, this blueprint will be responsible for the integration of the touch interface. It should be the first blueprint made, so that we can make use of this input with the player. The touch interface, by default, copies its events from a keyboard or controller binding; this means that we have to figure out some inputs in Project Settings for the keyboard, and then we will map it to the touch interface.
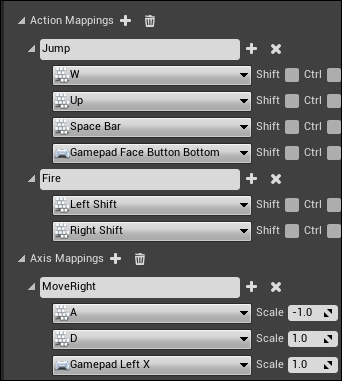
As you can see, I've added a Jump, Fire, and MoveRight movement to Input. Feel free to assign any buttons to these movements that make you happy on the controller. However, remember that these bindings will be used with the touch interface.
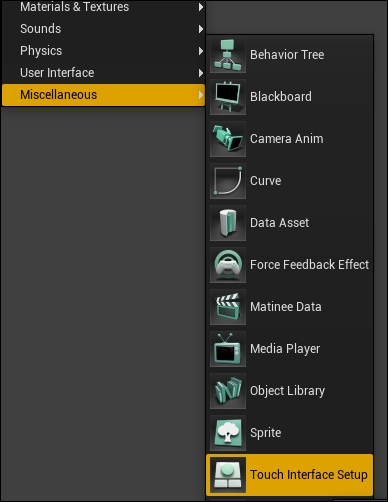
Now that you can create a touch interface blueprint; right-click on your Content Browser window, select Miscellaneous, and finally select Touch Interface Setup. This will add a purple-colored blueprint icon. Feel free to name it whatever you want, in my case it is called gameInputs.
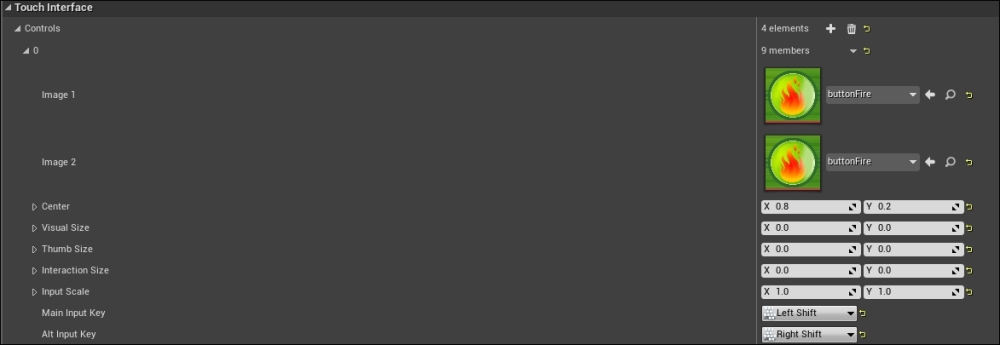
Now when you double-click on the newly created blueprint, it will open the touch interface setup window. Although the window looks very simple, it is very powerful.
You just need to select an image to represent the button, define its size, and its position, and finally define which buttons it should simulate. In the first case, I chose the buttonFire art asset to simulate the Left Shift or Right Shift button clicks, which were introduced in the Input tab of Project Settings as Fire input in Action Mappings. Now it is your turn to keep adding buttons and following the same process as my current game inputs have. What do you think about adding a pause button?
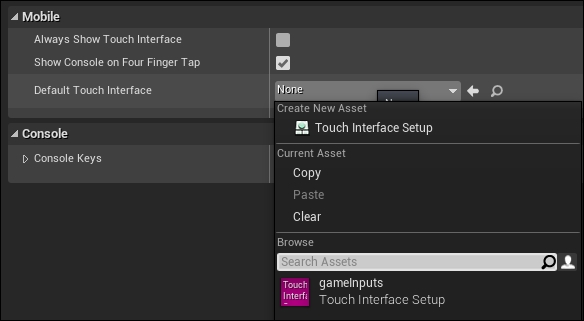
Finally, it is time to force these buttons to appear on the screen. Up until this moment, the buttons are not displayed or accessible. To achieve this, you need to navigate to Project Settings again, select the Input tab, and finally from the Mobile section, you need to set the blueprint you made to the Default Touch Interface option.
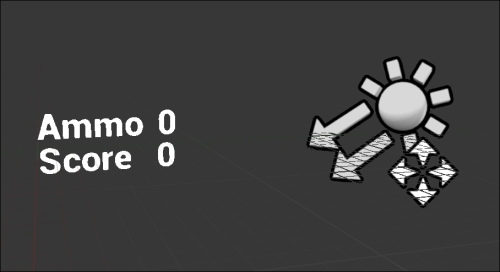
To show the titles, I used two text components and set one of them to display Ammo and the other to display Score.
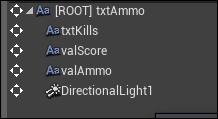
Then, I added two other text components to display the values themselves, which are 0 right now.
Finally, I added a directional light as we have done earlier to show the text in the scene view.
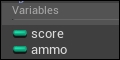
In the graph view, I've added two integer variables (which are ammo and score) to store and control the UI values.
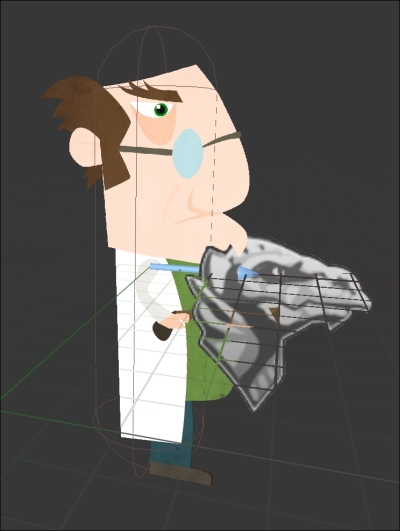
The character has the same structure as the player character in Chapter 5, Building an Exciting Endless Runner Game, but this time I've added a new Child Actor component type rather than putting the UI to the camera. I prefer to show a new way to set the UI which is more efficient. Now you can assign the uiText blueprint actor to a child component of the mainChar blueprint.
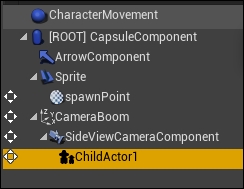
Also, I've added a billboard component to represent the point from which I'm going to spawn the bullet.
Finally, I added a bullet integer variable into the graph to help me store and check the current ammo the player has, to prevent the bullets from spawning if the player keeps pressing while his ammo is empty.
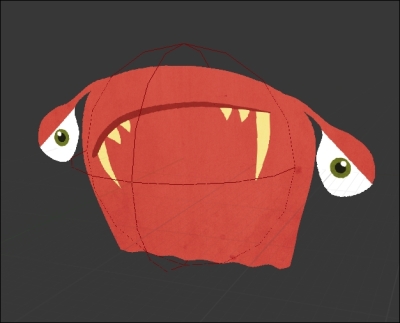
Do you remember how we managed to build our projectile components in the fruits game? The same magical component will work efficiently in building these kinds of simple enemies.
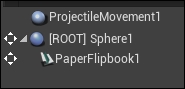
Using just a projectile component, paper Flipbook, and Sphere collider, I was able to build an entire enemy.
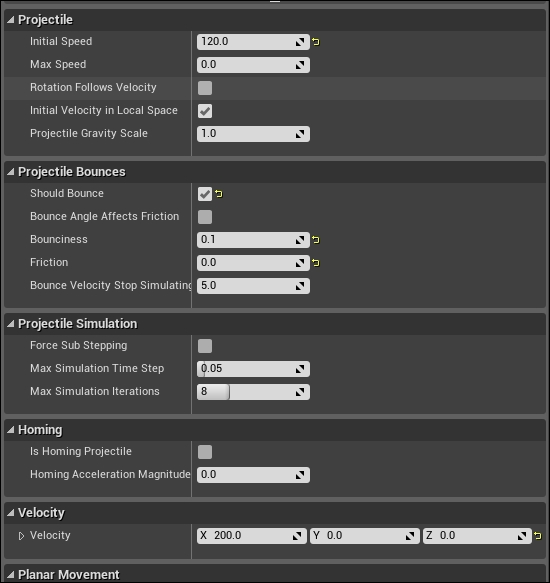
Just remember that I've made some tweaks to the projectile component to alter its behavior to match what I had in mind. Set initial speed to 120, activate Should Bounce, reduce Bounciness to a very low value such as 0.1, disable Friction by setting it to 0.0, and finally give it a velocity of 200 on the X-axis as this represents the horizontal movement.
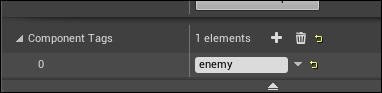
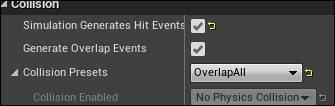
Finally, setting the sphere component to Simulate Generate Hit Events and Generate Overlap Events while giving it an enemy tag will give you easy access to control its effects on the environment.
With a fully finished enemy in hand, you can now duplicate it to make the greenEnemy blueprint, but this time, use the green enemy animations. Later when you build a one-enemy logic, it's just a matter of copying and pasting it to the nodes to make the other enemy work fine.
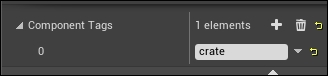
This is the simplest blueprint in the game. It is just a paper2d component with its own collider.
It has its physics component set to Simulate Generate Hit Events and Generate Overlap Events while having a crate tag.
This is a typical projectile construction, like the enemy, but this time Projectile Gravity Scale has been set to 0.0 to prevent the bullets from falling to the ground and the velocity has been set to 400 to force them to move fast.
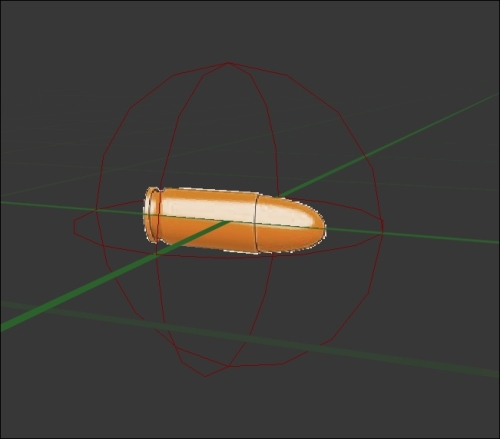
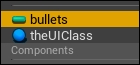
It still has its physics set to Simulate Generate Hit Events and Generate Overlap Events but its tag is set to bullet.