
PROJECTS CHEMICAL WOOD BURNING
Chemical
Don’t have an iron? Use a stamp to burn your mark!
Wood Burning
![]() TIME: 1 HOUR
TIME: 1 HOUR ![]() COST: $20
COST: $20
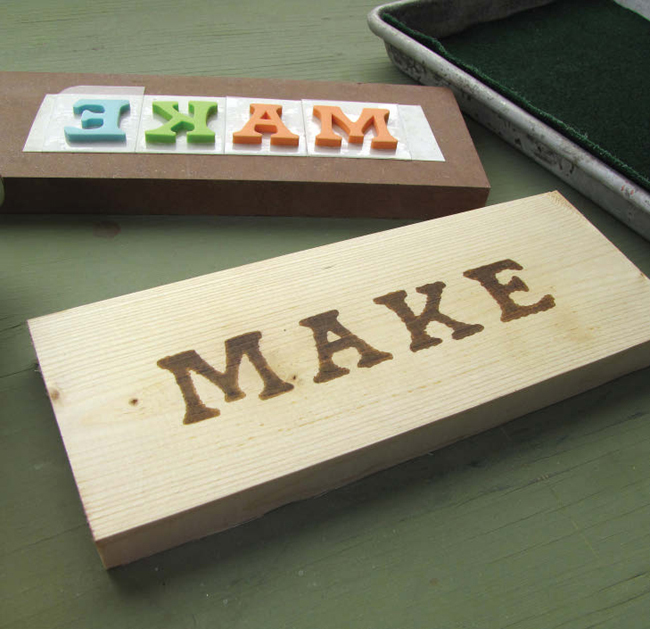
![]() If you want to apply a maker’s mark or other repeated pyrograph to wooden goods but can’t justify the expense of a custom branding iron, an indistinguishable effect can be achieved by applying a strong solution of ammonium chloride, for instance using a rubber stamp, then cooking it with a heat gun.
If you want to apply a maker’s mark or other repeated pyrograph to wooden goods but can’t justify the expense of a custom branding iron, an indistinguishable effect can be achieved by applying a strong solution of ammonium chloride, for instance using a rubber stamp, then cooking it with a heat gun.
When heated, ammonium chloride decomposes into ammonia gas and strong hydrochloric acid (NH4Cl ® NH3 + HCl). Ammonia diffuses away into the air, leaving the acid behind, which burns the wood. The resulting chemical burn is identical to a heat burn in most respects.
This process sounds nastier than it really is, and although prudence dictates erring on the side of caution and working with plenty of ventilation, the process does not produce a noticeable smell either of ammonia or of HCl. The only detectable odor is burning wood.
1. PREPARE A STAMP
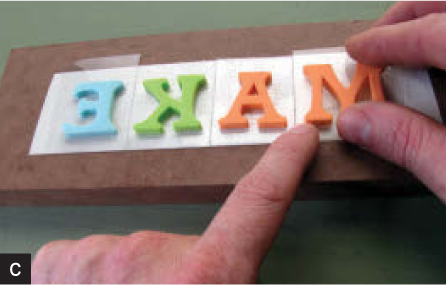
For my simple “MAKE” stamp, I used these plastic-backed 1½" foam-rubber letters from a hobby store (Figure A).

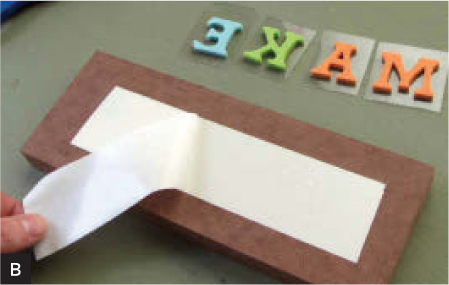
Apply a strip of carpet tape to a scrap of MDF, plywood, or other flat stock. Remove the tape backing (Figure B, next page). Arrange the letters as needed and push each down to fix it in place (Figure C).
An ordinary rubber stamp should also work with this process.
2. MEASURE THE POWDER
Fold a sheet of paper in half lengthwise, then measure 5 level tablespoons of ammonium chloride onto the fold (Figure D).
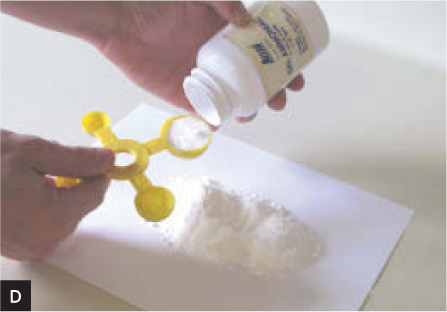
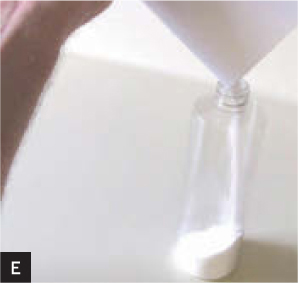
Using the crease as a channel as shown, pour the powder into the mouth of the bottle (Figure E).
3. ADD WATER AND MIX
Pour 500mL of warm water into the bottle on top of the solid ammonium chloride. Tap water should be fine (Figure F).

Put the sprayer, or a matching cap, on the bottle and tighten it down securely. Shake the bottle gently until all the ammonium chloride is dissolved.
4. PREPARE A STAMP PAD
Set out a flat, shallow, aluminum or plastic tray that’s big enough to accept your stamp. Line the tray with felt.
Saturate the felt by misting it generously with ammonium chloride “ink” from the spray bottle (Figure G).

CAUTION: Although these photos show me working with bare hands, use caution and wear latex or nitrile gloves, as well as goggles.
NOTE: If you want more or less than 500mL of “ink,” the formula is 1 tablespoon ammonium chloride per 100mL water.
5. INK AND STAMP
You’ll want to practice this process on scrap wood before trying it on anything important.
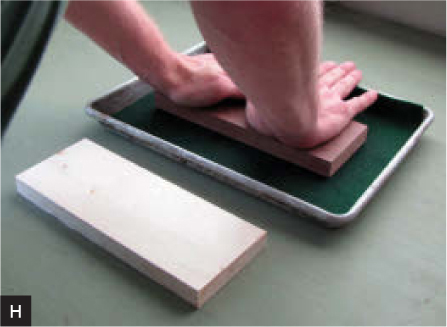
Put the stamp onto the felt and press down with some force to “ink” it (Figure H).
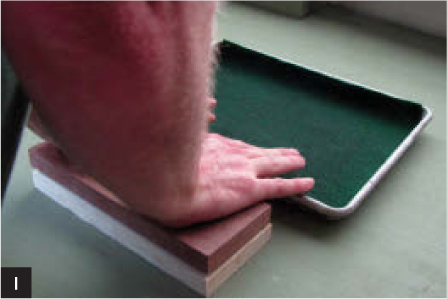
Transfer the stamp to the workpiece, line it up carefully, and press down with about the same force to transfer the ink (Figure I).
6. APPLY HEAT
Immediately after applying the stamp, pick up the heat gun and begin applying heat. I used the “high” setting on my heat gun.
CAUTION: If you let the “ink” sit on a wooden surface too long, it may diffuse along the grain and blur the image.
Play the heat gun evenly across the surface of the work. Within a minute or two the inked areas will begin to turn yellow, then brown, then brownish-black (Figure J).

You’re done! For all practical purposes, the resulting chemical burn is indistinguishable from a heat burn. It’s waterproof and can be finished or otherwise treated like a conventional pyrograph.
Going Further
The “ink” described here is nothing more than an 80% saturated solution of ammonium chloride. Though it works well enough, there’s plenty of room for improvement. Adding egg whites or other thickener, for instance, might improve the handling qualities by reducing the tendency of the ink to diffuse along grain lines.
And there’s no reason it has to be applied with a stamp. You might just as well use a stencil, marker, brush, inkjet printer, or some other means.
Other surfaces should also be susceptible to this treatment. It will certainly work on paper and cardboard. Leather, too, perhaps? Metal? Let us know what you find out at blog.makezine.com/projects/chemical-woodburning. ![]()

Sean Michael Ragan is technical editor of MAKE magazine. His work has appeared in ReadyMade, c't – Magazin für Computertechnik, and The Wall Street Journal.