
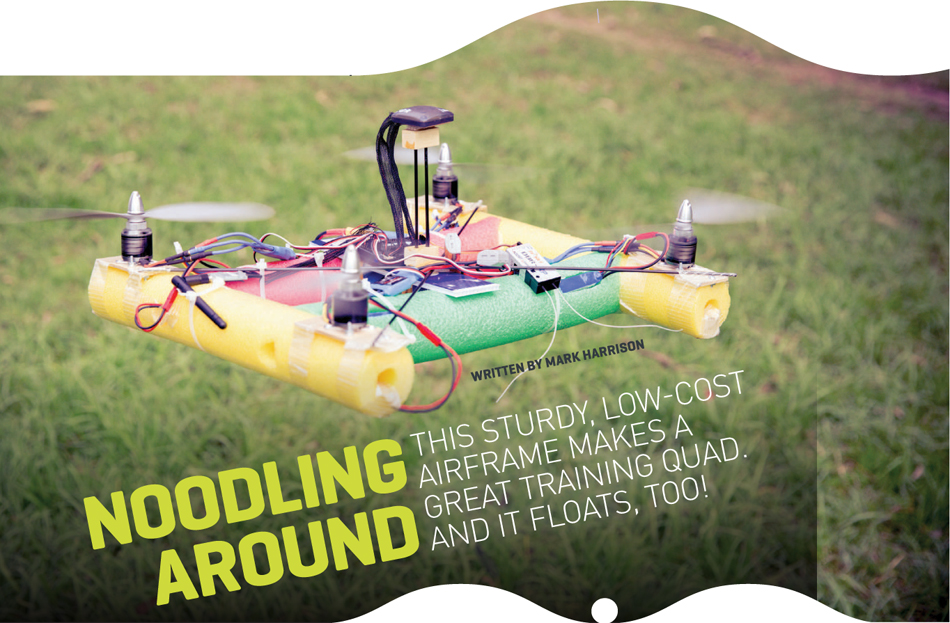
LET’S FACE IT: THERE’S JUST SOMETHING AMUSING ABOUT POOL NOODLES IN FLIGHT.
I designed and built this copter in response to a CrashCast challenge to build a cheap, sturdy, flyable quad. It was bodged together in an evening with materials at hand, but I was happy enough with the result that I use it as a trainer when somebody wants to try flying. (I can’t imagine much you could do to break a pool noodle!)
1. CUT AND TRIM THE ARMS
Cut 4 noodle pieces to 15½" for the front, back, left, and right arms, and one piece to 5½" for the battery mount. The battery mount will be glued to the side arms and the side arms will be glued to the front arms, so the ends of these pieces need to be curved. You should be able to dry-fit the frame together without any large gaps.
2. REINFORCE THE ARMS
Make a ¼" deep slit along the top of each of the 4 arms. Insert the 12" carbon fiber rods into the slits on the left and right arms, and the 15" rods into the front and back arms. Squeeze glue into the slits so that there are no dry areas. This is important, as gaps will allow the arms to flex.
3. ATTACH THE ARMS
Measure and mark 5" from either end of the front and back arms. Cover the entire curved mating surfaces of the left and right arms with glue and center them on the marks. Do the same with the battery mount; it fits centered between the left and right arms. Run strapping tape along the bottom of the 4 arms.
4. MOUNT THE MOTORS
Attach the motors to plywood scraps and secure to the ends of the arms using strapping tape. (Zip ties don’t work well here.)
5. MOUNT THE BATTERY AND ELECTRONICS
Cut enough foam out of the bottom of the battery mount to fit a 3S 2,200mAh battery. Secure battery with a velcro strap. Glue the electronics to a piece of scrap plywood or plastic and attach to the top of the battery mount with more velcro straps.
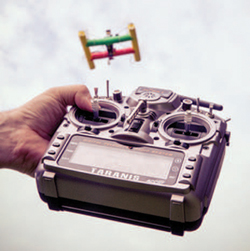
Configure the flight electronics as you would for any quadcopter (see our guide at makezine.com/the-handycopter) and take ’er out for a test flight. You can add lights if you like for night flying; LED strips fit perfectly into the hollow noodles. Improvise, have fun, and don’t be afraid to try out new ideas! ![]()
Time Required: 2 Hours
Cost: $8

MARK HARRISON is a tech lead at Pixar and an intrepid drone hobbyist who blogs at eastbay-rc.blogspot.com.
Materials
» Pool noodles I chose 3 colors so I could easily see the direction the quadcopter was pointing.
» Motors, brushless outrunner, Prop Drive 28-30, 900 KV (4)
» Props, clockwise, APC 10×4.7 Slow Fly Prop (2)
» Props, APC 10×4.7 SFP (2)
» Electronic speed controllers (ESCs), 30A (4)
» Flight control board
» Battery, 3S 2,200mAh
» Carbon fiber rods, 3mm: 12" (2) and 15" (2)
» Foam-Tac glue
» Reinforced strapping tape
» Velcro straps
» Scrap plywood
Tools
» Hot wire foam cutter
» Hacksaw
» Scissors
» Drill and drill bits
» Screwdriver
Hep Svadja
Follow the complete step-by-step instructions and share your noodle drone at makezine.com/behold-the-noodle-copter