
Creating a user is a very important activity. In this recipe, we will create one user and assign it a role.
- Start the
RoleTailoredclientand navigate to Departments | Administration | IT Administration | General | Users. - From the list page, navigate to Actions | New. You will see a window similar to the one shown in the following screenshot:
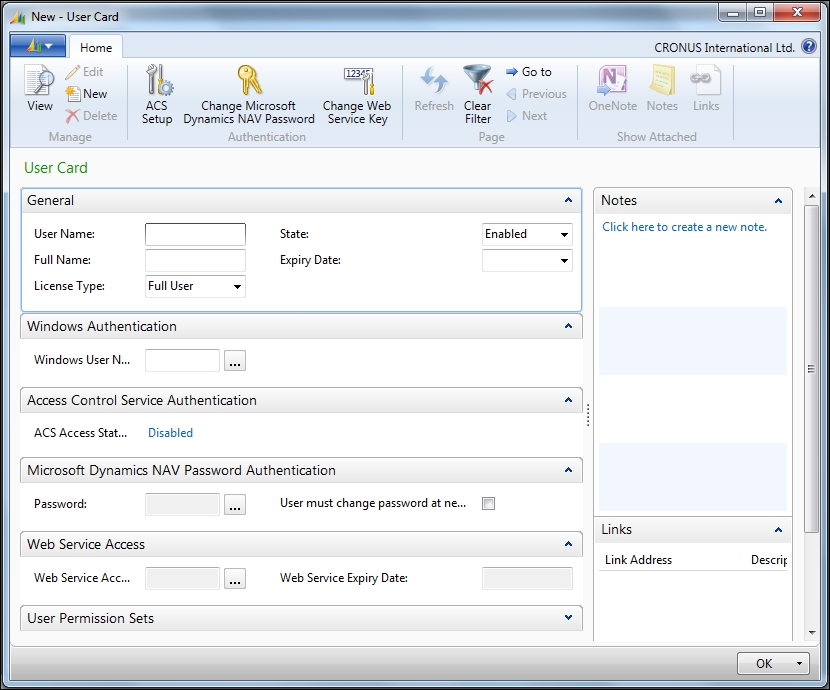
- From the Windows Authentication fast tab, select the assist edit button in the Windows User Name field.
- It will open a window to run a search for the windows user account.
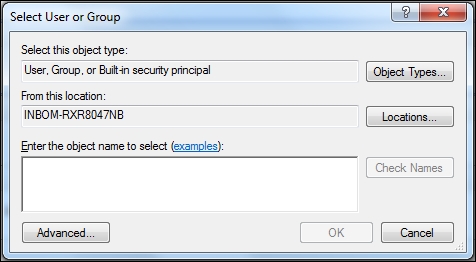
- Enter the username and click on Check Names. Then, after getting the desired user account, click on OK.
- In License Type, select Full User.
- Set State as Enabled.
- Provide 31/12/2013 as Expiry Date.
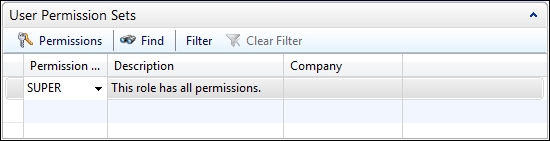
- Go to the User Permission Sets fast tab and assign the SUPER role to the user.
- Click on OK to close the user creation page.
The Microsoft Dynamics NAV 2013 supports four credential authorization systems: Windows, UserName, NavUserPassword, and AccessControlService. In this recipe, we are creating a user of type Windows. Fields not mentioned in this recipe are irrelevant for creating a Windows user.
In this recipe, we have purposely kept the User Name: field blank as we want the username derived from the active directory settings which are updated as soon as we select Windows User Name. We can simply type the windows user name including the domain; but in this recipe, we are using Select User or Group to avoid mistakes. This feature will help us find users for whom we do not have an exact user ID.
License Type, introduced with NAV 2013, is necessary at the time of purchasing a NAV license to provide details of the license type. Based on the purchase details, we need to configure the user with the right license type. In this recipe, we have selected the value Full User, which will allow the user to access all areas of NAV, subject to its assigned role and permissions.
The next two settings provide control over user access by allowing you to change users' status or providing an expiry date.
In the final setting, we have selected the role Super. Combination of the role Super and license type Full User, allows user to have access to the entire NAV application. There is the possibility of controlling user access based on the company selected. For this, we need to select a company corresponding to each role. If the column Company does not have a value entered for any role, that means the user has that particular role in all companies of the current database.
In the NAV application, we can create the user for any of the four authorization systems, but the activation of that system is based on NAV Server settings. To activate any authorization system, select it in Credential Type in the NAV Server service and restart the server instance to apply the changes.