15. Troubleshooting Your System
In this chapter, you learn how to recover and correct common errors that you might encounter when using your system, including:
![]() Force-quitting applications
Force-quitting applications
![]() Removing application preferences
Removing application preferences
![]() Booting in Safe Mode
Booting in Safe Mode
![]() Controlling background processes
Controlling background processes
![]() Changing login and startup items
Changing login and startup items
![]() Fixing disk permissions
Fixing disk permissions
![]() Repairing disk errors
Repairing disk errors
![]() Generating a system profile for diagnostics
Generating a system profile for diagnostics
![]() Finding your support options
Finding your support options
Your Mac is a great piece of hardware combined with a great operating system. Even so, things can still go wrong; applications can crash or “stop working” and strange errors might crop up over time. If you find that your computer isn’t behaving as you expect, you have a handful of Yosemite tools available for identifying or correcting the problem.
Keep in mind that not every problem is a user-serviceable issue. Although I have yet to experience a catastrophe on my Mac, they do happen. Keep the information about your purchase and warranty in a memorable location so that it’s handy in the rare case that your system becomes totally nonfunctional.
Dealing with Troublesome Software
The most common problem with the Mac is a frozen or “stuck” application. When this happens, the software becomes unresponsive and the cursor most often turns into the “spinning beach ball of death.”
To deal with the problem, first consult any troubleshooting information provided by the software publisher. After you’ve exhausted any official support sources, you can try the following troubleshooting steps.
Force-Quitting Applications
Correcting most application problems is a matter of forcing the application to quit and then restarting it. To force-quit any application, follow these steps:
1. Press the Command, Option, and Escape keys simultaneously on your keyboard.

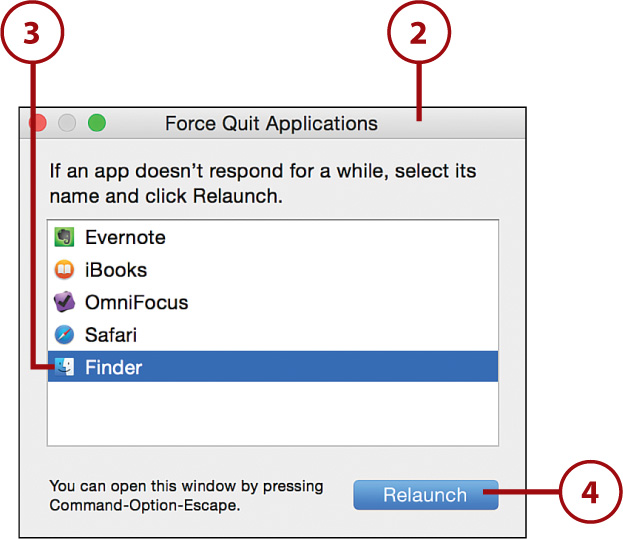
2. The Force Quit Applications window appears, listing all of the running applications.
3. Choose the application to terminate by clicking its name. If the system has detected that the application is hung, it is displayed in red.
4. Click Force Quit or Relaunch (if restarting the Finder).
Quick Force Quit
You can also force-quit applications from the Dock by holding down Option while right-clicking the Dock icon (or clicking and holding on the icon). The normal “Quit” option changes to Force Quit, which gives you an easy way to terminate the program.
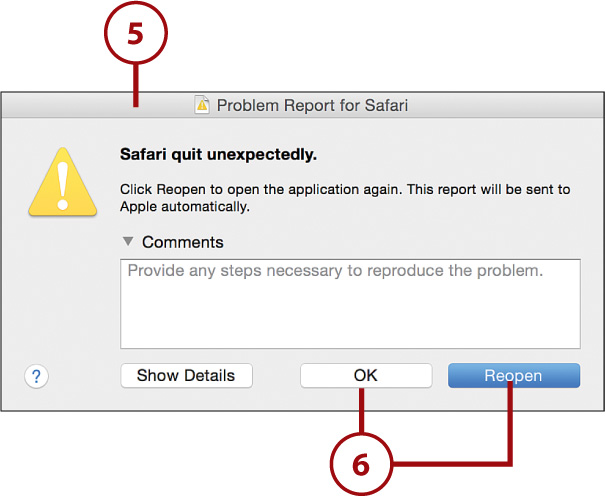
5. You might receive a prompt to send diagnostic information to Apple to report the crash.
6. You can ignore this message and press Command+Q to exit, click OK to send the report to Apple for review, or click Reopen to send the report and restart the application.
Testing with the Guest Account
If an application continues to crash after it has been restarted, there might be a problem with the application’s support or preferences files. Before doing any destructive system surgery, follow these steps to verify the problem:
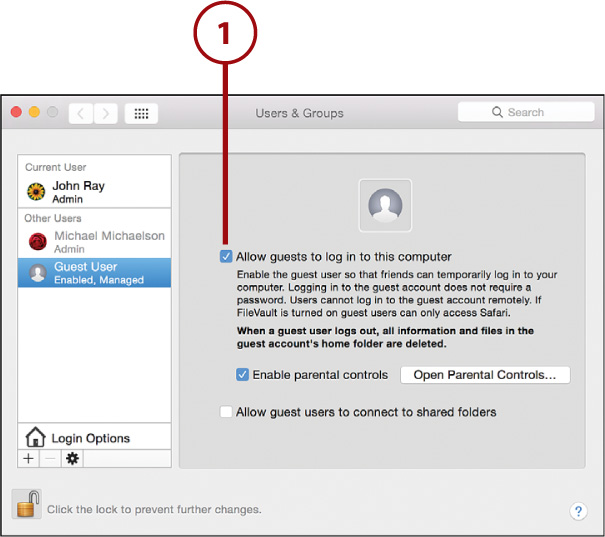
1. Enable the Guest account as described in Chapter 14, “Securing and Protecting Your Mac.”
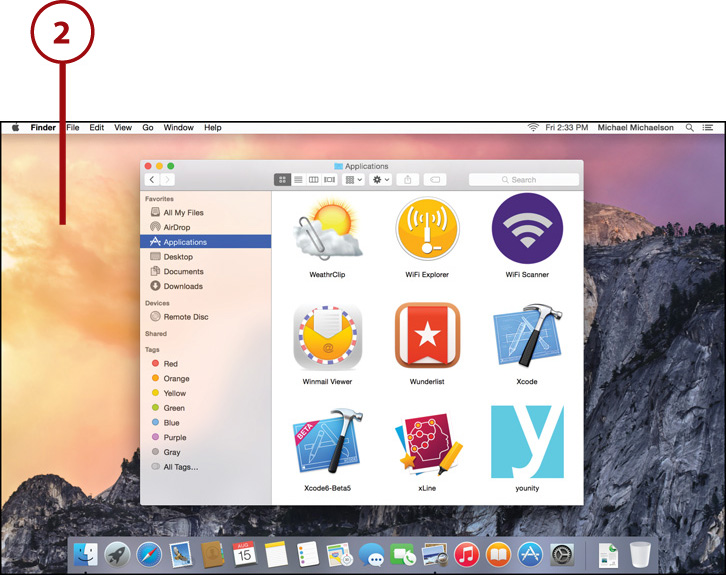
2. Use the Apple menu to log out of your account.
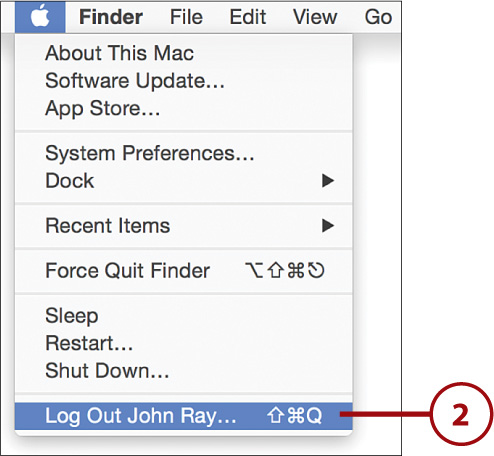
3. Log into the Guest account.
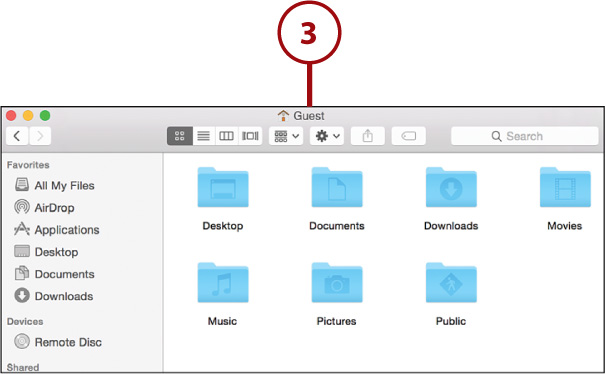
4. Attempt to run the application that was crashing. If the application runs normally, your main account likely has corrupted files. If the application continues to crash, re-install the most up-to-date version using the installer provided by the software publisher. You might want to disable the Guest account when you are finished testing (not shown).
Speed Up Troubleshooting with Fast User Switching
You can also use Fast User Switching to quickly switch between your account and the Guest account without needing to log out. Add a fast user switching menu to your menu bar by opening the Users & Groups System Preferences panel, clicking Login Options, and then choosing Show Fast User Switching Menu.
Removing Corrupted Application Files
If a crashing application runs correctly under another account, you almost certainly have corrupted application support files or preferences located in your account. If the application came with an installer file, try running the installer to fix the broken files, or delete the application and reinstall from the Mac App Store. If you don’t have an installer file or you didn’t purchase the software through the App Store, follow these steps to delete the problem files:
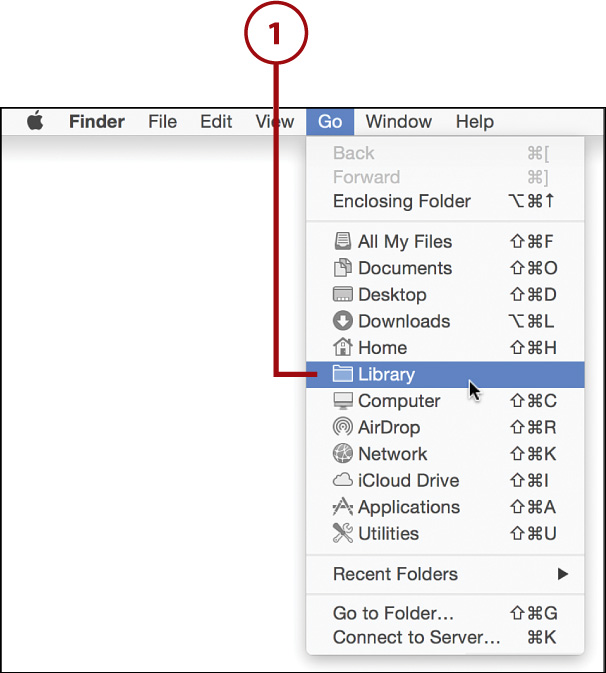
1. Within the Finder, hold down Option and choose Library from the Go menu.
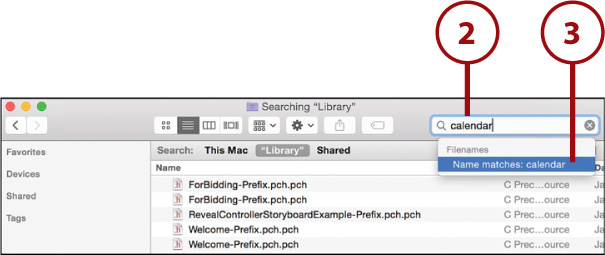
2. In the Finder window field, type the name of the application that is crashing.
3. Choose the Filenames selection in the Spotlight Search drop-down menu that appears.
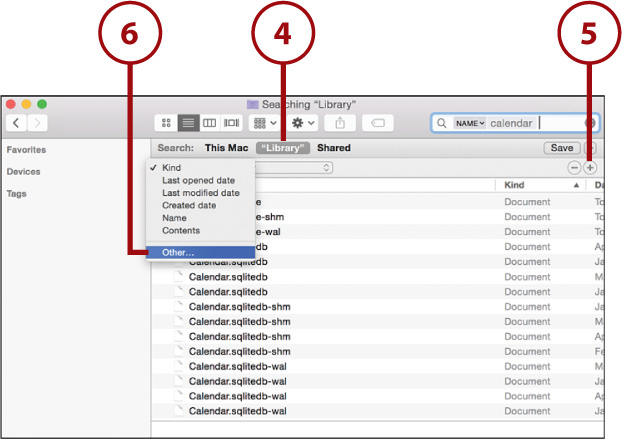
4. Click Library in the Spotlight Search filter bar.
5. Click the + button to add a new search criterion.
6. Choose Other from the first search attribute drop-down menu.
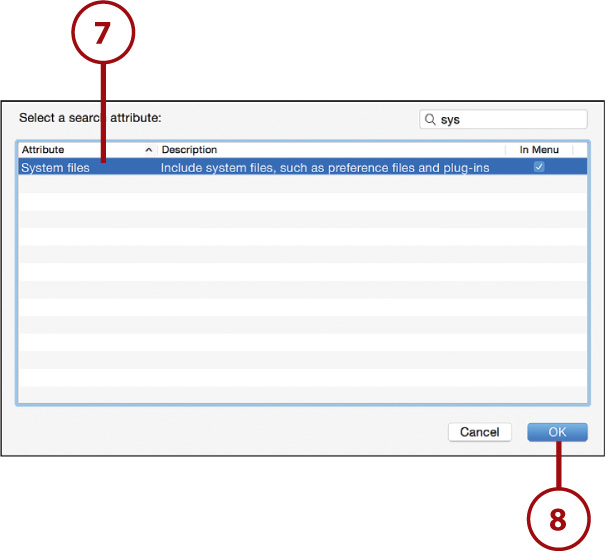
7. Find System Files in the attribute list and check the In Menu checkbox beside it. It doesn’t matter if other attributes are checked.
8. Click OK.
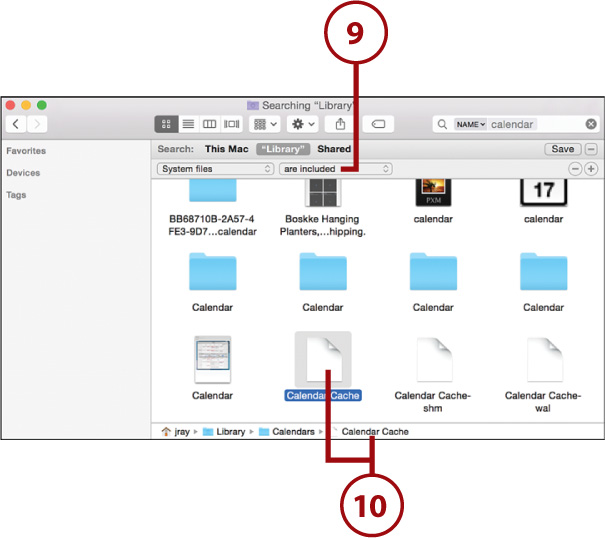
9. Select Are Included from the drop-down menu next to System Files.
10. Review the search results. When you select a file in the results, the path where it is located is shown at the bottom of the results window.
11. Move any files or folders matched by the search results from the Preferences, Caches, or Application Support directories to a temporary location on your desktop. (You can create a Temporary Files folder for just this purpose.)

12. Try running the crashing application again. If the problem is solved, delete the files you removed; otherwise choose Edit, Undo to put the files back, and then contact the software publisher.
Restarting and Correcting a Frozen Machine
On very rare occasions, your system might freeze entirely, forcing you to reboot. If you find yourself in this situation, first determine if the problem is a fluke, or if it will happen with each restart.
Power down your frozen Mac by holding the power button for five or more seconds. After it turns off, disconnect any peripheral devices that are plugged into your computer. Press the power key to restart the Mac—if it freezes again, begin following the instructions in this section, beginning with “Starting in Safe Mode.”
Starting in Safe Mode
When you encounter problems, Yosemite allows you to start up in Safe Mode, which disables non-Apple additions to the system and prevents applications from automatically launching when you log in.
1. With your Mac powered down, hold down the Shift key. While continuing to hold down the Shift key, press the Mac power button (not pictured).
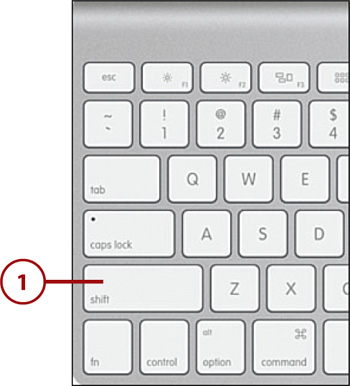
2. Continue to hold down the Shift key until your Yosemite desktop appears. Use your computer as you normally would. If the problems you had experienced are gone, you might need to remove non-Apple software that has been installed and is running when the system boots, such as login applications or launch daemons.
Changing Login Applications
When you log into your account, there are a variety of applications that might launch and perform tasks in the background. Sometimes, however, these applications can cause problems that affect other software. To view, add, or remove login applications, follow these steps:
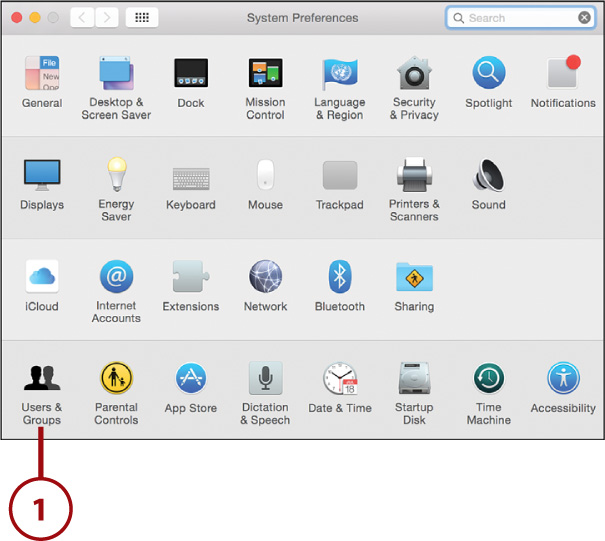
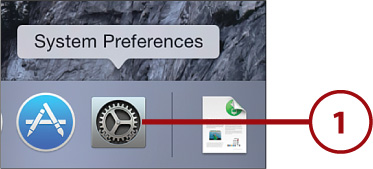
1. Open System Preferences and click the Users & Groups icon.
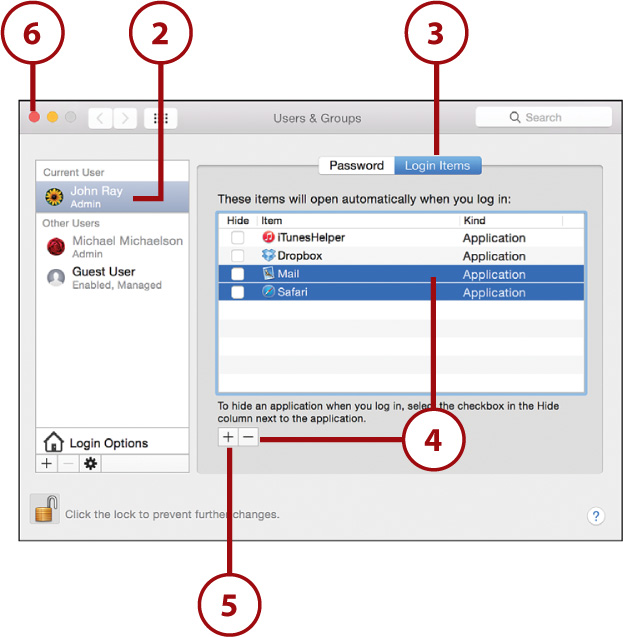
2. Select your account from the account list.
3. Click the Login Items button to display software configured to launch when you log into your account.
4. Choose any applications that you want to remove and then click the – button to remove them from the list.
5. If you want to add applications back to the list in the future, either drag their icons from a Finder window into the list of items, or click the + button to choose them from a file browser dialog.
6. Close System Preferences.
Check to Hide
The Hide checkbox in front of the Login Items is not used to disable them! This can be confusing for individuals who were used to the Extension Manager in the older versions of Mac OS. Using the Hide button for an application simply hides the windows after the application launches.
Removing Startup Applications and Launch Daemons
Login items and restored applications aren’t the only things that run automatically when you start your Mac. There are several locations where software packages might install tasks that need to be run when your system is booted. These tasks are referred to as launch daemons, launch agents, and startup items. To find and disable these invisible applications, follow these steps:
1. Choose Go, Go to Folder from the Finder menu bar.
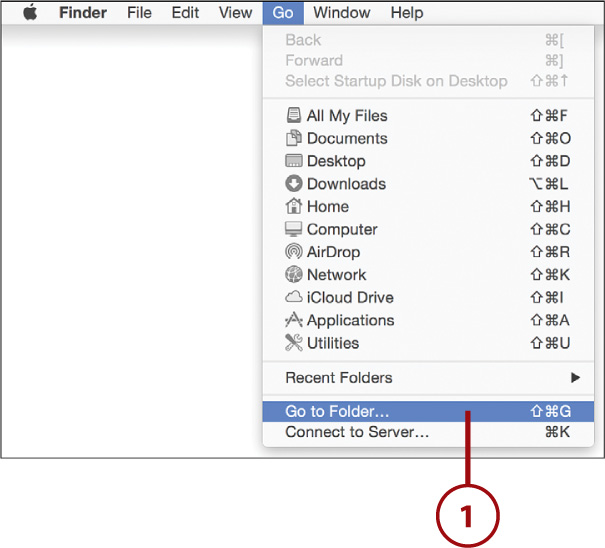
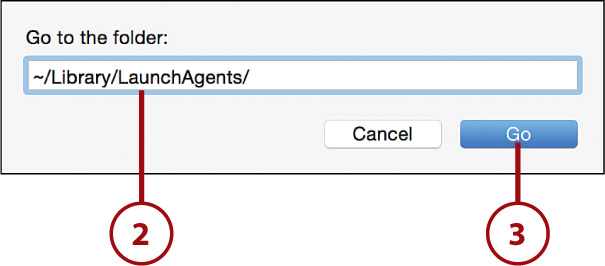
2. Type one of the following paths into the field that appears: ~/Library/LaunchAgents, ~/Library/LaunchDaemons, /Library/LaunchAgents, /Library/LaunchDaemons, /Library/StartupItems.
3. Click Go.
4. Review the contents of the directory for a file or folder with a name that matches a software title or software publisher name for the software that you’ve installed.
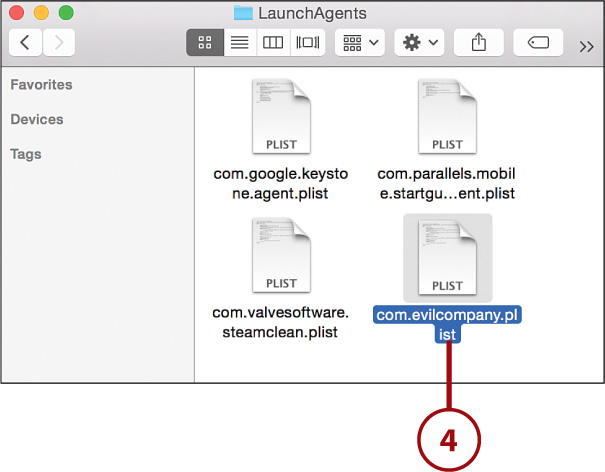
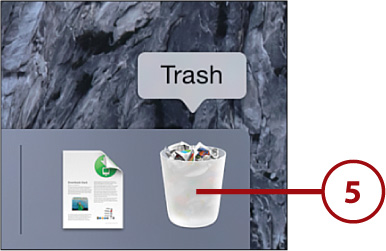
5. Move any matched files to the Trash.
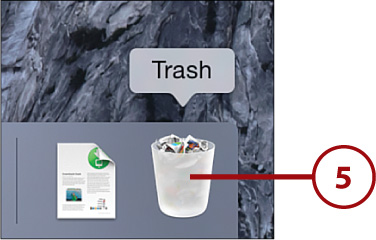
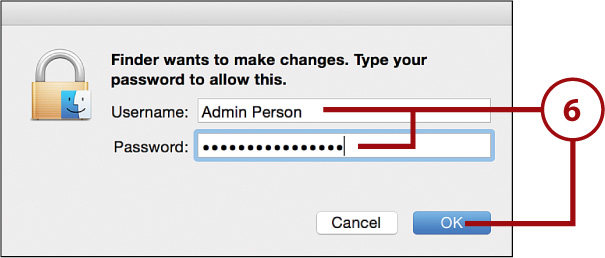
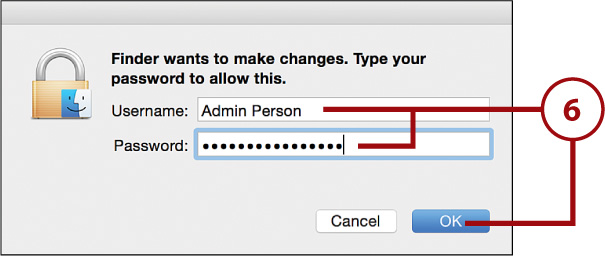
6. Provide an administrator username and password if prompted, and click OK.
7. Repeat steps 1–6 for all of the listed directories.
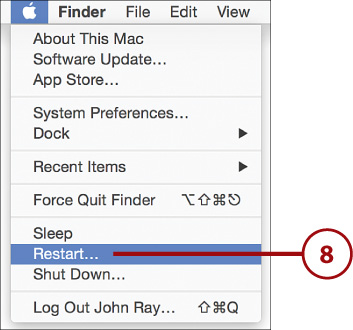
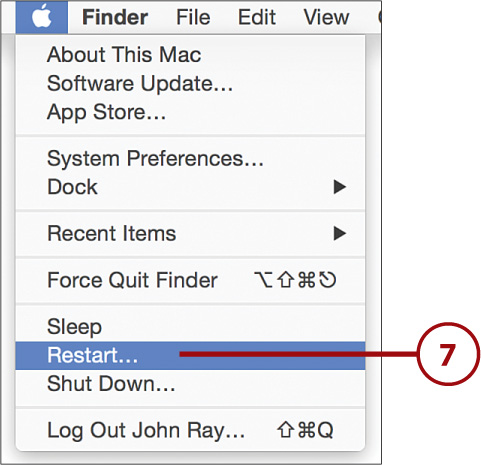
8. Restart your computer from the Apple menu. The background processes will no longer run when you boot your system.
Remove Unneeded Files
If you’re content with the result, you can now delete the files you removed. If necessary, reinstall the software to correctly re-enable the background processes.
Disabling Extensions
After installing a new piece of software, you might find your computer is acting up. The cause may be an extension—a small piece of software that runs at a very low level to provide a service to your system (the equivalent of a Windows driver). To remove an extension that the software installed, follow these steps:
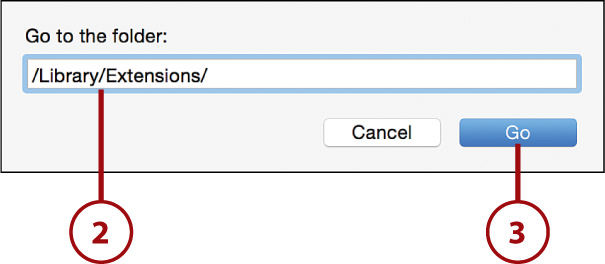
1. Choose Go, Go to Folder from the Finder menu bar.

2. Type the path /Library/Extensions into the Go to the Folder field.
3. Click Go.
4. Review the contents of the directory to positively identify an extension (.kext) file that matches a device or device manufacturer that you want to remove.
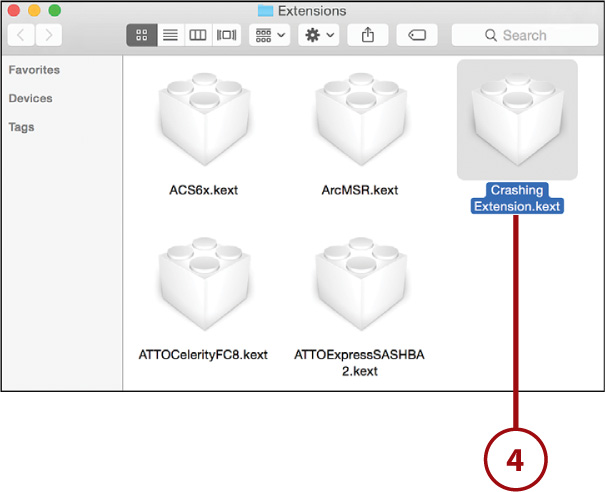
5. Drag the matching file to the Trash can.
6. Provide an administrator username and password when prompted, and click OK.
7. Restart Yosemite.
8. Delete the extension file if you have confirmed it’s causing the problem, or move it back to the Extensions folder to re-enable it.
Avoid the System Folder!
If at all possible, you should avoid modifying any folder within the System folder. Only use the steps described here if your system is consistently crashing after you’ve installed a piece of hardware or software!
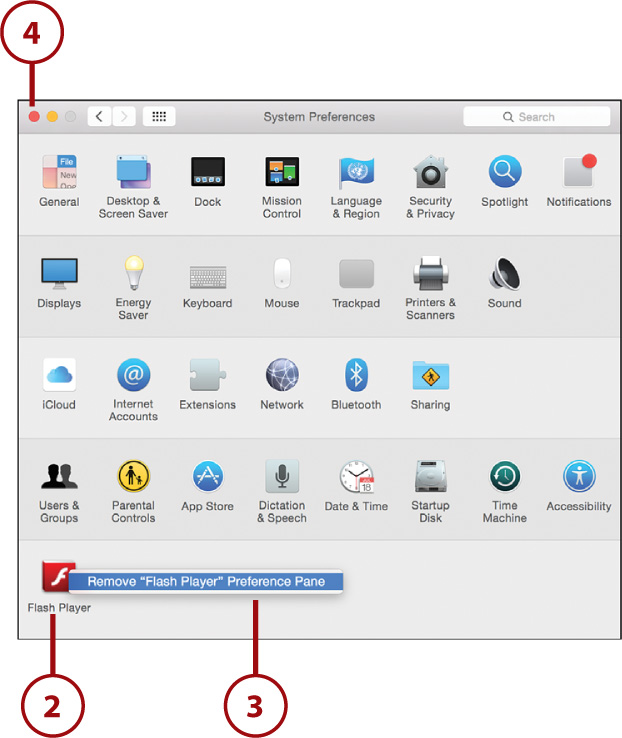
Removing System Preferences Panes
Frequently, system features are added through System Preferences panes that are installed for your account or for all accounts on the system. If you suspect that a System Preference item that you installed is causing a problem, you can remove it by doing the following:
1. Open the System Preferences application.
2. Right-click (or Control-click) the Preference pane that you want to remove.
3. Choose Remove (name of application) Preference Pane.
4. Close the System Preferences application.
Fixing Disk Problems with Disk Utility
Disk errors, when they occur, can be an upsetting problem to diagnose. Applications might freeze, the system might slow down, and so on. It’s difficult to predict how a given piece of software will behave if it encounters a disk problem that it wasn’t expecting. Thankfully, Yosemite provides a tool, Disk Utility (found in the Applications folder under Utilities/Disk Utility), for verifying and correcting problems with file permissions and disk errors.
Repairing Permission Problems
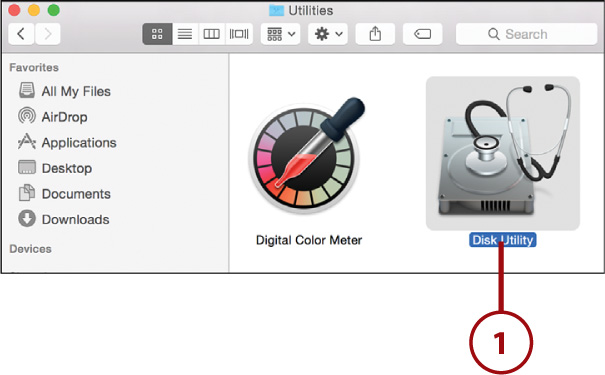
Despite your computer seeming very “personal,” it is actually capable of supporting many different users and relies on a set of file owners and permissions to maintain proper security. As you install software, these permissions might begin to stray from their original settings. To quickly fix the permissions, complete these steps:
1. Open the Disk Utility application, found in the Utilities subfolder of the Applications folder.
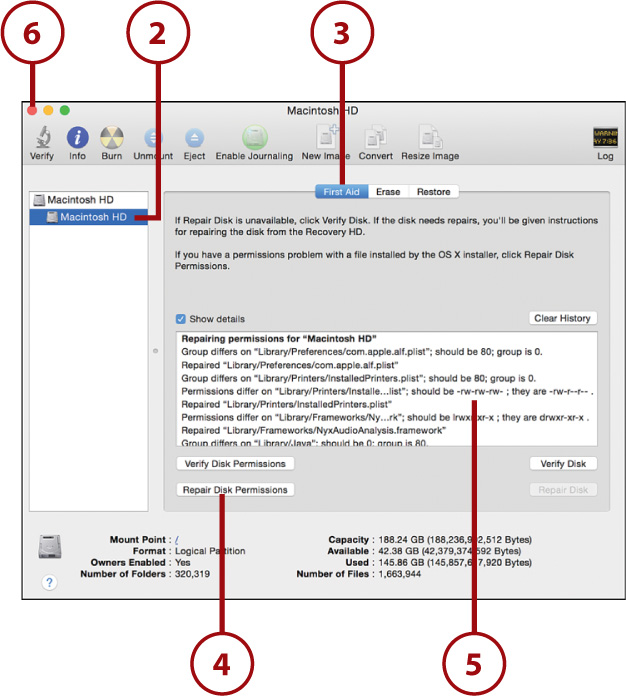
2. Choose your Mac disk from the list of disks that appears on the left side of the window.
3. Click the First Aid button near the top-middle of the window.
4. Click Repair Disk Permissions.
5. Your disk is scanned for permission problems, and any problems are repaired. This process can take several minutes, depending on how much software is on the drive.
6. When the scan completes, quit Disk Utility by closing the window.
Verifying and Repairing Common Disk Errors
In the event of a power surge or serious system crash, your Mac might incur a low-level disk error that can worsen with time. If you suspect that your system has a disk error, you should first verify that there is an error and then attempt to repair it.
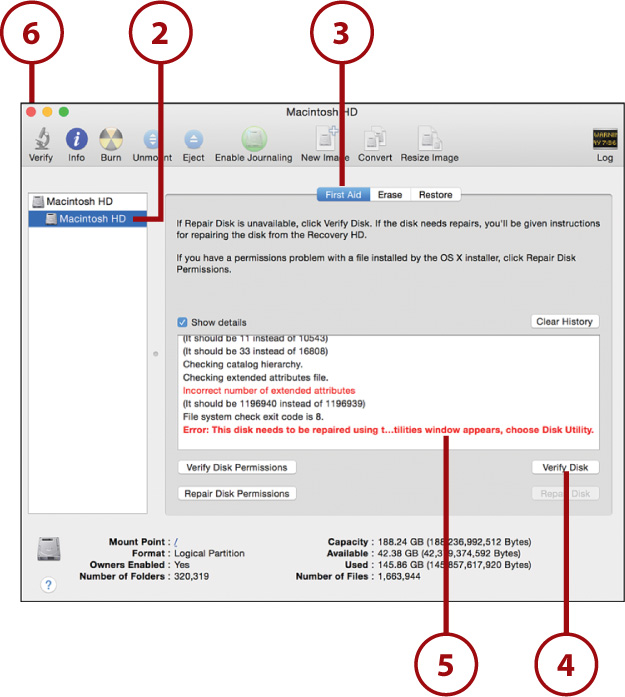
Verifying Your Disk Has an Error
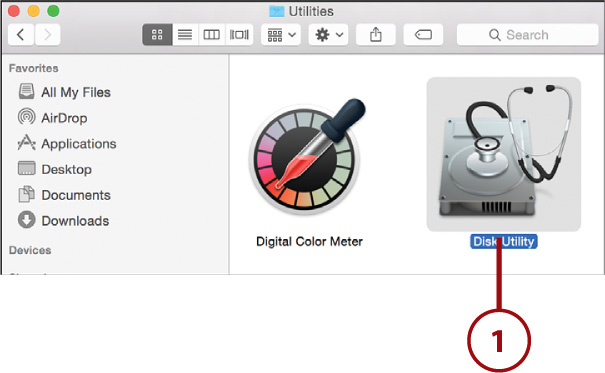
To verify that your disk is, or isn’t, suffering from an error, follow these steps:
1. Open the Disk Utility application found in the Utilities subfolder of the Applications folder.
Pain-Free Fusion
Do you have a nifty Apple Fusion drive in your Mac? Think you might need a disk repair? Just proceed as if you had a normal hard drive. The Fusion drive is completely transparent to the end user. There are no user-configurable options, and it presents itself in Disk Utility just like a normal non-Fusion drive.
2. Choose your Mac disk from the list of disks that appears on the left side of the window.
3. Click the First Aid button near the top-middle of the window.
4. Click the Verify Disk button to begin checking your disk for errors.
5. If errors are detected, they are shown in red and should be repaired. Follow the steps in the next task (“Repairing Your Disk”) if a repair is needed.
6. Exit Disk Utility by closing the window.
Repair Using Your Yosemite Recovery Partition
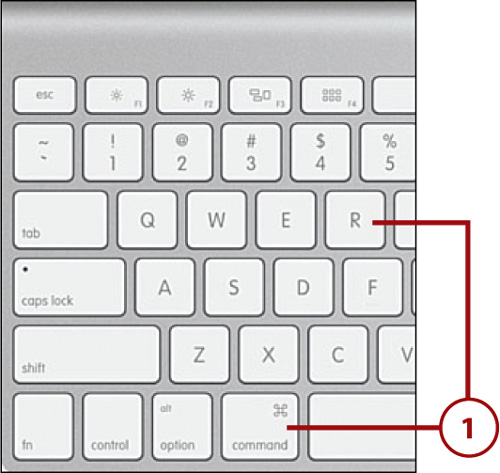
Notice that you can’t use the repair function on your internal (boot) disk. To repair problems with your startup disk, you need to boot from another drive or from the recovery partition installed automatically when you installed Yosemite. You can boot into the recovery partition by holding down Command+R when starting your Mac.
Even if the partition is damaged, most Macs made since 2010 can boot from Apple’s Internet restore site using the same command sequence.
Repairing Your Disk
Repairing disk errors requires that you boot from your Yosemite recovery partition. Follow these steps to repair your disk:
1. Reboot or start your Mac while holding down Command+R.
2. In the utilities window that appears, choose Disk Utility.
3. Click Continue.

4. Choose your Mac disk from the list of disks that appears on the left side of the window.
5. Click the First Aid button near the top-middle of the window.
6. Click the Repair Disk button to begin checking for and fixing errors on your disk.
7. After several minutes, the results of the repair display in the details area. If repairs could not be made, they are highlighted in red, and you should test your system with a third-party tool or take your Mac to an Apple Store for diagnostics.
8. Close the Disk Utility window to exit.
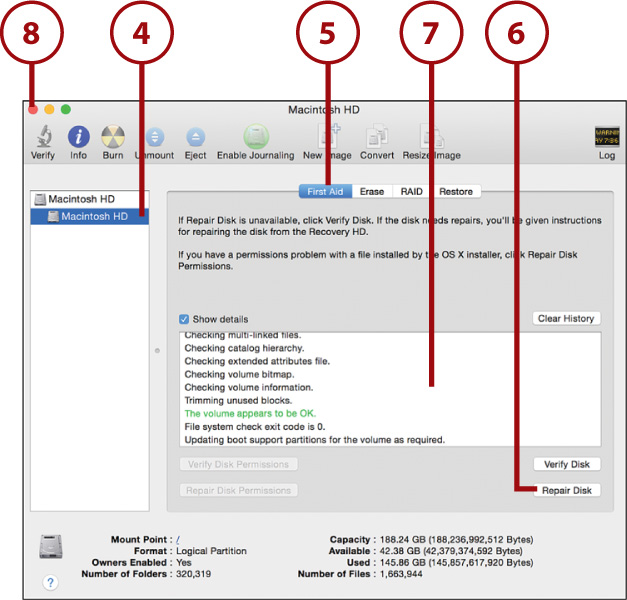
9. Reboot your computer to re-enter Yosemite.
Gathering Information About Your Mac
Sometimes, the best way to figure out what is going on with your computer is to ask it. Your Mac can provide a great deal of information about its current operation by way of the built-in monitoring and reporting software. These tools can also help you prepare a report to hand over to the Apple Store Genius or other technicians in the event you need to take in your equipment for service.
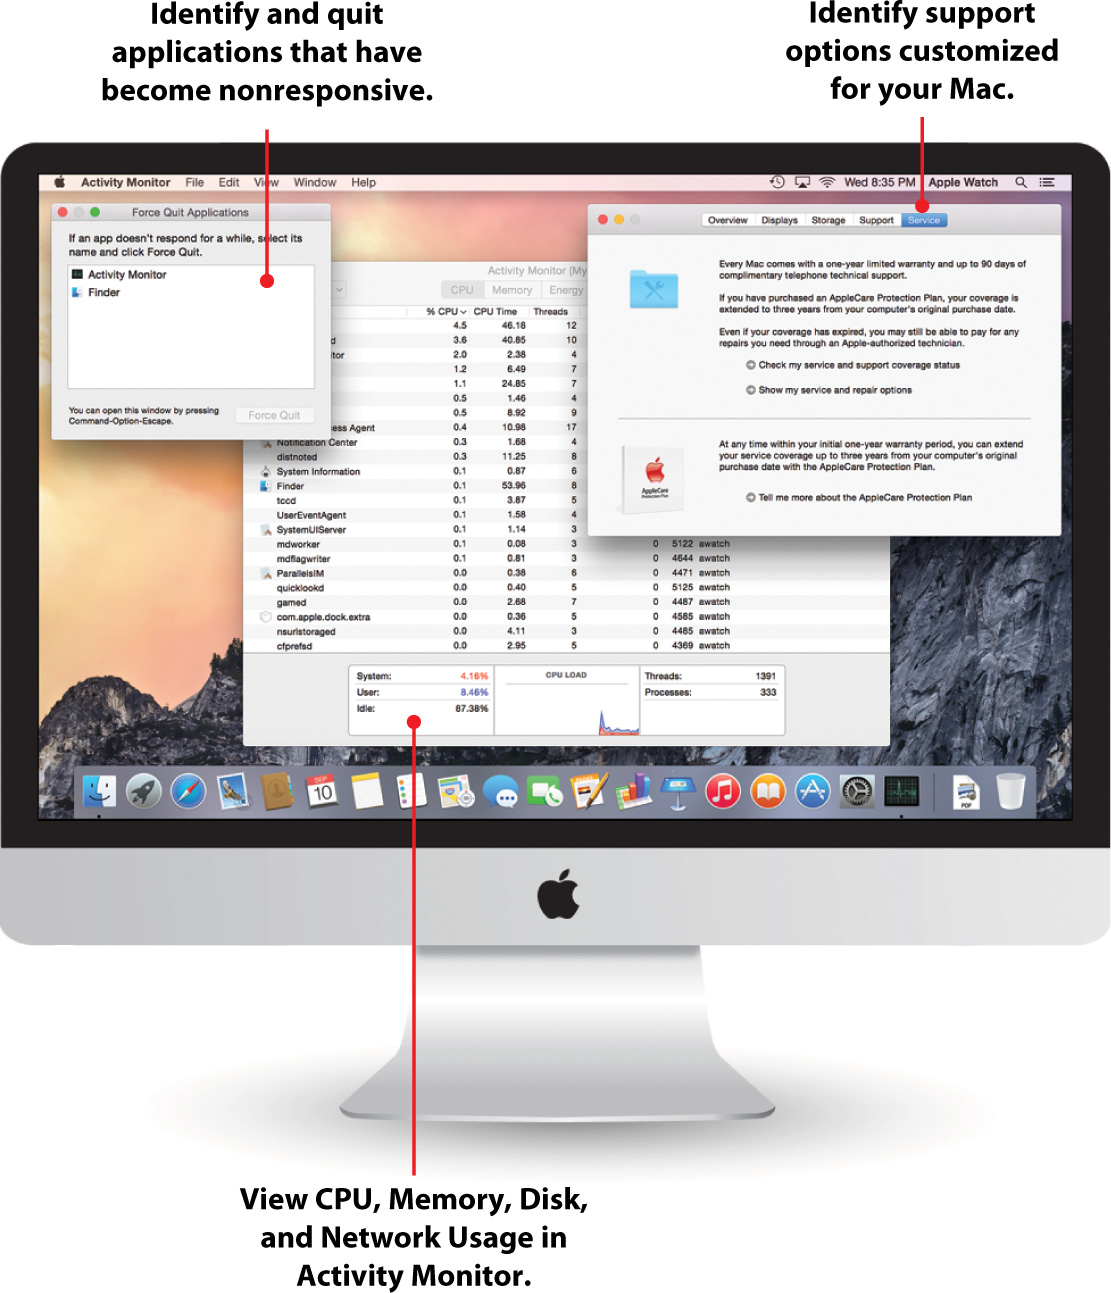
Monitoring System Activity
The Activity Monitor (found in the Applications folder under Utilities/Activity Monitor) delivers instant feedback on the software that is running on your system, the amount of memory in use, and how much of your processing power is being consumed. To use Activity Monitor to identify processes with excessive resource consumption, follow these steps:
1. Open the Activity Monitor application found in the Utilities subfolder of the Applications folder.
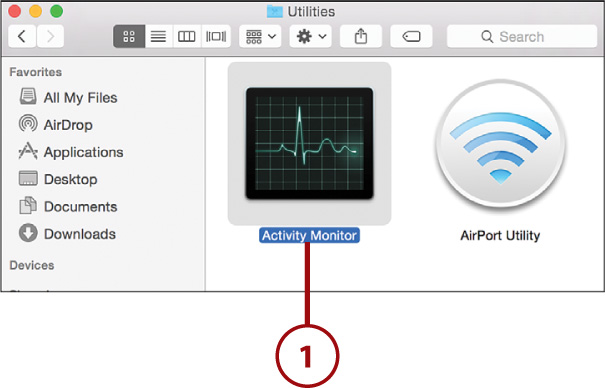
2. A list of processes is displayed.
3. Track down resource hogs by using the column headings to sort by CPU usage, the amount of virtual memory, or the threads being used.
4. If an offending process is located, click to highlight it, and click the stop sign icon in the toolbar to force it to quit.
5. Use the buttons above the process list to show overall CPU, Memory, Energy, Disk activity, and Network activity in the graphs at the bottom of the screen.

Generating a System Profiler Report
If you’ve ever been asked to “describe your computer” for the purposes of obtaining technical assistance, it’s hard to know what information to provide. Using Yosemite’s System Information utility, however, you can quickly create reports on your hardware, peripherals, and even software installations.
1. Open the System Information application found in the Utilities subfolder of the Applications folder.
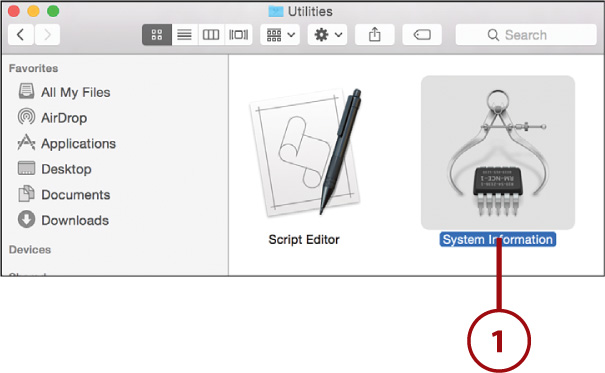
2. Use the list on the left side of the window to choose an information category.
3. Click the category you’d like to view information on, such as Memory or Applications.
4. Details of the chosen category display on the right.

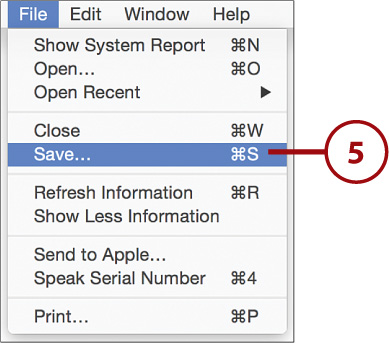
5. Save a copy of the report by choosing File, Save.
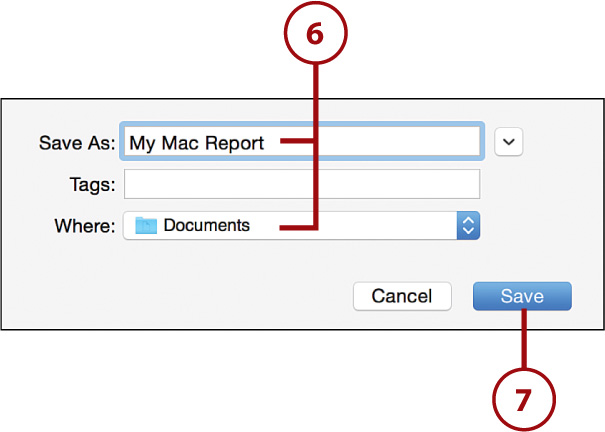
6. Choose a report name and save location.
7. Click Save.
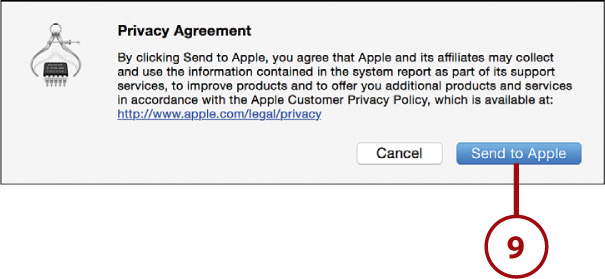
8. Alternatively, Choose File, Send to Apple to send your system information to Apple for technical support.
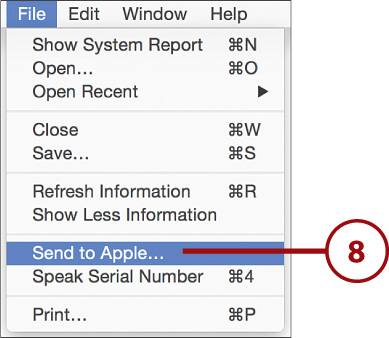
9. When prompted with the Privacy Agreement, click the Send to Apple button.
Lengthy Reports
Although System Information offers a Print option, be careful when choosing it! A full system report can be more than 400 pages long!
Viewing the System Logs
To get a view of any errors that your system might be logging “behind the scenes,” you need to take advantage of the Console utility. Console enables you to monitor the various system logs that are generated when Yosemite logs errors or other information. To view your system logs through Console, follow these steps:
1. Open the Console application found in the Utilities subfolder of the Applications folder.

2. The current console error and warning messages are displayed in the content area to the right.
3. A list of available application- or feature-specific logs and filtered logs displays on the left.
4. Click a log/filter name to display the contents of that entry.
5. As new entries are added to the log, the display automatically updates.

Review Your System Log
Many application errors and warnings are logged to the file system.log. To help diagnose a problem with a specific application, try running the application while the Console utility is open and displaying system.log.
There’s a good chance you’ll see hidden errors being generated by the software.
Remember Your Backups!
If all else fails, remember your backups! Chapter 14 includes methods for backing up your data. If your system reaches an unusable state or files have become corrupted beyond recovery, you should always have your backups ready to come to the rescue. If you’re reading this and don’t have a backup plan in place, turn to Chapter 14 and start reading now.
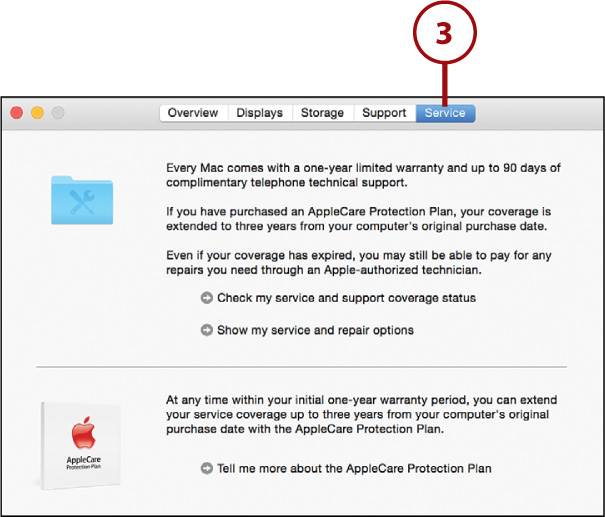
Viewing System Support Options
Ever wonder about your support options for your Mac? Yosemite makes it simple to find out what your warranty options are, as well as how to access community support resources for OS X. To access these features, follow these steps:
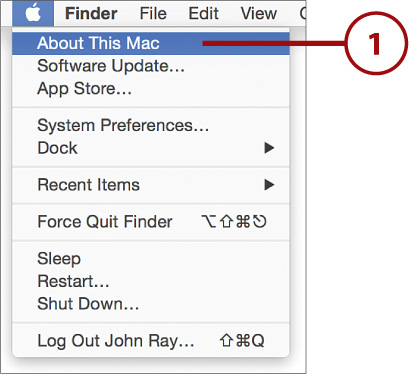
1. Choose About This Mac from the Apple menu.
2. Use the Support button to access online support resources for Yosemite.
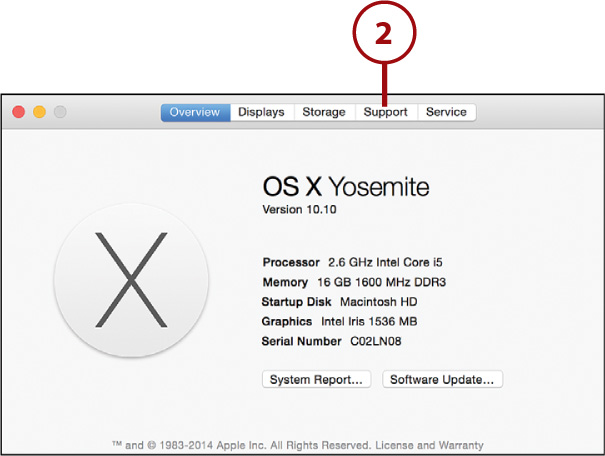
3. Use the Service button to check on repairs, service, and AppleCare extended protection.