
Let's have a look at the following steps:
- On the Dashboard, open the Web tab:

PythonAnywhere: Web app view
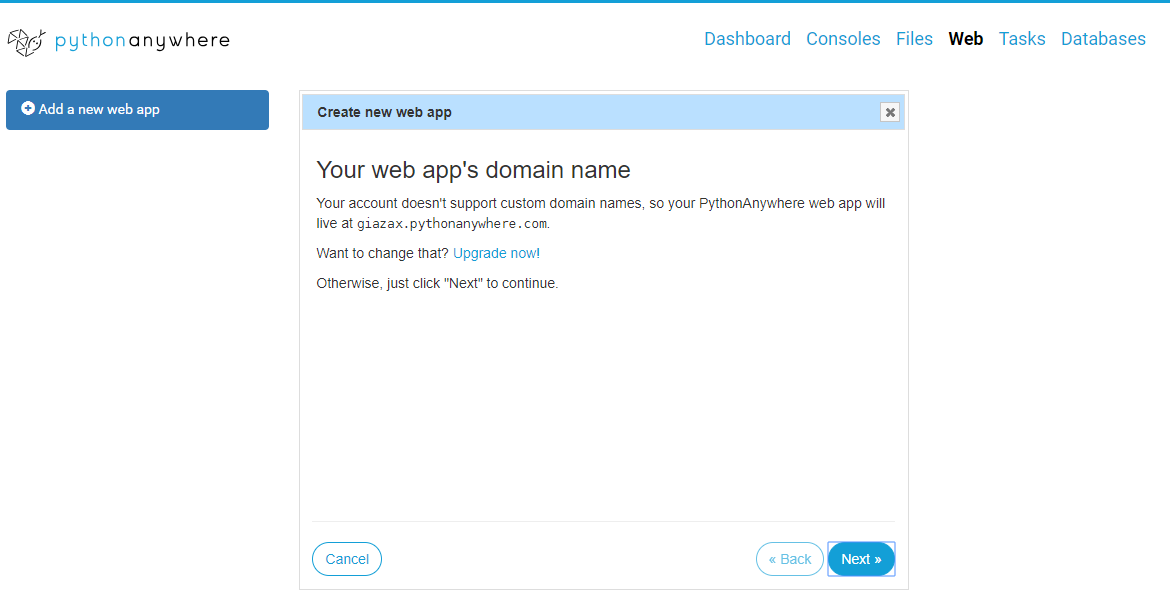
- The interface tells us that we don't have a web application yet. By selecting Add a new web app, the following view opens. It tells us that our applications will have the following web address: loginname.pythonanywhere.com (for this example, the web address of the application will be giazax.pythonanywhere.com):
PythonAnywhere: Web app wizard
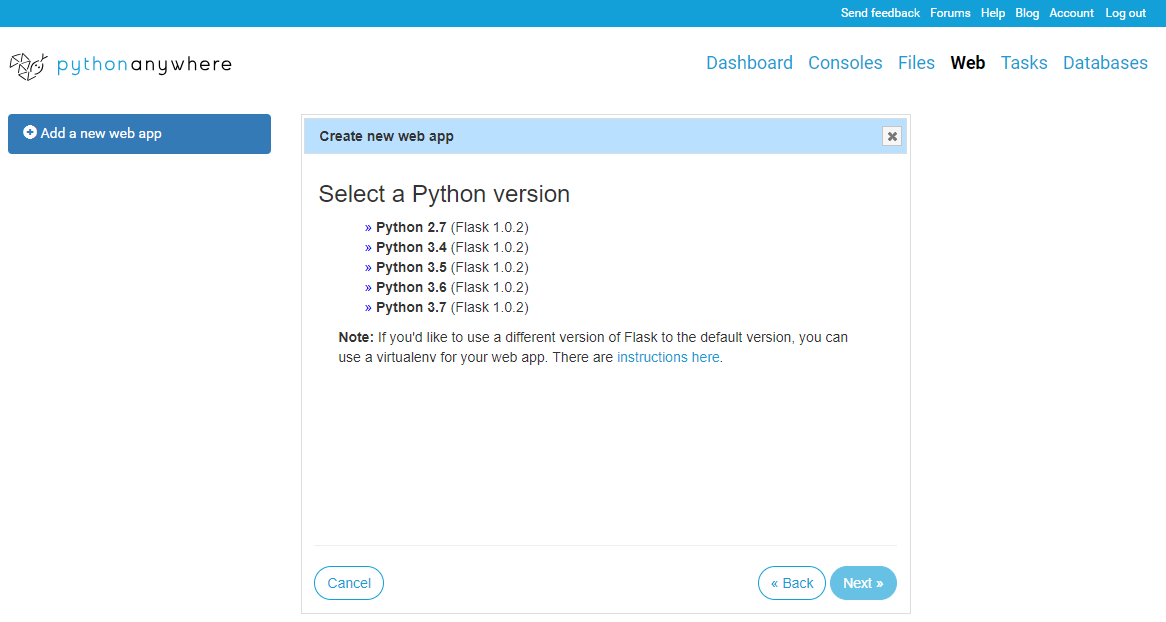
- When we click on Next, we can select the Python web framework we want to use:

PythonAnywhere: Web framework wizard
- We select Flask as a web framework, and then click on Next to choose which Python version we want to use, as shown here:
PythonAnywhere: Web framework wizard
Flask is a micro-framework for Python that is easy to install and use, and is used by companies such as Pinterest and LinkedIn.
If you don't know what a framework for creating web applications is, then you can imagine a set of programs with the aim of facilitating the creation of web services such as web servers and APIs. More information on Flask can be found at http://flask.pocoo.org/docs/1.0/.
If you don't know what a framework for creating web applications is, then you can imagine a set of programs with the aim of facilitating the creation of web services such as web servers and APIs. More information on Flask can be found at http://flask.pocoo.org/docs/1.0/.
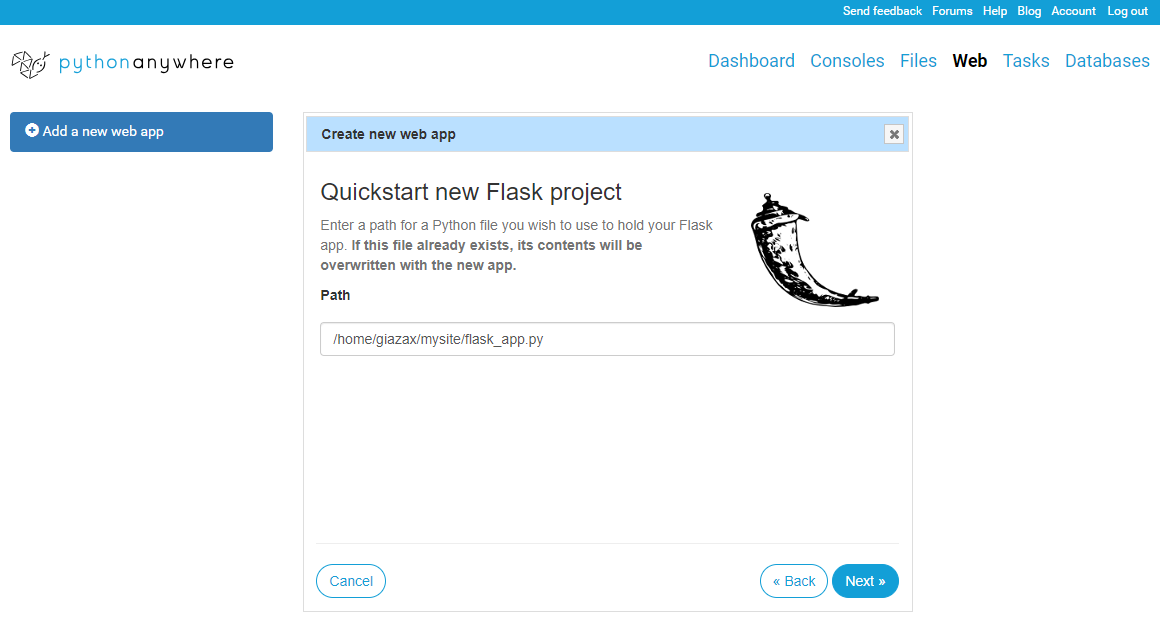
- In the preceding screenshot, we select Python 3.5 for Flask 1.0.2, then let's click on Next to enter the path for a Python file to use in order to hold the Flask application. Here, the default file is selected:
PythonAnywhere: Flask project definition
- When we click on Next for the final time, the following screen is displayed, which summarizes the web application's configuration parameters:

PythonAnywhere: Configuration page for giazax.pythonanywhere.com
Now, let's see what happens with this.