TurtleBot 3 software resides in three locations: onboard the robot in the SBC, the OpenCR board, and on the remote computer. The remote computer can be a laptop or a desktop computer but must have Wi-Fi capability. Since the OpenCR board typically comes preloaded with software and is configured for the TurtleBot 3 model that is purchased, the instructions for loading the OpenCR software will not be described here. The next two sections will explain loading the software for the remote computer and loading the software for the SBC.
This section provides an explanation of loading software to control TurtleBot 3. It is assumed that Ubuntu 16.04 and ROS Kinetic software are installed on the computer that you will be using. Details for installing ROS Kinetic software are provided in the Installing and launching ROS section in Chapter 1, Getting Started with ROS.
The following steps reflect the instructions provided in the PC Software Setup section of the TurtleBot 3 documentation: http://turtlebot3.robotis.com/en/latest/pc_software.html.
Open a terminal window and type the following command:
$ sudo apt-get install ros-kinetic-joy ros-kinetic-teleop-twist-joy ros-kinetic-teleop-twist-keyboard ros-kinetic-laser-proc ros-kinetic-rgbd-launch ros-kinetic-depthimage-to-laserscan ros-kinetic-rosserial-arduino ros-kinetic-rosserial-python ros-kinetic-rosserial-server ros-kinetic-rosserial-client ros-kinetic-rosserial-msgs ros-kinetic-amcl ros-kinetic-map-server ros-kinetic-move-base ros-kinetic-urdf ros-kinetic-xacro ros-kinetic-compressed-image-transport ros-kinetic-rqt-image-view ros-kinetic-gmapping ros-kinetic-navigation
After these packages have been successfully installed, proceed with loading the remaining TurtleBot 3 packages into your catkin workspace and running catkin_make. If you have already loaded the TurtleBot 3 simulation software using the instructions from the previous section, Loading TurtleBot 3 simulation software, you will not need to perform the following commands. Proceed to the next section for instructions on loading the SBC software.
If you have not created a catkin workspace, refer to the Creating a catkin workspace section in Chapter 1, Getting Started with ROS. To download the TurtleBot 3 packages to your catkin workspace, type the following commands:
$ cd ~/catkin_ws/src/
$ git clone https://github.com/ROBOTIS-GIT/turtlebot3_msgs.git
$ git clone https://github.com/ROBOTIS-GIT/turtlebot3.git
$ cd ~/catkin_ws
$ catkin_make
If the last command executes without errors, you are ready to load the software on the SBC.
This section describes installing the TurtleBot 3 software on the Raspberry Pi 3. For instructions on installing TurtleBot 3 software on the Intel® Joule™, refer to the SBC Software Setup section at:
http://turtlebot3.robotis.com/en/latest/sbc_software.html
The Linux operating system must be loaded onto the microSD card prior to installing it into the Raspberry Pi's microSD slot. The microSD card must be at least 8 GB and the operation of loading the operating system must be done on another computer. This can be your remote computer. Typically, an adapter card is needed to fit the microSD card into an SD card slot on the computer.
When you have the microSD card placed in the adapter and slid into the SD card slot of your computer, go to this website to download the latest version of Ubuntu MATE 16.04:
https://ubuntu-mate.org/download/
Select the release for Ubuntu MATE 16.04 LTS, then click on Raspberry Pi as the architecture. Next, scroll down to the Via Direct Download section and click on the Bytemarktag that shows the .xz file. The download will begin and an Ubuntu MATE .xz file will be placed in your computer's Download directory. When the download has completed, perform the following steps:
- Select the
.xzfile and use the Open With Disk Image Writer option from the pop-up selection menu. - From the pop-up Restore Disk Image window, select the Destination Drive for your microSD card. This should be the 7.9 GB Drive if you are using an 8 GB microSD card.
- Click the Start Restoring… button.
- Click the Restore button when prompted with Are you sure you want to write the disk image to the device?
- Type your user password to authenticate the action.
You should see a pop-up window similar to the following if all the steps have been done properly:

Installing Ubuntu MATE on microSD card
When the download is complete, the SD adapter can be removed from the computer and the microSD card can be removed from the adapter. The microSD card can then be inserted in the slot at the bottom of the Raspberry Pi 3 board.
For the next steps, an external keyboard, mouse, and monitor will need to be connected to the Raspberry Pi board. When these components have been connected, apply power to the Raspberry Pi board. If the Pi is not connected by I/O pins 4 and 6 to the OpenCR board, you can apply power using an external micro USB charger. The monitor should display a stream of text messages, then display the Ubuntu MATE GUI, as shown in the following screenshot:
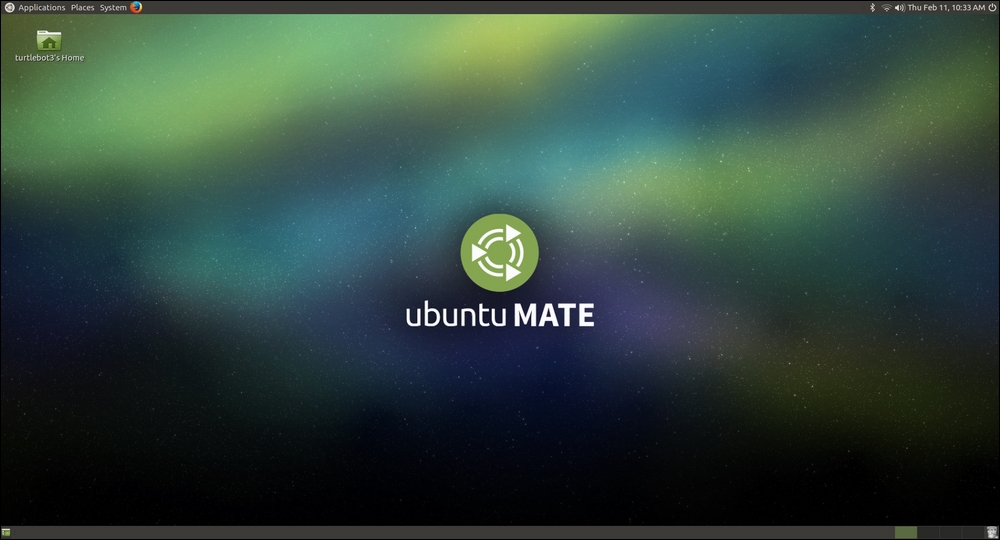
Ubuntu MATE GUI
As you will notice in the upper-left corner, the main menu bar has selections for the Dash icon, Applications, Places, System, and the Mozilla Foxfire icon.
The next steps will install ROS Kinetic on your Raspberry Pi 3 running Ubuntu MATE (be sure that the Pi is connected to the internet to download the ROS packages):
- The first step is to configure the Ubuntu repositories to allow restricted, universe, and multiverse. For this step, find System on the main menu, then pull down the menu to find Administration, then continue over to Software & Updates. When the window pops up, the first four checkboxes should be checked. Then close this window.
- From the main menu, select Application, pull down System Tools, and select MATE Terminal to open a terminal window. Next install the ROS packages with the following commands:
$ sudo apt-get update
$ sudo apt-get upgrade
$ wget https://raw.githubusercontent.com/ROBOTIS-GIT/robotis_tools/master/install_ros_kinetic_rp3.sh && chmod 755 ./install_ros_kinetic_rp3.sh && bash ./install_ros_ kinetic_rp3.sh
The
wgetcommand retrieves the ROS Kinetic packages via an installation script,install_ros_kinetic_rp3.sh.If the last command generates an error, add the option
--no-check-certificateto thewgetcommand. - Now reboot the Raspberry Pi.
After successfully loading the ROS packages, the TurtleBot 3 packages should be installed with the following command:
$ sudo apt-get install ros-kinetic-joy ros-kinetic-teleop-twist-joy ros-kinetic-teleop-twist-keyboard ros-kinetic-laser-proc ros-kinetic-rgbd-launch ros-kinetic-depthimage-to-laserscan ros-kinetic-rosserial-arduino ros-kinetic-rosserial-python ros-kinetic-rosserial-server ros-kinetic-rosserial-client ros-kinetic-rosserial-msgs ros-kinetic-amcl ros-kinetic-map-server ros-kinetic-move-base ros-kinetic-urdf ros-kinetic-xacro ros-kinetic-compressed-image-transport ros-kinetic-rqt-image-view ros-kinetic-gmapping ros-kinetic-navigation
After these packages have been successfully installed, proceed with loading the remaining TurtleBot 3 packages into your catkin workspace and running catkin_make. To download the TurtleBot 3 packages to your catkin workspace, type the following commands:
$ cd ~/catkin_ws/src/
$ git clone https://github.com/ROBOTIS-GIT/hls_lfcd_lds_driver.git
$ git clone https://github.com/ROBOTIS-GIT/turtlebot3_msgs.git
$ git clone https://github.com/ROBOTIS-GIT/turtlebot3.git
$ cd ~/catkin_ws
$ catkin_make
If the git clone commands produce a fatal: unable to access error message, use the following command to set the environment variable to disable security checking:
$ export GIT_SSL_NO_VERIFY=1
If the catkin_make command executes without errors, the SBC software has successfully been installed.
Ubuntu uses udev system software to dynamically manage devices connected to the computer system. The USB ports on the Raspberry Pi 3 need to be configured to operate without requiring root (sudo) permission. These ports are used for connections to the OpenCR board and USB2LDS. Type the following commands to establish special system configuration rules, called udev rules, to bypass this required permission:
$ cd ~/catkin_ws/src/turtlebot3
$ sudo cp ./99-turtlebot3-cdc.rules /etc/udev/rules.d/
$ sudo udevadm control --reload-rules
$ sudo udevadm trigger
Before disconnecting the monitor, keyboard, and mouse from the Raspberry Pi 3, be sure to complete the forthcoming section on TurtleBot 3 network setup and perform the steps there to identify and prepare the network connection for the robot.