We will now look at how to set up a PVR. This will include configuring the backend as well as getting it running in XBMC.
The purpose of this title is to focus on the Raspberry Pi, and as there is a great variety of PVR software available, it would be implausible to cover the many options. If you are planning on using an external backend, it is recommended that you thoroughly search for information on the Internet. There are even books for popular and comprehensive PVR packages, such as MythTV. TVHeadend was chosen for Raspbmc because it is lightweight and easy to manage.
Raspbmc's XBMC build will support the following backends at the time of writing:
- MythTV
- TVHeadend
- ForTheRecord/Argus TV
- MediaPortal
- Njoy N7
- NextPVR
- VU+/Enigma
- DVBViewer
- VDR
It should be noted that not all TV tuners will work on your device. Due to the fact that the list changes frequently, it is not possible to list here the devices that work on the Raspberry Pi. However, the most popular tuners used with Raspbmc are AF90015 based. HDHomerun tuners by SilliconDust are supported as well (note that these tuners do not connect to your Pi directly, but are accessed through the network). With the right kernel modules, TVHeadend can support DVB-T (digital terrestrial), DVB-S (satellite), and DVB-C (cable) based tuners.
Note
For a list of supported tuners, see Appendix C, Supported Peripherals.
By default, the TVHeadend service is disabled in Raspbmc. We'll need to enable it as follows:
- Go to Raspbmc Settings—we did this before by selecting it from the Programs menu.
- Under the System Configuration tab, check the TVHeadend server radio button found under the Service Management category.
- Click on OK to save your settings.
- Now that the TVHeadend is running, we can now access its management page by going to
http://192.168.1.5:9981.Note
You should substitute the preceding IP address,
192.168.1.5, with the actual IP address of the Raspberry Pi. We covered checking the Raspberry Pi's IP address in Chapter 2, Using Raspbmc.You will be greeted with an interface much akin to the following screenshot:

- In the preceding screenshot we see that there are three main tabs available. They are as follows:
- Electronic Program Guide: This shows us what is being broadcast on each channel. It is empty in the preceding screenshot because we've not scanned and added any channels.
- Digital Video Recorder: This will allow you to schedule recordings of TV channels as well as use the Automatic recorder functionality, which can allow you to create powerful rules for automatic recording. You can also schedule recordings in XBMC; however, doing so via the web interface is probably more flexible.
- Configuration: This is where you can configure the EPG source, choose where recordings are saved, manage access to the backend, and manage tuners.
- The Electronic Program Guide and Digital Video Recorder tabs are intuitive and simple so we will instead look at the Configuration section.
- Our first step in configuring a tuner is to head over to TV Adapters:
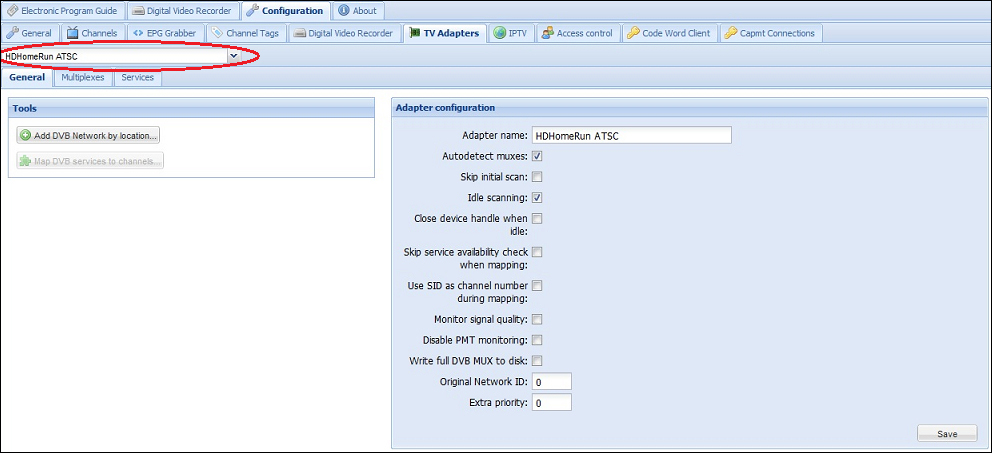
As shown in the preceding screenshot, TV tuners should automatically be detected and selectable in the drop-down menu (highlighted here). On the right, a box entitled Adapter Configuration can be used for adjusting the tuner's parameters.
- Now, we need to select the Add DVB Network by location option. The following dialog box will appear:

Once we have defined the region we are in, TVHeadend will automatically begin scanning for new services on the correct frequencies. These services can be mapped to channels by selecting the Map DVB services to channels button as shown earlier. We are now ready to connect to the backend in XBMC.
Regardless of whether we have used Raspbmc's built-in backend or an external one, the process for connecting to it in XBMC is very much the same.
We need to do the following:
- In XBMC, go to System | Settings | Add-ons | Disabled Add-ons | PVR clients. You will now see the following screenshot:

- Select the type of backend that you would like to connect to. You will then see a dialog allowing you to configure or enable the add-on.
- Select Configure and fill out the necessary connection details. Note that if you are connecting to the Raspbmc built-in backend, select the TVHeadend client to configure. The default settings will suffice:

- Click on OK to save these settings and select Enable. Note that the add-on is now located in System | Settings | Add-ons | Enabled add-ons | PVR clients rather than Disabled add-ons | PVR clients.
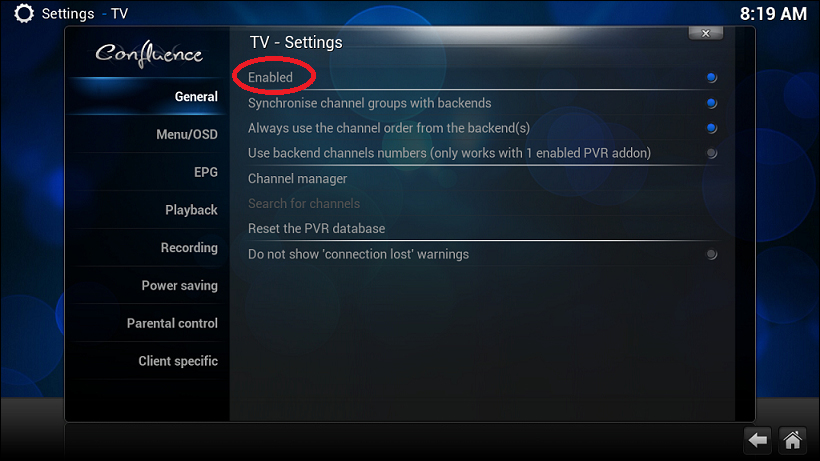
- Now, we need to go into Settings | System | Live TV. This allows you to configure a host of options related to Live TV. The most important one is the Enable Live TV option—be sure to check this box!
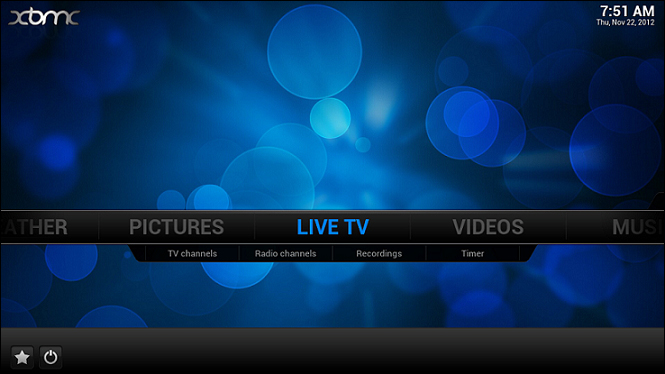
- Now, if we go back to the main menu, we'll see a Live TV option. Your channel information will be there already, although, like the instance shown as follows, it may need a bit of renaming:
The following screenshot shows us a sample electronic program guide:
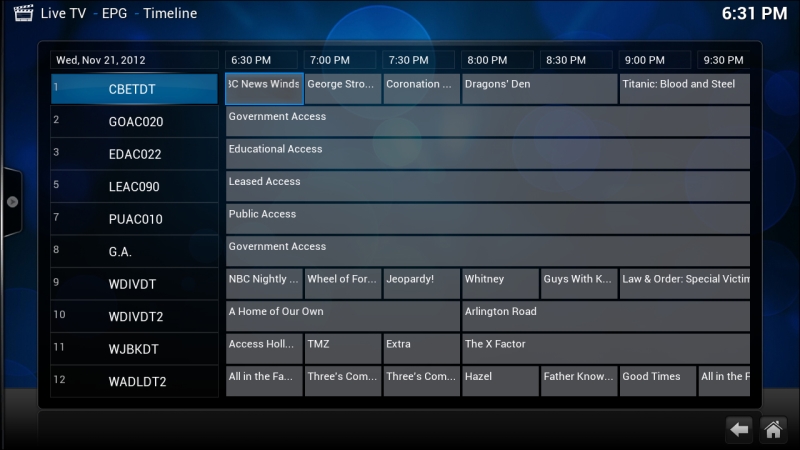
Simply select a channel and press Play! The functionality that PVR offers is controlled in a similar manner to XBMC, so this won't be covered in this chapter. If you have got this far, you've done the hard part already.