The majority of your time developing iOS and Android applications using React Native will be spent in a simulator. A simulator is a virtual machine that runs the mobile OS that you want to test your app in, on your desktop. If you had to validate every change on the actual hardware that you want to target, it would be both very time-consuming and very costly to implement. In this section, we'll get you set up with simulators for iOS and Android.
If you don't already have Xcode installed, you can download and install it for free from the app store or https://developer.apple.com/. You'll need to do this before you're able to simulate any iOS devices that can run your React Native app.
Once you have Xcode installed, you can open the project by double-clicking on the MyProject/ios/MyProject.xcodeproj file. This will open Xcode with your project. The play button at the top of the screen will build and run the project with the selected simulator:

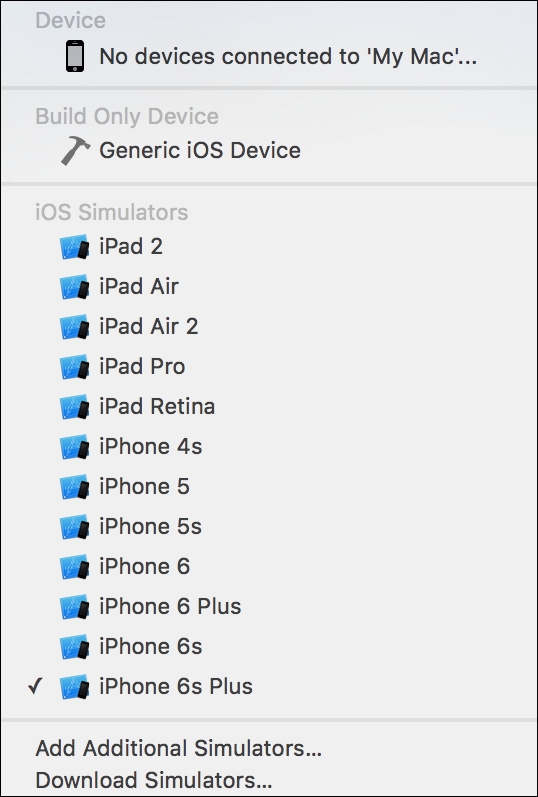
If you click on the name of the device, in this case the default is iPhone 6s Plus, you can see a list of devices that you can simulate in order to run your React Native app:
Genymotion is a development tool to help build Android apps. The reason I'd recommend using this tool over the standard Android development tools is that it just works much better. Using Genymotion actually makes React Native development feel a lot more like it does with Xcode on OSX.
Also, Genymotion uses VirtualBox to run the Android OS, which is partly why it's easy to use Genymotion for Android development on any platform. Although this is licensed software, you can try it out for free, and the pricing is very affordable once you have a production app to maintain.
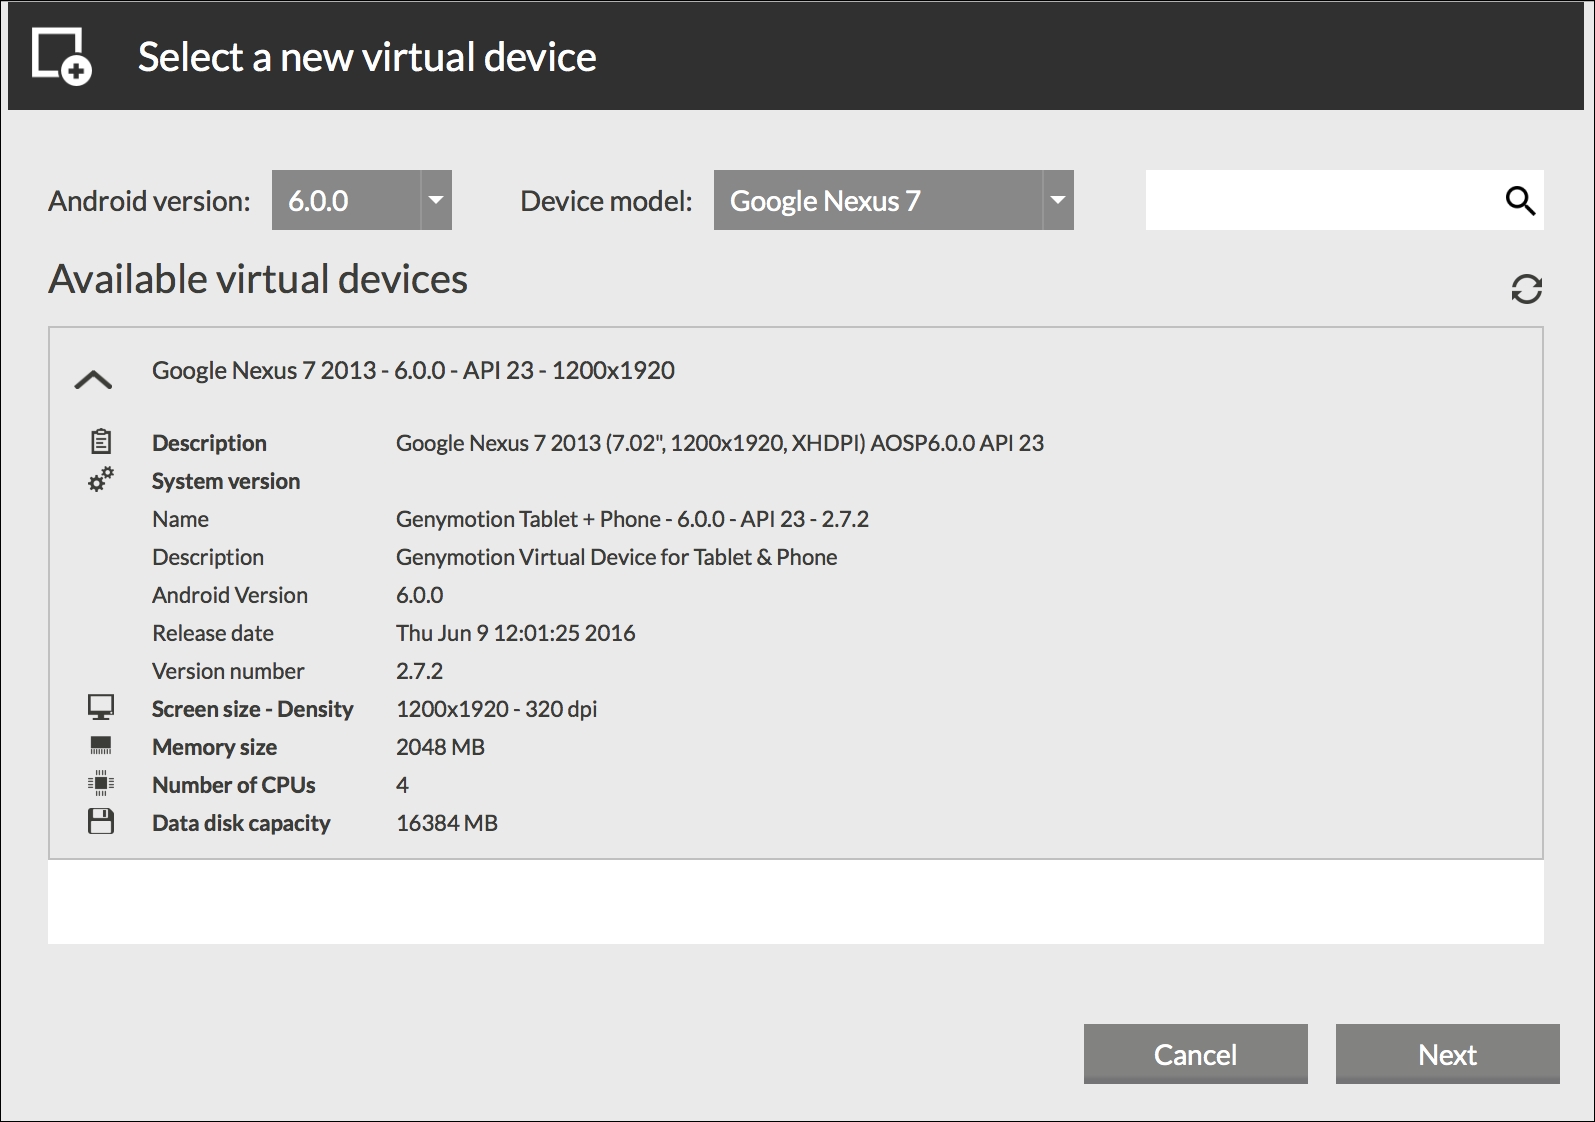
The first step is to install it; instructions can be found here: https://www.genymotion.com/thank-you-freemium/. Once Genymotion is installed, you should create an account, which will allow you to access their device repositories. Then, when you start up Genymotion, you can create a new virtual Android device, which looks something along these lines:
Once you have all of the Android devices that you want to develop against, the only thing left to do is deploy your React Native app to the device. We'll cover this now.