- The first thing that we need to do is add a dependency to the Spring Boot Actuator starter in our build.gradle file with the following content:
dependencies {
    ...
    compile("org.springframework.boot:spring-boot-starter-
    data-rest")
    // compile("org.springframework.boot:spring-boot-starter-
    jetty") //
    Need to use Jetty instead of Tomcat
    compile("org.springframework.boot:spring-boot-starter-
    actuator")
    compile project(':db-count-starter')
    ...
}
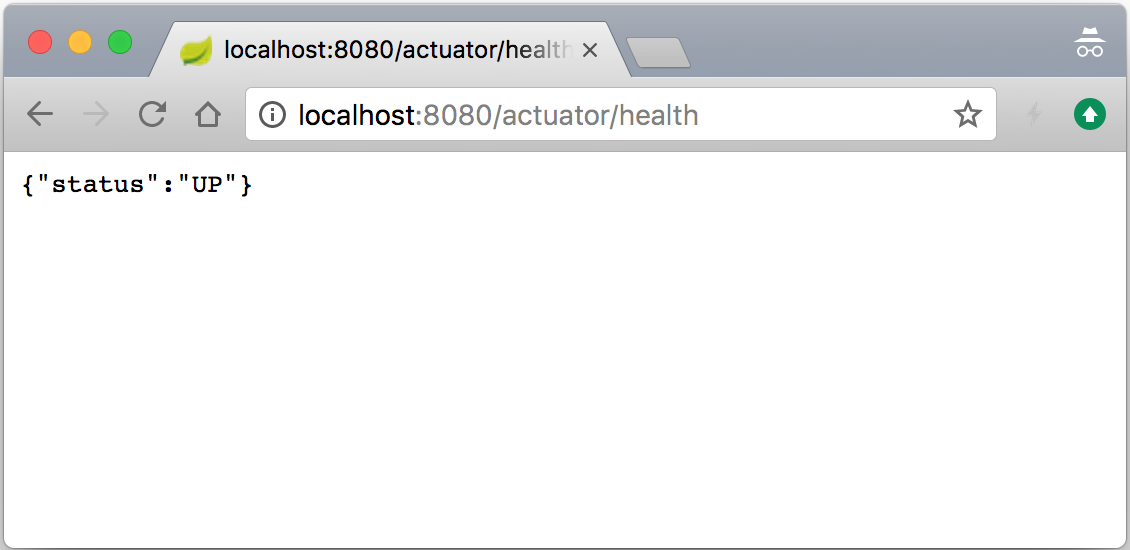
- Adding this dependency alone already gives us the ability to access the Spring management /actuator/* endpoints, such as /env, /info, /metrics, and /health, (though they are disabled by default, unless a management.endpoints.web.exposure.include=* property is configured in the application.properties file). So, let's start our application by executing the ./gradlew clean bootRun command line and then we can access the newly available /health endpoint by opening our browser and going to http://localhost:8080/actuator/health so as to see the new endpoint in action, as shown in the following screenshot:
- To get more details about the health state of our application, let's configure it to show the detailed health output by adding the management.endpoint.health.show-details=always property to the application.properties file and then restarting our application. Now, when we go to http://localhost:8080/actuator/health in the browser, we should see something similar to the following screenshot:
- With the actuator dependency added, and detailed /health endpoint configured, we can now add and perform all kinds of monitoring functions on our application. Let's go ahead and populate the /info endpoint with some data by adding a directive to the build.gradle file located at the root of our project with the following content:
springBoot {
    buildInfo {
        properties {
            additional = [
                'description' : project.description
            ]
        }
    }
}
- Next, we will create a new properties file named gradle.properties in the root directory of our project with the following content:
version=0.0.1-SNAPSHOT
description=BookPub Catalog Application
- We will also add rootProject.name='BookPub-ch7' to the settings.gradle file located in the root directory of our project.
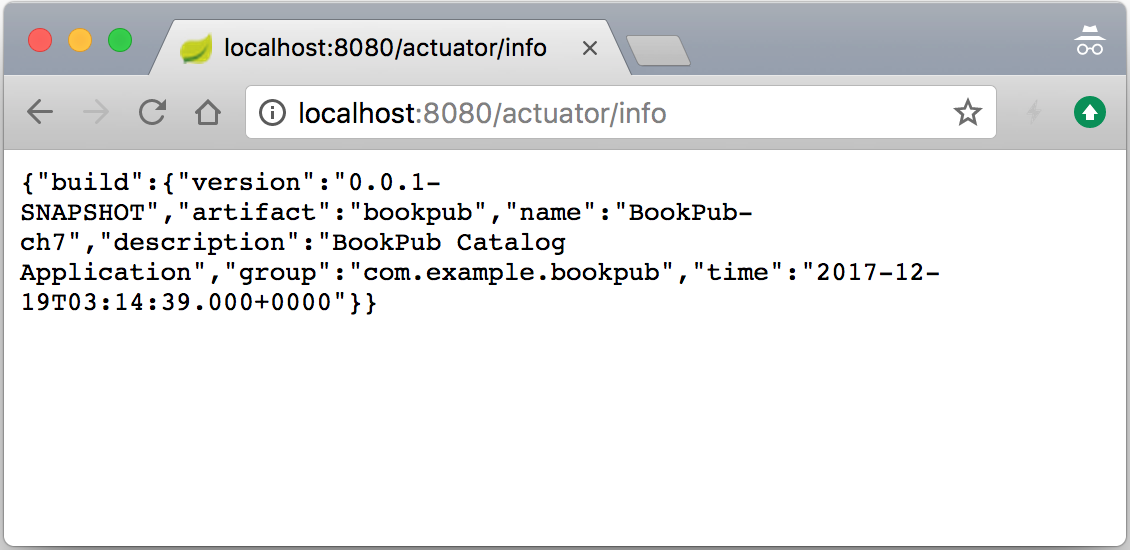
- Now, let's start our application by executing ./gradlew clean bootRun and then we can access the newly available /info endpoint by opening our browser and going to http://localhost:8080/actuator/info to see the new endpoint in action, as follows:
- As we have got the hang of how things work, let's go ahead and make our custom health indicator, which will be accessible via the /health endpoint in order to report the count status of the entries for each of our repositories. If they are greater than or equal to zero, we are UP, otherwise we are not really sure what's going on. Obviously, if an exception has occurred, we would be reporting DOWN. Let's start by relaxing the getRepositoryName(...) method visibility from private to protected in the DbCountRunner.java file located in the db-count-starter/src/main/java/com/example/bookpubstarter/dbcount directory at the root of our project.
- Next, we will add the same dependency to the compile("org.springframework.boot:spring-boot-starter-actuator") library in the build.gradle file in the db-count-starter directory at the root of our project.
- Now, we will create a new file named DbCountHealthIndicator.java in the db-count-starter/src/main/java/com/example/bookpubstarter/dbcount directory at the root of our project with the following content:
public class DbCountHealthIndicator implements HealthIndicator {
    private CrudRepository repository;

    public DbCountHealthIndicator(CrudRepository repository) {
        this.repository = repository;
    }

    @Override
    public Health health() {
        try {
            long count = repository.count();
            if (count >= 0) {
                return Health.up().withDetail("count",
                count).build();
            } else {
                return Health.unknown().withDetail("count",
                count).build();
            }
        } catch (Exception e) {
            return Health.down(e).build();
        }
    }
}
- Next, we will modify the @Import annotation in the EnableDbCounting.java file located in the db-count starter/src/main/java/com/example/bookpubstarter/dbcount directory at the root of our project with the following content:
@Import({DbCountAutoConfiguration.class,
        HealthIndicatorAutoConfiguration.class})
- Finally, for the automatic registration of our HealthIndicator class, we will enhance the DbCountAutoConfiguration.java file located in the db-count-starter/src/main/java/com/example/bookpubstarter/dbcount directory at the root of our project with the following content:
@Autowired
private HealthAggregator healthAggregator;
@Bean
public HealthIndicator dbCountHealthIndicator(Collection<CrudRepository> repositories) {
    CompositeHealthIndicator compositeHealthIndicator = new
      CompositeHealthIndicator(healthAggregator);
    for (CrudRepository repository : repositories) {
        String name = DbCountRunner.getRepositoryName
         (repository.getClass());
        compositeHealthIndicator.addHealthIndicator(name, new
          DbCountHealthIndicator(repository));
    }
    return compositeHealthIndicator;
}
- So, let's start our application by executing the ./gradlew clean bootRun command line, and then we can access the /health endpoint by opening our browser and going to http://localhost:8080/actuator/health to see our new HealthIndicator class in action, as follows: