Before we get to the steps to add Eureka to our application, we need to get the Eureka service itself up and running. Thankfully, the Spring Cloud folks have been awesome enough to provide a sample project that makes creating an instance of Eureka server and running it a breeze. Let's take a look at the following steps:
- To get things up and running just go to https://github.com/spring-cloud-samples/eureka and git clone the [email protected]:spring-cloud-samples/eureka.git repository to your machine.
- After that's done, run ./gradlew clean bootRun to start the server:
- Once the server is up and running, we need to add the following dependencies to the build.gradle file located at the root of our project:
//compile("org.springframework.cloud:spring-cloud-starter-consul-all")
compile("org.springframework.cloud:spring-cloud-starter-feign")
compile("org.springframework.cloud:spring-cloud-starter-eureka-client")
- Ironically, that’s all we had to do, at this point, we just restart our application by executing the ./gradlew clean bootRun command.
Make sure the Eureka server is running in the background, otherwise, though the application will start, the BookPubClient calls will fail.
- Once the application is up and running, let's open http://localhost:8080/client/book/978-1-78528-415-1 in the browser and we should see exactly the same response as in our previous recipe.
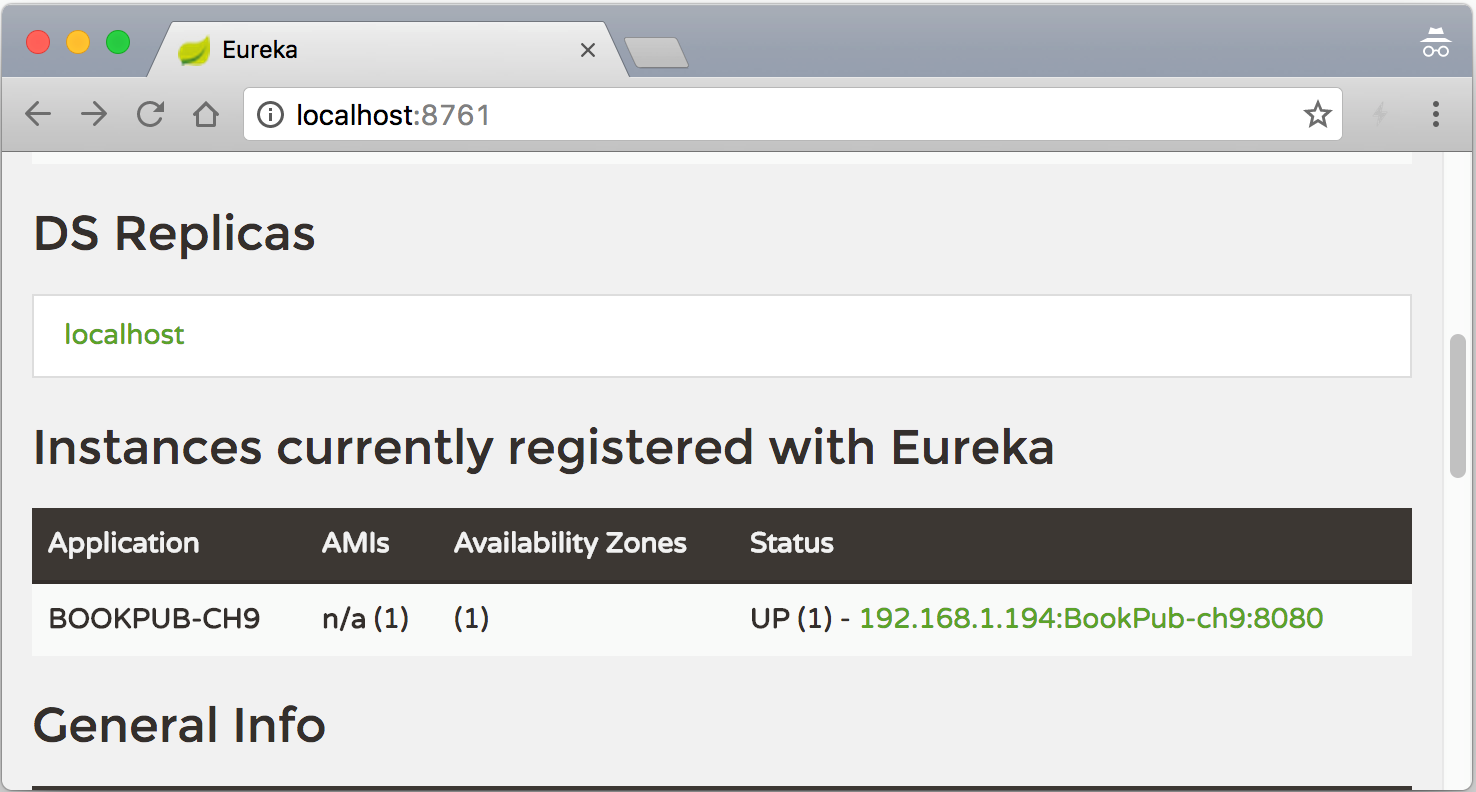
- Just to see that our application did indeed register with Eureka, we can open the browser at the http://localhost:8761 URL and we should see our service listed under instances list: