Shooting great video takes practice and patience, built on a firm understanding of common video principles. The quality of video that you produce is directly affected by either your success or failure to adapt to various shooting environments. In this chapter, you learn important video principles that help you get the best shot, as well as explore ways to help you find the story in your video. You learn how to get the most out of your camera, by mastering its functions and discovering tips on shooting high-quality event video.
Explore Important Video Principles 128
Capture the Story 130
Achieve Shot Continuity 132
Avoid Timecode Breaks 134
Explore the Zoom 136
Get Comfortable with Camera Settings 138
Change Up the Perspective 140
Recruit Talent 142
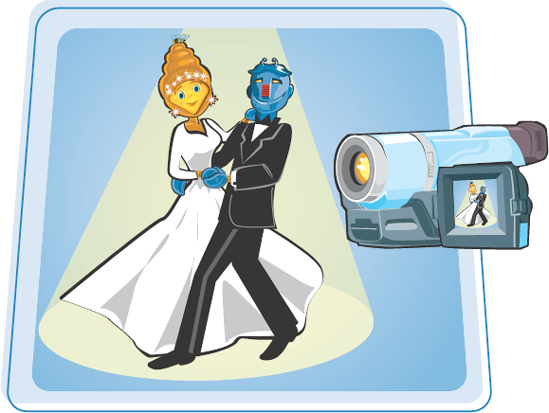
Explore Event Videography 144
Record Amateur Sporting Events 146
Record Plays, Concerts, and Recitals 150
Shabby camera work can undo all of the preparation that you put into creating a great video. If your footage looks like garbage, making it appear as gold in the editing bay is impossible. When all is said and done, people are going to judge your video by the way it looks, as well as how it was executed. Following some common camera principles during recording can go a long way in helping you put together a great video.
Frame the Shot Frame the shot in the viewfinder or the LCD before you push the record button. Your audience will greatly appreciate it if you avoid roaming aimlessly trying to find something to shoot while the camera is recording. This means that you have to know what you want to shoot. Quickly bouncing from shot to shot without defining a clear subject is frustrating for viewers because they never get to see anything clearly.  | Hold the Shot Try to hold a shot for at least five seconds or longer, and save the snapshots for still photography. Recording very short scenes of only two and three seconds is really not helpful to you when you go to edit the video. Really short scenes can make your video appear choppy and erratic. This tends to happen when you try to capture everything happening around you. Often you discover that you missed the best video by not staying with a shot long enough. Give your audience a chance to process each shot before you move on to the next. 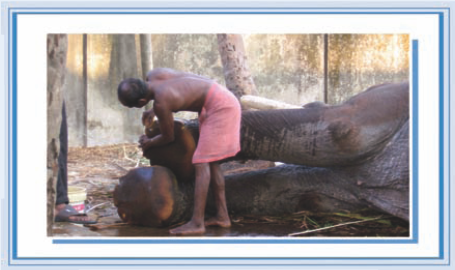 |
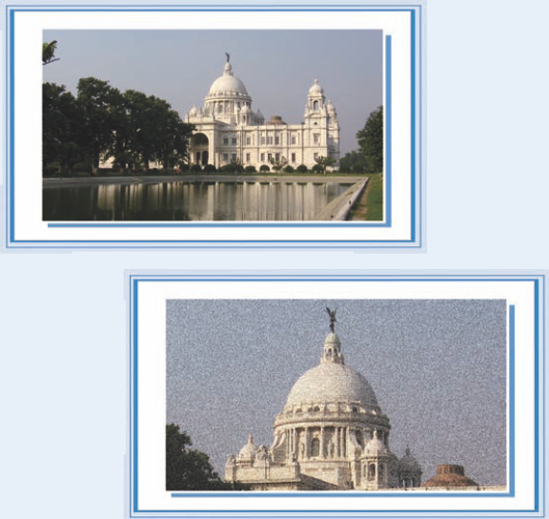
While using automatic exposure, avoid placing your subject against an extremely bright backdrop because it can result in the underexposure of the main subject. The automatic exposure can become confused as it attempts to compensate for the extremely bright background, rendering the subject as a silhouette. This can occur when shooting subjects against a bright sky, ski slope, or in a poorly lit room where your subject is standing in front of a window with bright light pouring in.

Minimize the Zooming
Avoid excessive zooming during recording and step into the shot when possible. Use the zoom on your camcorder to help compose shots, but do not overdo it. When you need to zoom while recording, make it slow and methodical. Too much zooming while recording can be a distraction and is the mark of an amateur.
Keep It Stable
Avoid excessively shaky video by using a tripod, monopod, or any other camera-stabilization device when possible. The image-stabilization capability of the camera can only do so much. If you need to track with the camera, try to limit most of your movement to forward and backward rather than up and down. While walking, try holding the camera away from your body, and let your arms and legs absorb some of the shock.

How you frame the myriad stories occurring around you with your video camera is ultimately up to you, but do so purposefully. No one sees the world quite as you do, and this is a very powerful tool in your creative arsenal. Understanding how to formulate a story and convey a message with your video cultivates both originality and purpose in your videos.

Uncover the Story
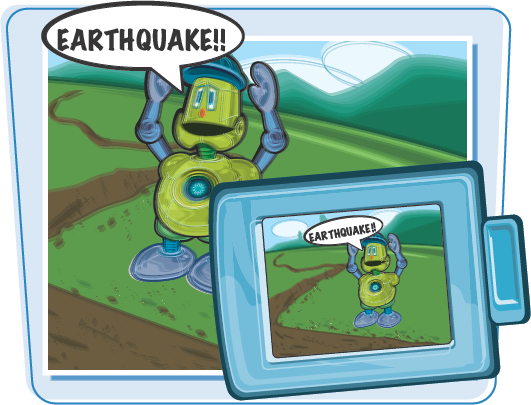
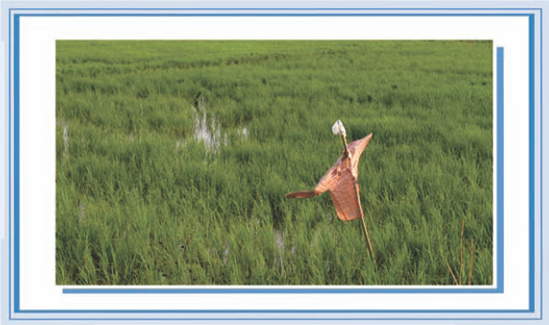
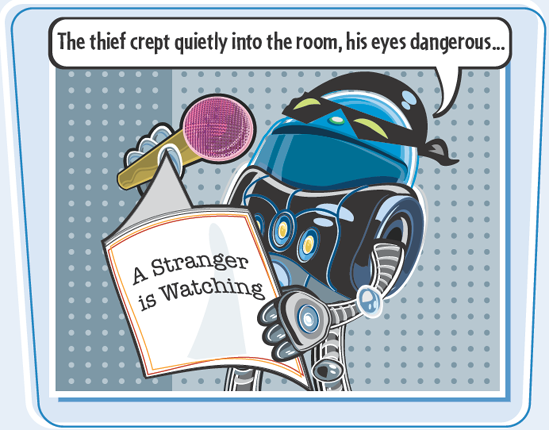
To find the story during the editing process you have to be looking for it during the shoot. How you go about finding the story can vary depending on what you are shooting. During a mountain bike race, it could be a grandmother completing her first competition. In this instance, the story may not always be evident and you may have to dig for it. In other cases it may be more obvious, such as a piano or dance recital. Even in these examples there may be an angle on which to concentrate. Perhaps the story is intrigue and a little bit of mystery, as shown.
Practice makes perfect. You will never know if an idea that you have for a video will work unless you try it. Sometimes an idea may play better in the mind's eye than it does on-screen. A great way to get some practice is to make a simple movie set to music. It can be as simple as recording your kids around the house with some light, playful music, or depicting how dreary it is on a cold and rainy day. Shoot the scenic areas of your hometown and make a music video.

Write a Script
You can practice putting your story in the form of a script; then plan and shoot the script. This can be a fun, yet demanding process. There are many script-writing applications for you to try, ranging from free to quite expensive, that can get you going, and a ton of books on how to write scripts. Many people use Microsoft Word to write their scripts. Start small and then work your way up. Practice putting together a simple scene where a character leaves his living room, gets into his car, turns on the ignition, and then drives away. This can really help you practice varying shot angles as well as give you a chance to edit a story together.
Continuity in camerawork is very important to the aesthetic value of your video, and consequently, to the message you are trying to convey. The color, exposure, and contrast of each shot should be consistent as you cut between them. Unexplained inconsistencies direct the audience's attention to the content of the production rather than the story. Here are some things to look for to ensure that shot continuity is maintained throughout the video program.
Maintain a Sharp Focus Maintain a sharp focus from shot to shot. If your focus is sharp on a subject in one shot and soft the next, the inconsistency lowers the quality of your camerawork and is distracting to viewers. If your camera utilizes an automatic focus only, beware of objects passing between you and the subject, which can cause focus shifts. If your camera has a manual focus ring that lets you adjust the focus on the actual lens, use the manual focus and keep the subject in focus. 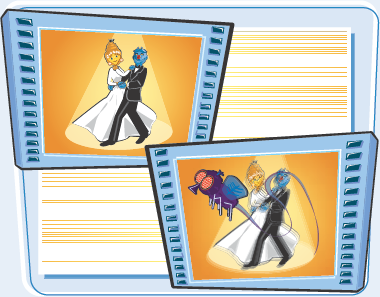 | Mind the Color of Light Make sure that you properly white-balance your camera to adjust for changing light situations, if you do not, the aesthetic change that incurs may not be desirable. If you are recording someone on an overcast day, make sure that you white-balance under those lighting conditions for a proper color balance. If the sun comes out from behind the clouds, perform a white balance. Be mindful of constantly changing lighting conditions and shoot accordingly. 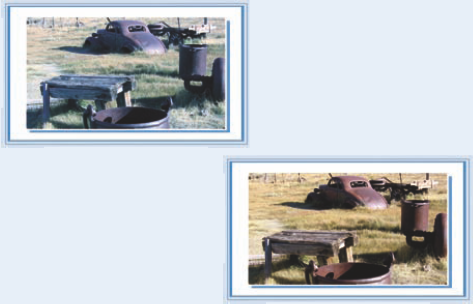 |
Light paints every image that you capture, so make sure that your exposure is consistent from shot to shot. If you are using automatic exposure control or setting exposures manually, make sure that you adjust them whenever the lighting situation changes. If there is a significant change in the quantity of light between each shot for no apparent reason, you break continuity and your story quickly becomes a mere series of disconnected shots.

Keep Lighting Consistent
If your shooting schedule is broken up over a period of days, take notes on the lighting setup and exposure settings so you can maintain the same lighting style when you reconvene. Take notes on the positions of the lights, the height of the lights, and light intensity to maintain continuity throughout the entire
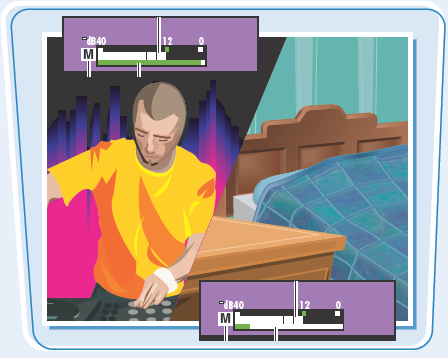
Mind Scene-to-Scene Audio Levels
Each location that you shoot contains its own unique ambient noise. Inconsistencies in ambient noise levels, especially when they go from very loud to very low, and for no apparent reason, can make your video appear choppy to an audience. Many of these abrupt transitions can be softened during the video editing process, but save yourself a lot of work and watch out for these issues while recording.
Timecode is a method associating frames of video in a clip with a unique, sequential unit of time in the format of hours:minutes:seconds:frames. The camera creates the timecode, and the video editing software controls the DV device that the tape is in (the camera) when capturing. If the timecode is broken in an area, capturing the footage can be very difficult. These practices can help you avoid timecode breaks when using a tape-based digital video camera.

Avoid Reviewing Tape
Avoid reviewing the footage between shots. When you try to find where you previously stopped recording to begin recording again, you most likely will not be able to find the exact spot. Not only is it possible to record over the footage you have already recorded, but you could leave a small gap between scenes. This can result in a timecode break that can later impede the capturing process.
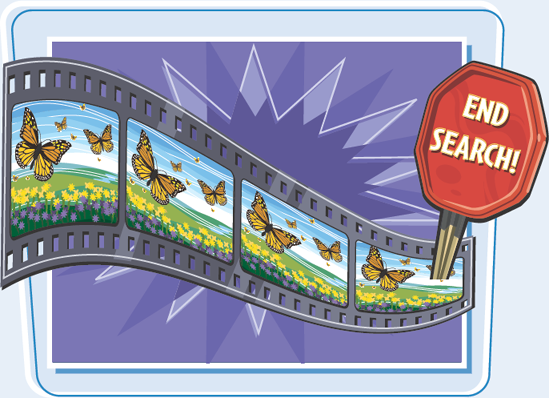
Some digital video cameras have an end search feature that enables you to avoid timecode breaks after reviewing the tape, by preventing gaps between recorded scenes. You can place the tape back into the camera and press end search, or select it from a menu, and the camera cues the tape to the point where the last recording finished. You can then continue shooting from where you previously stopped, preventing a gap and subsequent timecode break.
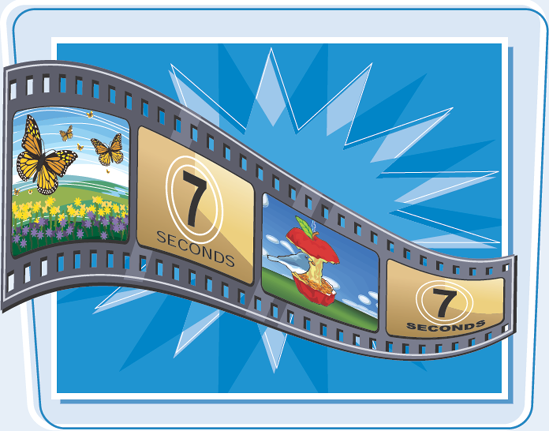
Pad Before and After Takes
If you must review the tape between shots and your camera does not have the end search feature, leave seven or more seconds of space/pad before and after each scene as you shoot. This method does not prevent timecode breaks, but it does leave enough room for the video editing application to back up and capture the individual scene in its entirety. Some video editing applications are more automated in their approach to handling timecode breaks; others prompt you to configure how you want to deal with them.
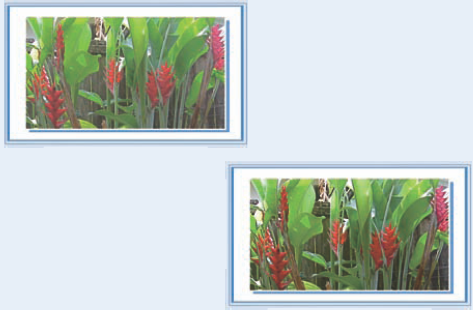
A zoom is a change in field of view, enabling you to go from a wide-angle view to a close-up. Zooming into a subject is a great way to capture its details, whereas zooming out to a wide angle can capture wide vistas or the totality of a given scene. Understanding how to best use the zoom in your video can help you produce higher-quality movies.

Discover Benefits of Zoom Speeds Some digital video cameras enable you to change the speed of the zoom by choosing a slower or faster setting in the menu system. Zooming in for a close-up at a sporting event may call for a faster zoom speed than is needed for shooting a recital or a play. A faster zoom speed may work better for sporting events to catch those one-shot moments, whereas a slower zoom speed when shooting your child's play can supply you smooth, graceful movement. 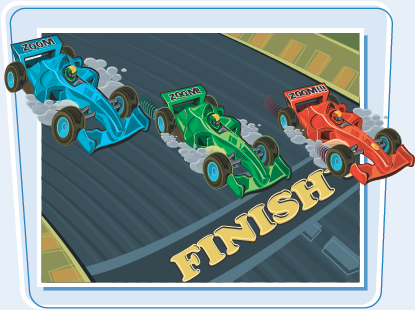 | Step In and Out The zoom is often overused in amateur video, so keep it to a minimum. When possible, move into the shot to get close to the action instead of increasing the focal length. Never put yourself in danger to get a shot, but look for opportunities where you can mix it up with your subject matter and put the audience right there with you, as shown. 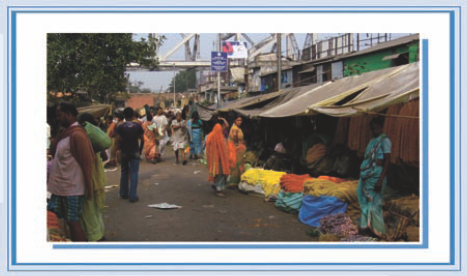 |
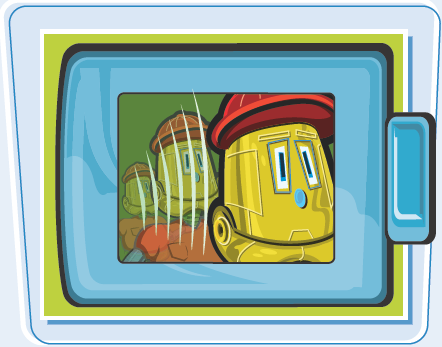
A whip zoom is a very quick change in the field of view performed with higher-end cameras that possess zoom levers. To best illustrate a whip zoom, picture a wide shot of an actress, where she can be seen from a distance, and a lightning quick zoom into a tight shot of her face that seems to happen instantly. This technique can be faked in the editing room. Shoot the wide shot, stop recording and zoom into the subject for a tight shot, and begin recording again. In the editing room, cutting from the wide shot to the close-up will appear as a whip zoom. There are also software and sound effects available that you can use to make this effect even more profound.

Examine Digital versus Optical Zooming
Most digital video cameras on the market have a digital zoom feature that boasts incredible zooming prowess, but beware. When you have surpassed the maximum zoom capability of the camera's lens (the optical zoom) by zooming in as far as possible, the digital zoom is activated. During this process, the digital zoom feature simply enlarges a portion of the image, simulating an optical zoom and degrading the image. You may want to disable this feature before you shoot. Consider investing in a telephoto lens adapter to increase the optical focus of your camera and stay away from the digital zoom.
Mastery of your camera settings is essential to the success of your video shoots. The ability to call upon a feature or configure a setting for the optimal picture is a must if your goal is to produce high-quality, professional-grade video productions.
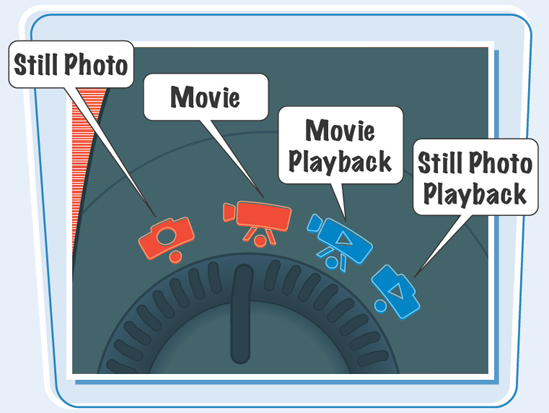
Camera Modes
Some digital video cameras do more than shoot digital video, so they need to be placed in specific modes. To take a still photo, you may need to be in still image mode; to shoot video you may need to be in a movie mode. To play back your video or review your still photos, you need to know how to place your camera in the appropriate modes. Get in the habit of having your camera in the proper mode when out in the field. You may have only one opportunity to get the perfect shot.
The features of your camera, such as automatic focus and manual focus, are generally the selling points that compelled you to buy the camera in the first place. When you are out in the field, it is not good enough just to know that your camera can do something; you need to know how to implement it at a moment's notice. You can take the camera manual with you, but you may not have the luxury of thumbing through the pages when you are on the spot. For example, if you are shooting in low light conditions with no lights, you need to know that you camera has a built-in video light.

Camera Settings
Many of the digital video cameras on the market can produce a pretty average image if all you want to do is point the camera and shoot. If you want more than a decent image, you need to become a student of your camera. You may not agree with the aperture value or shutter speed that the camera chooses automatically, so you need to know how to go in and tweak it to your own liking. Read the manual, practice and experiment with settings, and then review the footage.

Always look for the most interesting angles from which to frame a shot to add extra impact for your video. No matter if you are creating a corporate training video or a calling card video for a career in Hollywood, your work has to be visually interesting. Add interesting new perspectives in your video project to hold the audience's attention so that you can get your message across.

Get a Bird's-Eye View If you ever get the opportunity to go up in a helicopter and shoot some video, do it! Aerial shots provide audiences a chance to view the world from a perspective that they seldom ever see. A quick pass over a snowy mountain range or a beautiful bird's-eye view of a marina in Hawaii can provide your video the WOW factor. Aerial shoots can be dangerous, so make sure you receive proper instruction and are working with professionals. 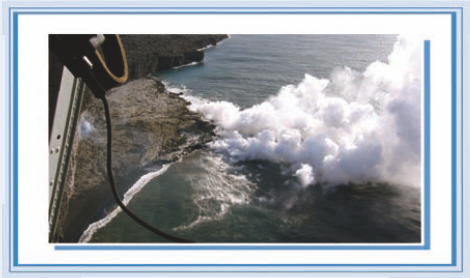 | Low-Angle Shots Low-angle shots can be very dramatic and are used to emphasize the stature of a person to evoke respect or even fear. They can also be used to add extra emphasis to the enormity of an object, like a skyscraper. Many times the backdrop of low-angle shots is the ceiling or sky, which can have a dramatic effect on exposure, so be careful when composing such shots.  |
High vantage points are great for showing the lay of the land below. Elevating the camera above the action enables you to showcase many subjects and their relation to each other in the scene. What is lost in the absence of detail in each individual object, due to its smallness in stature as seen from a high angle, is made up for by its collective intricacies in the wide vistas of this nicely composed shot.

Establishing Shots
In film and video, an establishing shot is used at the beginning of a new scene to show the audience where exactly the action is taking place. For example, many sitcoms use a wide shot of the outside of a building just before a cut to a scene happening on the inside of the building. You can use establishing shots in your narrative videos to help the audience follow the story.

As you become comfortable with your camera and your overall video-production abilities, perhaps a short movie may be your next challenge. You have the equipment and the will; what you need now is the talent. There are a few points to consider when acquiring talent to appear in your videos. Whomever you get, protect yourself and have them sign talent release forms.

Use Friends and Family
Perhaps not the most highly skilled actors of the acting pool to choose from, but friends and family are a great place to start when looking for talent. Be prepared to wear many hats when making a short movie, most noticeably for this topic, that of casting director. Your job is to find actors to star in your movie that best fit your artistic aim. So, if Aunt Millie does not like speaking very much, do not cast her for a large speaking role. Friends and family are the most likely to work for free.

You can approach theatre students at the local college about being in your film. Being that they are in the building stage of their careers, they may be willing to work for the chance to put together a reel of their acting talent to show future employers. You can also seek potential talent by using MySpace, YouTube, and other social networking sites. When you put out the casting call, be prepared to get bombarded by tons of people who may or may not be what you are looking for. The audition can be informal, but make sure you print their speaking parts and have them act for you.

Acquire Voiceover Talent
Voiceovers can help your viewers follow the story. Finding voiceover talent could be as simple as noticing someone at your workplace or at the local convenience store that has a great voice, and asking them to audition. Voiceover work involves some acting skill, so choose wisely. If you can find someone who has done work in radio, you are already ahead of the game. Consider renting a soundproof booth for the best results during recording. For a cheaper option, you can invest in a good USB microphone and soundproof a room as much as possible.
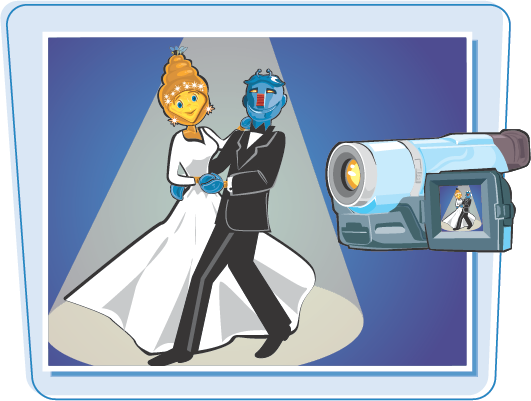
The art of capturing special events on video could very well be your next great business idea. Many videographers gravitate toward event videography as a hobby and sometimes a career. But make no mistake about it, documenting events on video can be a difficult venture if you do not know what you are doing. You can use these tips to help you capture the highlights of an event.
Anticipate the Course of Events Many events have a program or schedule of events; secure a copy of the program and use it to plan your strategy. A printed program is an excellent way to see what will happen next. If there is not a program, contact the event coordinator and make a list of your own. Ask the coordinator if you can confer with her during the event. Many times event coordinators will be extremely busy, but can prove a good resource if you need to make a special request for lighting, sound, or a place to set up. 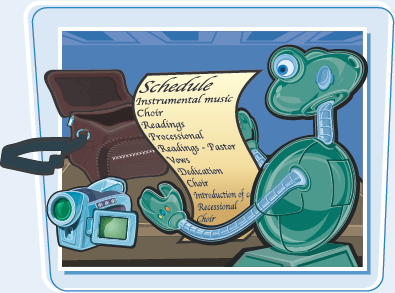 | Devise a Course of Action Use the program and talk to your client to help you prioritize the course of events into essential shots, shots you would like to get, and bonus shots. Factor in to your planning that some events may not happen when they are scheduled, and devise a list of must-have shots in each category. If you miss any of the big events, your video and your credibility as an event videographer can be damaged. It may help to bring an assistant.  |
Visit the location or attend a rehearsal before the event and take note of where the electrical outlets are located and where you can possibly set up. Assess the lighting situation by visiting the location at the same time of day it will be held. Evaluate the best setup for sound. Will there be a PA system? Will you need special equipment to connect to the PA system, or do you need to place a microphone directly on the speaker? Good sound and proper lighting can be the most difficult tasks in event videography.

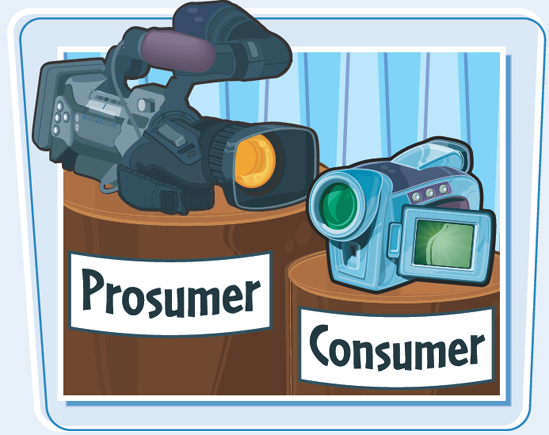
Examine Prosumer versus Consumer Performance
Consumer cameras are capable of taking brilliant images in general shooting situations, but the prosumer cameras are superior when it comes to shooting in highly volatile situations such as event video. This is on account of the increased manual control over the image that prosumer cameras offer. Automatic focus, exposure, and white balance can be a gamble in a constantly changing shooting environment. Prosumer cameras may also offer more audio options.
Although each sporting event can require very different coverage, there are some basic points that can help you shoot better sporting-event videos.
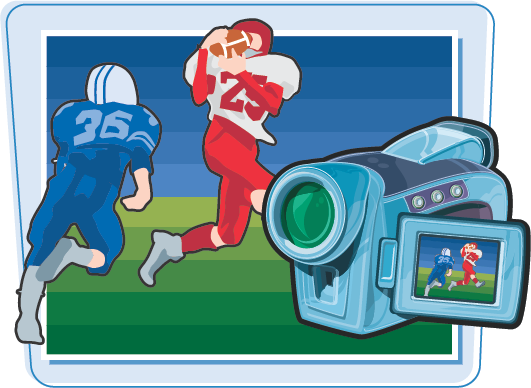
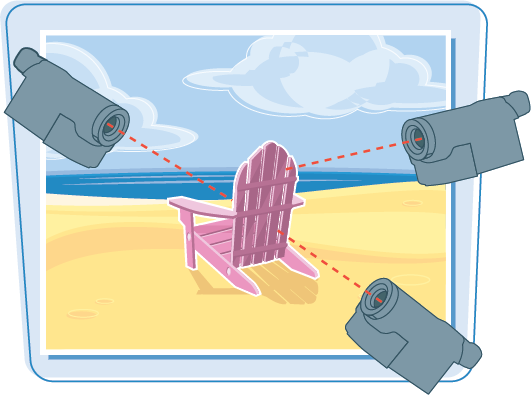
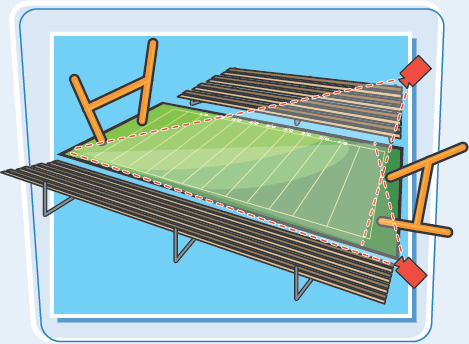
Come Prepared Whether you are shooting the entire game or getting the highlights, one thing is for sure: You need to have access to an electrical outlet or have a decent supply of batteries. You need to record each play to capture all of the highlights. You get only one chance to capture the ball going into the goal or a player crossing the goal line, so watch your battery power. Use the down time to switch batteries if you need to. The last thing you want is for the battery to die as the team charges down the field for a goal. 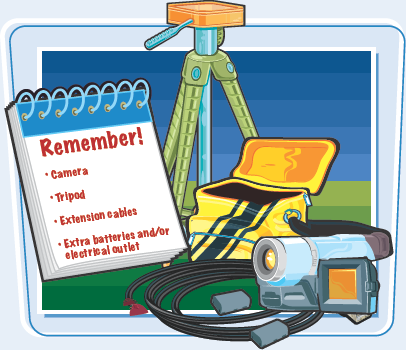 | Set Up a Second Camera Although you can cover a sporting event with just one camera, two provide more flexibility and wider coverage of the event. Having a second camera enables you to record multiple angles at once. One camera can be placed on a tripod at a wide angle covering all of the action, and the second camera can get the close shots. For sports that use goals on each end, like football, make sure that both cameras are set up on the same side of the field. When you sync both cameras for the edit and cut between the shots, the audience would be confused as to which direction the ball is supposed to be moving. 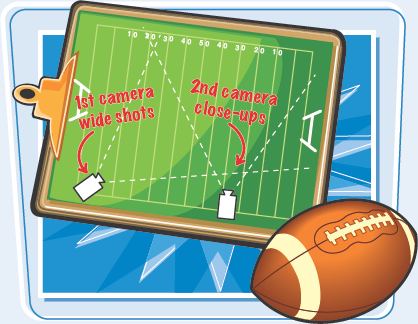 |
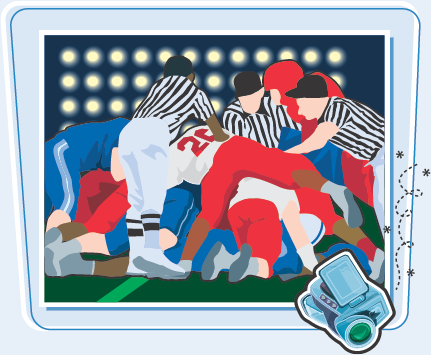
Avoid Shooting from the Stands
You have probably seen it before, and your first instinct may be to shoot from the stands, but do not. During the course of the game, spectators sit and stand, blocking your view of the action. You could also be directly in someone's view as you stand and twist and turn to follow a fast break down court. Finally, if you are sitting in the stands, you are most likely holding the camera with your hands. Avoid shaky video and put the camera on a tripod.

Avoid Shooting from the Sideline
Do not ever set up too close to the sideline; you might just find yourself in the direct path of a charging athlete. Consider using a telephoto lens adapter that can help you move in closer to the action. If your camera allows for it, use a manual focus to avoid excessive automatic focus shifting. Some cameras have a peaking function to help you see what is in focus by highlighting the edges of the subject in yellow, red, or blue.
Choose an Elevated Position
If you are shooting a video for a coach as an instructional video for the team, consider an elevated position in the rafters or to the side of the stands. From this vantage point all of the players and their positions on field can be seen at once during the action. These types of videos are more informative than entertaining, so as long as you follow the action, aesthetic value is not so big a deal.
Even if you have little experience shooting sports, or limited experience using video cameras, there are some things you can do to ensure the success of the shoot. This section gives you tips on how to follow fast-paced action, set up your camera, and prepare for the shoot.
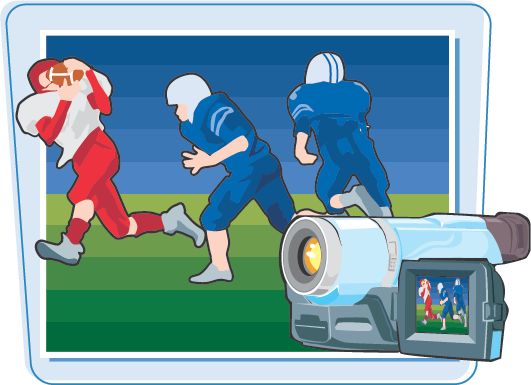
Follow the Action A common occurrence for amateur videographers is they often lose the subject in the frame. This is particularly a problem when the videographer is not familiar with the particular sport he or she is shooting. If you are not familiar with a sport, spend some time watching it so you become familiar with where the play is happening. With one eye pressed to the viewfinder, you can occasionally use the other eye to assist you in following the action. If all else fails, zoom out to a wide shot until you find the action, and then zoom back in. 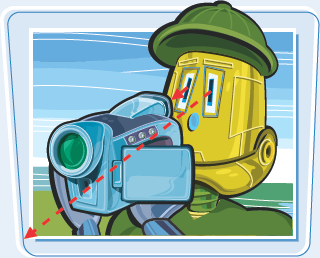 | Practice Courtesy Be courteous to those who are trying to enjoy the game and also to other videographers like yourself. Do not stand in other people's shot, and if you can, assist someone else on your down time if he or she needs you. If you shoot many games, you will likely discover that you see the same videographers every weekend. You may even get to know their names and you might need them for a favor one day.  |
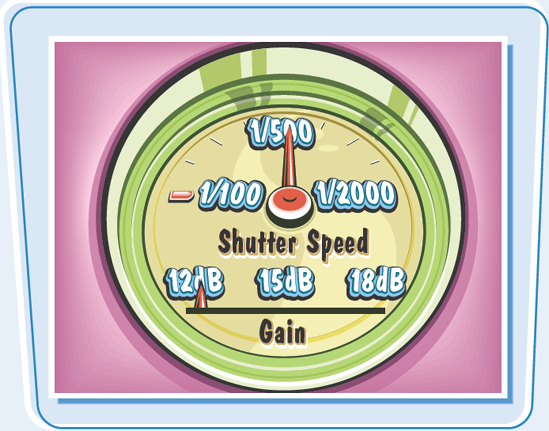
Set the Shutter Speed and Gain
If you are shooting indoor sports, try a 1/100 shutter speed. 1/250, 1/500, and 1/1000 are great options for recording fast-moving objects, and 1/2000 is a good shutter speed for taping outdoor sports on a sunny day. When the evening game turns into a night game, the light may not be sufficient regardless of how far the aperture is open. Although it degrades the image, you can use the camera's gain feature to see the action.
Use a Tripod or Monopod
A tripod or a monopod is great for keeping the camera steady during a shoot. If the area from which you are shooting is limited on space, a monopod may be exactly what you need because it takes less space on the ground. Setting up a tripod in a tight area can lead to it being kicked or bumped during recording. A monopod enables you to fit into a smaller space to shoot while keeping the camera steady.
When recording events such as plays, concerts, and recitals, the videographer usually has little to no control over the sound or lighting. In fact, the lighting can actually change during the course of the performance. Preparation and adaptation are key in successfully shooting performances.


If possible, have the house add extra light to prevent having to increase the gain on the camera. If the scene is intentionally dark for show purposes, you may be forced to increase the gain just so that the camera can see the action. The price will be image quality, but at least you can see what is happening.

Compose Shots Carefully
Understand your subject matter so that you are aware of the proper way to compose for the subject in a given performance. Cutting off the feet in ballet is a terrible move because the dancers are en pointe or relevé, when you need to see the pointing of the feet and the line of the body. Choreographers and instructors may prefer a wide shot for instructional purposes.