Want to quickly improve your digital video? Understanding how to properly set up your digital video camera and how to use its many features is important, but knowing how to compose interesting shots and adapt to various shooting situations is what makes great-looking video. This chapter covers a variety of composition techniques that will immediately improve the overall look of your video. You also learn how to add a little style to your video and how to use depth of field to your advantage, and explore principles for shooting better video for the Web.
Understanding Composition 154
Discover Rules of Composition 156
Shoot Talking Heads Properly 158
Frame the Moving Subject 160
Explore Shot Variety 162
Explore Common Shot Names 164
Learn About Depth of Field 166
Shoot for the Edit 168
Add Style to Your Video 170
Shoot Video for the Web 172
The composition of a scene is created by how you place the subject matter in the frame. It is important that you consider the aesthetic quality of your subject matter while recording, as people are going to judge your video by the way it looks. There are some widely used design principles that can help you construct a better shot. Once you have become comfortable, develop your own style and unique look.

Define Your Subject The world is a beautiful bombardment of sensory overload and your job as a videographer is to make sense of it all. You cannot possibly capture it all at once, so you must determine your main subject, and then frame it, as if it were a window through which your viewers can peer. There is no mistaking the main subject in this video, a colorful streetcar in Darjeeling, India. 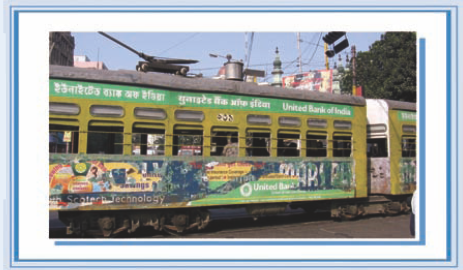 | Consider Your Audience Ask yourself "Why am I shooting this?" Are you trying to capture a mood or the sheer beauty of the moment? Ask yourself "How do I want people to respond to this video?" Are you going for the WOW factor, or maybe even suspense or fear? One of the most important things you should ask yourself is "Am I safe?" Do not take chances with your own personal safety, or anyone else's, to get a shot.  |
A scene can be viewed from many different angles, so ask yourself, "Am I in the best place to shoot?" Perhaps you need to be at a higher vantage point rather than a low one to portray how massive a crowd is, and possibly so you do not record any faces. Constantly look for the most interesting angle to shoot your subject. Viewers will appreciate the time and effort that it took for you to get an amazing shot.

Keep It Simple
Go for clean, steady, purposeful shots that do not contain an excessive amount of zooming and panning. Give your audience a chance to digest each shot before you move on to the next shot. Keep your scenes uncluttered by always making the composition tight, leaving out any excessive background distractions.

Critique Your Results
A great way to become a better videographer is to sit back and critique your own work after the shoot. If you get motion sickness after viewing your video, then you know you need to either bring a tripod next time, work on steadying your hands, or even brace yourself during recording. If the footage does not look the same when viewing it on a TV as it does in the LCD, you can then adjust the settings. The more you review and reshoot, the more the quality of your video increases.

No compositional method is written in stone, but you can practice some of the most popular compositional techniques used by some of the greatest painters and photographers for hundreds of years. The techniques introduced in this section are great starting points for shooting more well-balanced and interesting shots.

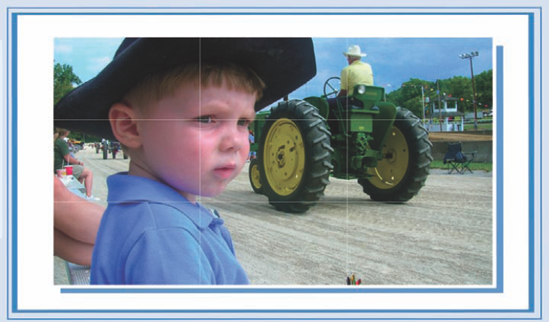
Practice the Rule of Thirds Your first instinct may be to place the subject in the middle of the screen. Try placing the main subject off-center. The rule of thirds is perhaps one of the most well-known compositional rules of thumb, and the concept is quite simple. Visualize an imaginary grid over the viewfinder where the scene is divided into thirds. The concept is to place your points of interest somewhere in the frame where the lines intersect or along the lines for a well-balanced shot. Some camcorders come with a Grid setting that helps with following the rule of thirds. 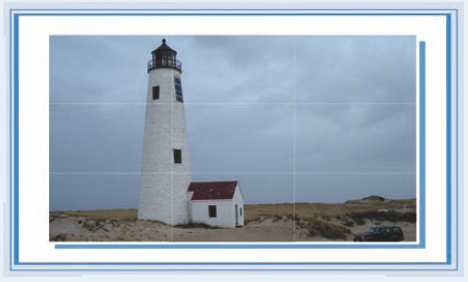 | Keep It Level and Steady Shots that appear tilted and shaky are distracting to the viewer, so always keep your composition level in the shot and use a tripod when possible. To prevent your subject from appearing as if it might slide out of the picture, always pay attention to your horizontal and vertical lines in the shot to keep the picture level. Many camcorders come with a Marker setting that provides a single horizontal line as a reference while shooting. You can also use the rule of thirds grid.  |
Do not place important subjects at the edge of the frame; they may get chopped off when viewing on a television. The amount of picture shown varies among television sets, so you need to keep important subjects in the Action Safe Area, which is ten percent smaller than a frame of video. When composing shots, always allow a little extra room around the top, bottom, and sides of your main subject in the shot.

Check Background Distractions
Objects in the background and surrounding your main subject can sometimes be distracting to the viewer. A shot composed in such a way that an office plant appears to be growing out of your subject's head can divert the audience's attention from the message. Always be mindful while looking through the camcorder viewfinder of any distractions that could possibly compete with your subject.
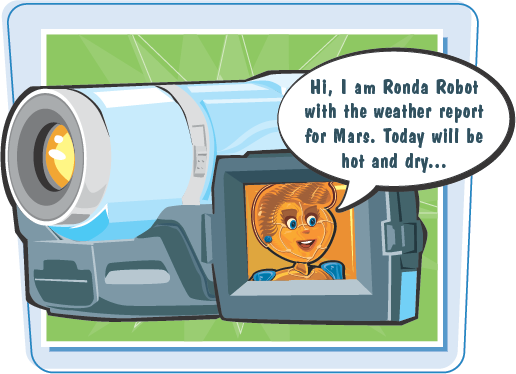
The term talking head refers to a person talking directly into the camera, such as during an interview or speech. Though talking heads may not make for the most exciting video shoot, they are common, and you can apply the rule of thirds and other compositional principals to compose a better shot.
Apply the Rule of Thirds
The rule of thirds can be used to shoot just about anything, although its application may sometimes be unclear. In a shot composed mainly of a person's head and shoulders, the subject's eyes are a natural point of interest. Try aligning the subject's eyes with the top horizontal line in the grid. You can still position the subject more toward the left or right of the frame for a more interesting shot.
When framing a shot, be mindful of the distance between the top of the subject's head and the top of the frame, which is referred to as headroom. Too much headroom can make the subject appear to be standing in quicksand. Make sure that you purposefully decide which elements you want in the shot, and fill the frame with your subject matter, omitting any extraneous space.
Mind the Chin
For a shot in which the head fills the screen, never cut off the chin of a talking head. Cut off the top part of the head as opposed to the chin. Consider composing the shot so that the neck is visible, so that when the person speaks, his or her jaw remains in the frame. A very nice, natural shot is from the collarbone up.

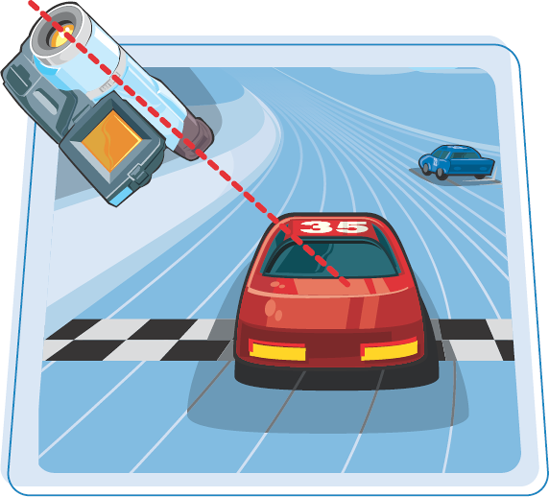
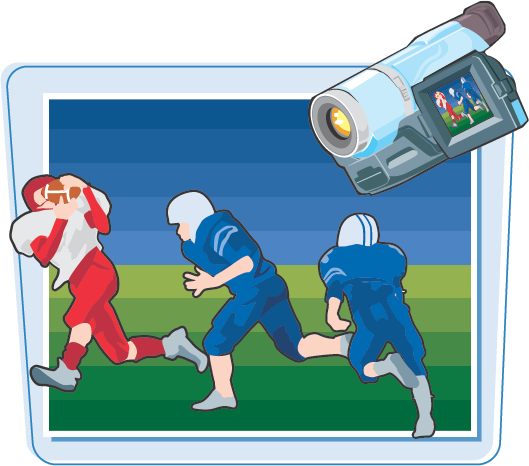
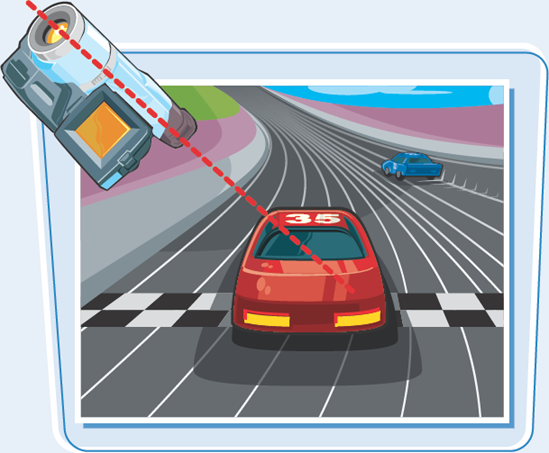
Keeping a moving object in the frame can take some practice, especially if you are shooting something unscripted with unpredictable actions. If you frame the shot too loosely, you lose the detail of the subject and of the situation. If you frame the subject too tightly, it can get away from you by going in and out of the frame. Understanding a few principles of how to frame a fast-moving subject can help you shoot better video footage.
Anticipate the Movements A good way to keep a fast-moving object in the frame is to anticipate its movements. In this video, the helicopter is given some nose room as it travels forward. If you are very familiar with a particular animal, you can anticipate its movements and habits while shooting. If you have never watched a soccer game, following the action through the camera lens is more difficult. Familiarize yourself with your subject as much as you can. These skills come with practice and experience. 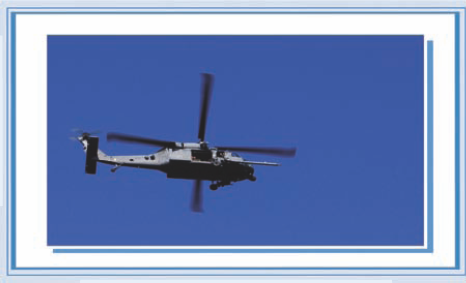 | Compensate for Movement Be a quick learner in the field and figure out how loosely you can compose the subject without losing detail and without losing the subject in the frame. This takes some practice. If you follow a heron too tightly, it bounces around in the frame or gets cut off as it passes in and out of the frame. In this skateboarding video, the camera is zoomed out just enough to center the subject and leave room around it to minimize its movements on-screen. 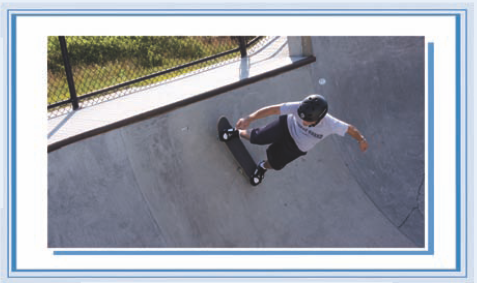 |
Capture a Group of Fast-Moving Objects
To capture a group of fast-moving objects such as players during a soccer match or football game, or kids running in the backyard, consider establishing a wider shot and letting the players pass in and out of the frame. In a single camera setup, anything more may give your audience motion sickness when they watch your video. Shooting from a high vantage point is also advantageous for sporting events.
Keep It Stabilized
Keep in mind that the more you zoom into the object, the more even the tiniest of camera movements are magnified on-screen. Whenever possible, use a tripod to keep your shots stable as you follow moving subjects. If using a tripod is not an option when you are tracking the subject while walking, hold the camera out from your chest with both hands, and let your arms absorb some of the shock as you walk. You can also invest in a camcorder-stabilizing device.
It is not only important to choose your subject matter purposefully, but your video must be visually interesting as well to hold the attention of the audience. You may not be able to find an interesting angle for everything that you shoot, but mixing up angles and introducing viewers to new perspectives can make for better video. Here are some ways to add more shot variety to your videos.

Change the Perspective
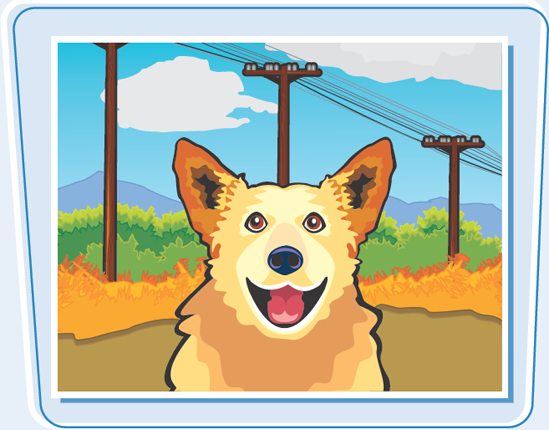
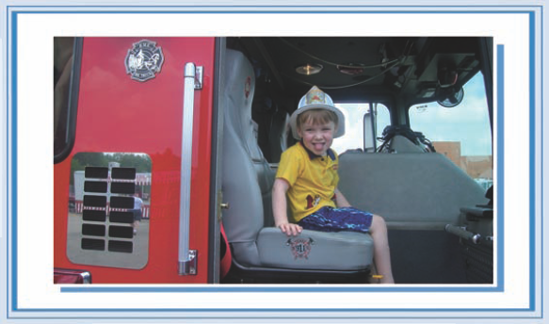
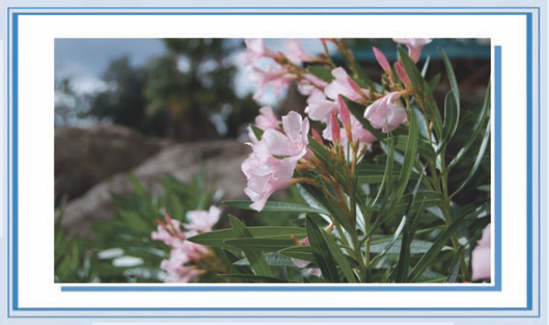
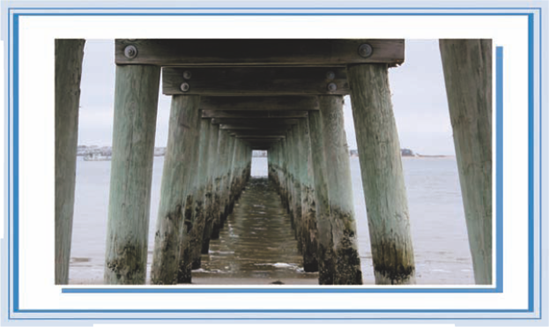
A change of perspective invites the audience to experience your video, and not just watch it. The next time you shoot a bed of roses, drop down on one knee and place the viewers right there with you, so they can almost smell them. Do not be tempted to shoot everything from your own eye level. Whether recording a child, pet, or flower, get down to the level of your subject. Let the dog sniff the camera lens, and get the bug's-eye view of the dandelions growing along the country road. This video shows a visually interesting perspective of a spiraling staircase.

Do not rely so heavily on the zoom feature of your camera. When possible, step into the action and get your hands dirty, or soapy as seen in this video, and place the audience right there with you. Do not be intrusive; be inconspicuous, like a fly on the wall. At first, people will notice you as the guy with the camera, and possibly shy away from the camera or even put on a show, but as time progresses they become more comfortable. This is when you get the best footage.

Use Tilts, Pans, and Zooms
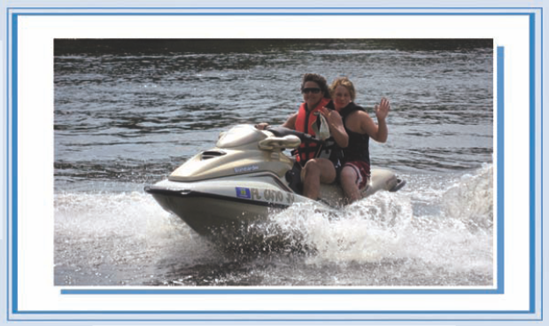
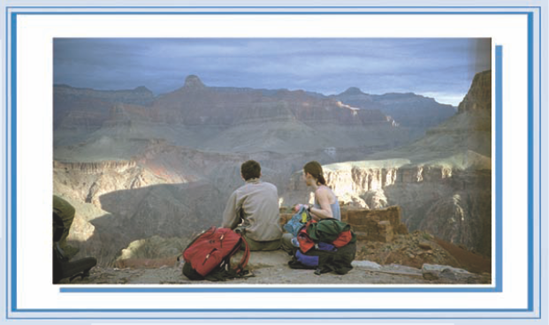
Using tilting, panning, and zooming sparingly between compositions helps to provide the viewer a sense of space. A shot composed of the front entrance of a building and then a slow tilt upward to reveal its many stories towering over the city, or a slow pan from a balcony to reveal that it overlooks the ocean — these shots give viewers a chance to really take in the scene. This shot began as a tight composition of the hikers and slowly zoomed out to reveal their location. A tripod makes tilting and panning more steady and smooth.
Use a variety of shots to liven up less-than-exciting subject matter, such as a person speaking at a podium. A talking head is a talking head, but you can perform a slow zoom into a medium close-up, then out to a wide shot and even throw in a slow pan to show the crowd to keep the shot visually interesting. Here is a list of common shots that you can use.

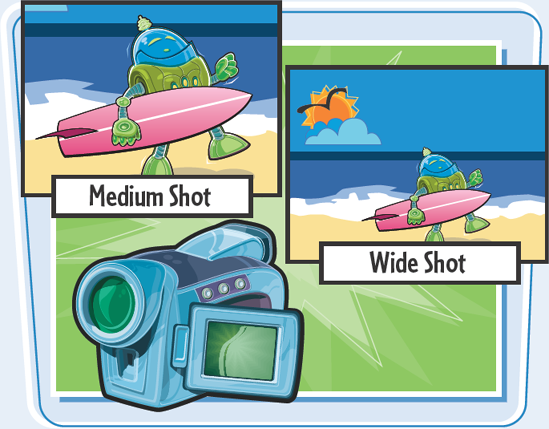
Use a Medium or Wide Shot
In general, a medium shot can be a full shot of the length of the person's body. The wide shot or long shot includes the entire subject, and is usually intended to establish a relationship between the subject and its surroundings. For example, you can use a wide shot to reveal the distance between the speaker's podium and the crowd, by including them both in the shot.
A medium close-up is a shot halfway between a medium shot and a close-up where the subject is shot from the head and shoulders up. This is a very common shot used on talk shows, by reporters, and for interviews. You can use a medium close-up for a very basic shot, without becoming extremely focused.

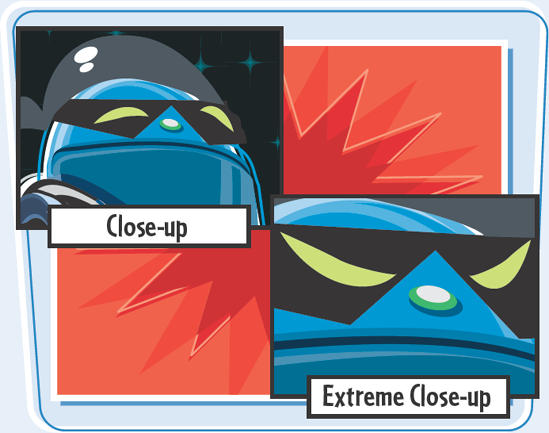
Use a Close-Up or Extreme Close-Up
A close-up is generally a shot that covers a subject's head and neck. Close-ups are good for revealing emotion on a subject's face. Many times during an emotional news interview, you can see the camera zoom into the subject's face to capture the emotion. An extreme close-up is a shot with a very tight area of focus, such as a subject's eyes filling the screen. You see this used mostly in more-dramatic depictions including films and exposés.
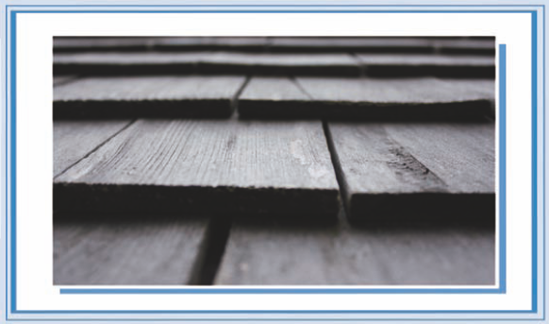
The term depth of field is used to describe the area of the image around the subject that remains in focus. To better illustrate this term, when you have a subject in sharp focus, a range in front of and behind the subject still remains in acceptable focus. Understanding the benefits of depth of field and the factors that affect it such as focal length, aperture value, and shutter speed, can help you use depth of field to create more dramatic video.

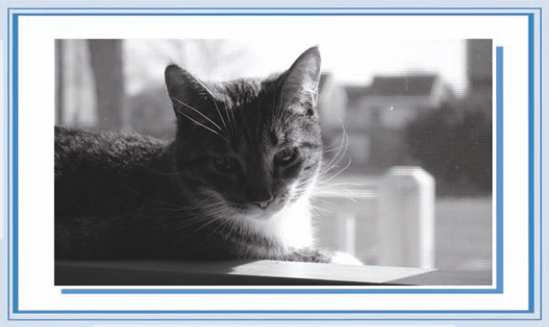
Explore Deep and Shallow Depth of Field Depending on factors such as focal length, aperture value, and shutter speed, depth of field can be either deep, with a large area of the scene remaining in acceptable focus, or shallow, with less area in acceptable focus. Shallow depth of field is best depicted in still photos and theatrical film, and deep depth of field is best depicted in local news footage recorded with video cameras. This video depicts a very shallow depth of field. 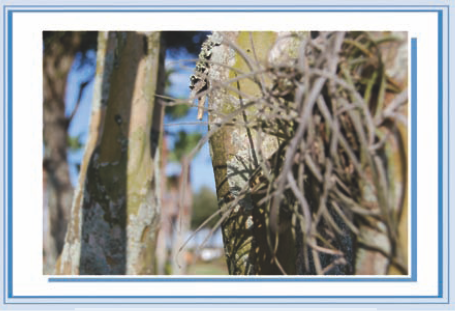 | Discover Benefits of Shallow Depth of Field The ability to control which areas of your video scene are in focus can help you put dramatic emphasis on specific areas in the image, as done in photos taken with still cameras and movie film cameras. When shooting a portrait, a shallow depth of field can help separate the subject from the background, as seen in this video. A shallow depth of field can also be used to separate a single, vibrant flower from a group of many for added emphasis. 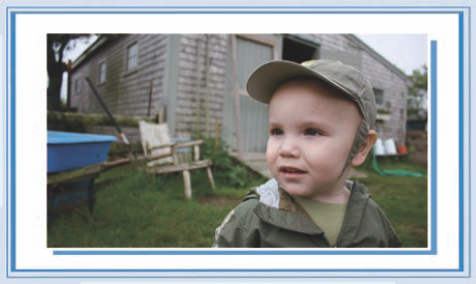 |
Manipulate Focal Length and Depth of Field
When you zoom the camcorder all the way out for a wide-angle view, the focal length is short, making the depth of field deep. When you zoom the camcorder all the way in, the focal length is long, producing a more shallow depth of field. For a more filmic, shallow depth of field, stand back from your subject and zoom into it. For a deeper depth of field, set up closer to the subject, as shown in this video.
Control Aperture and Depth of Field
The aperture controls the amount of light allowed into the lens and affects the depth of field. Higher aperture values mean that the aperture opening is narrower, which results in deeper depth of field. If you are shooting in bright conditions, your aperture value is set to a high value to control the amount of light passing through the lens, resulting in a deep depth of field. A low aperture value does just the opposite, as seen in this video.
Use Depth of Field Assists
Some camcorders are equipped with a special scene recording program, called portrait, that uses a large aperture setting and lets you focus on the subject matter while blurring the details of the background. You can also consider 35mm lens adapters for your video camera to achieve a very shallow, filmic depth of field as seen in this video.
When your plan is to edit the video after, you have the relief of knowing that you do not have to be perfect the first time with every shot. You may not plan to edit every piece of video that you shoot, but when you decide to, a few things you can do during the actual shoot can make your editing experience more successful.
Shoot More Video Than You Need A good rule of thumb is to shoot a wide shot, medium shot, and close-up of scenes of the same subject to adequately cover an event. You do not want to find out later that you really need another angle of the bride's dress. You would be surprised at how much video you can go through for thirty seconds of video. This is especially true if you plan on making a fast-paced video.  | Understand A- and B-Roll Your footage needs to consist of what is referred to as A- and B-roll. A-roll is the main subject during the shoot, and B-roll is the supplemental footage that you can later use for cutaways such as beauty shots of the church, as shown in this video. The key is to make sure that you shoot all the important stuff first, and record the other footage for cutaways during down time or even before or after the main event.  |
Before you press the record button on your camera, make sure that you already have the scene framed in the camera viewfinder. Start recording five or more seconds before the action starts and continue recording five or more seconds after the action ends. This extra room gives you more control over the timing of edits and allows room to place a transition over a cut.
Avoid Specific Capture Issues
Do not begin recording the primary action at the beginning of a cassette tape. Start recording and let the tape roll for about ten seconds before you begin recording the primary action. If you do not do this, the capture process may be disrupted because the tape cannot back up far enough. Also avoid stopping the tape cassette to review your footage in between shots because this can result in a timecode break that can impede the capture process. Both of these examples are specific to cameras that record to tape.
The look of your video can create emotion and invoke a feeling for your subject matter. Start by asking yourself how you want the audience to feel after viewing your video. You can take steps while shooting and during the editing process to give a video a unique style and feel all your own. Adding style to your video can supply more depth to your work and grab the attention of the audience.
Use Light Creatively What feeling do you want your viewers to walk away with once they see your video? When you have answered this question, you can modify light to help you achieve the mood you want. You can use light to compose a more dramatic scene, focus attention, and provide perspective. 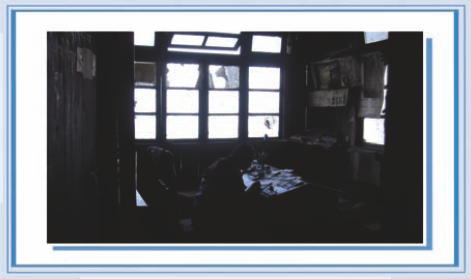 | Discover Image Effects Many digital video cameras offer image effect options that enable you to manipulate color saturation, contrast, brightness, sharpness, and color depth while shooting. You can manipulate color saturation to make a day at the beach appear particularly warm on-screen, or emphasize both contrast and color saturation to make the colors of a flower garden bold and vibrant.  |
Avoid In-Camera Digital Effects
Some digital video cameras also come equipped with less-practical digital effects such as Sepia, Black and White, and Art effects that add a psychedelic color effect to the video. The most important thing to keep in mind about these effects is that they become a permanent part of your video. To give yourself more choices in the future as to how you will use your video, consider purchasing a video editing program that enables you to perform such effects.
Add Effects in Postproduction
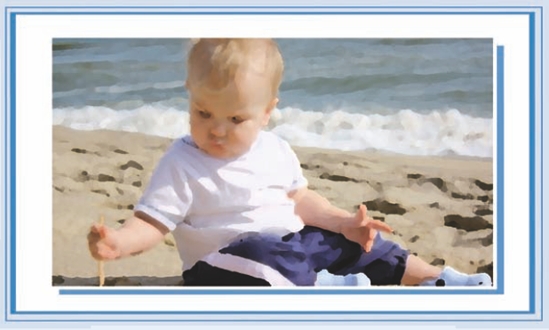
Many of the most popular video editing programs on the market give you the ability to add Hollywood-type effects to your video for a unique look and feel. You can add motion and color effects, add flashy titles and transitions, perform compositing, and even add sound effects synchronized with your video. A paint effect makes this video appear as if it were fine art.
Keep two important things in the front of your mind when shooting video for the Web: You are shooting for a much smaller window, and your video will have to be compressed. Due to these two factors, you can get away with some things in video made for television viewing that you cannot with video destined for the Web. Here are some tips that can help you shoot better video for the Web.
Keep Motion to a Minimum Be mindful of your composition and keep the camera steady by using a tripod. Video takes up a lot of space and has to be compressed, reducing its quantity of data, before it goes on the Web. Compression is not kind to lots of movement, so minimize movement and eliminate pans of wide vistas. Avoid composing shots of fast-moving objects, or keep them to a minimum. Stay away from fancy motion transitions as well, and use simple cuts when editing.  | Avoid High-Contrast Scenes Compressed video also does not play well with high-contrast scenes that contain very bright and dark spots. Shoot under soft light or use diffused, even lighting whenever possible for scenes. You can redirect sunlight to your subject with a low-cost reflector or even white poster board. 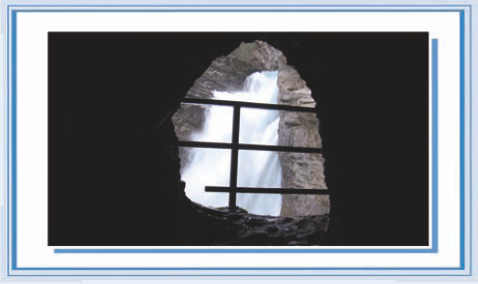 |
If you plan on using graphics in your video, such as displaying identification beneath a person or place, make sure that you compose with that in mind during the shoot. Leave room to add your graphics later. Make sure your titles are large enough to be legible within a small viewing area, and use lower thirds with a solid backdrop of a contrasting color to the video over which it is being placed for maximum readability.

Keep the Background Simple
Avoid shooting subjects against backgrounds with complex patterns containing lots of details. Backgrounds like this create compression artifacts, or visual defects in the video. A great example of a complex background is shooting a subject in front of a tree with leaves blowing in the background. If you have no other option, try using a shallow depth of field to blur the background as shown in this video.

Acquire Good Audio
Acquiring good audio is essential regardless of whether you plan to view your video on a television or serve it on the Web. You may want to consider investing in audio accessories such as a lavaliere or hand-held microphone to acquire the best audio. Bad audio can spoil the entire video.