
appendix a
Setting up the sample project
This appendix covers
- Installing prerequisites
- Installing the Angular CLI, along with Jasmine, Protractor, and Karma
In this book, you’ll use the Angular CLI to run tasks, execute tests, and manage dependencies. In this appendix, we’ll look at the Angular CLI, and you’ll install the tool itself. By installing the Angular CLI, you’ll also install Jasmine, Protractor, and Karma. When you’re finished with that, you’ll get the sample project up and running. Let’s dive in!
Introducing the Angular CLI
One of the major pain points in the past was that setting up an Angular project could be challenging and time-consuming. In March 2017, the Angular team launched a tool called the Angular command-line interface (CLI) to address that issue. The Angular CLI greatly cuts the time it takes to set up an Angular project.
At the time of this writing, the Angular CLI gives you access to about a dozen commands that are useful when creating and maintaining Angular applications. In this book, you’ll mainly use a few of those commands for testing purposes. Table A.1 shows the commands you’ll use and their respective description that we’ll use throughout the book.
| Command | Description |
ng test | Runs your unit tests |
ng e2e | Runs your end-to-end tests |
For a full list of commands, visit https://github.com/angular/angular-cli/wiki. If you want to learn more about the Angular CLI in general, visit https://cli.angular.io/.
Installing prerequisites
Before you install the Angular CLI, you need to make sure you have two prerequisites installed:
- Node.js version 6.9.0 or higher
- npm version 3 or higher
To make sure you have a version of Node.js that’s 6.9.0 or higher, run the following command in your terminal:
node –v
You should see output similar to the following in the terminal:
v8.7.0
If you need to update your version of Node.js, visit https://nodejs.org/en/ to install the latest version, or at least version 6.9.0. If you would like to choose which version to install, you can go to https://nodejs.org/dist/ to select the version you’d prefer.
Now that you have Node.js installed, you need to make sure you have a version of npm that’s higher than 3. Run the following command:
npm –v
If you’ve installed npm correctly, you should see something like this in your terminal:
5.4.2
If you don’t see a version higher than version 3, try reinstalling Node.js by downloading a fresh copy of Node.js at https://nodejs.org/en/. Because npm ships with Node.js, it should give you the most up-to-date version of npm by installing Node.js. If that doesn’t work, try updating npm using npm (that’s not a typo) by running the following command:
npm install npm@latest -g
That’s it in terms of prerequisites. You can now install the Angular CLI. Follow the steps we describe to get it up and running.
Installing the Angular CLI the first time
If you’ve never installed the Angular CLI, run the following command to install it globally:
npm i -g @angular/cli@latest
That’s it! You’re good to go! After it’s installed, go to “Verifying the installation” in section A.2.2.
Updating an old version of the Angular CLI
If you have an old version of the Angular CLI already installed, you may have to take a couple of steps, depending on which version you have. The difference is that after version 1.0.0-beta.28, the name of the project, and its scope, was changed from angular-cli to @angular/cli. To find out which version you have installed, run the following command:
ng –v
In your terminal, you should see the current version of the Angular CLI that’s installed.
Updating versions equal to 1.0.0-beta.28 or lower
If you have a version installed equal to or lower than 1.0.0-beta.28, run the following commands:
npm uninstall -g angular-cli
npm cache clean
npm install -g @angular/cli@latest
Once you’re done, you can skip to “Verifying the installation.”
Updating versions higher than 1.0.0-beta.28
If you need to update from a version higher than 1.0.0-beta.28, run the following commands:
npm uninstall -g @angular/cli
npm cache clean
npm install -g @angular/cli@latest
Verifying the installation
Now that you have the Angular CLI installed, make sure it’s installed properly before going any further. Run the following command:
ng –v
If all goes well, your output should look something like figure A.1.
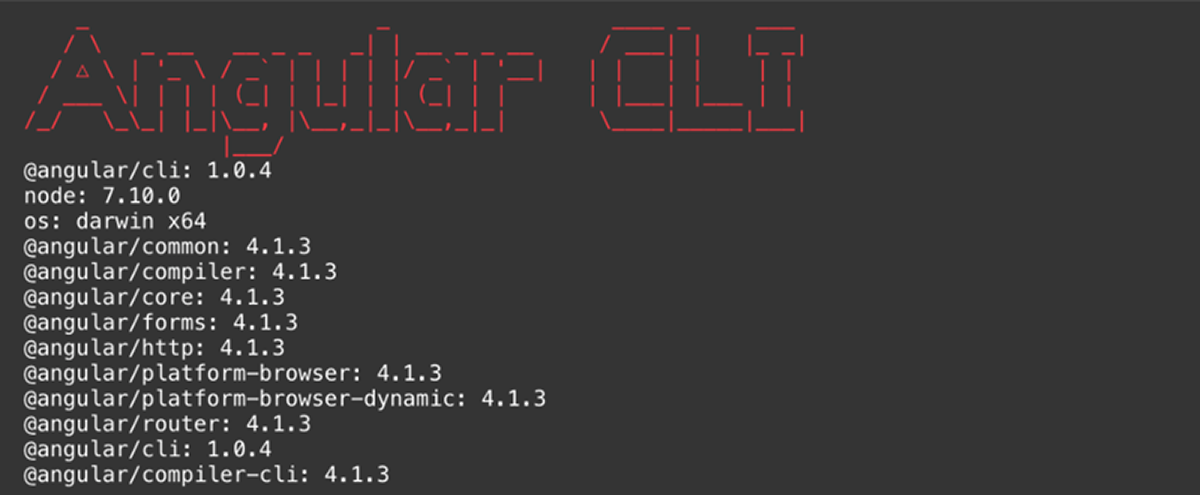
Figure A.1 The Angular CLI version screen
Installing the sample project
Now go ahead and clone the sample code for the project. First, navigate to a directory in your terminal where you would like to store the sample code for your project—for example, at ~/Software/GitHub. Clone the repo by running the following command:
git clone https://github.com/testing-angular-applications/testing-angular-applications.git
After you've cloned the site, run the following command to navigate to the directory with your app:
cd testing-angular-applications/website
Installing dependencies
You need to make sure you have all the necessary dependencies that the application requires by running this command:
npm install
Running the application
To run the application, run the following command in your terminal:
ng serve
You also can abbreviate that to ng s. After running the command, you should see something like the screenshot in figure A.2.

Figure A.2 Contacts app screen
The sample project is now up and running, and you’re ready to write some tests!