
24. INTO THE WOODS
![]()
FOR A PHOTOGRAPHER, woods can be one of the earth’s most amazing and mysterious landscapes. Because they are so immersive in their sense of atmosphere, they create an environmental sensation unlike any other landscape. There’s a dizzying sensory overload. You hear animals, birds, and movement but can’t necessarily spot the sources of the sounds you hear. You witness the repetition of pattern in all directions around you and feel small in comparison to the arboreal giants that surround you.
There is a depth and a scale to the woods that make them so incredibly enchanting—but also terribly frustrating to photograph. Many photographers have experienced a beautiful and memorable woods walk, only to come home and find their camera filled with flat, uninteresting images that feel upsettingly underwhelming. Even the most magical lighting conditions can be difficult to shoot without a plan and a strong grasp of the technical.
There are an infinite number of ways to photograph any woods scene ranging from the narrow to the broad. The only limit is your imagination.
Gear Selection
Whether you shoot in high-altitude coniferous forests, or the rainforests of the equator, choosing the right lens is one of the most important steps in successfully photographing woods. A lens with a long focal length can cause you to lose the sense of height and depth of a forest, whereas a very wide lens can leave you with too much clutter and a lack of clear subject. There is no one perfect lens for woods photography, and almost any lens can be used with great success in the woods—it’s just a question of using the right lens for the right situation.
Wide-angle lenses are great for providing an overall sense of a forest’s vastness (Figure 24.1). You’re far more likely to effectively capture the height of old-growth trees with a focal length of 35mm or wider. Try shooting directly above you with an ultra-wide-angle or fisheye lens to capture the treetops converging above you (Figure 24.2) or get close to the base of a tree and look up to get a unique take on the tree’s height (Figure 24.3). If you have the opportunity to view the forest from the treetops—like on a rainforest canopy tour—shooting downward toward the forest floor with a wide-angle lens can offer a similar sense of scale from a whole new perspective (Figure 24.4).
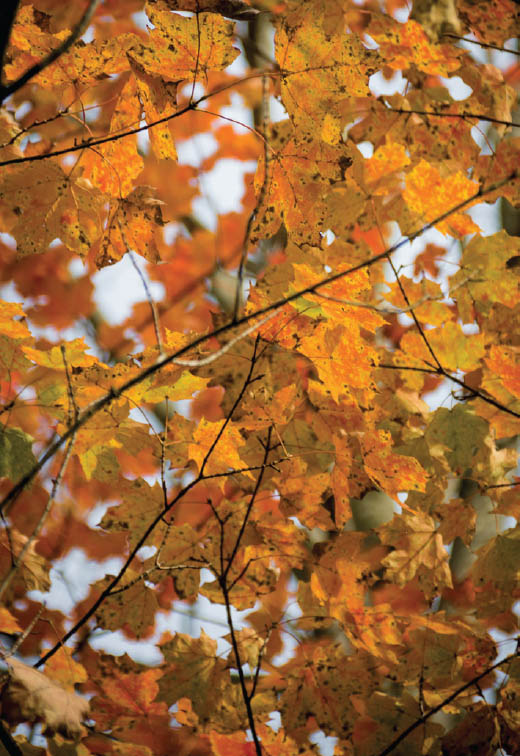
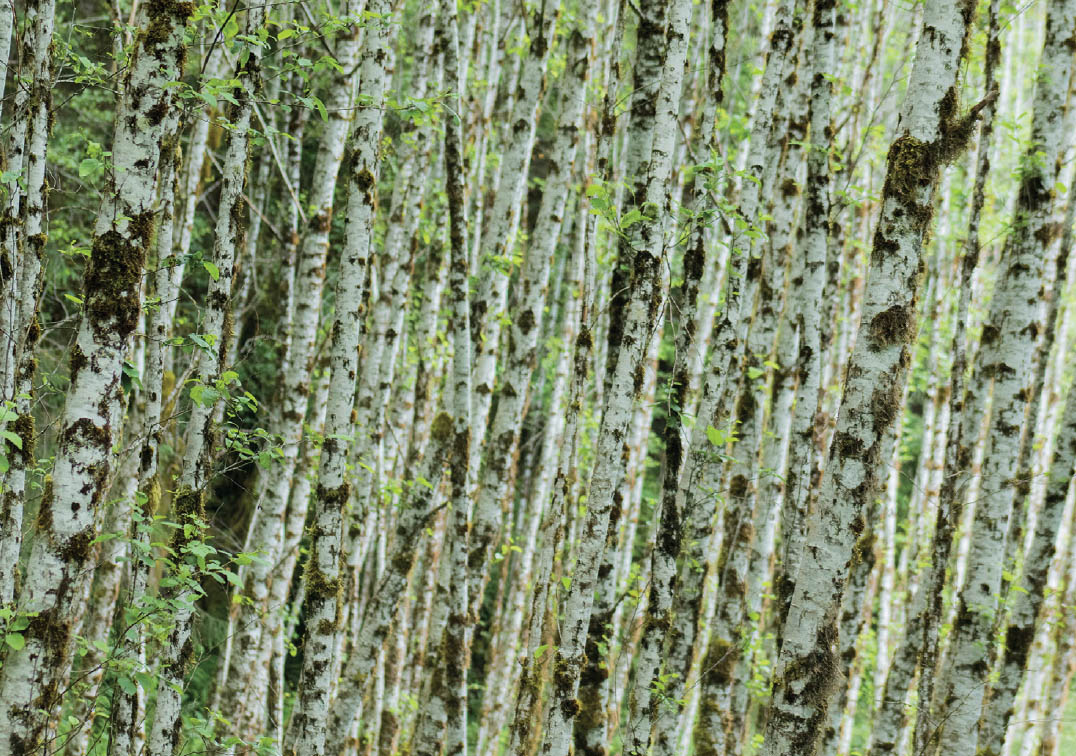
Zoom lenses are very helpful for isolating small portions of the forest for shape, interesting light, or color (Figure 24.5). What a wide angle does to highlight scale, a zoom lens can do to highlight detail and nuance. To capture a forest’s depth, try standing farther from your subject (like a particular tree or group of trees) and using a lens with a longer focal length to visually compress the perceived depth of the subjects in the photo (Figure 24.6). The viewer’s eye will be less overwhelmed and unsure of where to look, and more capable of perceiving the details and the beauty of the image.
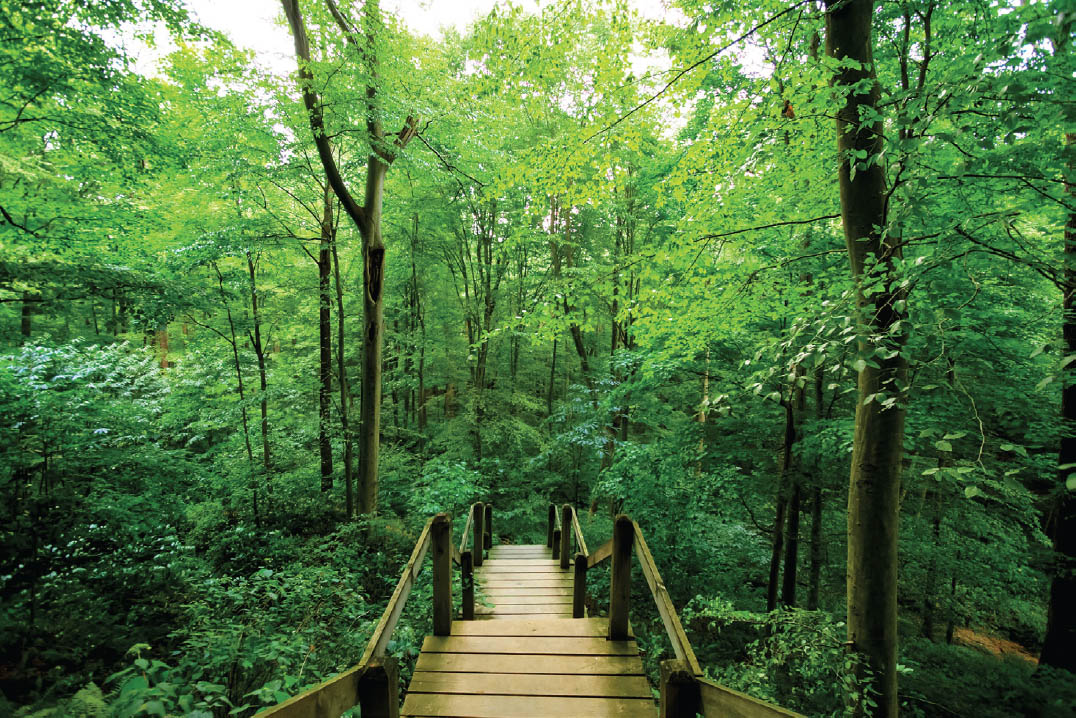
24.1 A wide-angle view of the woods in Brown County, Indiana
ISO 800; 1/80 sec.; f/4; 10mm
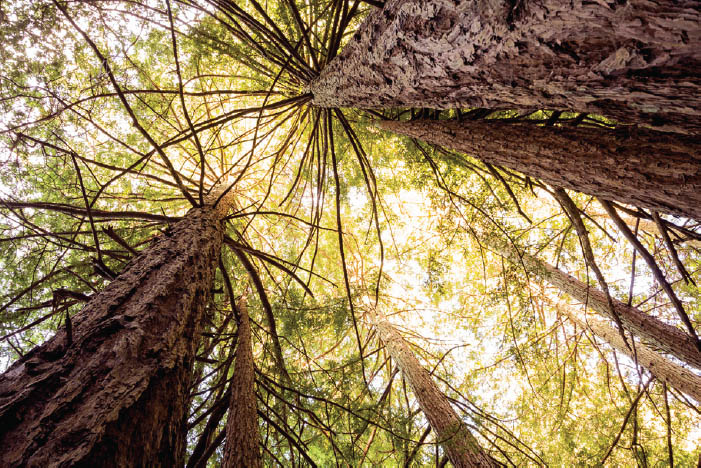
24.2 Portola Redwoods State Park, San Mateo County, California
ISO 100; 1.3 sec.; f/5.6; 22mm
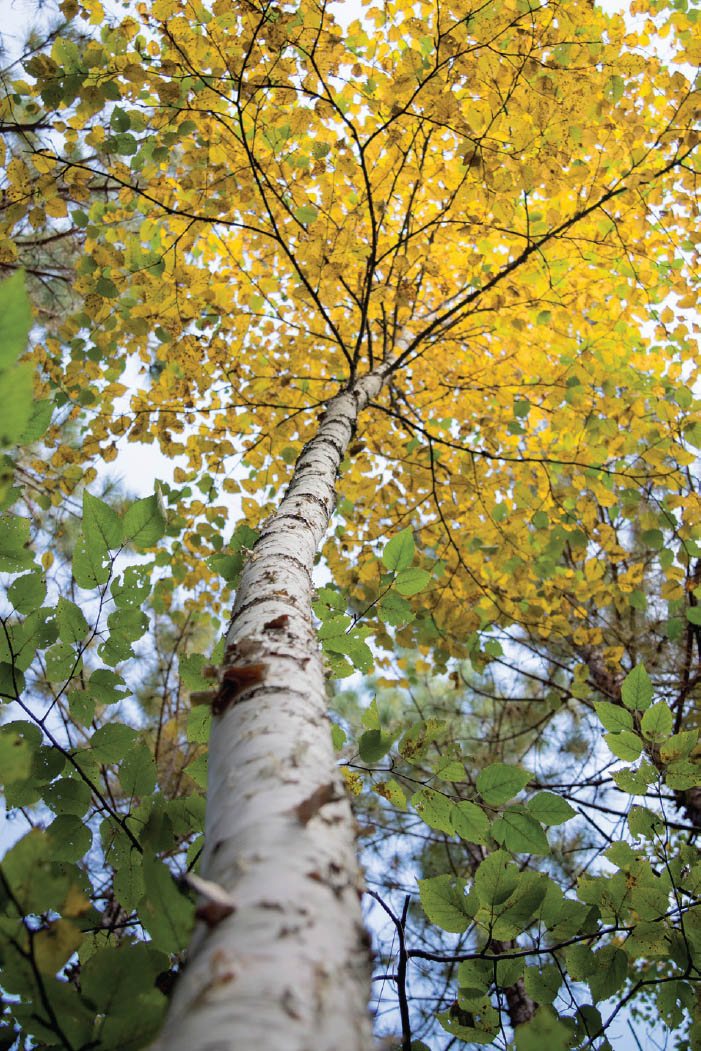
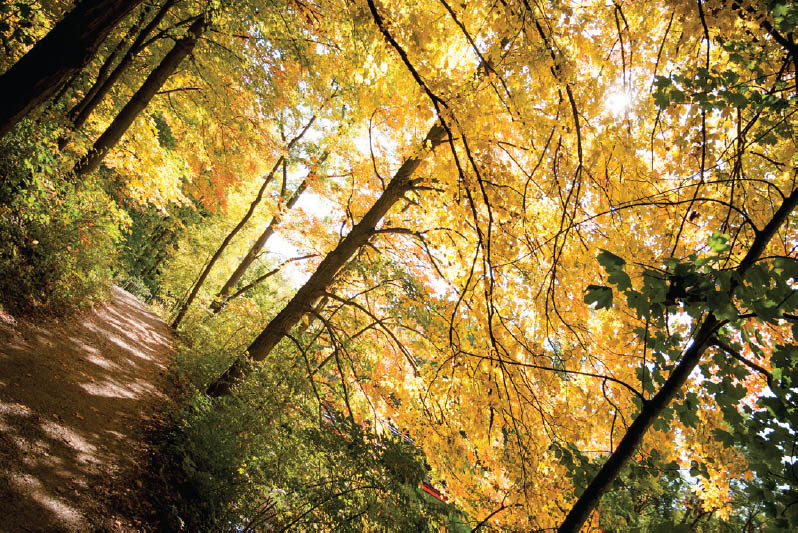
24.3 Fall color in St. Germain, Wisconsin
ISO 400; 1/250 sec.; f/5; 33mm
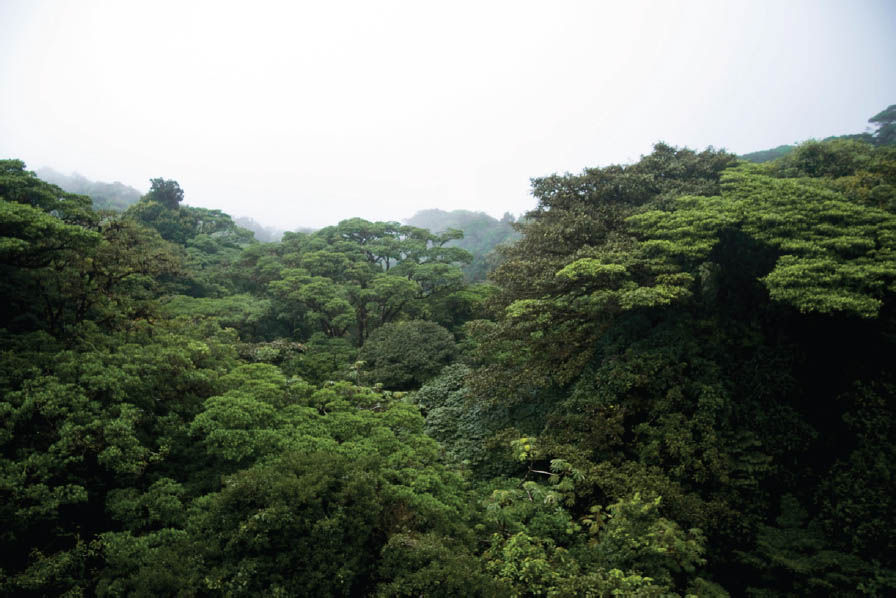
24.4 View from the treetops, Monteverde, Costa Rica
ISO 100; 1/400 sec.; f/4; 17mm
24.5 Kankakee River State Park, Bourbonnais, Illinois
ISO 100; 1/160 sec.; f/6.3; 189mm
24.6 Olympic National Park, Washington
ISO 1000; 1/125 sec.; f/5; 90mm
Special Considerations
Creating the right exposure can be difficult in an environment as nuanced as a forest or jungle. Regardless of the time of day or extent of cloud cover, the light will be mostly filtered through the trees—resulting in a complex array of shadows and hotspots. What looks beautiful to the eye can be difficult to capture in camera without a clear idea of how to shoot and an understanding of the limitations of your camera’s dynamic range.
One way to approach complex lighting conditions is to bracket your shots to create an HDR (High Dynamic Range) image. Most cameras have the ability to program three, five, or seven photographs taken in rapid succession with a slight variation in exposure. When I bracket shots, I make sure I’m in Aperture Priority Mode to ensure that the aperture and depth of field don’t change from exposure to exposure. Instead, the camera varies the shutter speed slightly to achieve the necessary under- or overexposure for your sequence. The bracketed images will need to be combined in post-production, but this technique will allow you to capture detail in the highlights and the shadows of your scene.
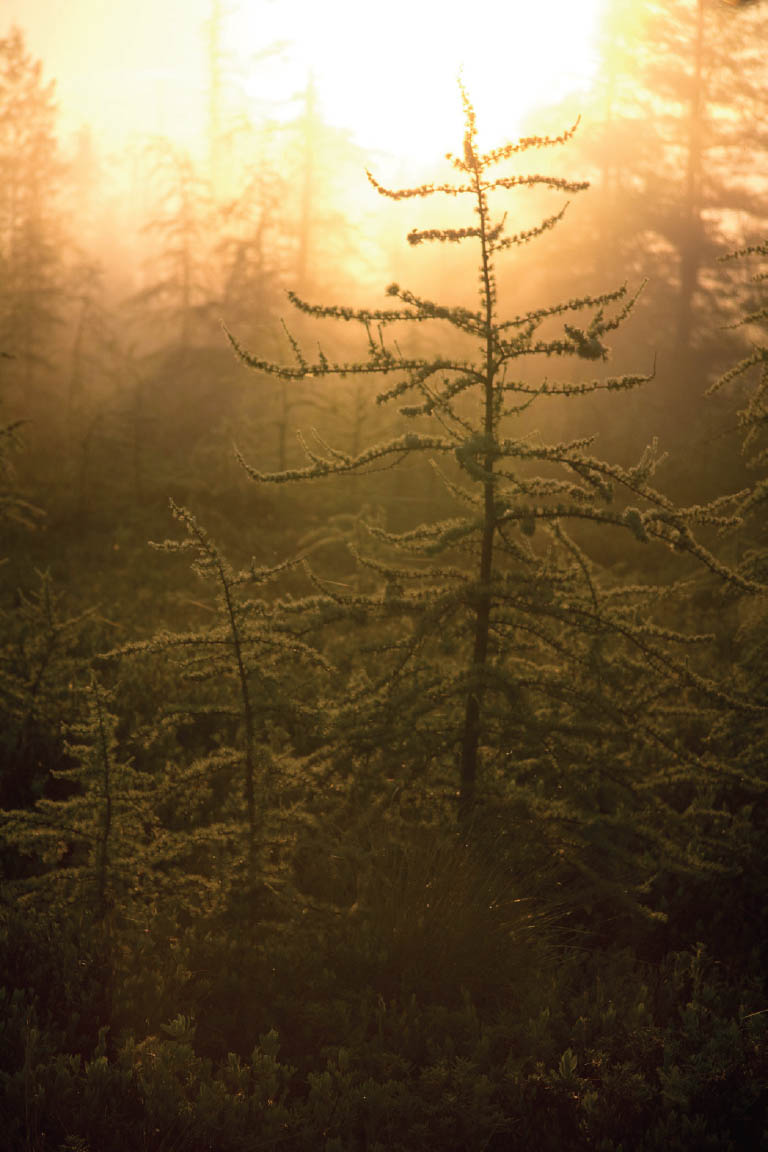
Conversely, you can use your camera’s limited dynamic range for artistic effect. One of my favorite woods techniques is to underexpose the image to make shafts of light the most prominent feature in the composition (Figure 24.7) or to let rim lighting or backlighting drive the image (Figure 24.8). You could also deliberately overexpose the scene to capture a richer depth of color in the midtones and shadowy areas. The bits of sky visible between the trees will be blown out, but the woods themselves will feel as vibrant as they do in real life (Figure 24.9). This works especially well in autumn when capturing the color changes in the leaves. Just remember that in any forest the brightness perceived by your eye is still quite dim for your camera, so be prepared to shoot with a higher ISO or use a tripod.
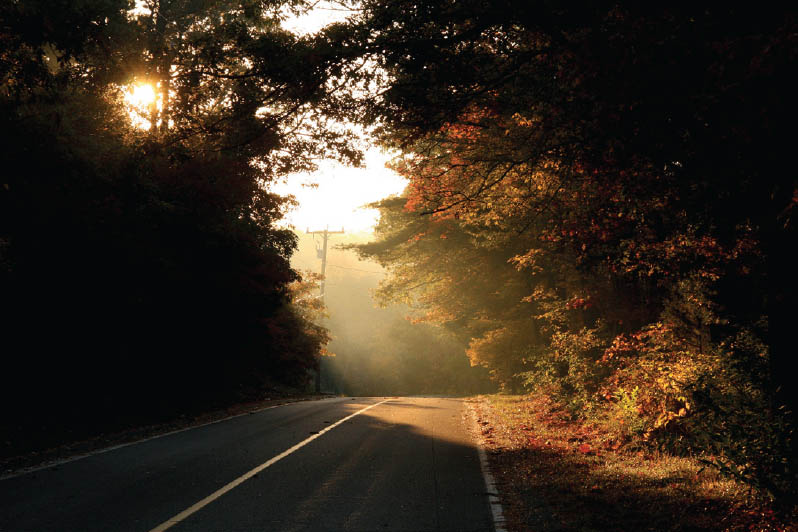
24.7 Falmouth, Massachusetts
ISO 500; 1/200 sec.; f/10; 61mm
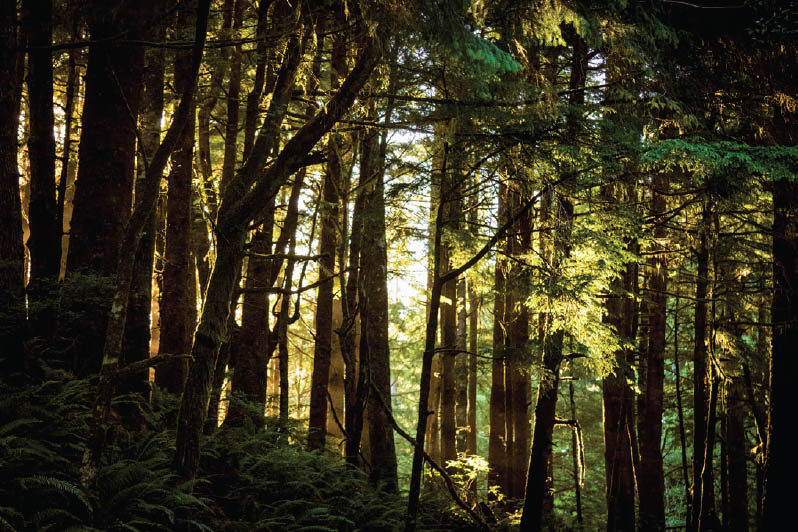
24.8 Olympic National Park, Washington
ISO 2000; 1/80 sec.; f/5.6; 59mm
24.9 Indianapolis, Indiana
ISO 100; 1/500 sec.; f/4; 20mm
Intentional Composition
Ultimately, even the best use of gear and effective exposure can’t create a visually compelling image alone; that’s where composition comes in. Woods can be visually chaotic—rarely in nature do we find trees in straight lines or predictable patterns—so I love utilizing the negative space of a boardwalk or trail to draw the viewer through the image and help provide a sense of balance (Figure 24.10). Similarly, a shallow depth of field can help cut down on the visual chaos by limiting the information your viewer has to sift through (Figure 24.11).
On a breezy day, I like to take longer exposures to capture the sense of movement and depict some of that magical woodsy atmosphere. Details and clutter morph into a pleasing array of color, shape, and movement (Figure 24.12).
Not all woods walks will feel inherently photogenic. It may seem contradictory to find the beauty after a forest fire (Figure 24.13)—or even during a controlled burn (Figure 24.14)—but with a little time and some ingenuity even the starkest woods scene will reveal its own enchanting qualities.
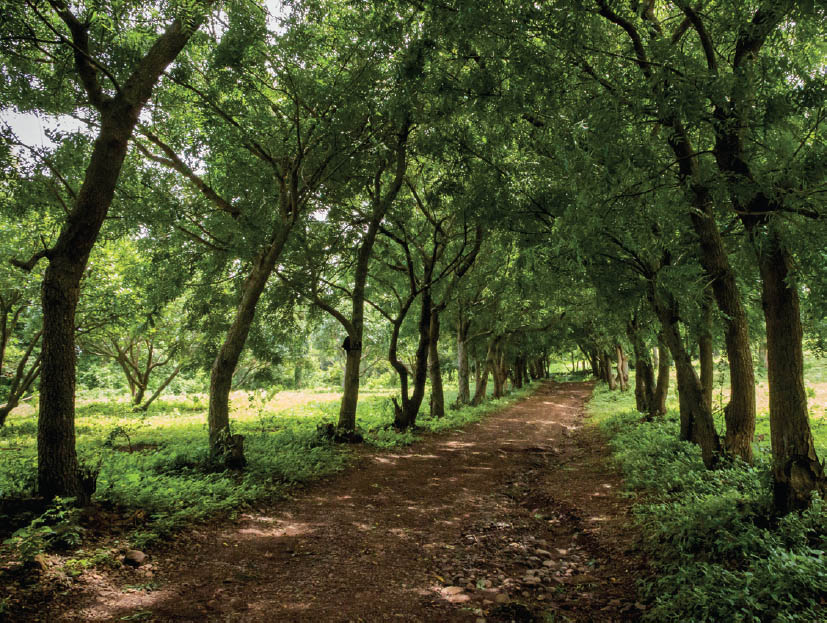
24.10 Ometepe, Nicaragua
ISO 6400; 1/160 sec.; f/18; 18mm
24.11 Mer Bleue, Ottawa, Ontario
ISO 125; 1/640 sec.; f/5.5; 85mm
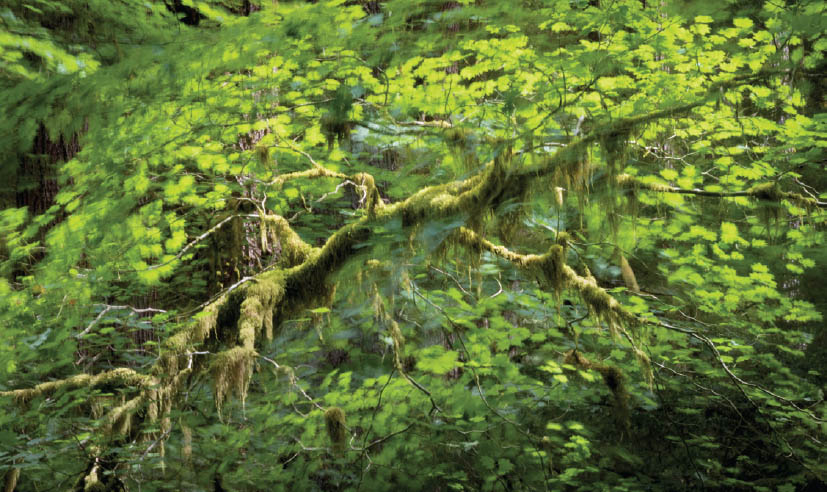
24.12 Spanish moss, Olympic National Park, Washington
ISO 125; 1 sec.; f/32; 85mm
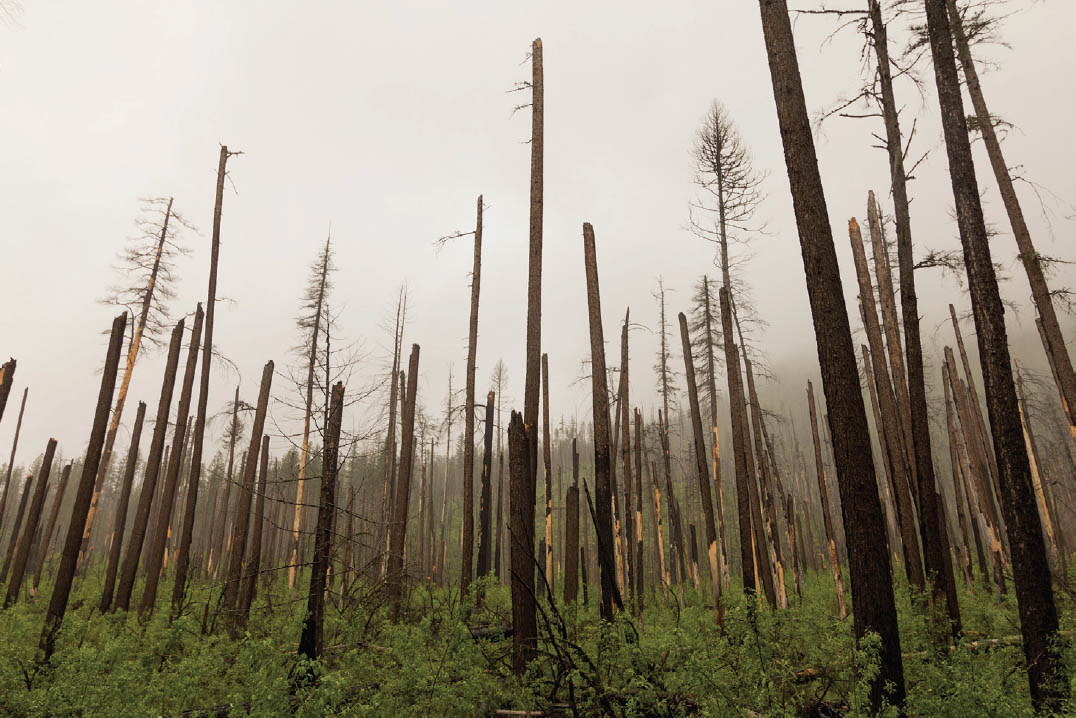
24.13 Glacier National Park, Montana
ISO 320; 1/50 sec.; f/4; 17mm
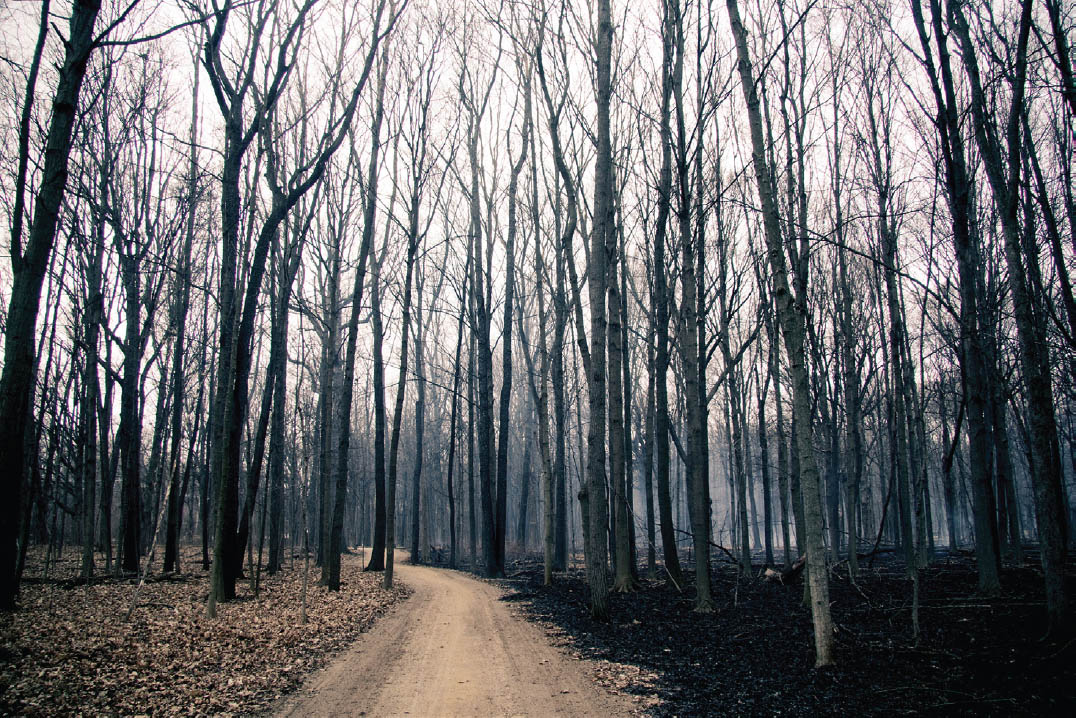
24.14 Des Plaines River Trail, Libertyville, Illinois
ISO 100; 1/200 sec.; f/5.6; 17mm