CHAPTER 16
Plant Stand
Making a plant stand is my way of coming up with a project that starts you using a welding table as a layout tool. With soapstone, basic squares, and a flat, square steel table, you’ll be able to create all kinds of projects. This is also a fun project to start using scrap metal. However, I won’t assume that you can find scrap metal, so you’ll cut out some pieces of 10-gauge steel using the torch or plasma cutter.
What You Need
• 10-gauge steel
• ⅜-in square stock
• Hand tools
• A grinder
• A metal–inert gas (MIG) welder
Instructions
1. The main trick to this project is to lay out two parallel lines on your welding table.
2. Working with those lines and some basic squares, you can easily make paraelle forms. Figure 16.1 shows a finished plant stand layout that is nice and square. Figure 16.2 shows how I used basic squares and a simple straight line drawn on the table to make sure that the two old disk-brake rotors were parallel.
3. Use a 24-in square to draw a box or a pair of parallel lines on your welding table.
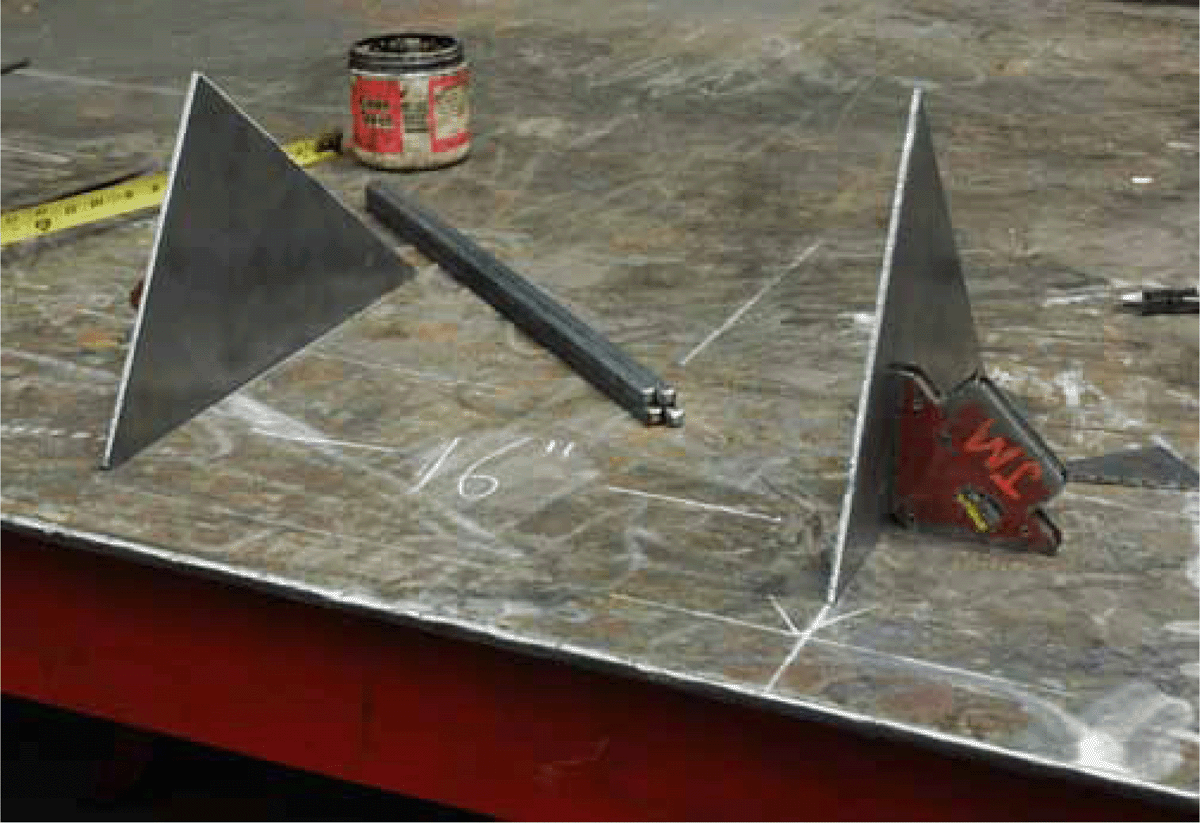
4. Arrange the top and bottom pieces perpendicular to the table and your lines with layout magnets or other square hand tools (Figure 16.3).
5. Measure the distance between the insides of your material, and cut your ⅜-in stock to that measurement.
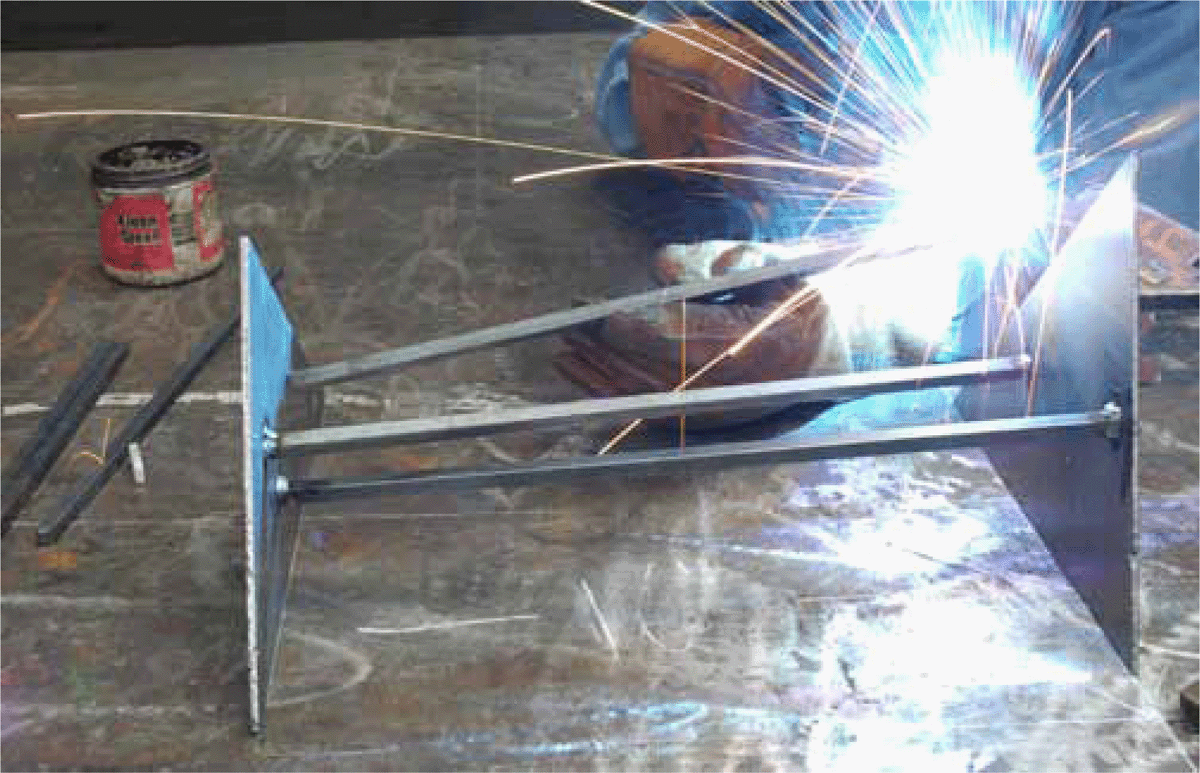
6. Without disturbing the squareness of your pieces, weld each ⅜-in support to the material, starting with tack welds and moving to full beads when the square is confirmed, as in Figure 16.4.
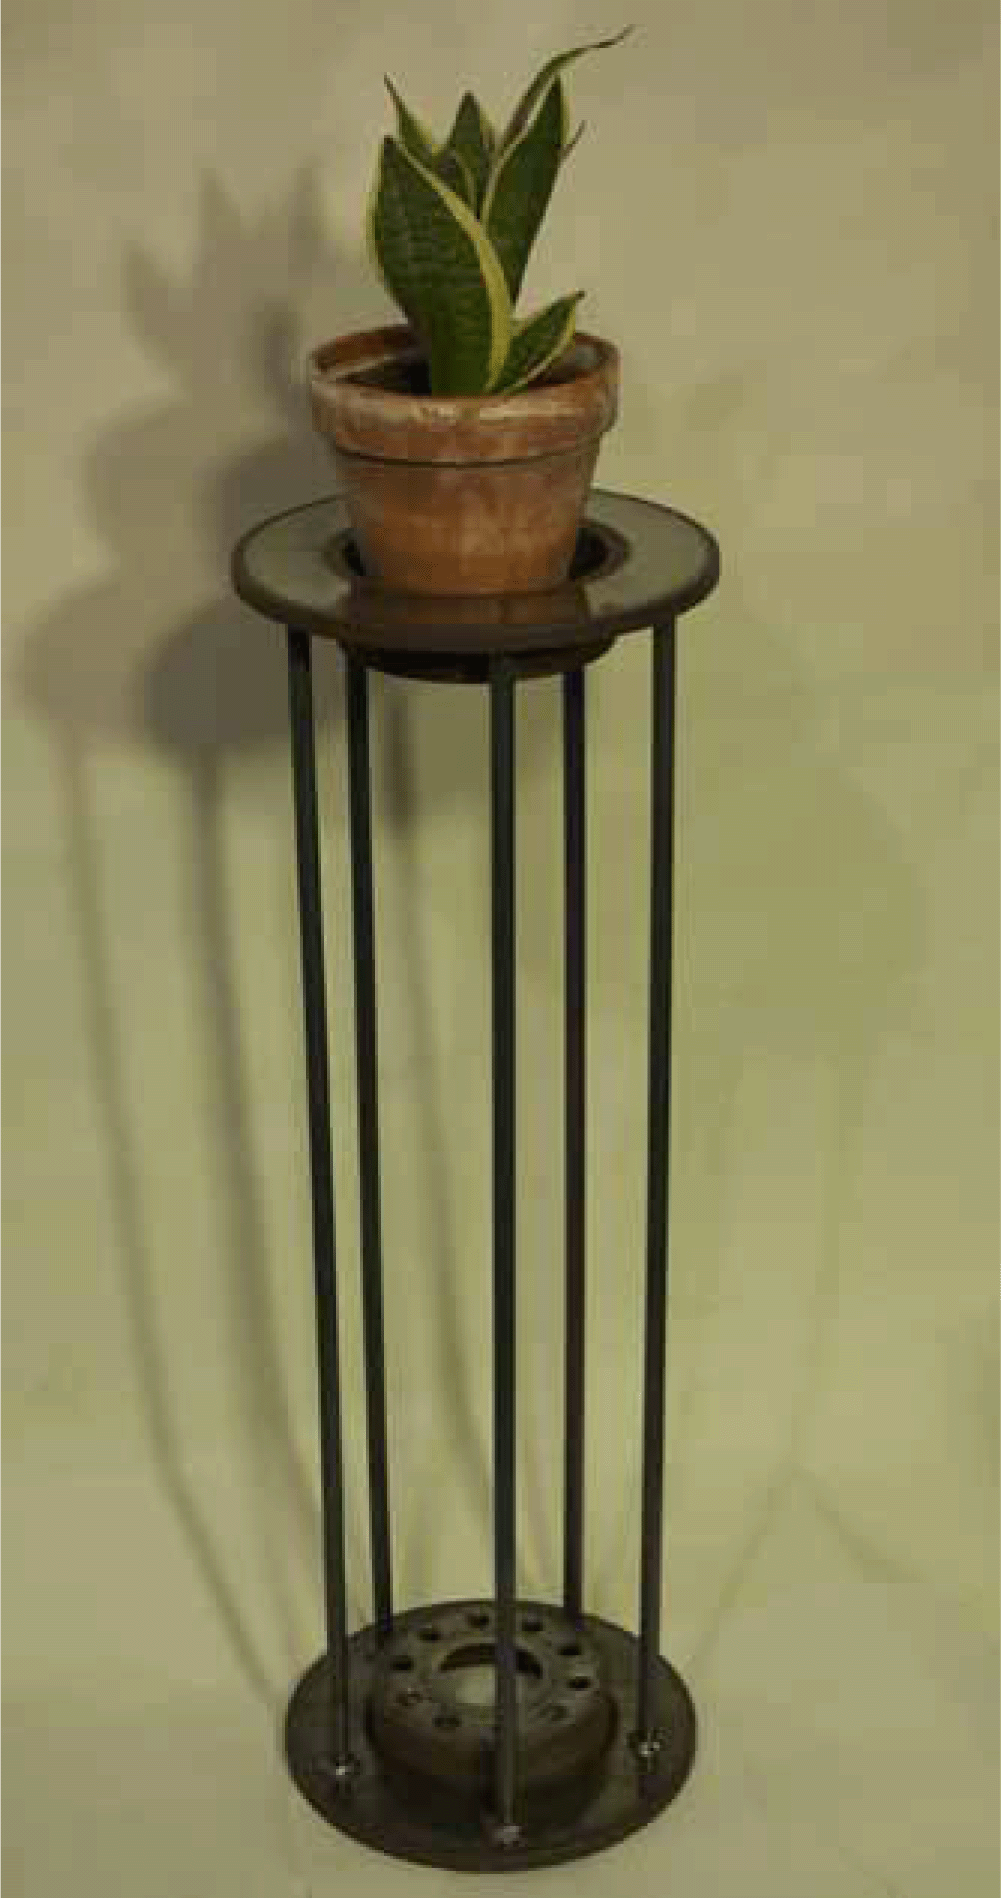
7. Figure 16.5 shows a completed plant stand using no right angles but assembled using very basic metalworking techniques.

FIGURE 16.1 Squared up.

FIGURE 16.2 Rotors supported square to each other.

FIGURE 16.3 Work pieces held parallel.

FIGURE 16.4 Welding supports.

FIGURE 16.5 Finished triangular plant stand.
