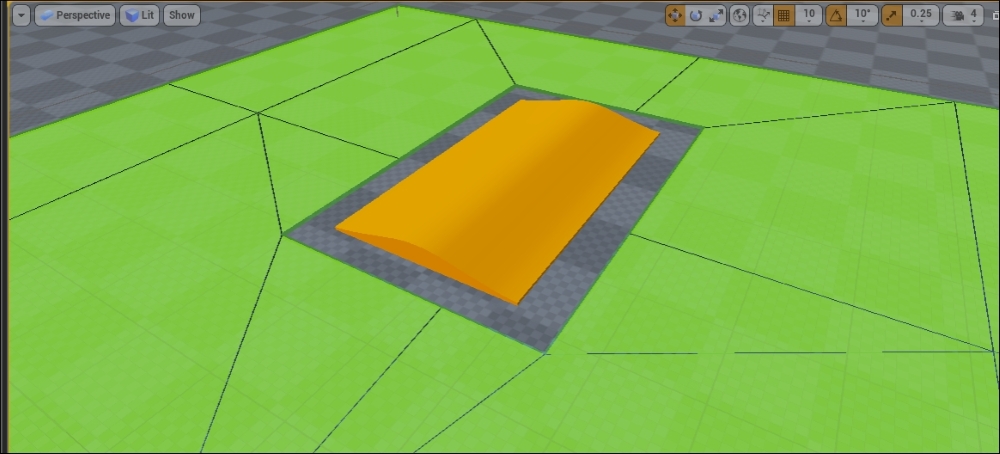
Navigation Mesh in Unreal Engine 4 allows us to tell the engine where our traversable path should be generated, and we can optimize this to help generate more accurate paths for our AI. We will call Navigation Mesh "NavMesh" for short as most game developers are familiar with this term. If you're in Unreal Engine and you navigate to the Modes panel under Volumes, you'll see NavMeshBoundsVolume. This is a volume that you can use to cover the geometry and generate NavMesh on. I have a sample of what this would look like. If you can't see the green mesh generated by NavMesh, make sure you check the Navigation option (press P for shortcut) in the Show menu onscreen:

On each level, you'll see a node within World Outliner called RecastNavMesh-Default. If you click on it, you can explore the default options that affect Navigation Mesh within the level.
If you go down to Generation, this is what you will begin to tweak according to your needs. If you're trying to get more performance when rebuilding at runtime, or precision with your agent's movement, try to optimize these values:

I will briefly go over some of the properties to give you an understanding of what role they play and how they affect performance. Let's look at some of the most important properties in RecastNavMesh:
- Cell Size: This is the 2D size of the voxel, basically a 3D pixel, which represents a space to navigate. This is the floor area of the voxel. This directly correlates to the resolution of NavMesh. Smaller sizes here generate more voxels, resulting in better movement precision. Unfortunately, performance takes a hit during the generation of NavMesh due to this.
- Cell Height: This is the height of the voxel. This value correlates to Agent Max Step Height, and it is suggested to be kept at half its value. NavMesh will not be generated if the Cell Height value isn't at least .1 less than that of Agent Max Step Height.
- Tile Size UU: When this is at lower values, it increases the NavMesh Generation performance. Try enabling Draw Poly Edges to see this in action.
- Agent settings (Radius, Height, Max Height, Max Slope, Max Step Height): are specific to your agents and should be specified appropriately.
- Min Region Area: This gets rid of what looks to be artifacts of pieces of NavMesh Generation, which are too insignificant to navigate.
If you have any obstacles in your NavMesh and NavMesh is being generated on top the obstacles, then this object is treated as geometry, and for better performance, you can make your mesh be recognized as a Dynamic Obstacle. This prevents NavMesh from being generated on top of it. Now, to affect this area, you must set the Offset and Extent values for the Box Collision property as well. Take a look at the following screenshot:

- Let's create a new Box Collision element. This will populate the array with an element containing two values.
- We need to set the Offset value to the negative of half the width, length, and height of NavMesh. The Offset value is the position that the collision begins from.
- Next, set our Extent value to half the width, length, and height of our NavMesh. The Extent value is how much it extends from the center point of NavMesh. This means that it correlates to half the volume size.
In this NavMesh, for example, I've set the properties accordingly; take a look:

As you can see in-game in the following screenshot, the correct location is affected by the NavArea Null class we set on the Is Dynamic Obstacle option: