
iMovie’s effects aren’t used as frequently as transitions and titles, mainly because they offer a specific look or action—you just won’t have that many occasions to use Fairy Dust. However, some effects are more subtle, such as adjusting a clip’s color balance, or applying sepia or black-and-white tone to the footage.
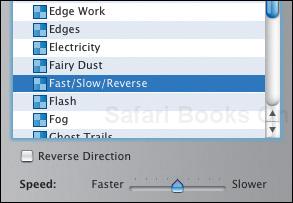
One exception, however, is a new effect in iMovie HD: Fast/Slow/Reverse. Previous versions of iMovie featured a Clip Speed slider below the Timeline that let you speed up or slow down a clip. Now, you use this effect to make those changes; it also reverses the clip to play from the last frame to the first. See page 62 for more information.
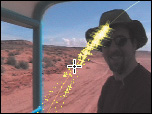
Is it a Star Trek episode, or just iMovie? You can bet I wouldn’t put this effect in a vacation movie (but you can view it at www.necoffee.com/imovievqs/; I just couldn’t help myself).
![]() Click the Effects button to view the Effects pane.
Click the Effects button to view the Effects pane.
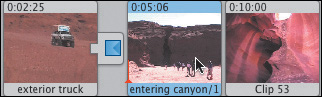
![]() Select a clip in the Timeline (using either viewer).
Select a clip in the Timeline (using either viewer).

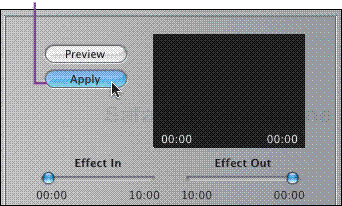
Click Apply to add the effect to your selected clip. You cannot drag an effect name to the Timeline as you can with titles and transitions.
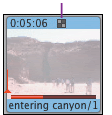
This icon indicates that an effect is applied ot the clip.
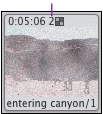
Multiple effects can be layered upon the same clip. In the clip below, I added Aged Film to Fog to give the scene an old 1930s explorer feel; the graininess accentuates the Fog effect well here (view samples at www.necoffee.com/imovievqs/).
The number tells you how many effects are applied.
To remove an effect, click the clip to which it’s applied and press ![]() . The original clip remains intact.
. The original clip remains intact.
If the clip you want to use for an effect has transitions attached to it, applying the effect may remove the transitions (iMovie warns you if this is the case). After adding the effect, simply create the transitions again.
To change the speed of a clip, select it and choose the Fast/Slow/Reverse effect.
Some effects, such as Fairy Dust, feature controls in the small preview window. Click within the preview area to determine the angle of the light burst, as in this example (ouch).
You can’t change an effect’s settings once the effect has been applied like you can with titles and transitions. Instead, you must delete the effect, make your changes, and then re-apply the effect.
To stop the effect from rendering, press
 (period), or choose Undo from the Edit menu.
When you delete an effect from a clip that contains multiple effects, you delete only the most recently applied effect, not all effects on that clip.
If you apply some effect types to a still photo, the image needs to be converted to a regular video clip. iMovie warns you if this is about to happen, and gives you the option to cancel.
Effects cannot be applied to clips on the Shelf. However, you can add an effect to a clip in the Time-line and then move it to the Shelf for later use.
You can apply transitions and titles to clips that incorporate effects.