
Being the powerful editor it is, Visual Studio Code provides a convenient way of working with code files and folders containing both loose files and projects. In this chapter you will learn how to work with individual files, with folders containing source code files, and with workspaces. You will also learn about VS Code’s independency from proprietary project systems as well as the built-in support for a few, popular project types.
Visual Studio Code and Project Systems
Tsconfig.json
Jsconfig.json
Package.json
Project.json
.sln Visual Studio solutions for .NET Core with the C# extension installed
If Code finds one of these files, it is able to organize the file structure into a convenient editing experience and can offer additional rich editing features such as IntelliSense and code refactoring. If a folder only contains source code files, without any of the aforementioned .json or .sln files, it still opens and shows all the source code files in that folder, providing a convenient way to switch between all of them. This chapter describes how to work with individual files and with folders in Visual Studio Code, and more details about how it manages projects will be provided in the subsection “Working with Folders and Projects.”
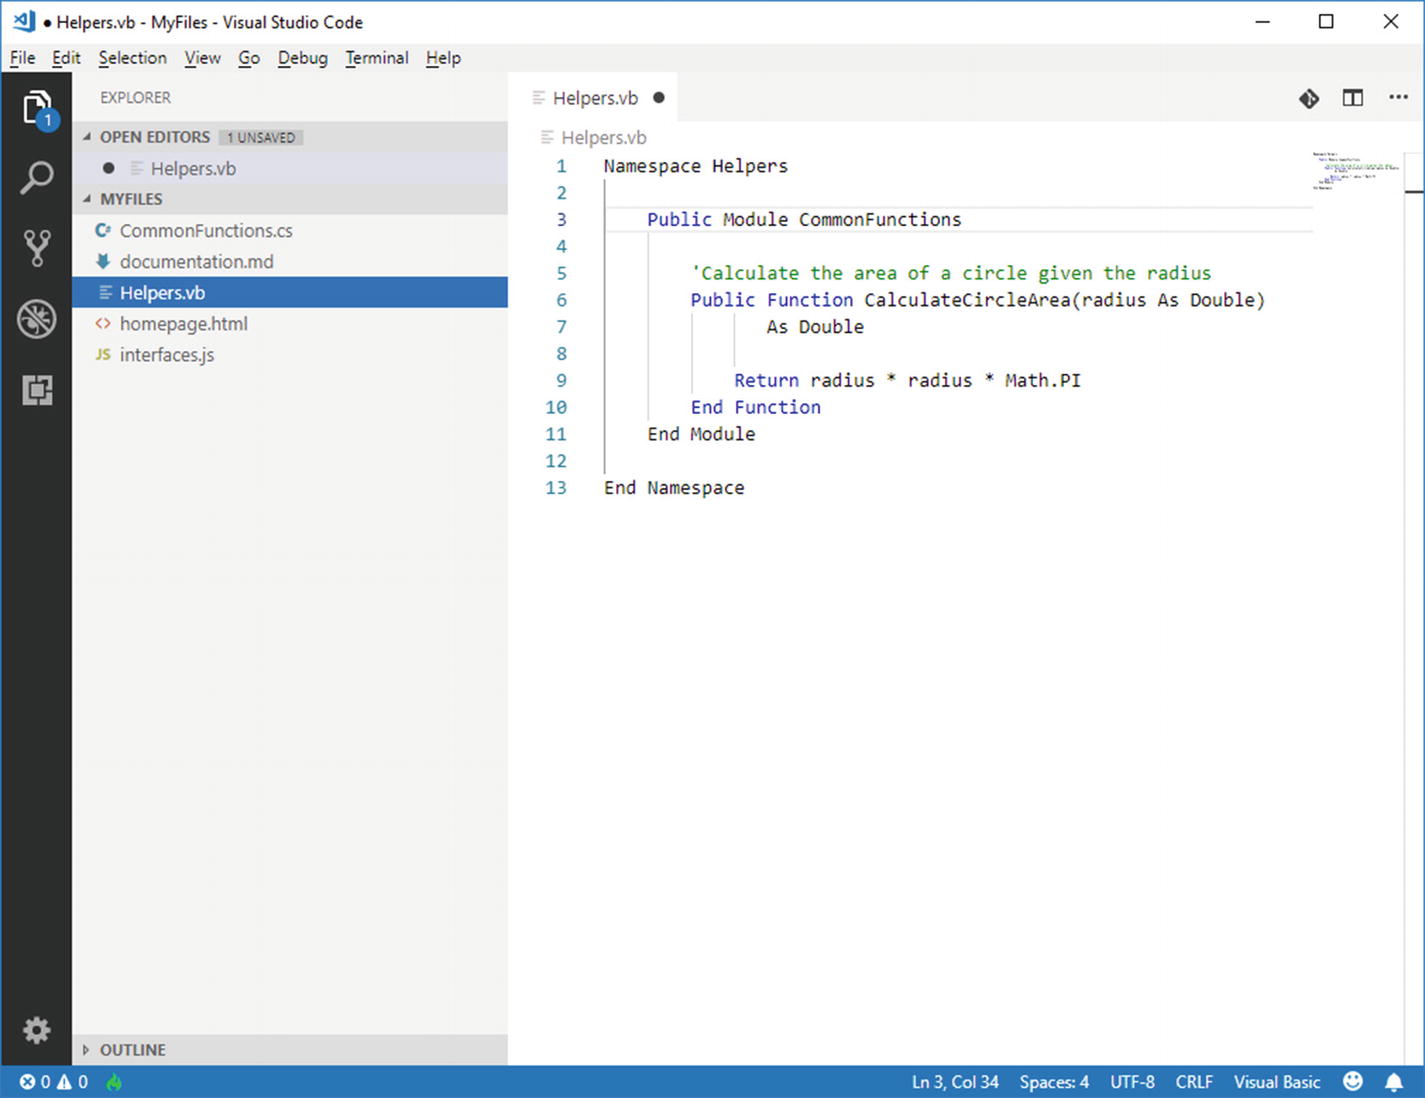
Working with Individual Files

Quickly navigating between open editors
Simply close an editor by using the Close button at the upper right corner, or use the Close All Files command in the File menu.
Note
In the Visual Studio Code terminology, it is common to refer to open files as active editors or open editors. This is because editor windows are not limited to code files, but they can also display documentation files or provide formatted previews of the content of other types of files (e.g., images and spreadsheets).
Creating Files
Via File ➤ New File
By pressing Ctrl+N (⌘+N on macOS)
By using the New File shortcut in the Welcome page
By clicking the New File button in the Explorer bar when a folder is currently opened
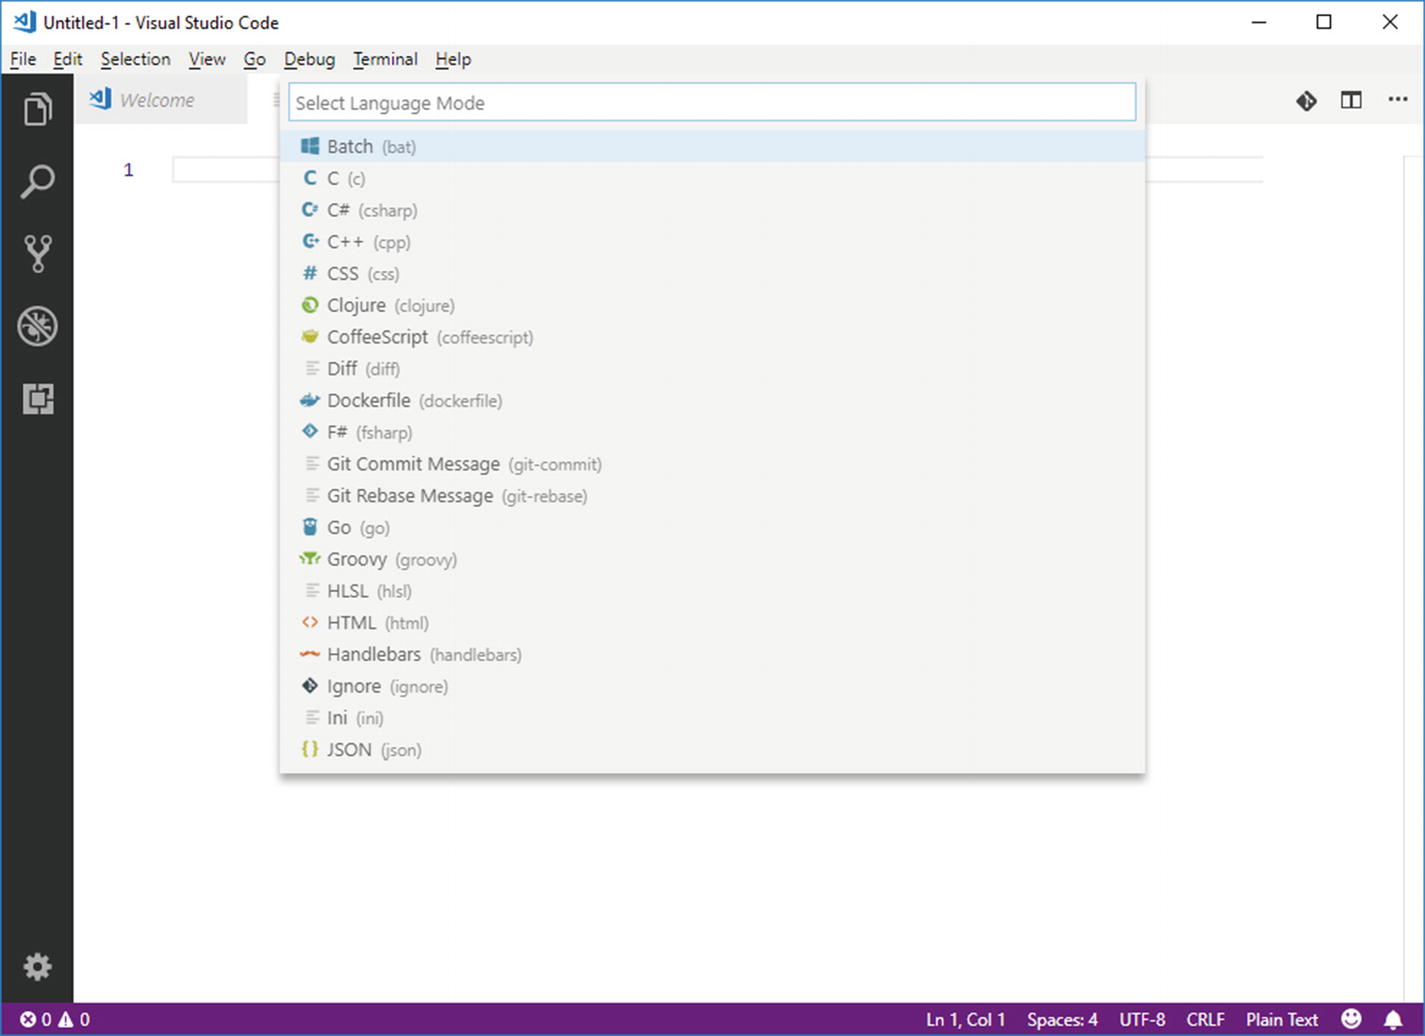
Selecting the language for a new file
When you select a new language, the Select Language Mode item is updated with the current language, and the editor enables the supported features for the selected language, such as syntax colorization, word completion, and code snippets.
Obviously, you can change the language of any open code file, not just new files.
File Encoding, Line Terminators, and Line Browsing
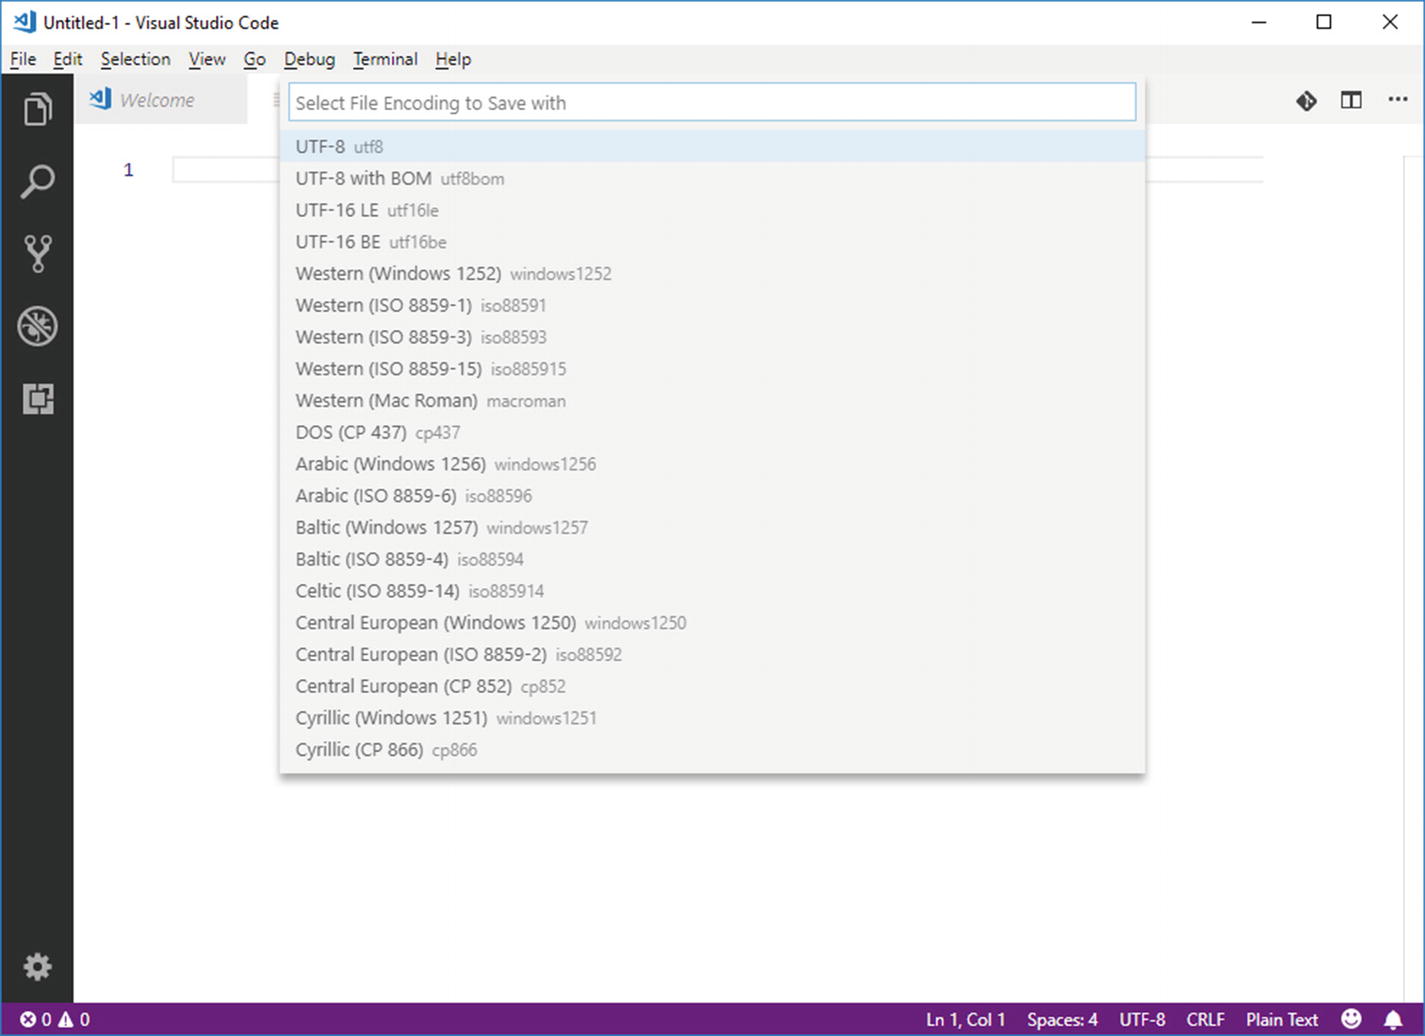
Selecting the file encoding

Quickly moving to a specific line of code with Go to Line
Working with Folders and Projects
MSBuild solution files (.sln) : In this case, Visual Studio Code expects to find a .NET Core solution made of C# projects, so it scans the referenced projects (*.csproj files) and organizes files and subfolders in the proper way. Remember that Visual Studio Code needs the Microsoft C# extension installed in order to properly treat solution files. It is worth mentioning that VS Code can open any .sln solution, but full support is currently offered only for .NET Core. An example of this scenario will be offered in Chapter 8, “Automating Tasks.”
tsconfig.json files : If found, Visual Studio Code knows this represents the root of a TypeScript project, so it scans for the referenced files and provides the proper file and folder representation.
jsconfig.json files : If found, Visual Studio Code knows this represents the root of a JavaScript project. So, similarly to TypeScript, it scans for the referenced files and provides the proper file and folder representation.
package.json files : These are typically included with JavaScript projects and .NET Core projects, so Visual Studio Code automatically resolves the project type based on the folder’s content.
project.json files : If found, Code treats the folder as a legacy DNX project written in C#. DNX stands for .NET Execution Environment and represents the runtime with Software Development Kit (SDK) built on top of .NET Core 1.0 and 1.1. Project.json has been discontinued as a project system starting with .NET Core 2.0 so, if you have projects written with earlier versions, I recommend you to read the migration guide from Microsoft ( https://docs.microsoft.com/en-us/dotnet/core/migration/from-dnx ).
Note
Opening a .sln or .json file directly will result in editing the content of the individual file. For this reason, you must open a folder, not a solution or a project file.
Additional project systems might be supported via extensibility. If no one of the supported projects is found, Visual Studio Code loads all the code files in the folder as a loose assortment, organizing them into a virtual folder for easy navigation. Now let’s discover how Visual Studio Code allows you to work with folders and supported projects providing appropriate examples.
Opening a Folder
You open a folder via File ➤ Open Folder or via the Open Folder shortcut in the Welcome page. You can also drag and drop a folder name from Windows’ Explorer or macOS’ Finder onto Visual Studio Code.
Note
On Windows, the VS Code installer will also provide an option to enable a shortcut called Open With Code when you right-click a folder or file name in File Explorer.

The structured view of files and folders inside the Explorer
The root container is the folder name. Nested you see files and subfolders, and you can expand each subfolder to browse every file it contains. Simply click a file to open an editor window on it.
Opening .NET Core Solutions
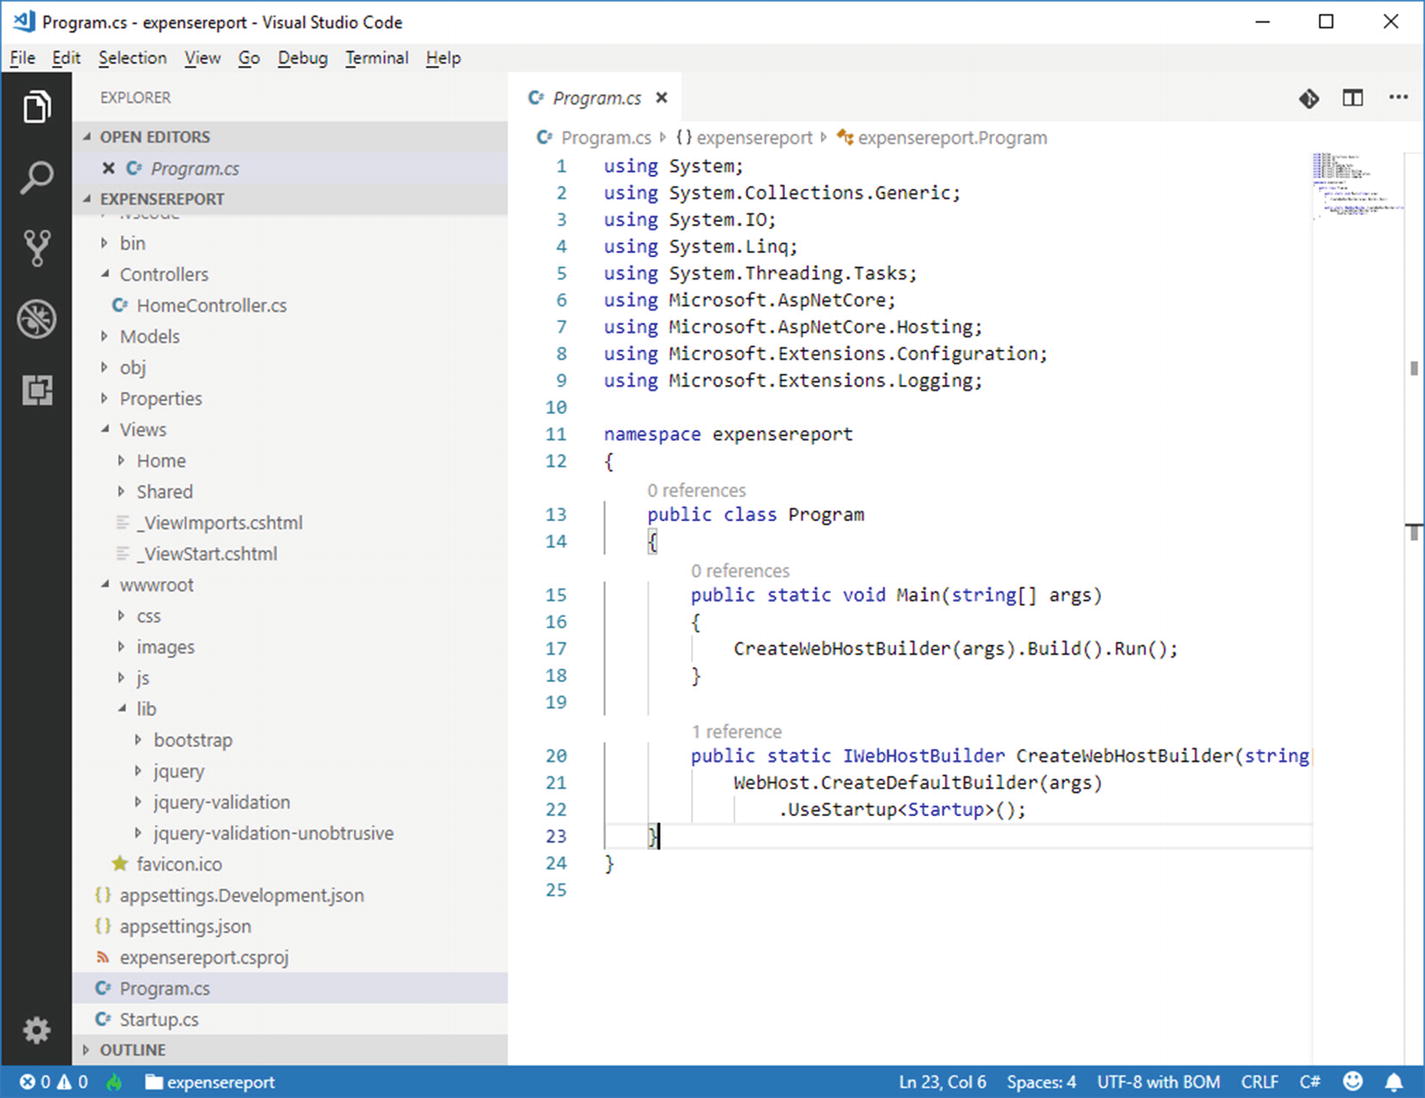
A .NET Core solution opened in Visual Studio Code
Notice how the root level in Explorer is the project name. You can browse folders, code files, and edit anything that Visual Studio Code can properly recognize. It is worth mentioning that Visual Studio Code can certainly open any MSBuild solution, not only .NET Core solutions, but it will only be able to run and debug .NET Core applications. For instance, if you open a Windows Presentation Foundation (WPF) solution in VS Code, you will still benefit the structured folder view in the Explorer bar and then full C# language support, but you will not be able to build, run, and debug the code. Instead, with .NET Core you also have integrated debugging support which allows running, debugging, and testing code directly within VS Code. This will be discussed in Chapter 9, "Running and Debugging Code."
Opening JavaScript and TypeScript Projects
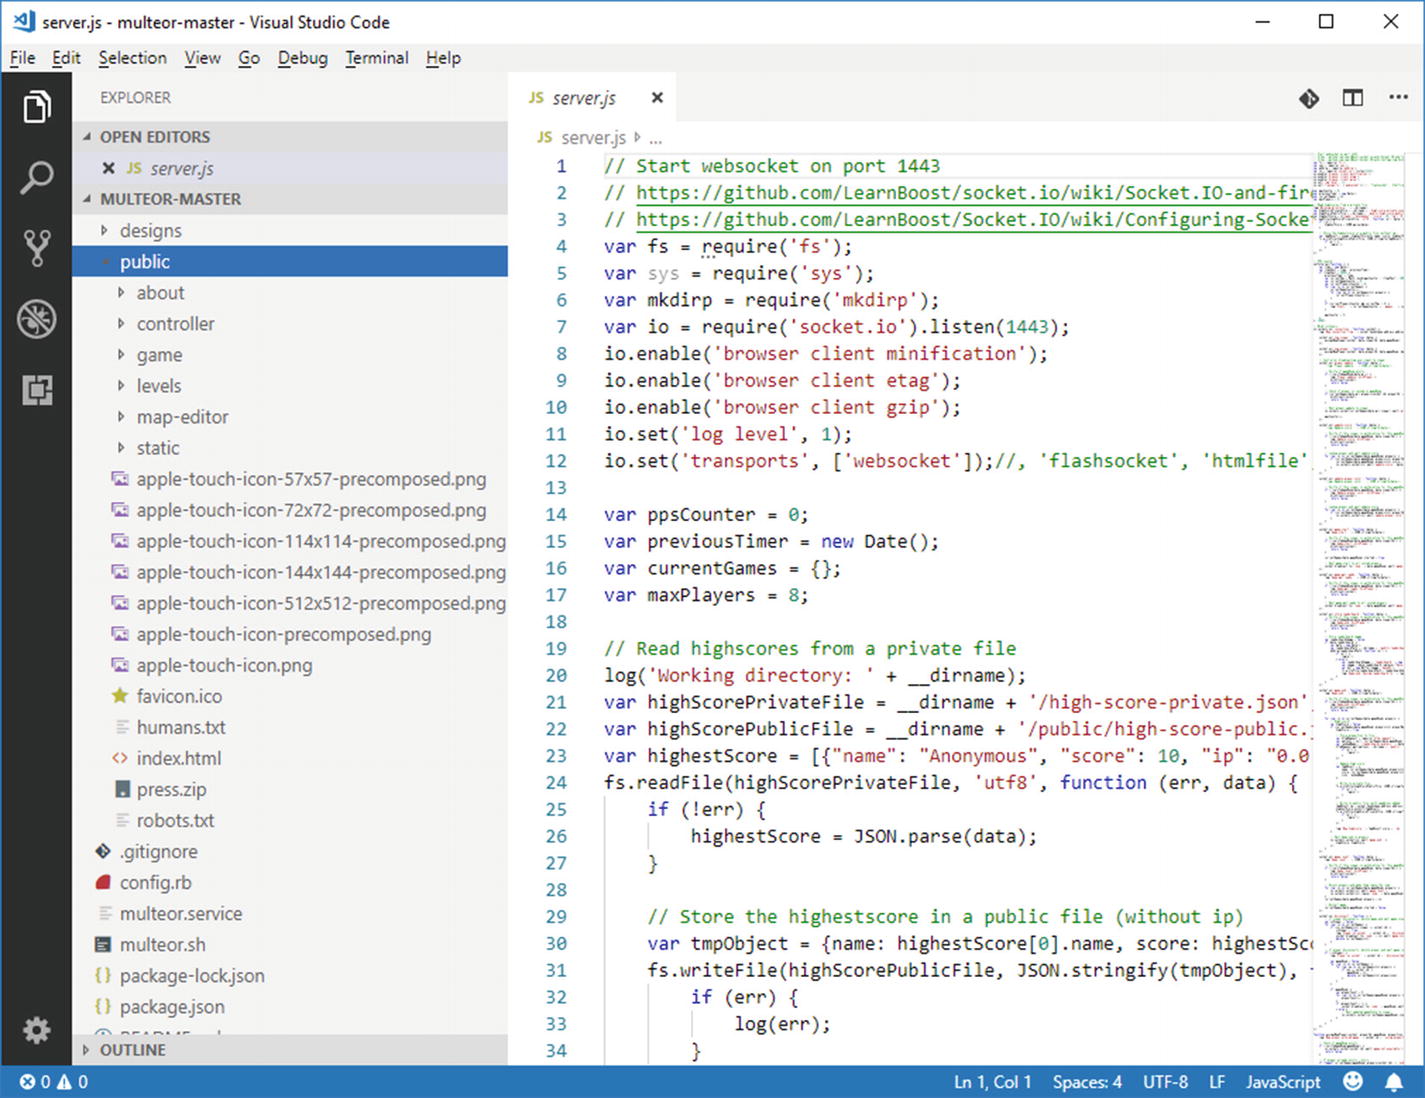
A JavaScript project opened in Visual Studio Code
TypeScript projects’ behavior is the same as for JavaScript, except that Visual Studio Code will search for a file called tsconfig.json as the root.
Opening Loose Folders
A folder containing a loose assortment of files
With this option, you can basically open any folder in VS Code and edit all supported files taking advantage of the code editing features for each file individually.
Working with Workspaces
Visual Studio Code has recently introduced the concept of workspace. A workspace can be thought of as a logical container of folders.
Note
If you have experience with Microsoft Visual Studio, a workspace in Visual Studio Code can be compared to a Visual Studio solution as a container of projects.
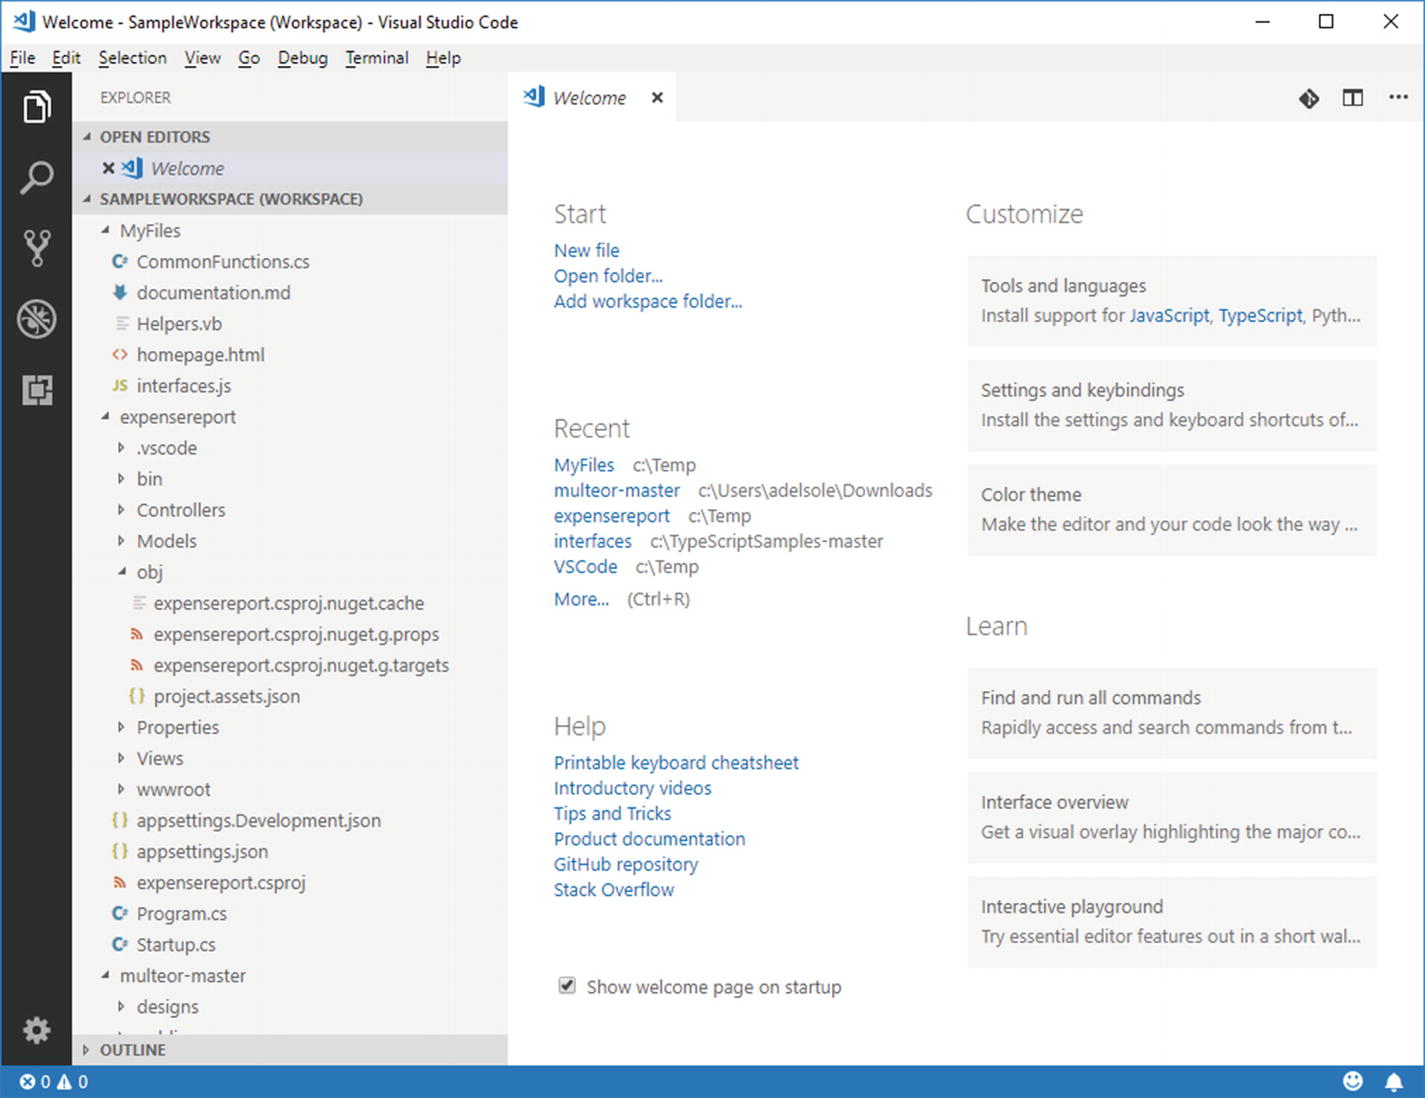
A workspace can group multiple projects and folders into one logical container
The multeor-master folder is referred to a sample open-source project called multeor that you can download for instructional purposes from https://github.com/filidorwiese/multeor . The Explorer bar shows the name of the workspace in uppercase together with the (WORKSPACE) literal so that it’s easier to recognize it. In the next paragraphs, I will explain in more detail how to create and open workspaces and what is the structure of a workspace file.
Creating Workspaces
Creating a workspace can be done whether you already have any folders opened or not. If you already have any folders opened, you can select File ➤ Save Workspace As. VS Code will ask you to specify the location and file name for the new workspace. A workspace is represented by a JSON file with .code-workspace extension, whose structure will be explained shortly.
The workspace name is simply the file name without the .code-workspace extension and will be shown in the Explorer bar (see Figure 4-9). Then you can add other folders to the workspace by selecting File ➤ Add Folder to Workspace or via the Add workspace folder shortcut in the Welcome page. Added folders will be displayed in the Explorer bar under the workspace root. If you do not have any folders already opened, you can either start with File ➤ Save Workspace As or with File ➤ Add Folder to Workspace. With the first option, you will basically create an empty workspace with a name, and then you will add folders as described in the preceding text. With the second option, you will instead create an empty, untitled workspace starting from an existing folder. In this case, in fact, the Explorer bar will show UNTITLED (WORKSPACE) as the new workspace name. When you save the workspace like described in the preceding text, the Explorer bar will show the new name based on the workspace file name. Remember that workspaces are only logical containers and do not affect the structure or behavior of your projects and folders in any manner.
Note
Folders you add to a workspace can be anywhere on disk; Visual Studio Code will be able to group their content under the workspace root and let you work like if they were in the same location.
Opening Existing Workspaces
You can open an existing workspace via File ➤ Open Workspace. You can also drag and drop a workspace file name from your operating system’s file browsing program onto the Visual Studio Code surface. Opening a .code-workspace file directly will simply result in viewing the file content, not opening the workspace. Similarly, opening a folder that contains a .code-workspace file will only result in opening the folder, not the workspace. You can only use the specific commands described at the beginning of this paragraph.
Workspace Structure
Notice that the full pathname of a folder is only provided if such a folder is not in the same location of the workspace file. In this case, the .code-workspace file, the MyFiles folder, and the ExpenseReport folders are all in the same location; instead, the multeor-master folder is located under a different folder, C:UsersadelsoleDownloads. If you want to see yourself the structure of a workspace file, you can open it within Visual Studio Code via File ➤ Open File.
Summary
Visual Studio Code is file and folder based, and it allows for working with individual files as well as with folders that contain source code files and treat them in a structured, organized way.
It also supports a number of project systems such as .NET Core, TypeScript, and JavaScript, and it allows for creating and managing workspaces, logical containers of folders that make it easy to have multiple projects and folders under the same visual root. Visual Studio Code is not only a very powerful code editor but also a very flexible environment which can be customized in many ways. Customization is the topic of the next chapter.