Appendix: Panel Reference
This appendix summarizes the functions of all panels included with Adobe Audition. Note that several panels can show a large amount of data, which practically speaking can be seen only if you undock or float the panel, and extend its length, height, or both.
Amplitude Statistics
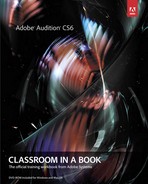
This panel applies to the Waveform Editor only, and provides detailed information about the waveform’s amplitude, bit depth, dynamic range, the possibility that samples have been clipped, and more. Clicking Scan analyzes the entire waveform, unless only part of the waveform is selected; in that case, the button will say Scan Selection, and only that section will be analyzed. You can also click Copy to copy these statistics to the computer’s clipboard, and paste the clipboard contents into a text document.
The RMS histogram tab shows how much energy (RMS amplitude; vertical axis) is present at various amplitude levels (horizontal axis). This can display the right or left channel, but not both.
Batch Process
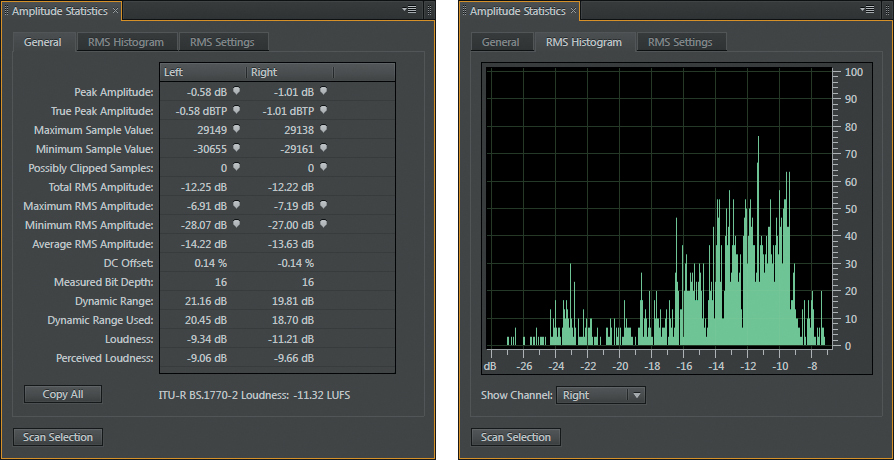
To convert and export files to a specific format, drag the files from the desktop, Media Browser, or Files panel into the Batch Process panel. The panel’s Export Settings button opens a window that lets you choose the format to which the files will be converted, as well as add a distinctive prefix or suffix; click the Run button to initiate the conversion/export process.
Diagnostics
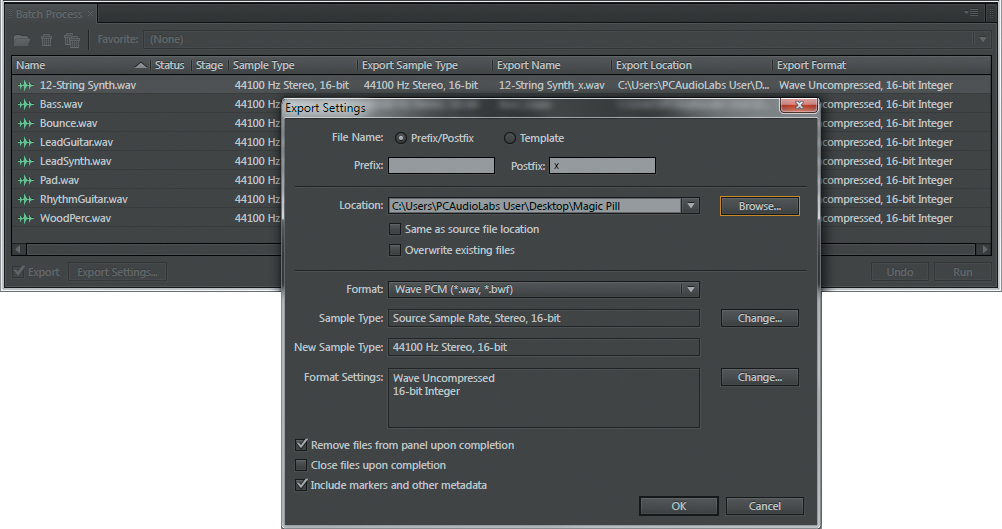
This panel is the same as the one that opens when you select part or all of a waveform in the Waveform Editor, then choose Effects > Diagnostics. It provides processing that can minimize clicks and clipping, as well as delete silence and show marked sections of a waveform.
Editor
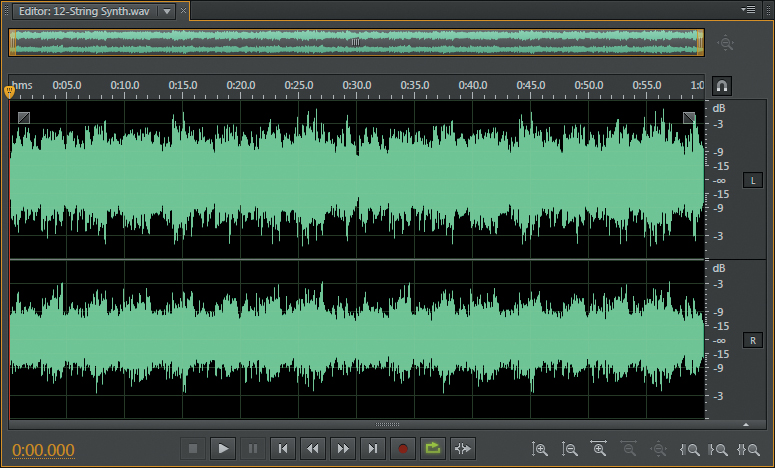
This panel shows the currently selected Editor (Waveform or Multitrack).
Effects Rack

This panel shows the effects currently inserted into a selected track or clip in the Multitrack Editor, or waveform in the Waveform Editor. It can optionally display input/output and mix controls, as well as input/output metering.
Files
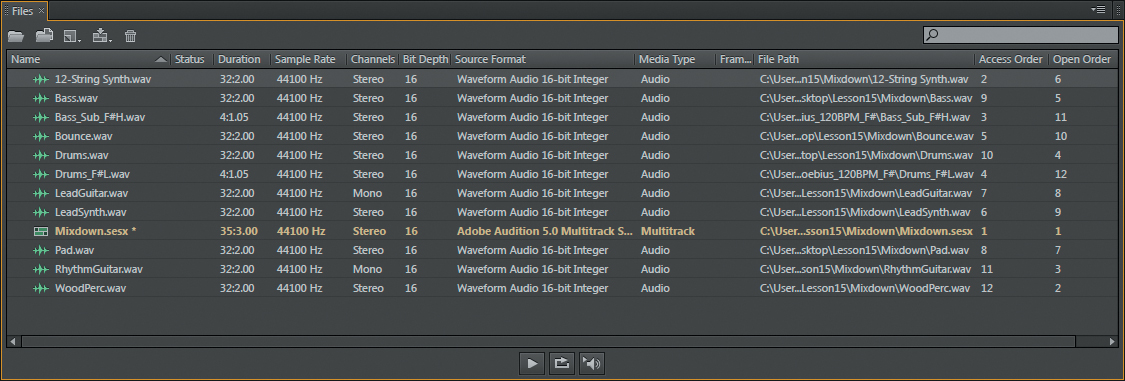
This panel shows all files currently loaded into Audition (Waveform and Multitrack Editor), as well as several file attributes (duration, sample rate, channels, bit depth, file path, and so on). The file currently being displayed in either Editor is highlighted with tan text. A preview section along the bottom of the panel allows previewing files.
Frequency Analysis
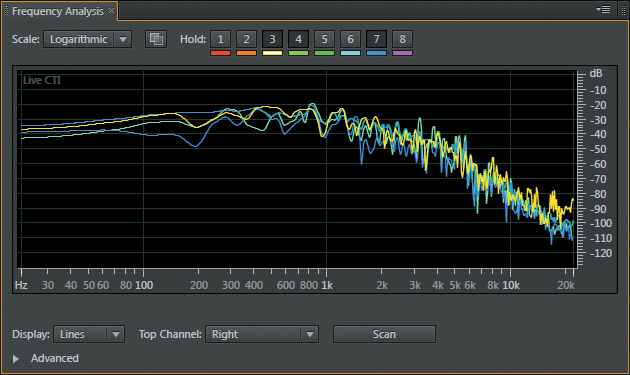
For a selected file (or portion of a file) in the Waveform Editor, this panel shows amplitude response (vertical axis) plotted against frequency (horizontal axis). The frequency range can be displayed linearly or logarithmically; you can store up to eight “snapshots” taken at particular points in the waveform, and for comparison, display each one using a separate color.
History
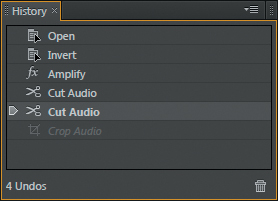
This panel shows a history of operations that have been applied to the Waveform Editor or Multitrack Editor, depending on which is open. Clicking an entry returns you to the file status as of that operation, and is nondestructive. If you click an entry and then click the Trash icon, all history will be removed after (and including) that entry; this is destructive and cannot be undone.
Levels

This panel displays a waveform’s level in the Waveform Editor, or the Master Track output level in the Multitrack Editor. You can resize these meters to extend up to the entire width or length of your monitor screen to provide extremely high resolution.
Markers
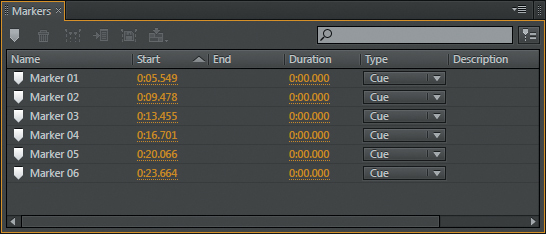
When markers are inserted in either the Waveform or Multitrack Editor, this panel shows information about them—name, start point, duration, type, and so on. You can also rename, delete, and change marker types in this panel. Note that it switches automatically to display the markers for the selected Editor.
Match Volume
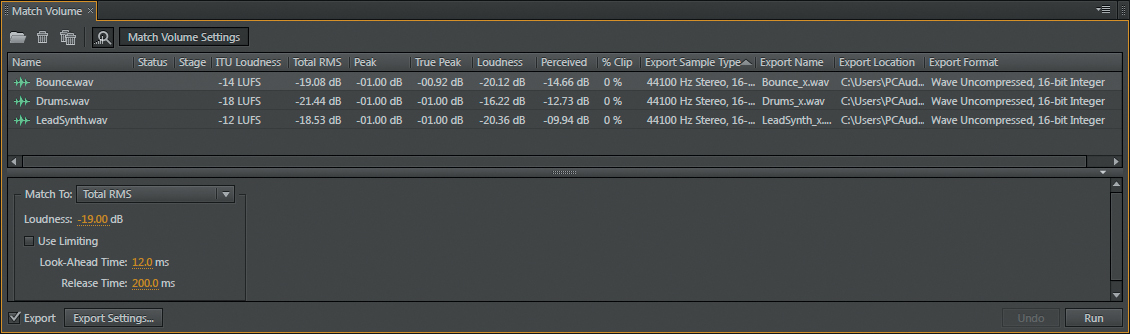
Intended primarily for mastering, this panel analyzes files dragged into the panel (from the desktop, Media Browser, or Files panel) for peak and average loudness levels. You can then choose to match these files to a reference. This panel also includes a batch processing function to export the matched files.
Media Browser
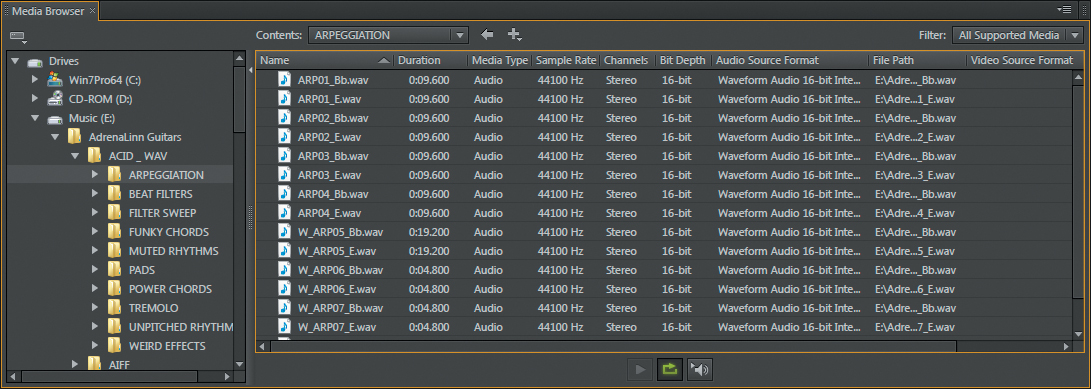
This panel provides an Explorer- or Finder-like way to browse and display the drives, folders, and files on your computer. You can then drag files into either the Waveform or Multitrack Editor, as well as preview the file or auto-play files upon selecting them in the Media Browser. In addition to dragging files, you can drag folders into either Editor to load multiple files simultaneously.
Metadata
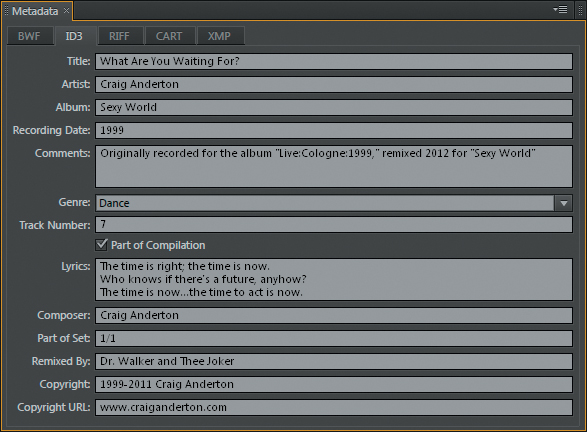
You can enter a variety of information that’s saved with every file, whether audio from the Waveform Editor or a Session file from the Multitrack Editor. Types of Metadata include Broadcast Wave File data, ID3, Cart, etc.
Mixer
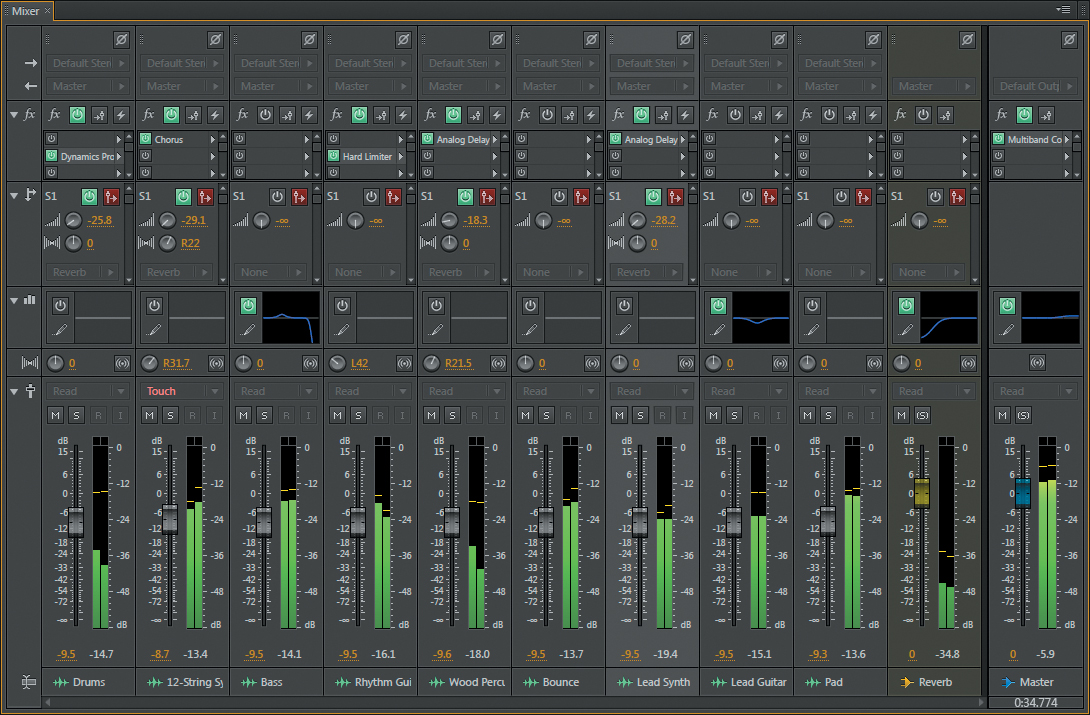
This panel provides an alternate way to look at, and work with, the Multitrack Editor. The layout more closely resembles that of a traditional hardware mixer.
Phase Meter

This panel displays the phase relationship between channels (stereo or surround) in the Waveform Editor, or the Master Track output in the Multitrack Editor. Readings toward the right indicate that the channels are more in-phase, while readings toward the left indicate the channels are out of phase to some degree. If the meter is all the way to the left, the two channels being compared are out of phase.
Playlist
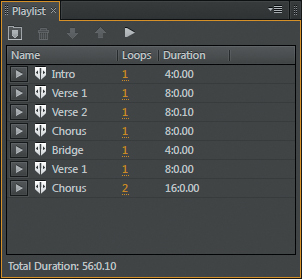
This panel works in conjunction with the Waveform Editor. You can place multiple selection markers within the waveform, then drag these markers from the Markers panel into the Playlist panel in any arbitrary order. This is an excellent way to test out different arrangements for a song; you can also choose to repeat (loop) the region defined by the selection marker an arbitrary number of times.
Properties
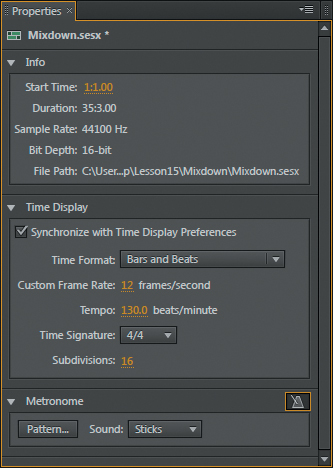
This panel shows the properties for (depending on what’s selected) a file in the Waveform Editor, a Multitrack Session if no clips are selected (as shown), or the properties for a selected clip within a Multitrack Session.
Selection/View
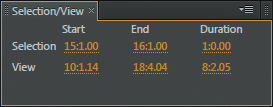
The Selection line of this panel shows the start, end, and duration of the current selection. View shows the start, end, and duration of what you can see in the Waveform or Multitrack Editor, depending on which one is selected.
Track Panner
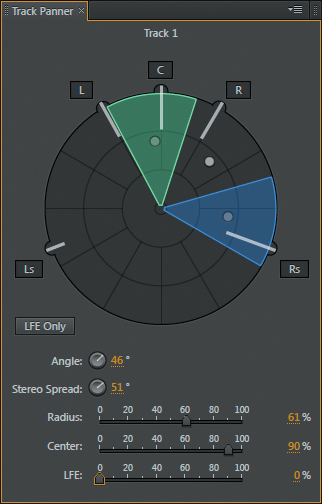
This panel applies only to surround multitrack projects. It provides surround panning for whichever track is selected.
Time
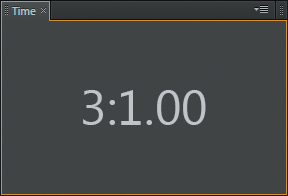
This panel displays the time at the Current Time Indicator (playhead), expressed in the same time units as the timeline calibration. You can also right-click this panel to change the time units, and resize it to a giant size so narrators and instrumentalists can see the time when at a distance from the computer screen.
Tools
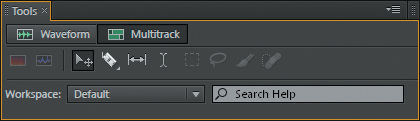
You can undock the toolbar that is normally located at the top of the Workspace. This not only includes the toolbar tools, but also, when undocked, it lets you choose a Workspace and provides a search box for Audition Help.
Transport
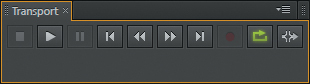
This panel duplicates the transport functions normally located toward the bottom left of the Waveform and Multitrack Editors.
Video

If a video file is loaded into the Multitrack Editor, you can see the video preview in the Video panel. Right-clicking (Control-clicking) the video panel allows choosing different levels of scaling, as well as resolution.
Zoom
This panel duplicates the transport functions normally located toward the bottom right of the Waveform and Multitrack Editors.