12. Exporting Models and Scenes
Lesson overview
In this lesson, you’ll discover how to export models and scenes from Dimension, and learn the following:
How to save a selected model for reuse in another scene.
How Dimension works with Creative Cloud Libraries.
How to export a scene for viewing on the web.
How to export a model for use in augmented reality workflows.

This lesson will take about 45 minutes to complete. To get the lesson files used in this chapter, download them from the web page for this book at www.adobepress.com/DimensionCIB2020. For more information, see “Accessing the lesson files and Web Edition” in the Getting Started section at the beginning of this book.
Dimension includes robust export capabilities that let you export models for use in other Dimension scenes or other 3D programs, for viewing on the web, or for use in augmented reality programs such as Adobe Aero.
Exporting models and scenes
The primary purpose of Dimension is to help you create 3D scenes by importing 3D models from a variety of sources, applying materials and graphics to the surfaces of the models, and arranging the models into a scene, complete with custom lighting and background images. As you’ve learned, you can save these scenes with File > Save. Scenes are saved into Dimension’s proprietary DN file format, which can only be opened by Dimension.
But Dimension also lets you export selected models to the DN format, and export selected models or entire scenes to other formats. This can be useful for exporting individual models to Dimension format without the scene information, or for exporting models or entire scenes to be used by other programs.
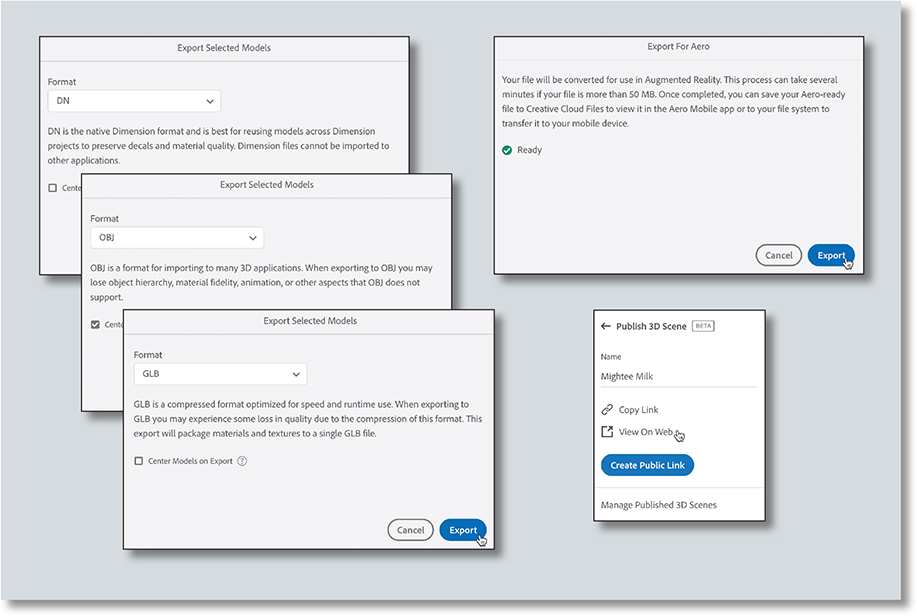
Dimension can export content to the following file formats:
DN |
This is Dimension’s proprietary file format. Export to this format to share a model with another Dimension user, or to use a model in a different scene. |
glTF |
GL Transmission Format, a “royalty-free specification for the efficient transmission and loading of 3D scenes and models by applications”. For more information, see www.khronos.org/gltf. |
GLB |
The binary version of the glTF format. |
OBJ |
Wavefront OBJ Format, a common 3D file format standard supported by many 3D modeling programs. |
Exporting a model to DN format
Exporting a model to the proprietary Dimension DN file format is the best choice if you are going to re-use the model in another Dimension scene. This file format will reliably save the materials and graphics applied to the model.
When you export a model, you have the option to reset the coordinates so that the model will be placed into the center of any scene into which it’s imported, much like most starter assets. You can also choose to save the original coordinates with the model. In this lesson you’ll see how this works.
Open the file named Lesson_12_01_begin.dn, which is in the Lessons > Lesson12 folder that you copied onto your hard disk. Be patient. This is a large file that may open slowly.
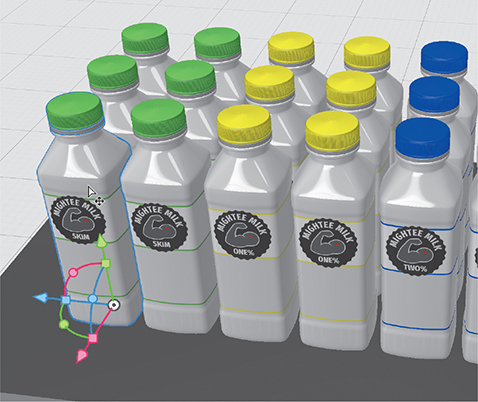
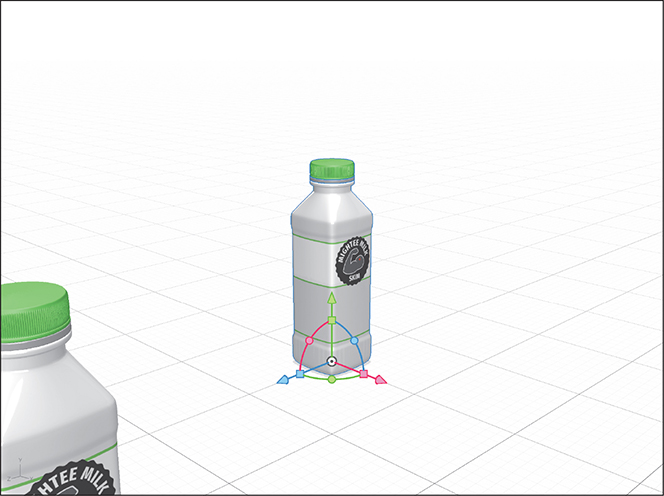
Use the Select tool to select the leftmost skim milk bottle in the front row.
Look in the Properties panel under Position, and make note of the coordinates of the bottle: x=19.7 cm, y=1 cm, z=37.3 cm.
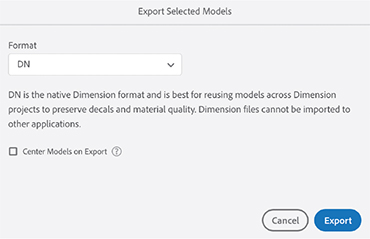
Choose File > Export > Selected Models.
Choose DN for the Format.
Do not select the Center Models On Export option.
 Tip
TipThe easy-to-remember keyboard shortcut to export selected models is Command+E (macOS) and Ctrl+E (Windows).
Click the Export button.
Type Skim milk not centered.dn for the filename, choose a location where you can find the file again later in this lesson, and click Save.
Once again, choose File > Export > Selected Models.
Choose DN for the Format.
This time, select the Center Models On Export option.
Click the Export button.
Type Skim milk centered.dn for the filename, choose a location where you can find the file again later in this lesson, and click Save.
Choose File > New With Settings, and create a new document that is 1024 px wide and 768 px high. Dimension will close the Lesson_12_begin.dn file, and create a new file. (If you are prompted to save the file that is being closed, you can click Don’t Save.)
Choose File > Import > 3D Model.
Select the Skim milk not centered.dn model, and click Open.
The bottle will be imported, but only a small part of the bottle will be visible.

In the Properties panel under Position you’ll see that the bottle indeed landed in the correct coordinates (x=19.7 cm, y=1 cm, z=37.3 cm).

The reason that the position of the bottle appears different in this new file is that the camera is oriented toward the scene differently than in the original file.
Choose File > Import > 3D Model.
Select the Skim milk centered.dn model, and click Open. This file will import exactly in the center of the scene, as expected.
Exporting a model to GLB format
As mentioned earlier, glTF and GLB are closely related. GLB is simply the binary, single-file version of the glTF format. The creator of this format calls it the “jpeg of 3D formats”. The format is supported by a wide variety of software programs and web services. In this exercise, you’ll export both a model and an entire scene, and place the results in a PowerPoint presentation.
Open the file named Lesson_12_01_begin.dn, which is in the Lessons > Lesson12 folder that you copied onto your hard disk. Dimension will close the file with the two skim milk bottles. (When you are prompted to save the file that is being closed, you can click Don’t Save.)
Use the Select tool to select the bottle on the far right (the front red whole milk bottle).
Choose File > Export > Selected Models.
Choose GLB for the format.
Select the Center Models On Export option.
Click the Export button.
Type Whole milk bottle.glb for the filename, choose a location where you can find the file again later in this lesson, and click Save.
Choose File > Export > Scene.
Choose GLB for the Format.
Click the Export button.
Type Milk bottle scene.glb for the filename, choose a location where you can find the file again later in this lesson, and click Save.
 Note
Note3D models can be inserted into Microsoft PowerPoint, Word, Excel, and Outlook. However, depending on your particular Microsoft Office license and the version of your operating system, this feature may not be available.
If you have access to Microsoft PowerPoint, open the file named Presentation.ppx, which is in the Lessons > Lesson12 folder that you copied onto your hard disk.
In PowerPoint, choose Insert > 3D Models > From A File.
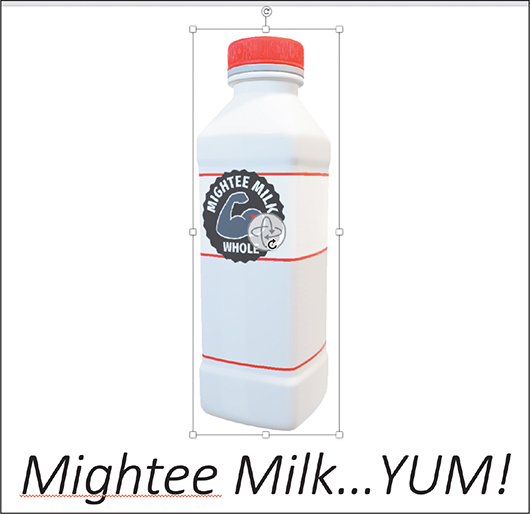
Select the Whole milk bottle.glb file that you exported earlier, and click Insert.
Drag around on the rotation widget to position the bottle as desired.
Press the delete key to delete the model.
Choose Insert > 3D Models > From A File.
Select the Milk bottle scene.glb file that you exported earlier, and click Insert.
Drag around on the rotation widget to position the bottle as desired.
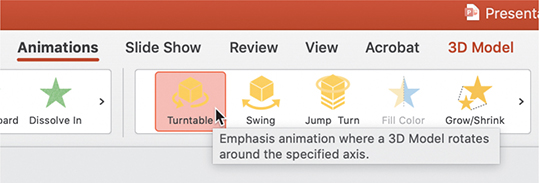
Click on Animations to reveal the Animations ribbon.
Select the Turntable animation. You should see the milk bottle scene begin to rotate 360°.
Exporting a model to OBJ format
If you need to export a model for use in a 3D software program that doesn’t support the glTF or GLB forms, it’s likely that you can use the OBJ format.
In Dimension, use the Select tool to select one of the blue 2 percent milk bottles.
Choose File > Export > Selected Models.
Choose OBJ for the format.
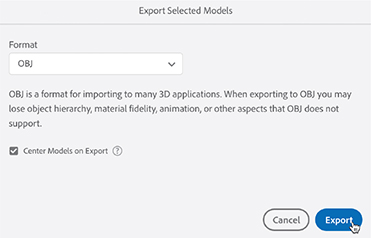
Select the Center Models On Export option.
Click the Export button.
Type Two percent milk bottle.obj for the filename, choose a location where you will be able to find the file, and click Save.
In the Macintosh Finder or Windows File Explorer, examine the location where you exported the OBJ file. Note that a Two percent milk bottle.obj file and a Two percent milk bottle.mtl file were both exported, along with a folder named “Two percent milk bottle” that contains some PNG files. Both files and the folder are necessary to successfully import the OBJ file into another 3D program.
Saving model assets in a Creative Cloud Library
CC Libraries are a great way to save and store design assets and then reuse those assets across projects and between Creative Cloud programs. Dimension supports storing models, colors, and graphics in Libraries, and allows you to retrieve models, colors, and graphics from Libraries and use them in your scenes.
Click the Add And Import Content icon
 at the top of the Tools panel, and choose CC Libraries. This displays the Content panel on the left side of the screen, and shows the last-used CC Library in the panel.
At the top of the panel, click the more icon
 and choose Create New Library. Tip
You can have as many different Creative Cloud libraries as you wish. You may wish to organize your libraries by project, asset type, client, or any criteria that makes sense in your workflow.
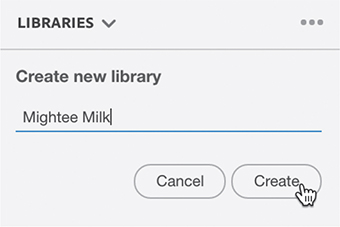
Type Mightee Milk for the library name, and click Create.
Use the Select tool to select one of the green skim milk bottles.
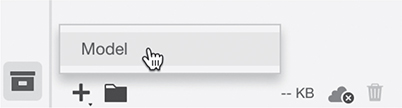
Click the plus icon
 at the bottom of the CC Libraries panel.
Choose Model from the menu. The skim milk bottle will be added to the Mightee Milk library.
Use the Select tool to select one of the blue 2 percent milk bottles.
Click the plus icon
at the bottom of the CC Libraries panel.Choose Model from the menu. The 2 percent milk bottle will be added to the Mightee Milk library.
Double-click one of the blue bottle caps on a 2 percent milk bottle to reveal the material applied to the cap.
In the Properties panel, click the blue color swatch next to Base Color.
To add the blue color to the Mightee Milk library, click the Add To CC Libraries icon
 in the color picker.
Choose Edit > Deselect All
Double-click one of the Mightee Milk labels on a 2 percent milk bottle to select the label graphic.
In the Properties panel, click the image swatch next to Image.
To add the label image to the Mightee Milk library, click the Add To CC Libraries icon
in the image picker.Your Mightee Milk library should now contain two models, one graphic, and one color. These assets can now be used in any other Dimension projects you work on. The graphic and color can also be used in other Creative Cloud programs such as Illustrator, Photoshop, and InDesign. You may want to right-click on each asset in the library and choose rename to give the assets meaningful names to make them easier to identify later.

Exporting a scene to the Web
Dimension includes a way for you to share your scene with others through an automatically-generated Web link, allowing them to interact with your scene in 3D space.
Open the file named Lesson_12_02_begin.dn, which is in the Lessons > Lesson12 folder that you copied onto your hard disk. (If you are prompted to save a file that is being closed, you can click Don’t Save.)
Click the Camera Bookmarks icon
 . Note that this file contains four clearly named bookmarks.
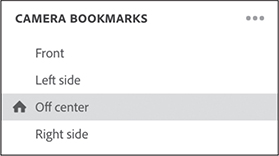
Click the Share icon
 in the upper-right corner of the screen.
Select Publish 3D Scene.

Type a name, and click Create Public Link.

Click View on Web.

In your web browser, experiment with viewing the scene from different angles, zoom in and out, and try some of the other features. Click the help icon
 to learn how to manipulate the scene in 3D space with a mouse or trackpad (the shortcuts are different from those used in Dimension).
Note that each camera bookmark from the scene in Dimension displays as an icon in the browser that provides quick access to that view.

Exporting for augmented reality workflows
Adobe Aero is a new augmented reality authoring tool to help designers create “immersive content.” It allows designers to pose 3D models in a physical space, and apply behaviors to the models so that they respond to touch and other commands. Models from Dimension can be exported for use in Aero.
Open the file named Lesson_12_03_begin.dn, which is in the Lessons > Lesson12 folder that you copied onto your hard disk. (If you are prompted to save a file that is being closed, you can click Don’t Save.)
NoteThe astronaut model is from the repository of free 3D models available from NASA at nasa3d.arc.nasa.gov/models.
Use the Select tool to select the Astronaut model.
Choose File > Export > Selected For Aero.
After a brief pause, Dimension will indicate that the model is ready for export. Click the Export button.
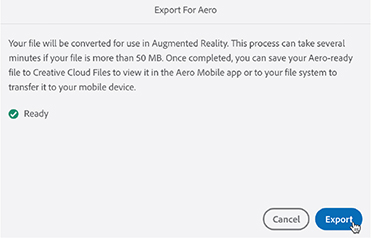
Navigate to the Creative Cloud Files folder on your computer, type Astronaut for the filename, and click Save. Saving the file into your Creative Cloud Files folder will make it easy to import the model into Aero on your mobile device, since Aero has access to these files.
Download the Adobe Aero app from www.adobe.com/products/aero.html and install it on your mobile device.
Launch the Aero app on your mobile device.
Tap the plus icon
 to start a new project.
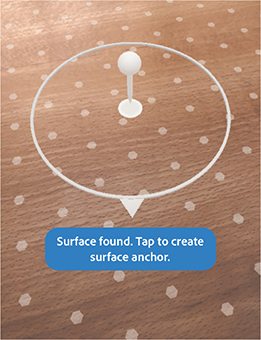
Slowly pan the device camera around physical surface on which you wish to pose the astronaut model.
When the surface is located, tap the pin to create an anchor for the model.
Tap the plus icon
and then choose Creative Cloud.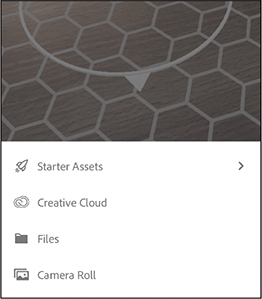
Select the Astronaut model that you saved into your Creative Cloud Files folder earlier.
Tap Open. The model will be imported into the scene.
Tap Preview to preview the result.

There’s a lot more that you can do with Aero. This is just a quick look at how to bring a model from Dimension into Aero.
Review questions
1. What are four file formats that Dimension can use for model export?
2. Why would you want to export a single model from a scene in the Dimension format?
3. What file format would you use to export a model for use in Microsoft Office?
4. Which three types of assets from Dimension can be saved in a Creative Cloud Library?
5. Why is it helpful to save several different views of a scene as Camera Bookmarks before using the Publish 3D Scene command?
Review answers
1. Dimension can export models in the DN, gLTF, GLB, and OBJ file formats.
2. The DN file format is the most robust export format to use if you are going to use the model in another scene.
3. The GLB format works well for importing 3D models into Microsoft Office applications such as Word, PowerPoint, and Excel.
4. Models, graphics, and colors from Dimension scenes can all be saved into a CC Library.
5. Any saved Camera Bookmarks in a scene are turned into saved “views” that the user can click in a Web browser to view the scene from that camera angle.