
The techniques in this book are heavily reliant on external tools. This book does not teach you how to develop those tools but attempts to enlighten you on how you can make use of these tools to both build and test your apps. That’s why I have dramatically decided to call this chapter “The Tool Bag.” I will also spend a little time telling you about my setup that I use when reverse engineering and debugging Android apps. Your mileage will considerably vary, and perhaps you do not want to or are unable to set up your environment this way. This is fine. You can still get the job done, so don’t fret too much. In this chapter, I will talk about tools that I use to build, test, and break Android apps. The list will be a combination of free and commercial tools that I use personally in my daily routines depending on whether I am wearing a builder hat or breaker hat. I skew toward breaker by nature and by the career that I have had. This may be apparent in the dearth of the builder tools covered here, but it will cover the basics of what you need so that you can build your apps and then ensure that they are secure.
On the topic of breaking, I’d like to take this time to discuss effectiveness. You can only be as effective as your tools are, unless you are an author of your own tools. Yes, you can make some headway with that, but in my case, I have neither the interest nor do I have the patience to build my own tools. Having said that, there are tools and then there are tools. In some cases, you can get a free tool that does about 60% of what you want, and the rest you can plug by writing some of your own scripts. You may find a multitude of such fragmented tools which you can incorporate into your workflow with your own “glue” scripts that hold things together. I find this takes a bit longer and requires significant experimentation and research to become useful on a project basis. What do I mean by this? Well, if your nine-to-five was solely taking Android apps apart and checking their security, then the fragmented approach I described earlier works better. However, if you did other things in addition to breaking Android apps like I do, then I find it more effective to invest in purchasing tools. The commercial tools will help you achieve a greater deal and will also mean you switch less between each tool and your custom scripts, and thus your workflow will be smoother. This will become clearer as we explore the tools.
The Builder Tools
Let’s start with some of the tools that I have and still use to build Android apps. The focus for this section is to outline a set of tools that not only you will use to write actual code but will also include tools that help you quickly debug and review your own source code for bugs or errors.
Android Studio
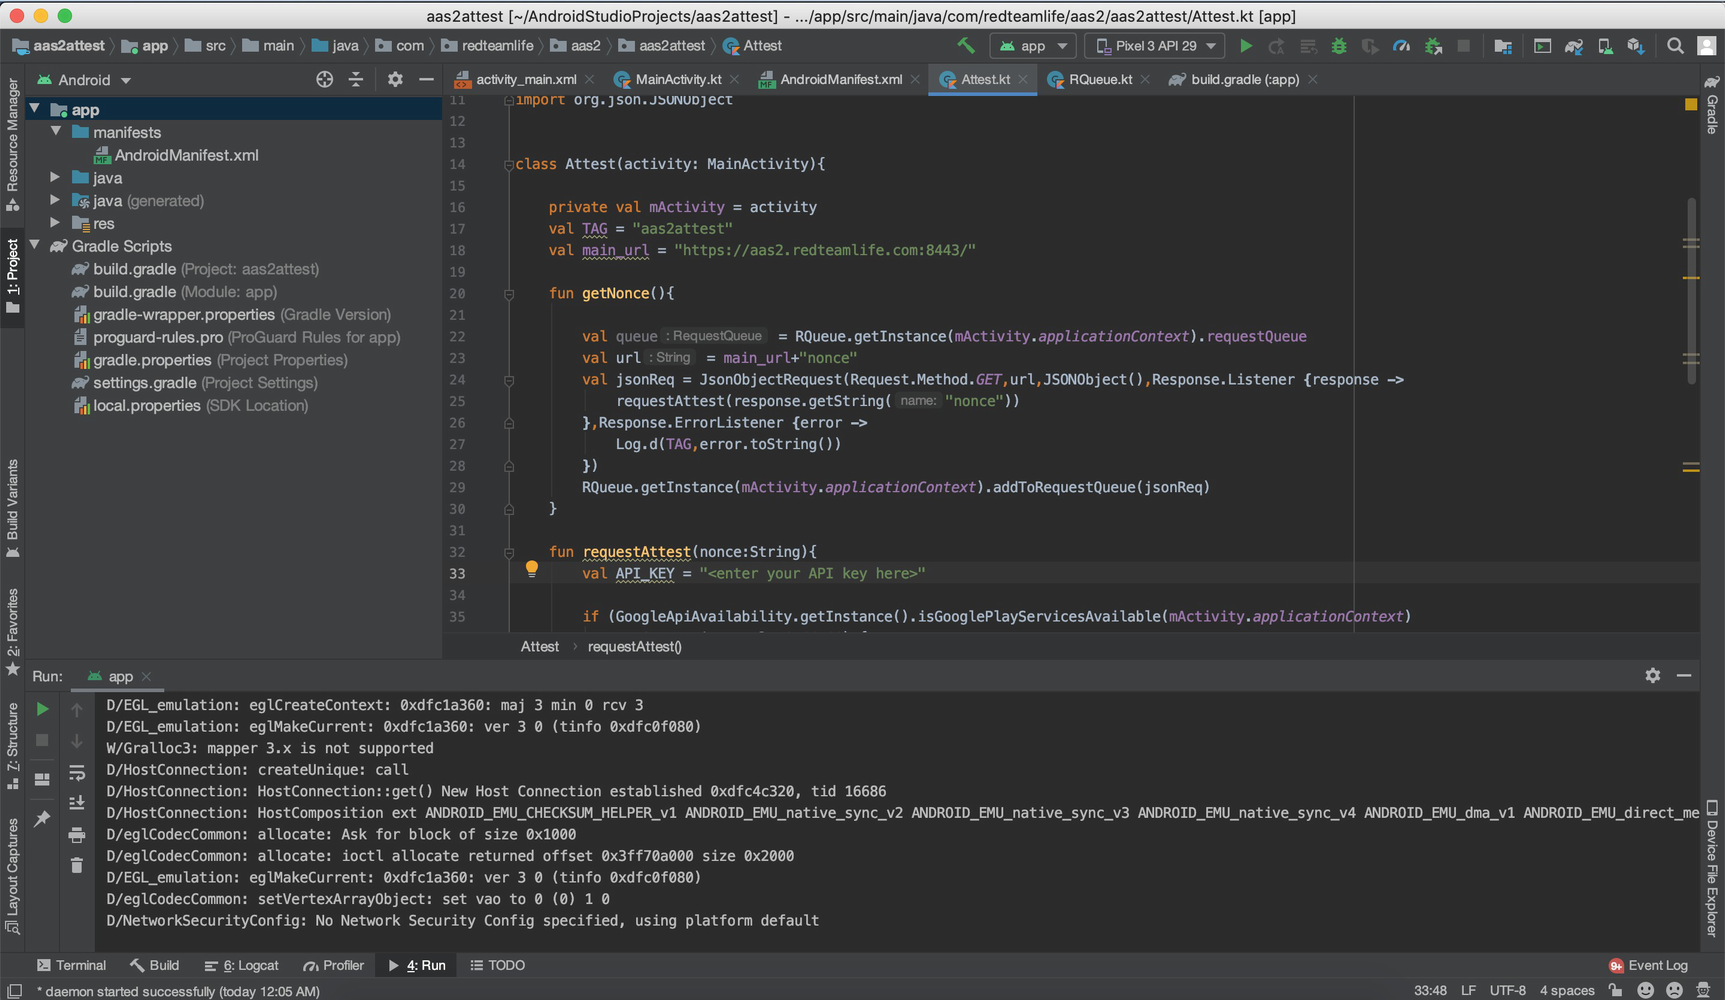
A screenshot of my Android Studio with opened sample project on MacOS

The Android Studio AVD
Each virtual device that you create will need you to tell it a specific Android version to run. Android Studio’s SDKs date as early as Android 2.1 (Eclair) API level 7. If you want to geek out with the numbers, you can find a list of codenames, tags, and build numbers on the Android source website at this URL: https://source.android.com/setup/start/build-numbers.
Having older SDKs is really great not just from a developer standpoint but also from a debugging or security standpoint. As a developer, you will be aware that the rate of adoption of newer Android versions is painfully slow. So those cool new features Google released can’t always be used in your app until a lot more people adopt the new version. As a hacker, that usually works in your favor because older versions may have vulnerabilities, and a user’s reluctance to upgrade is ideal for your preying hands to take advantage of. Google releases a distribution dashboard that shows the percentage distribution of each Android version here: https://developer.android.com/about/dashboards. The data on that page was up to 7 May 2019 and showed that Android version 9 (Pie) had a 10.4% distribution. As a comparison, Android Pie was released in August of 2018. Thus, after a ten-month period from release, there was a 10.4% adoption rate.
My Android Studio Tweaks

Android Studio SDK Manager

Android Studio SDK Manager
Creating a Virtual Device

Selecting the SDK to download in Android Studio
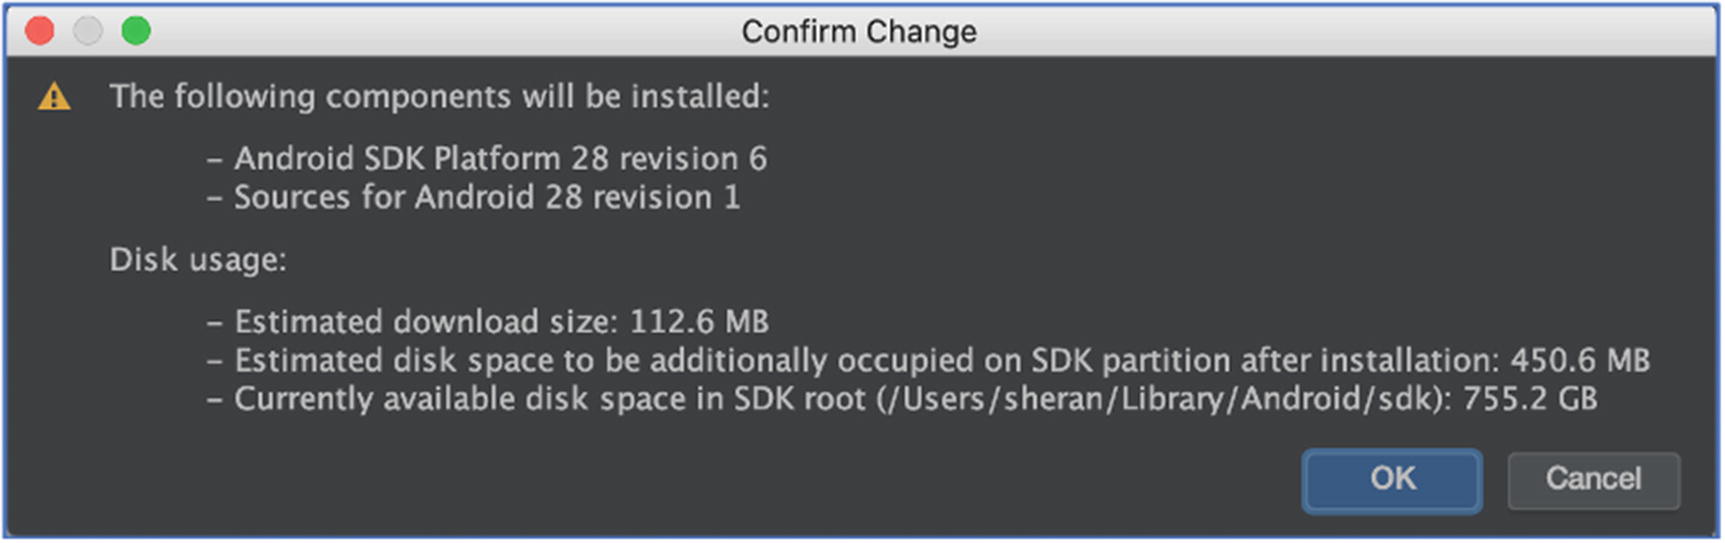
Confirmation prior to download of the SDK
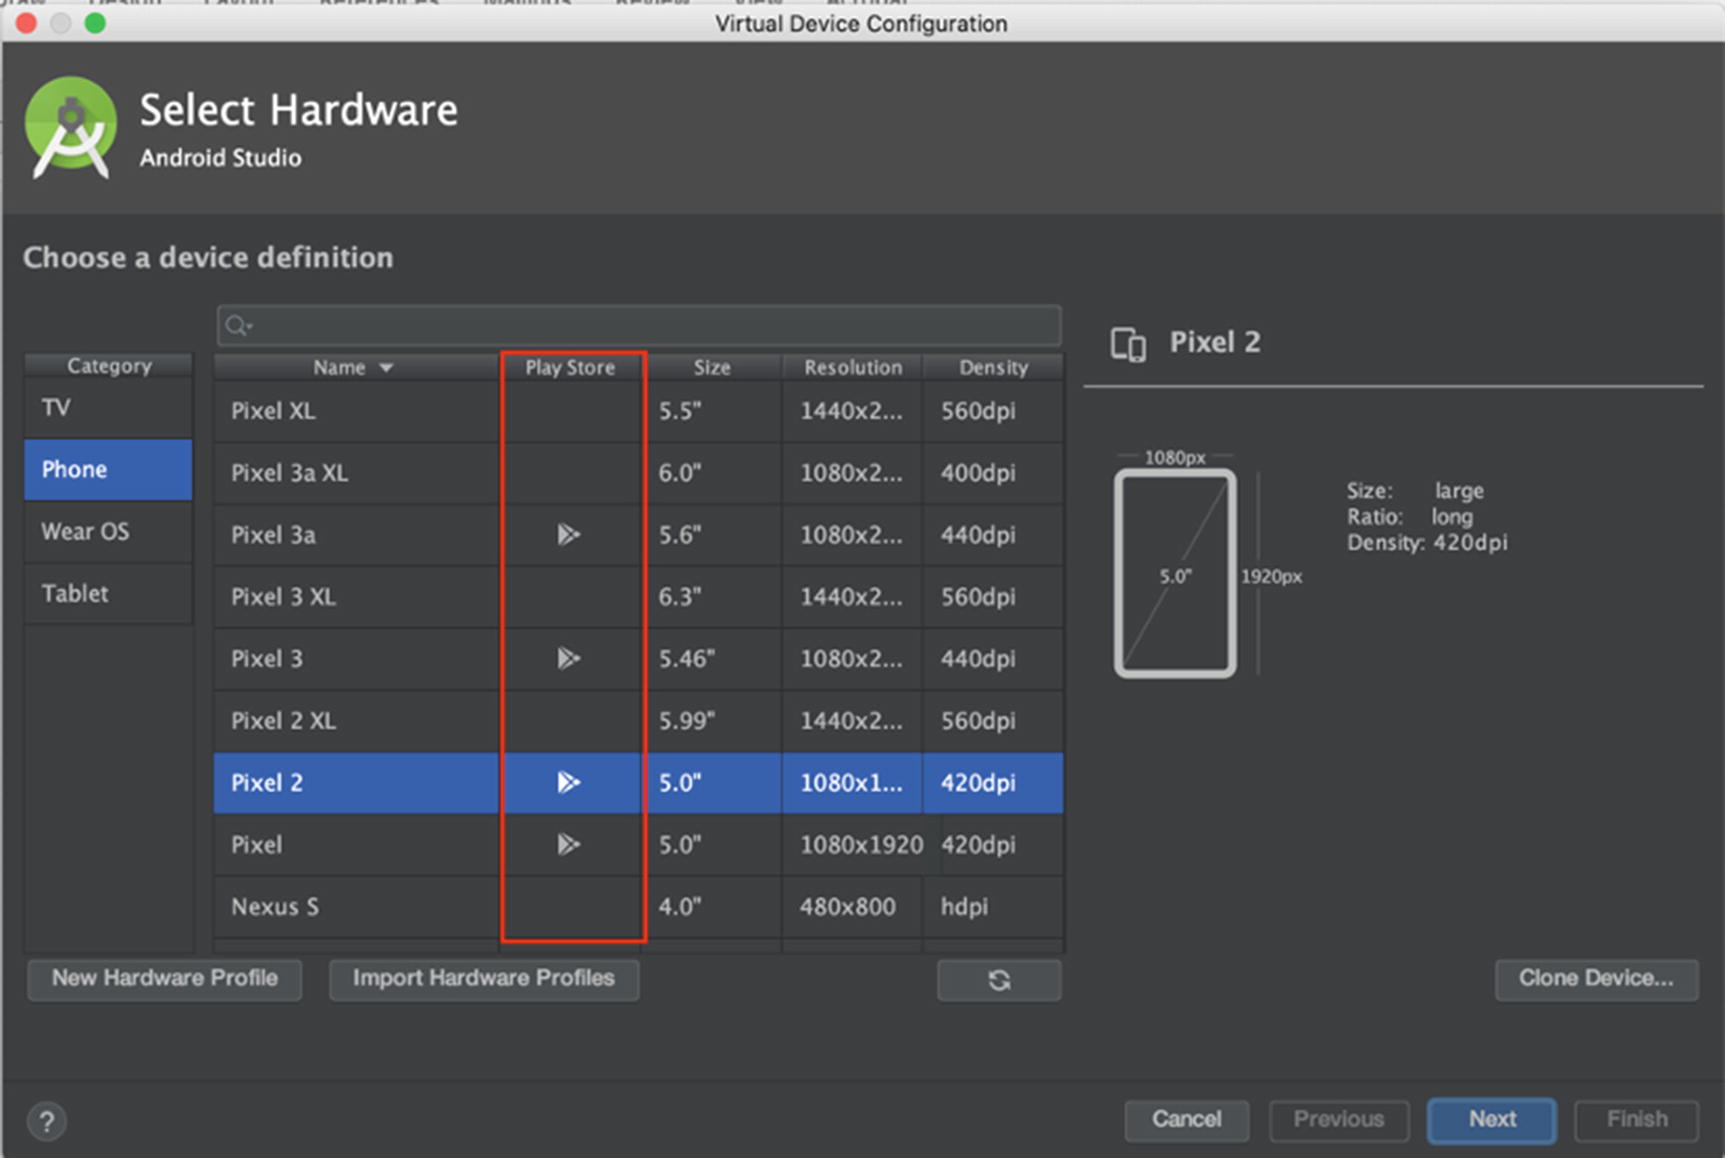
Hardware selection when creating a new virtual device
You will notice on the second column named “Play Store” some devices have a Google Play Store icon. These devices are special in that they have the Google Play Store and all other accompanying Google services, collectively known as Google Play Services, installed. This means that you can use your Gmail account or any other Google registered account to log in and configure that device just like you would a physical device. What this also means is that the virtual device will not be rooted. Therefore, you cannot use the Android Debug Bridge (ADB) to execute programs as the root user, nor can you freely look through the Android filesystem through ADB. Google says the following on their site:
To ensure app security and a consistent experience with physical devices, system images with the Google Play Store included are signed with a release key, which means that you cannot get elevated privileges (root) with these images. If you require elevated privileges (root) to aid with your app troubleshooting, you can use the Android Open Source Project (AOSP) system images that do not include Google apps or services.
The AOSP images that they refer to are the ones without the Google Play icon. They do not contain any of the Google Play Services. This isn’t a hindrance in any way; if I need to run an app on a rooted emulator, I will install the AOSP image instead. In Figure 6-7, you will notice that Pixel 2 is a system image that has Google Play Store installed which will be non-rooted. If you want a similar device as that but with root, install the Pixel 2 XL image.

Reading and accepting the license agreement to download the system image

Finalizing the virtual device you just created
You will then be returned to the list of your virtual devices (Figure 6-2), and you will see your newly created AVD listed there. We won’t fire it up now, but there will be plenty of instances when we will.
As far as emulators go, there are a few others out there including Genymotion and BlueStacks that offer differing solutions, especially if you want to run the virtual devices in a large group. For the purposes that I need, I find that the Android Studio emulator is a good fit.
The Breaker Tools
I’m not entirely certain, but I believe a fair number of readers were keener to get to the breaker without or before even considering the builder tools. I will outline some of my favorite and most useful breaker tools here.
Burp Suite – Web Application Security Test Kit

A screenshot of my Burp Suite startup screen

Burp Proxy showing all the captured traffic between my Mac and the apress.com website
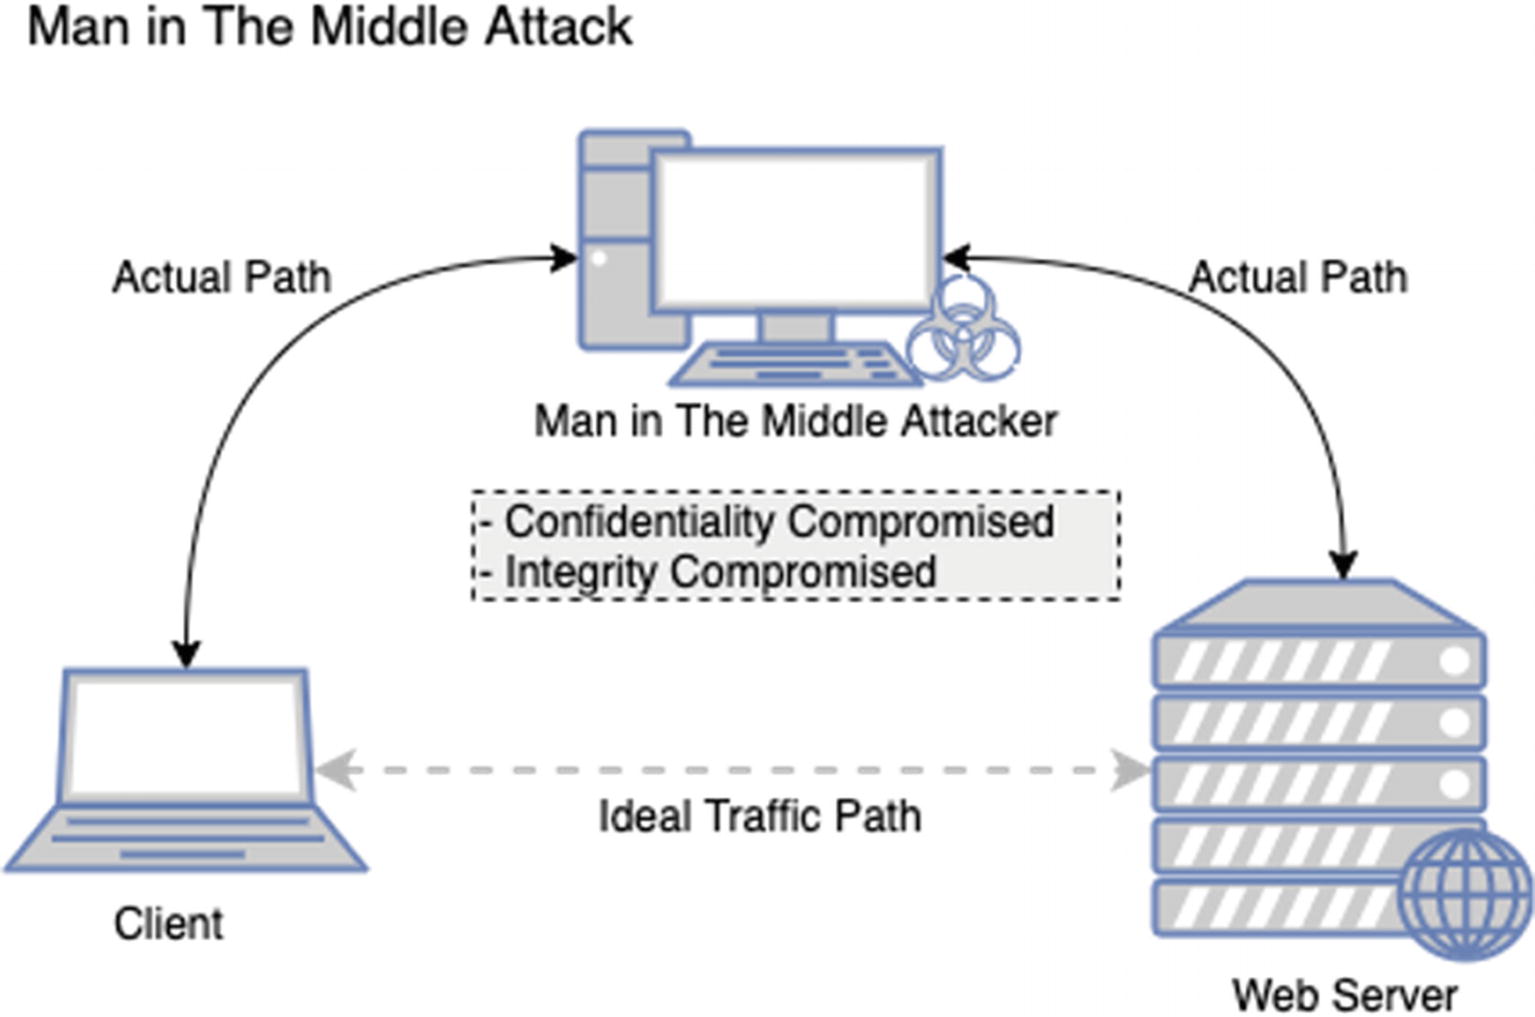
Man-in-the-middle attack data flow
That’s step one. When you know that all the network traffic passes through this proxy, the owner of the proxy (hopefully you) can take a look at all this traffic that is going back and forth. This means that the data traveling between the client and the server isn’t private. This is especially true if the client and the server are not part of your infrastructure or organization and belonged to a third party. You would be able to view all messages going between the two talkers which means you have compromised the confidentiality of that data. Now if you chose to, you could also compromise the integrity of those messages. Let’s say the client sends a chat message from one user to another via the server. You could watch for some keywords of this chat message, and when you intercept these keywords, you can change the text and then pass it along to the server. You can do this because you are receiving the message and you are also forwarding it on behalf of the party you receive the message from. Now you have compromised the integrity of that message as well. If you look back over your old information security notes on the CIA Triad, no, not the CIA with the Triads, the CIA Triad. The triangle with the three words forming the acronym CIA: Confidentiality, Integrity, and Availability. You will see that through this attack, we have managed to compromise two of the three concepts. Of course, presently, information security is far more nuanced and complex, but if we simplify into the triad, we can see that the MiTM attack is quite an effective one.
- 1.
Install our own Certificate Authority (CA) certificate on the Client
- 2.
Mark that CA certificate as trusted on the client side
- 3.
Generate multiple TLS certificates for each host that the client visits which are signed by our CA
If we wanted to, we could build a proxy that did the three steps outlined here. This would take time to build and test. Tools like Burp Suite have this functionality built-in and is easily usable. This goes to my point about being effective with the tools that you use.
Why does this work? Ultimately, it is because we have installed our CA certificate and marked it as trusted on the client. When we do this, the client will trust any certificate issued under that CA implicitly. Therefore, with this setup, we are able to see even encrypted TLS traffic that passes between the client and the server and, yes, even edit the data.
Let’s address the “no” part of this answer to the same question “Can I see TLS Traffic?” I said no because of the prerequisites that we need to fulfill prior to getting a successful TLS traffic dump between the client and the server. We would have to successfully convince the client to send all his traffic to us so that we can forward it along to the intended recipient. That isn’t hard by itself. We could easily do that if we were sitting on the same network as our client. We can run an ARP Spoofing attack on the client and trick him into believing that we are his next hop gateway rather than just another client. Today, however, there are many ways to prevent ARP Spoofing attacks, and to make things more complex, an ARP Spoofing attack, if not done correctly, can have some catastrophic results.
Speaking of ARP Spoofing, I remember a long time ago, an ex-colleague of mine once forgot that he had an active ARP Spoofing attack running on his laptop during an assessment where essentially about 30 servers on the same subnet were sending his modestly powered device all their traffic. Surprisingly, his laptop was able to cope with the data, and everything went well. At least until it was time for him to head to a meeting to update the customer on the progress of our security assessment thus far. Having forgotten the ongoing attack, he swiftly closed the lid of his laptop, unplugged the Ethernet cable, and proceeded to head to the meeting that never took place. About 2 minutes after he removed his laptop from the network, alarms began to go off, and we saw nervous and confused looks all around as customer employees began shouting and running around. Basically, the result of unplugging the laptop from the network of servers that all thought you were the gateway or the router meant that all of the servers were sending traffic to a nonexistent device. The attack had overwritten the ARP address of the actual router, and so, it only knew this one hardware address to send data to: my colleague’s laptop which was no longer there. No traffic was sent or received correctly on that production network subnet for sufficient time that the customer’s major services went straight down and stopped responding. We had to immediately plug his laptop back in and re-ARP or tell all the servers that the real router was at the correct hardware address. A restart of all servers would have also worked, but we were in no way willing to trust that the restart of 30 servers would go off without a hitch. So we had to re-ARP which we did, and gradually everyone began to relax as the services all came back up again. So, be extra careful if you want to try ARP Spoofing these days, but I am fairly certain that the ARP Spoofing attack is a thing of the past.
The next challenge would be to get the user of the client PC to install and trust our CA certificate. The best way to do this would be when he leaves his PC unlocked and walks away to go get a snack or visit the toilet. Otherwise, you’re looking at complex hacking attempts on his PC to mimic how he would download, install, and trust the CA certificate, and this would take considerable time and carry lower probabilities that it would succeed. With these kinds of odds, you can see why I would bring in the “no” answer to that question. I guess the real answer is “It depends” – in the context that in this scenario, we have little to no control over the client and what it is doing. The only real way we could succeed at breaking TLS traffic is if we were to fully and completely own the client. Humor me and follow this train of thought on context. What scenario gives us complete control over the client device where we could introduce and trust our own CA certificate on the client device? Well the answer is simple: It’s on our mobile phones that run third-party Android apps. We have complete and total control over our mobile phone. We can install the fake CA certificate, mark it as trusted, and then route all the traffic from a third-party app through our proxy to the ultimate destination and back.
Attacks like this are the reason why SSL Pinning was created. SSL Pinning is a technique where certain specific and trusted certificates from the app creator are embedded within the app. The app will run a comparison on whether the certificate presented to it when connecting to a server matches the one embedded within the app. If it does not, then the connection is terminated so that no traffic flows between the client and the server. No data means anyone watching will be sorely disappointed. But as you all may or may not know, SSL Pinning has also been defeated, and the exact mechanism of breaking SSL Pinning will be discussed in several chapters later in the book.
My Burp Suite Tweaks
There’s nothing noteworthy on this for the moment. I can really get good work out of Burp Suite’s Professional version with minimal configuration. Both the free and commercial versions of Burp are well tuned to a pentester’s perspective. Therefore, you will find yourself well setup from the beginning.
Frida – Dynamic Instrumentation Toolkit
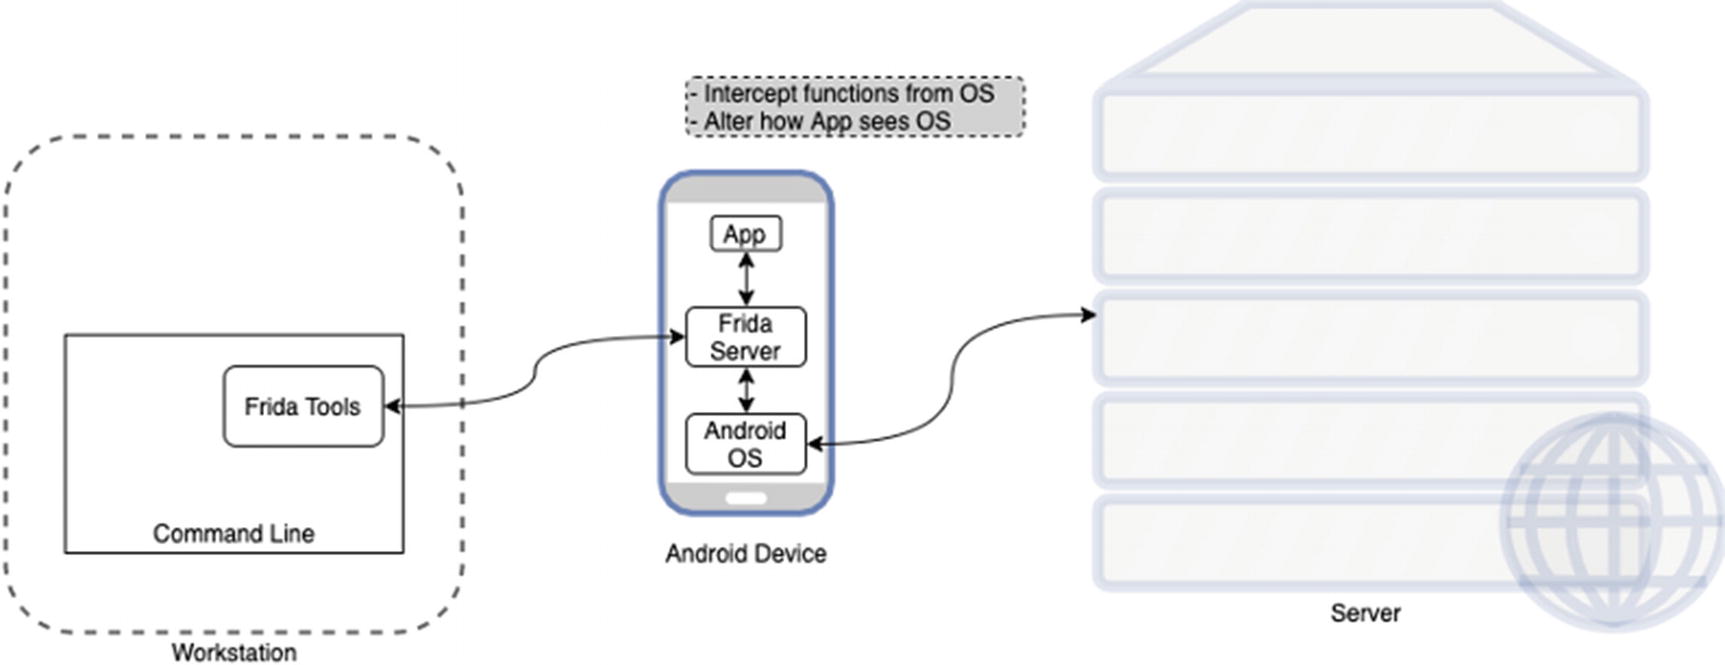
An overview of how Frida works
Frida has two components. First is the server component that runs on the Android device and hooks into the Android OS directly. Then it has the command-line tools component or client. The Frida client will send commands to the Frida server which can then oblige us by sending back instrumentation data, allow us to hook into different library calls or functions in the OS, trace private application code, or even allow us to replace and inject our own code into running apps. This sounds like a dream, and to be honest, you will feel that way when you can rip apart any Android app with ease and look into its innards – which APIs it talks to, what different servers it communicates with, what are the actual HTTP parameters being used – and look at what goes on behind the encrypted layer of TLS even if SSL Pinning has been implemented. I think many in the information security profession owe Ole a debt of gratitude for the tremendous tool that he has built and released for free. Thank you Ole!
Let’s go a little bit deeper than just the surface here for Frida. I want to show you how simple it is to get going with Frida. In the later chapters on breaking SSL Pinning, we will be getting very detailed with how we use Frida, but for now just a taste .
OS X comes bundled with Python 2.7, and for this exercise, I will use that. I recommend you switch to Python 3. It is good. Use it. We will cover how to install it and get up and running with Frida on Python 3 later. For this example, we will use Python 2.7.
- 1.
Open Finder.
- 2.
Click Applications in the left pane.
- 3.
Scroll down in the right pane and open Utilities.
- 4.
Scroll down in the right pane and open Terminal.
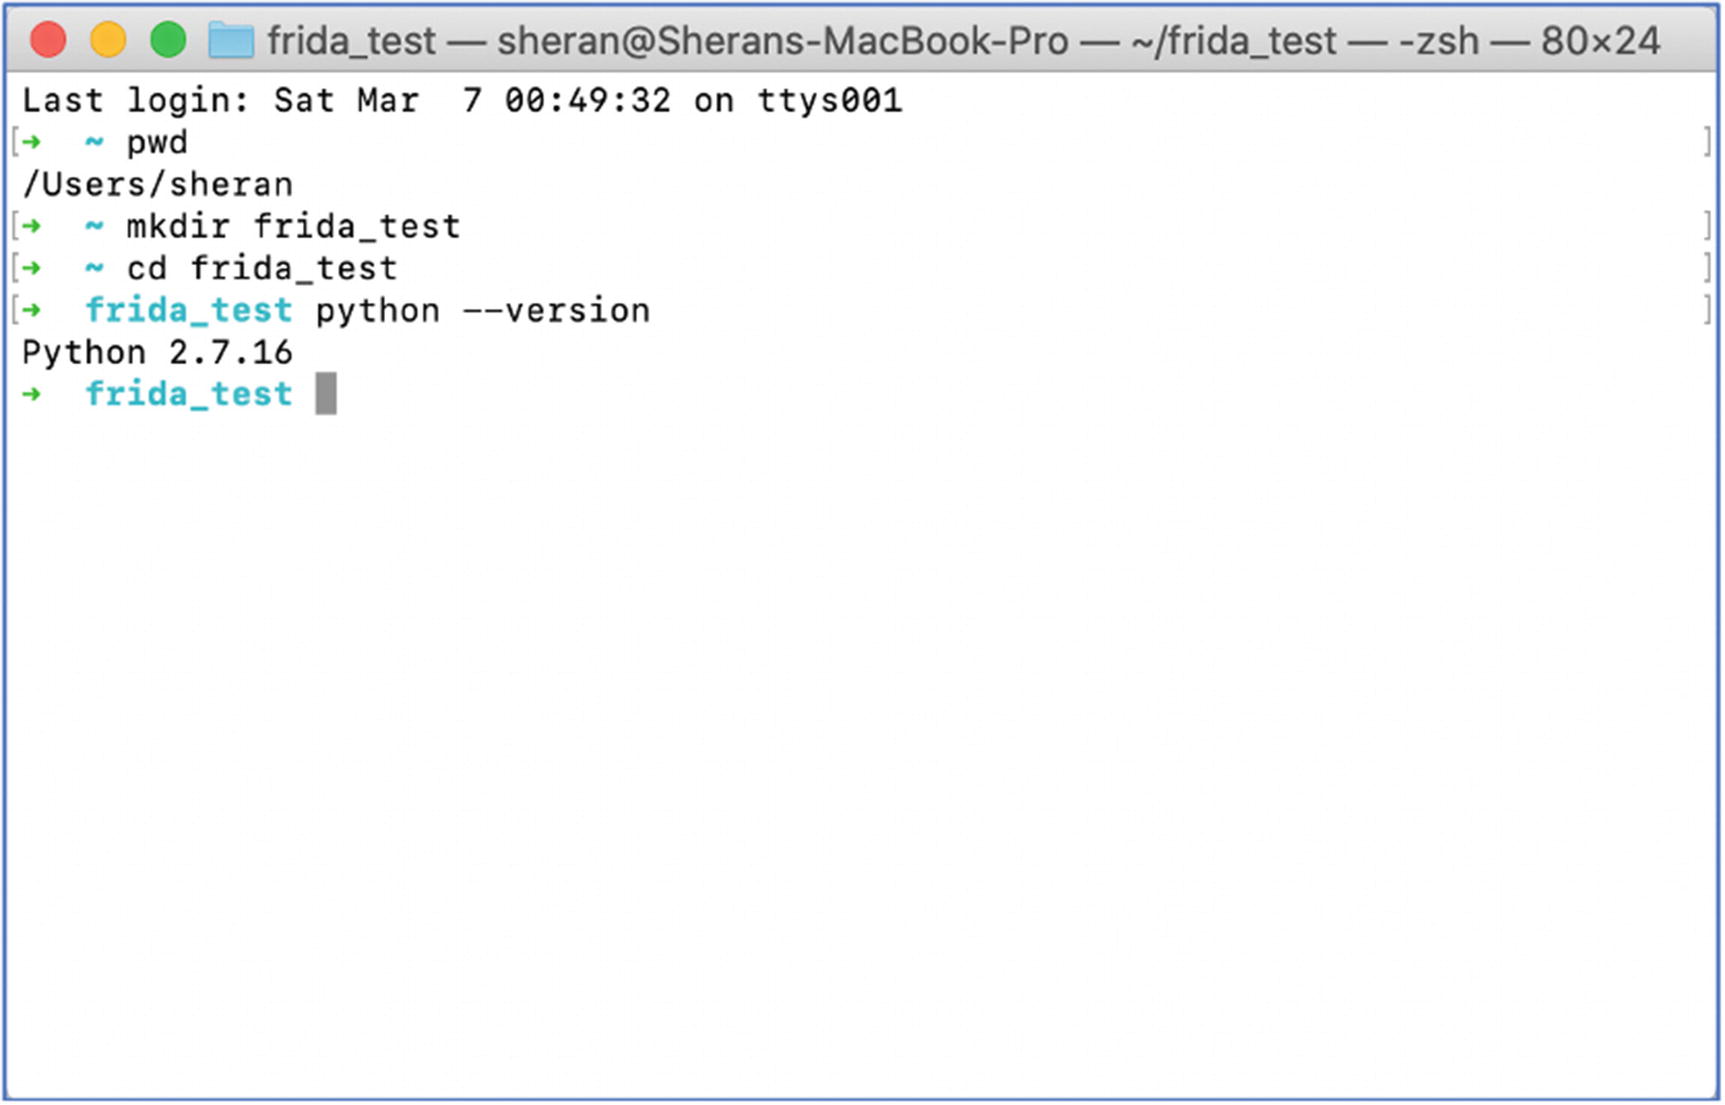
Screenshot of my MacOS X Terminal checking which Python version I have
- 1.
Check and make sure you are in your home directory by entering pwd. You should see /Users/<name you are currently logged on as>. In my case, it was sheran. If you are not in the correct directory, you can type in cd /Users/<name you are currently logged on as>. Therefore, if you were logged in as sheran, you would type cd /Users/sheran.
- 2.
Next, create a test directory that we will use to install our Python virtual environment and any files we want to keep there. Do this by issuing the mkdir frida_test command and pressing Enter.
- 3.
Then, change to this directory by issuing the cd frida_test command and pressing Enter.
- 4.
Lastly, we check to see what version of Python we have installed. Issue the command python –version and press Enter. If you receive anything that looks like Python 2.x.yy, then you have Python 2 installed.
- 5.Let’s now install our Python virtual environment so that we don’t affect the entire base Python installation. It is generally good practice to run your Python programs in its own virtual environment where you can independently manage requirements on a per project basis. To install the Python virtual environment with Python 2, type in virtualenv -p /usr/bin/python2 python. This should execute as shown in Figure 6-15 and return a new directory in your current one called python. In some cases, you may find that you don’t have virtualenv installed on your system. If this is the case, then you can install it with: pip install virtualenv.
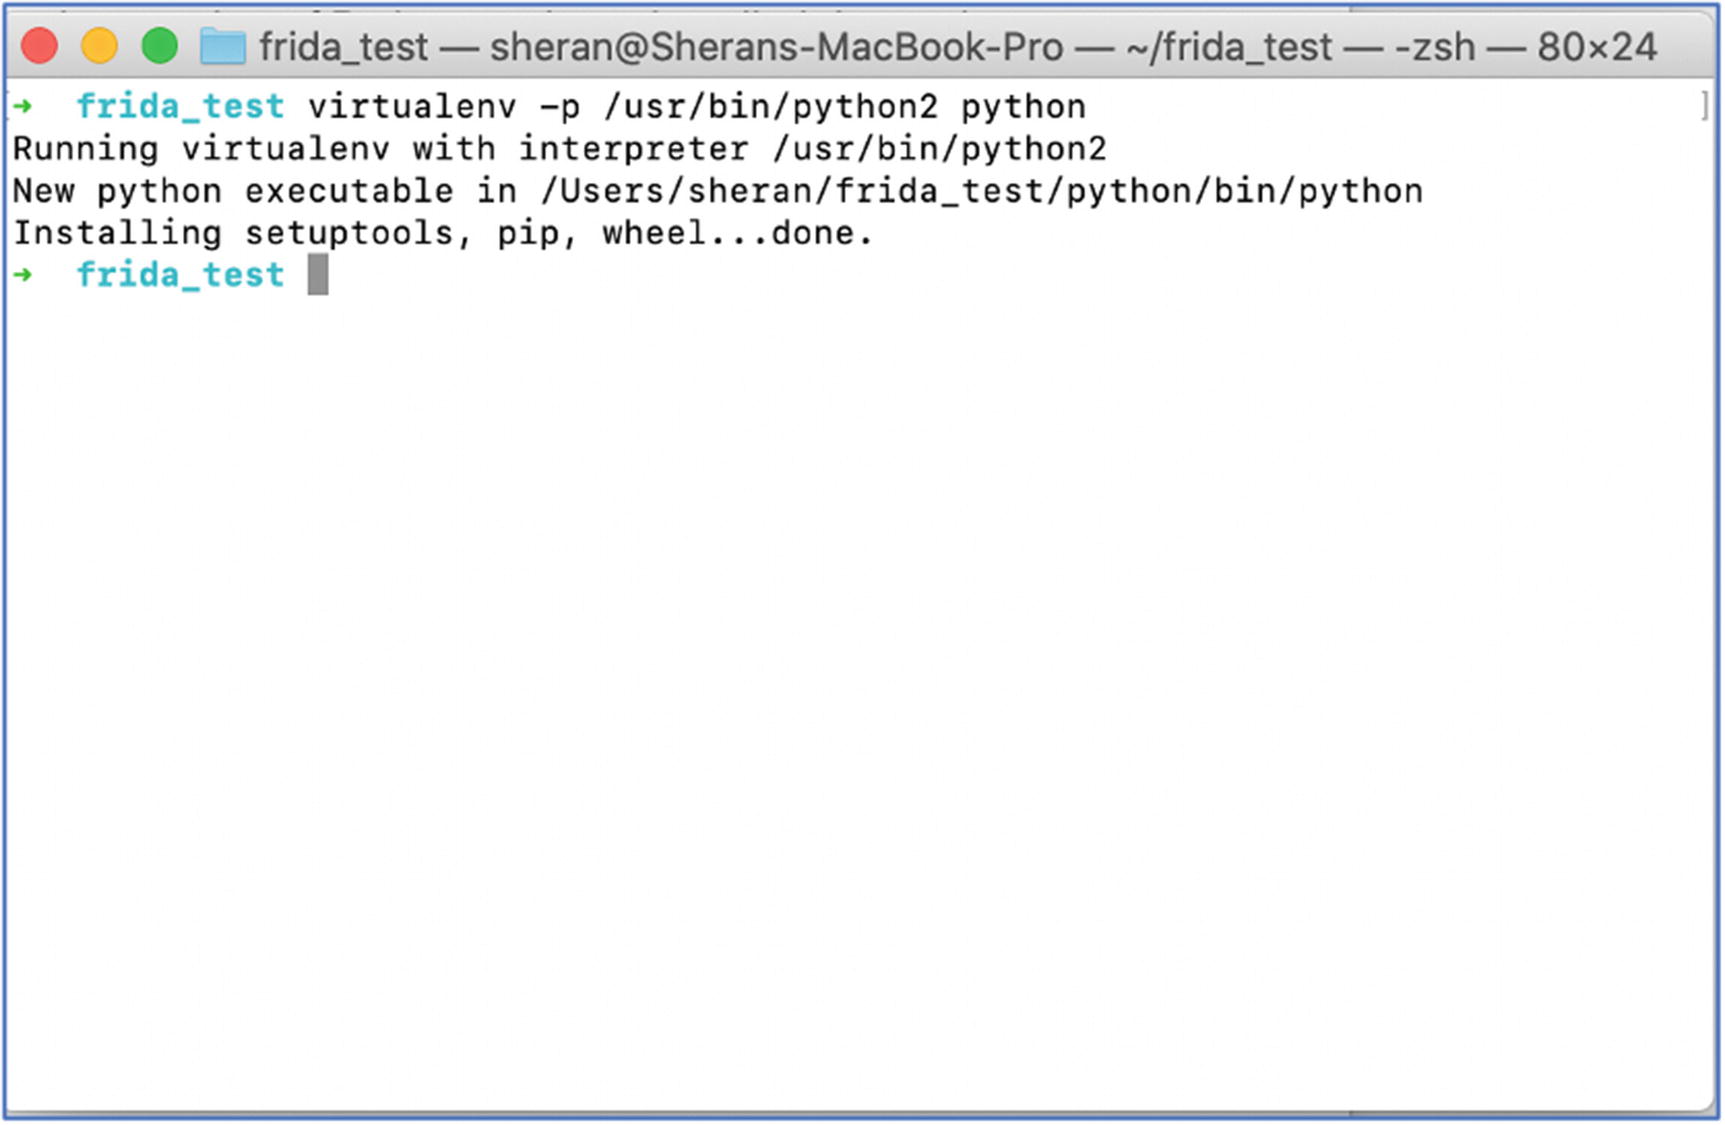 Figure 6-15
Installing the Python 2 virtual environment
- 6.
Now we have to activate our new Python 2 environment so that we can install Frida and any relevant requirements. Type in . ./python/bin/activate to activate the virtualenv. Pay close attention to the fact that there are two period characters. If this looks confusing, then as an alternative use source /python/bin/activate.
- 7.Then let’s install Frida by typing in pip install frida-tools. That’s it!
 Figure 6-16
A screenshot of my terminal after Frida has been installed
Next steps will usually involve copying the Frida server onto the Android device, starting the server, and then communicating to the server from the client. This will be covered in a later chapter.
JEB – Android Decompiler
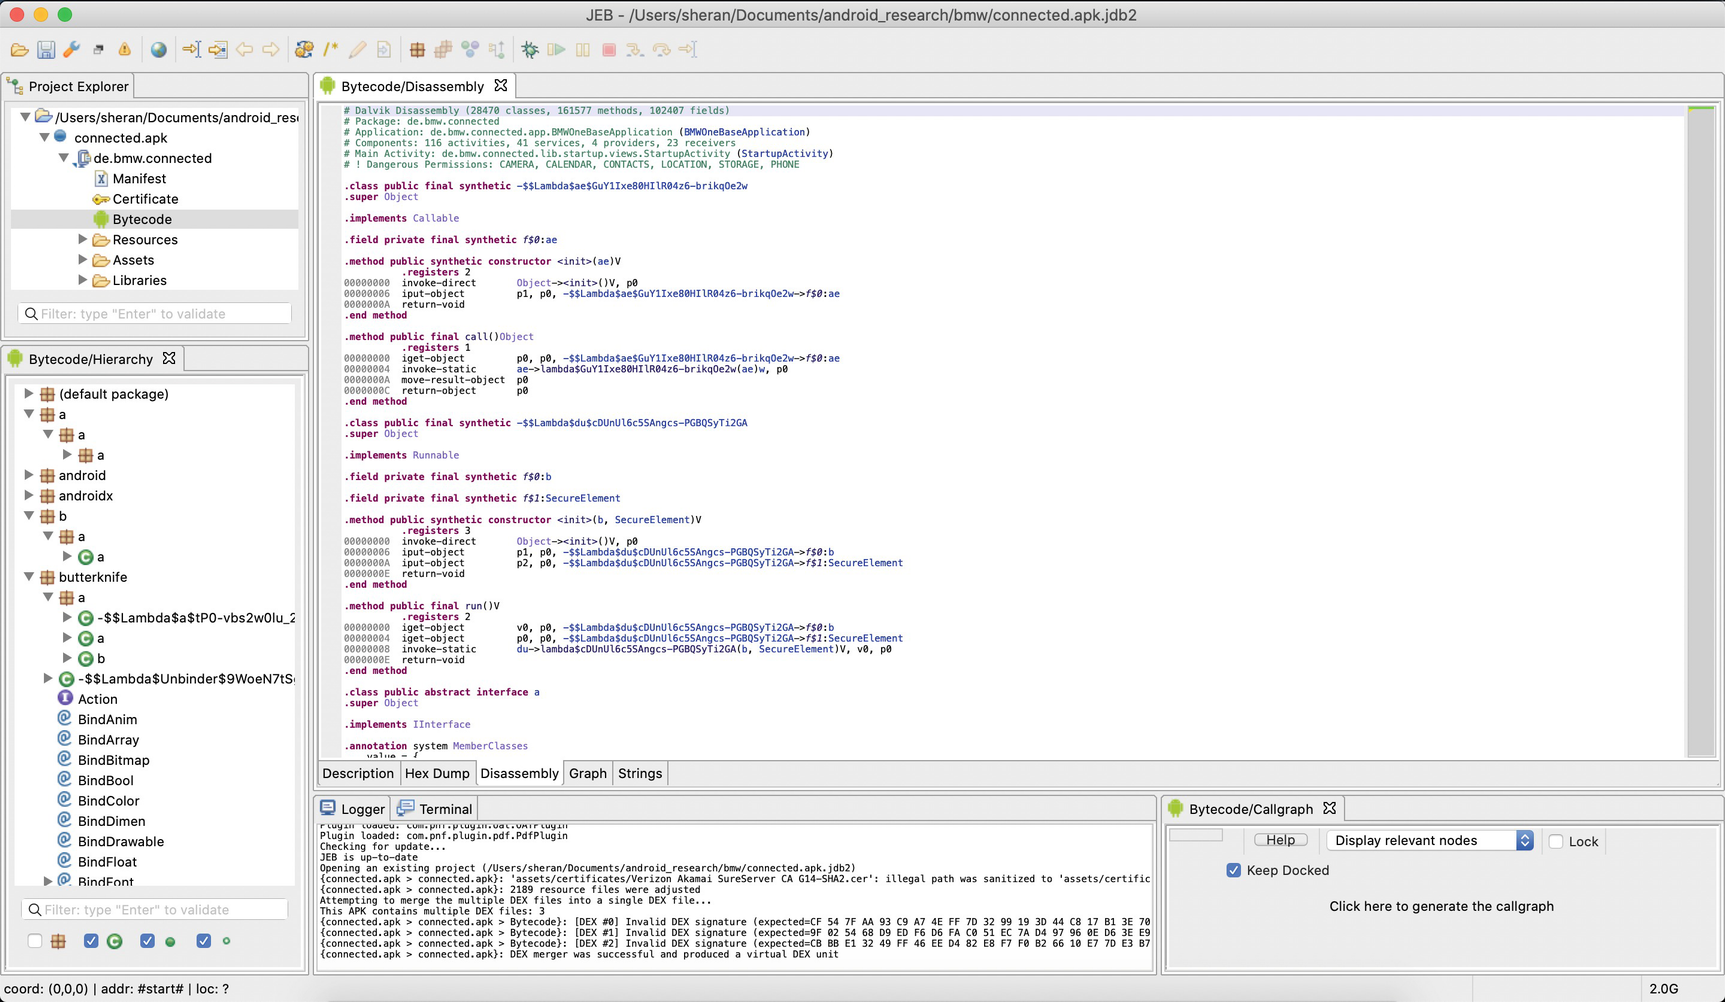
A screenshot from my laptop showing the JEB main screen after loading an APK
Now JEB isn’t what you would call affordable for the masses. The JEB Pro version that I use will cost you about US $1800 for a 12-month license for one user. That is quite an expensive piece of kit. There is also a JEB Android license that you can get for $1080 per year, or if you prefer, you could get the monthly pay option for $120. While there are some limitations on this edition, it gives you all you need to work on Android decompiling. Now if you are only keen on breaking SSL Pinning or altering the code flow of a specific app, then I think you can manage with Burp, Frida, and the Android emulator or a rooted Android phone. I do, however, think that JEB completes our Tool Bag very nicely, closing off the final gaps in visibility we have of an Android app that we have not written and have no clue of. JEB can give you direct insight into how the code is written and can even go as far as deobfuscate some obfuscated Android apps. We will touch on this in our other chapters, but first let’s take an example where JEB can prove useful.
- 1.
Get input serial number S.
- 2.
Run complex calculation and derive result C.
- 3.
If S could be divided by C with no remainder, then grant access.
- 4.
If S could not be divided by C with no remainder, then return an error.
- 1.
Get input serial number S.
- 2.
Run complex calculation and derive result C.
- 3.
If S could NOT be divided by C with no remainder, then grant access.
- 4.
If S could not be divided by C with no remainder, then return an error.
Note Step 3 and how we changed it so that we would get access even if we provided the wrong serial number. By altering the app flow in this way, and entering an incorrect, possibly random serial number, we can gain access to the new Activity. Since the majority of cases of guessing involved getting the answer wrong, the app execution flow will never even hit line 4. This is because it will receive the wrong serial number and still grant access to the next Activity.
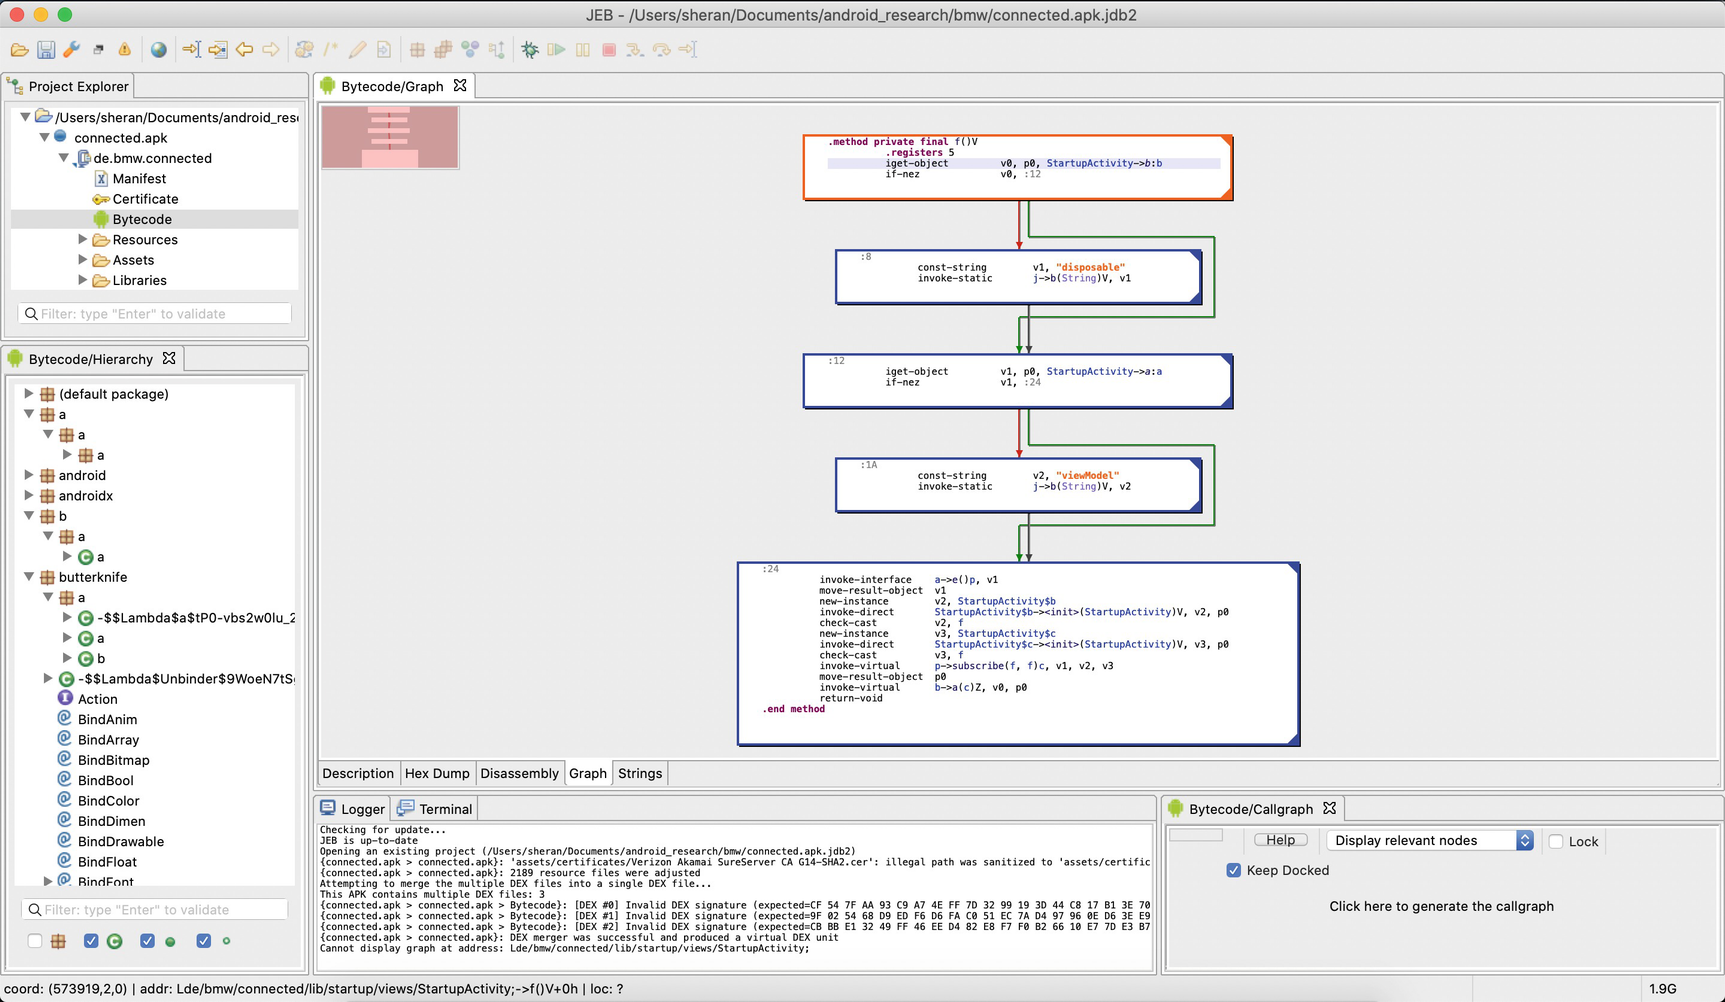
A screenshot from my laptop showing JEB with its graph view of the code
Some Thoughts on Environment Setup
Apple Mac Mini with 32 GB RAM and 1 TB storage
Two 24” monitors set up side by side in landscape mode
Mouse
Keyboard
Apple MacBook Pro 13” with 16 GB RAM and 1 TB storage
OnePlus 5T Android phone – rooted
Google Pixel 3 Android phone – rooted
I use the Mac Mini for my main disassembly and debugging process. I use the MacBook Pro for research or searching for information online or figuring out how something just works.
If I were to call out one of the most helpful features of my setup, I would say it is the two monitors set up as one big canvas. Sometimes when disassembling and debugging in tandem, the extra screen real estate becomes a lifesaver. I can leave my disassembly window as is and shift focus to another debugging process without the pain of switching windows all the time.