Setting up Android Studio is quite straightforward, if a little time-consuming. Grab some refreshment and get started with the following steps:
- Visit developer.android.com/studio/index.html. Click the big green DOWNLOAD ANDROID STUDIO button to proceed:

- Accept the terms and conditions by checking the checkbox, and then click the big blue button DOWNLOAD ANDROID STUDIO FOR WINDOWS:

- When the download is complete, run the file you just downloaded. It has a name that starts
android-studio-ide…, while the end of the name of the file will vary based on the current version at the time of reading. - Click the Next > button to proceed:

- Leave the default options selected, as shown in the following screenshot, and click the Next > button:

- Next, we need to choose where to install Android Studio, as shown in the following screenshot:

The install wizard recommends 500 MB of free space, but you probably noticed from the previous screen that 2.1 GB was suggested. However, there are even more requirements later in the install process. Furthermore, it is much easier if you have all your Android Studio parts, as well as your project files, on the same hard drive.
For these reasons, I recommend having at least 4 GB of free space. If you need to switch drives to accommodate this, then use the Browse... button to browse to a suitable place on your hard drive.
- When you are ready, click the Next > button.
- In this next window, you are choosing the folder in your start menu in which Android Studio will appear. Leave it at the default, as shown next:

- Click Install. This step might take some time, especially on older machines or if you have a slow internet connection. When this stage is done, you will see the following screen:

- Click Next >.
- Android Studio is now installed—kind of. Check the Start Android Studio checkbox and click the Finish button:

- You will be greeted with the Welcome screen, as shown in the following screenshot:

- Click the Next button.
- Choose Standard install type, as shown in the following screenshot:

- Click the Next button.
- Choose whichever color scheme looks nice to you. I chose IntelliJ, as shown in the following screenshot:

- Click Next.
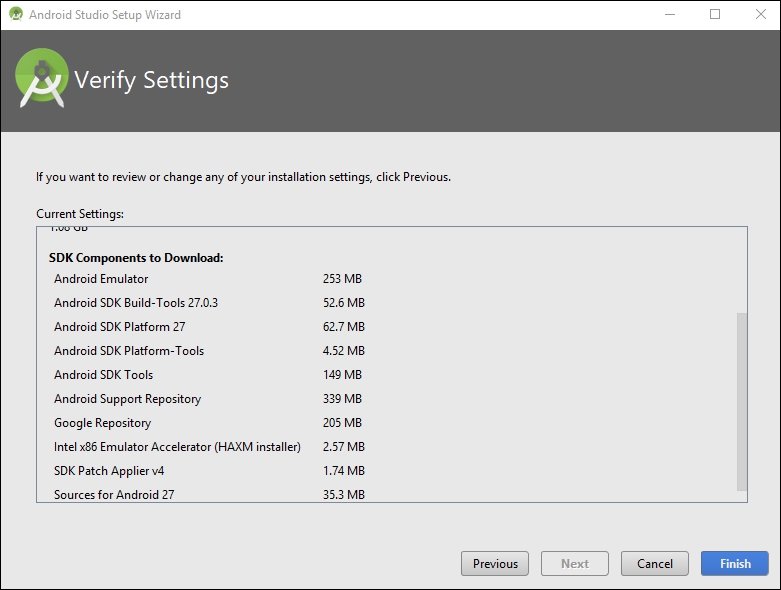
- Now you will see the Verify Settings screen:

- Click the Finish button. Android Studio will now commence some more downloads, which could take some time.
- When Android Studio is ready, you will have the option to run Android Studio. At this point, click the Finish button. Android Studio is most likely ready. You can leave it open if you are carrying straight on with the next section, or you can close it and then reopen it when instructed in the next section.
Using your preferred file manager software, perhaps Windows Explorer, create a folder called AndroidProjects. Make it at the root of the same drive where you installed Android Studio. So, if you installed Android Studio at C:/Program Files/Android, then create your new folder at C:/AndroidProjects.
Or, if you installed Android Studio at D:/Program Files/Android, then create your new folder at D:/AndroidProjects.
Tip
Note that the screenshots in the next section show the AndroidProjects folder on the D: drive. This is because my C: drive is a bit full up. Either is fine. I did the install tutorial screen captures on a borrowed PC with plenty of space on the C: drive because that is the default for Android Studio. Keeping it on the same drive as the Android installation is neater and could avoid future problems, so do so if you can.
Notice that there is no space between the words Android and Projects, and that the first letter of both words is capitalized. The capitalization is for clarity and the lack of a space is required by Android Studio.
Android Studio and the supporting tools that we need are installed and ready to go. We are really close now to building our first app.
Now, let's look a little bit at the composition of an Android app.
