
An introduction to Raspberry Pi.
The history of Raspberry Pi.
About Raspberry Pi 4.
Accessories to be used with Raspberry Pi 4.
The operating systems used with Raspberry Pi 4.
How to install the operating system?
Let’s continue reading.
About Raspberry Pi
According to Wikipedia, a computer is a machine that can be instructed to carry out sequences of arithmetic or logical operations automatically via computer programming. When I say “computer programming,” I mean that we tell the computer what it needs to do via a set of operations called programs.
You may be thinking, why I am giving an introduction to computer programming here? The reason is that I will call the Raspberry Pi device a minicomputer. The possibilities of this tiny device are endless. It can perform a huge variety of tasks.
The Raspberry Pi 4
The History of the Raspberry Pi
The Raspberry Pi is a tiny computer that uses one single board. It was developed by the Raspberry Pi Foundation in the United Kingdom. The initial motive for this project was to promote teaching basic computer science in schools. The first version of the Raspberry Pi was released on February 24, 2012. The latest Raspberry Pi version is RPI 4, as of 2019.
Linux
Windows 10 IoT Core (not supported by Raspberry Pi 3 or 4)
Windows 10 ARM64
FreeBSD
NetBSD
As of now, the maximum memory supported by the Raspberry Pi is 4GB. It has memory variants of 1GB and 2GB as well.
Raspberry Pi Sales Over the Years
Year | Sales |
|---|---|
2015 | 5 million |
2016 | 11 million |
2017 | 15 million |
2018 | 19 million |
About Raspberry Pi 4
Dual 4K HDMI support.
Fast data transfer with USB 3.0 and Gigabit Ethernet.
Silent and energy efficient.
Many variants, such as 1GB, 2GB, and 4 GB.
Onboard wireless network connectivity and Bluetooth 5.0.
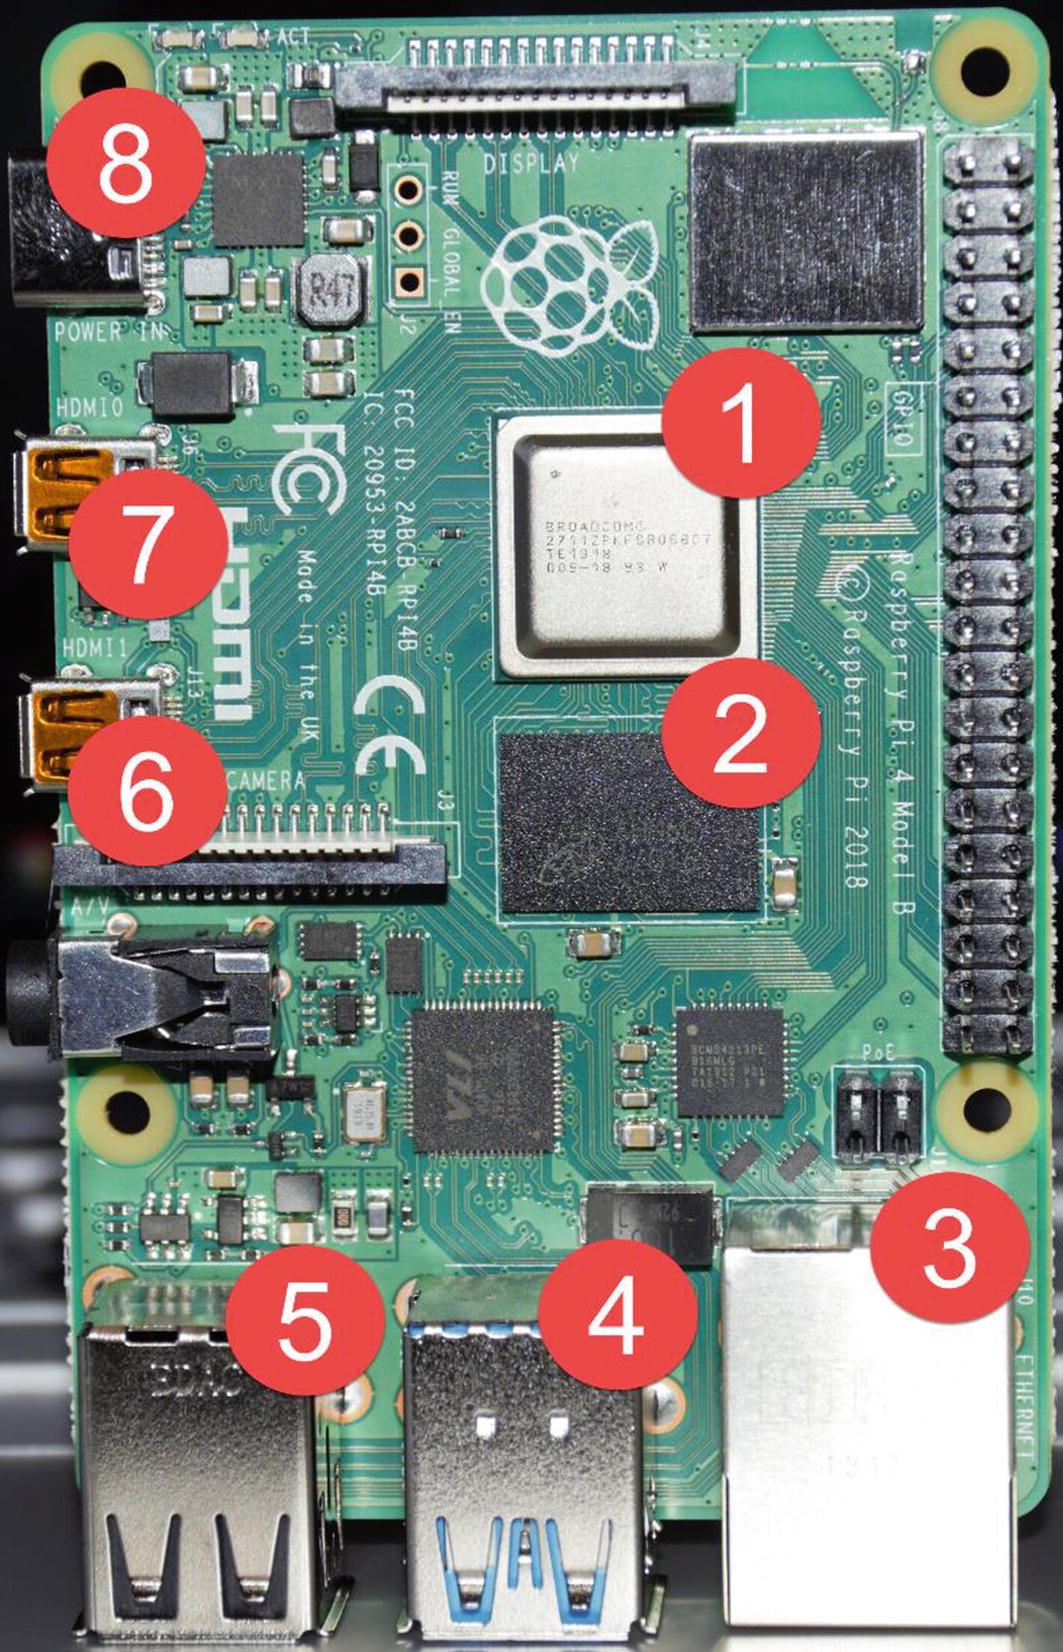
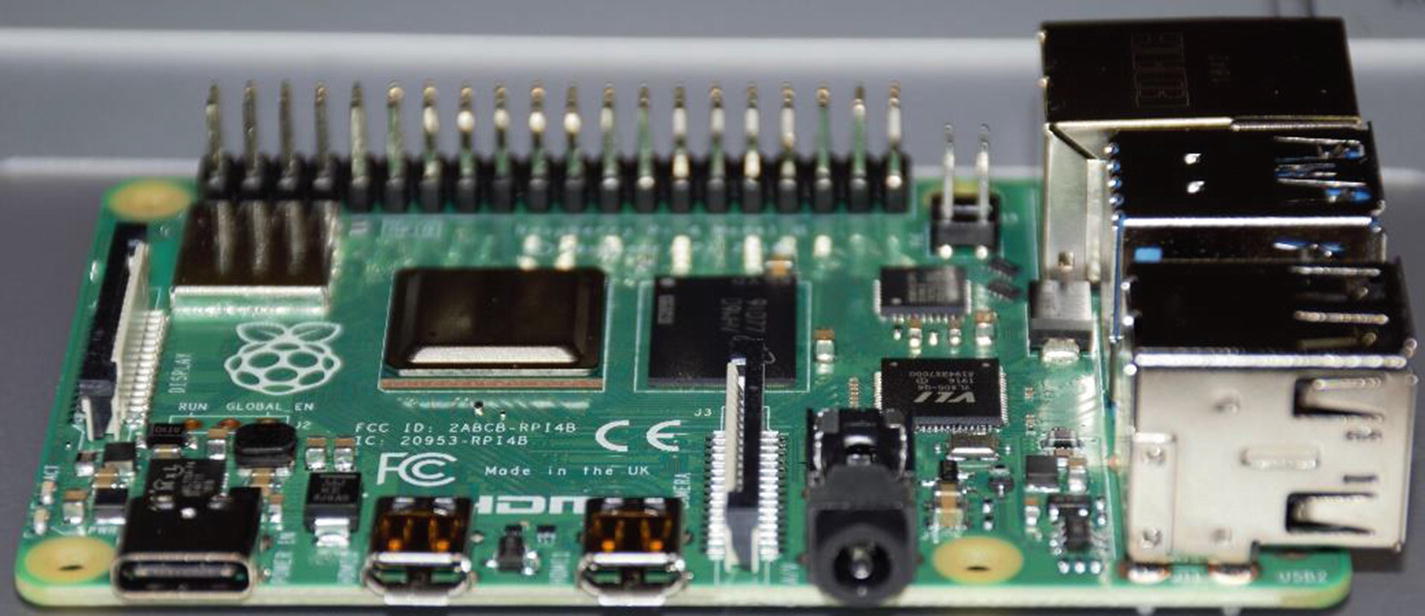
Raspberry Pi 4 B model
- 1.
A more powerful processor. The Raspberry Pi 4 uses Broadcom BCM2711 SoC with a 1.5GHz 64-bit quad-core ARM Cortex-A72 processor.
- 2.
RAM options. With the Raspberry Pi 4, you can choose 1GB, 2GB, 4GB or 8GB RAM, depending on the model you select. This was not possible until Raspberry Pi 3, as the maximum RAM provided was 1GB.
- 3.
Gigabit Ethernet support. The older version (Raspberry Pi 3) has only 100Mbit capacity.
- 4.
Two additional USB 3 ports. Now you should be able to transfer your data 10 times faster. Happy transferring!.
- 5.
Two USB 2 ports.
- 6.
Micro HDMI support. Raspberry Pi 4 provides dual 4K displays. I love this feature, as now I can connect two monitors to my Pi.
- 7.
Micro HDMI.
- 8.
Support for a USB C power supply. This is the first Pi that supports a USB Type C device.
Raspberry Pi 4 Accessories
- Memory card. You must have an SD card. You can select the memory card size. It purely depends on which operating system you are going to install. When you buy an SD card, just make sure that you follow these guidelines.
The minimum size requirement to write a Raspbian image is 8GB, and you can install the Lite image of Raspbian in 4GB. I always recommend a memory card of 16GB or 32GB so that you won’t have to worry about space (see Figure 1-3).
Make sure that you buy a Class 10 memory card. The card class determines the write speed of your card. Class 10 has a write speed of 10MB/s and class 4 has 4MB/s.
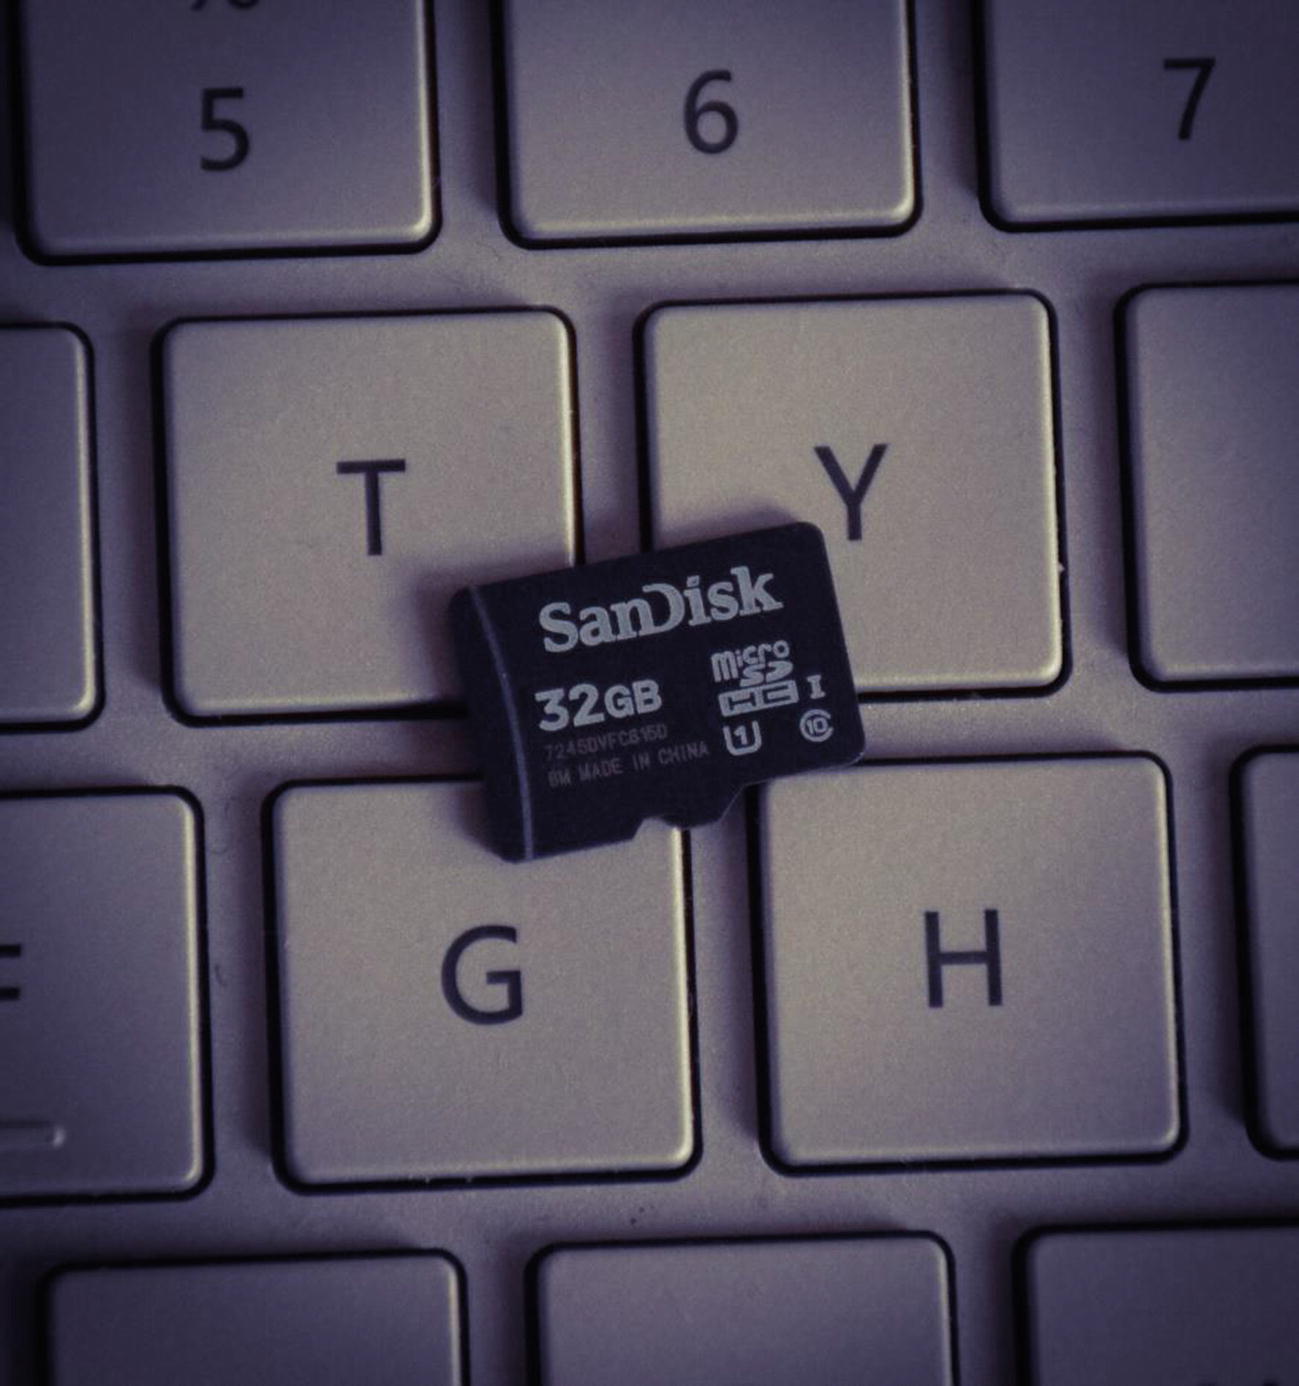
32GB memory card
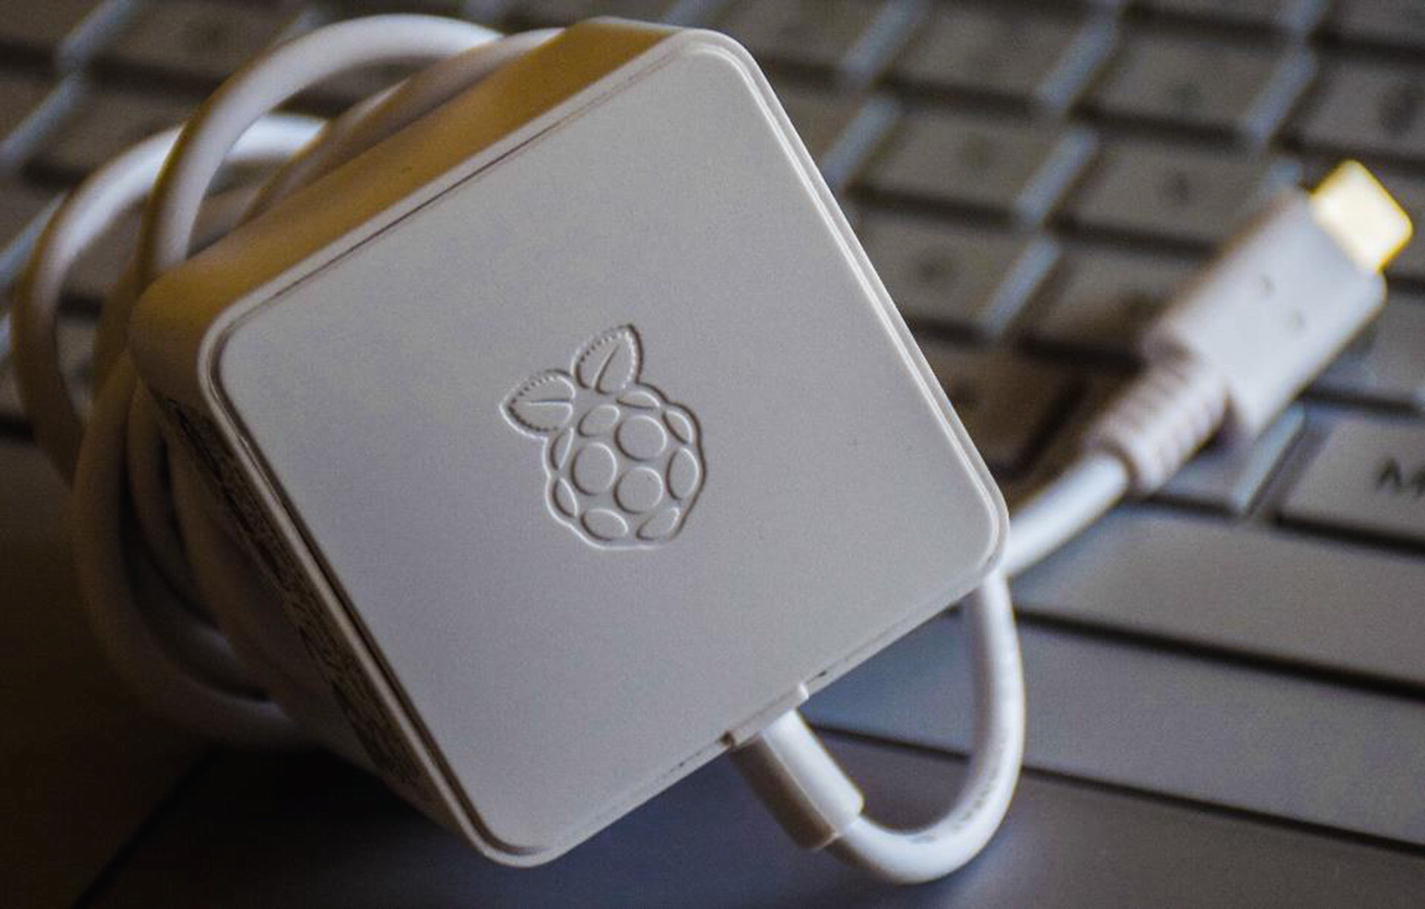
You should have a 5.1V/3A power adapter to charge your Raspberry Pi (see Figure 1-4).
5.1V/3A power adapter
You also need a Micro HDM cable to connect your Pi to the monitor (see Figure 1-5).
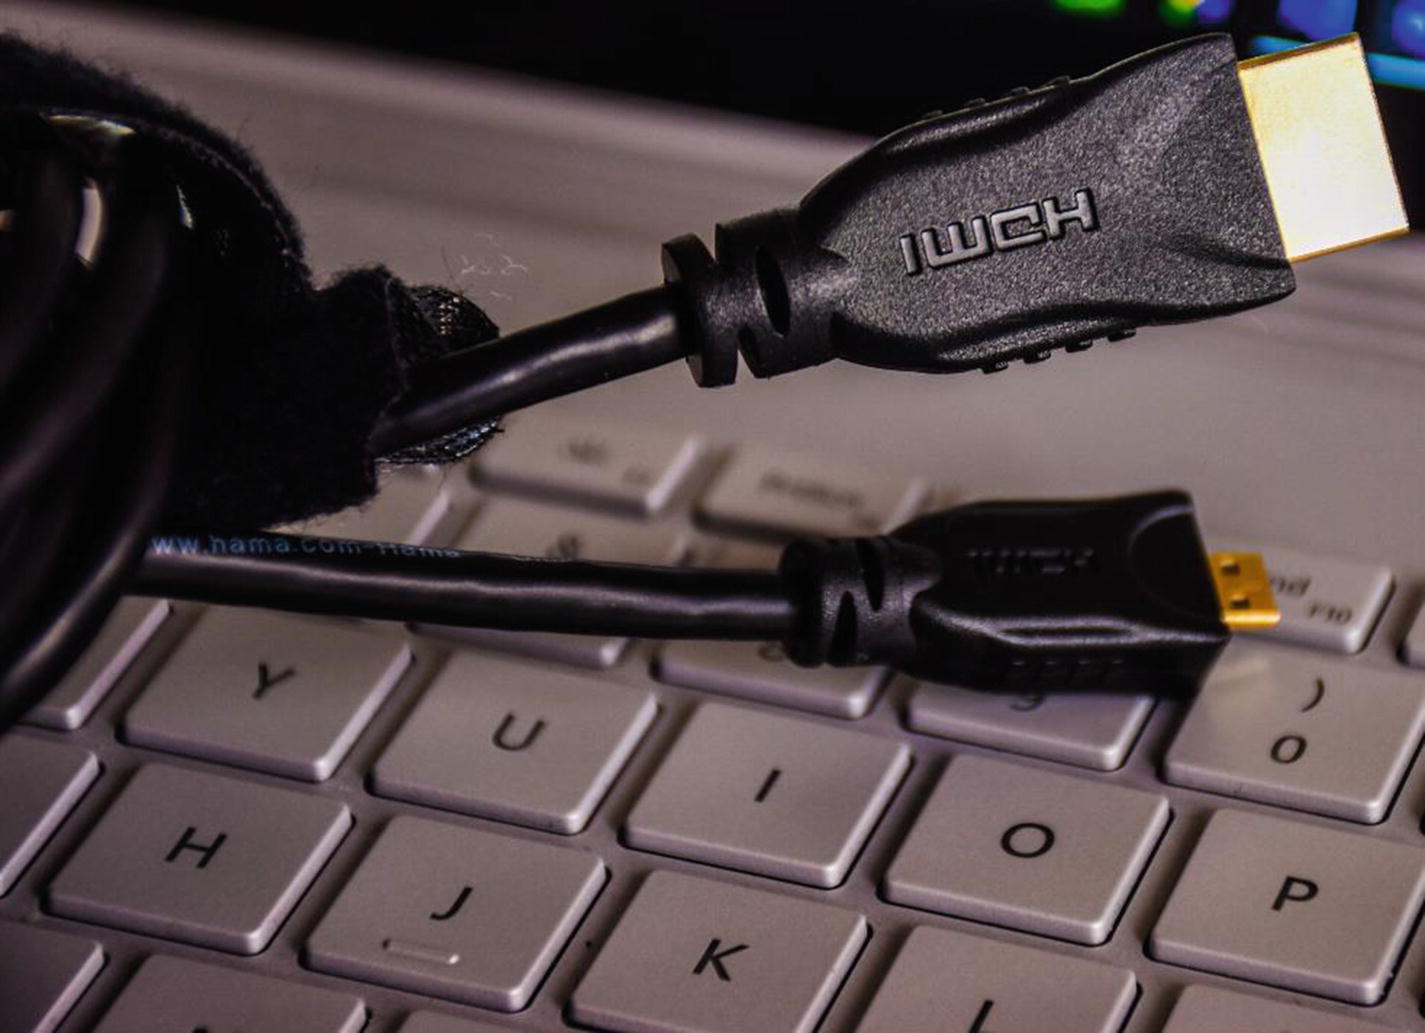
An HDMI cable
Although you don’t specifically need a case for your Pi, I do recommend you get one to keep it safe and clean (see Figure 1-6).

A Raspberry Pi 4 case
Introduction to the Operating System
The Raspberry Pi can be treated as a minicomputer, so we need an operating system to work with it. There are many suitable operating systems on the market now. When you buy a Raspberry Pi device kit, it may already have a default operating system installed on the memory card, which is the Raspbian Operating System. In this chapter, we explain how to install the Raspbian OS onto a memory card.
Raspbian
Raspbian is the one and only official operating system supported by the Raspberry Pi foundation. You can install the Raspbian OS either manually or with the help of NOOBS (New Out Of Box Software). As the name implies, NOOBS is an easy operating system installation manager for the Raspberry Pi.
Windows 10 IoT
As you might have already known, in the world of IoT, we categorize devices as single app devices or multi-app devices.
When you use an app to upload files to the cloud, this is an example of a single app device. Your mobile and smart watch are good examples of multi-app devices. I hope you get the idea.
Windows 10 IoT Core.
Windows 10 IoT Enterprise.
Windows 10 IoT Core vs. Windows 10 IoT Enterprise
Windows 10 IoT Core | Windows 10 IoT Enterprise |
|---|---|
A version of Windows 10 | The full version of Windows 10, it shares all the benefits of the worldwide Windows ecosystem |
Optimized for smaller devices | Optimized for complex solutions |
Receives fewer updates | Receives more updates than IoT Core |
Single-app support, one foreground app at a time with a supporting background application | Multi-app support as traditional Windows |
Only UWP UI supported | Full Windows UI supported (UWP, WinForms, etc.) |
About Windows 10 IoT Core
Windows 10 vs. Windows 10 IoT Core
Windows 10 | Windows 10 IoT Core |
|---|---|
FileOpenPicker API is supported | FileOpenPicker API is not supported |
Desktop | Boot to the default app available in the operating system |
Inbox Cortana is supported | Inbox Cortana is not supported |
More supported drivers | Fewer supported drivers when compared to Windows 10 |
Support Remove-AppxPackage PowerShell command | Doesn’t support Remove-AppxPackage PowerShell command |
Installing the Raspbian Operating System
In this section, we discuss the ways that you can install the Raspbian operating system on your Raspberry Pi 4.
Using the Raspberry Pi Imager
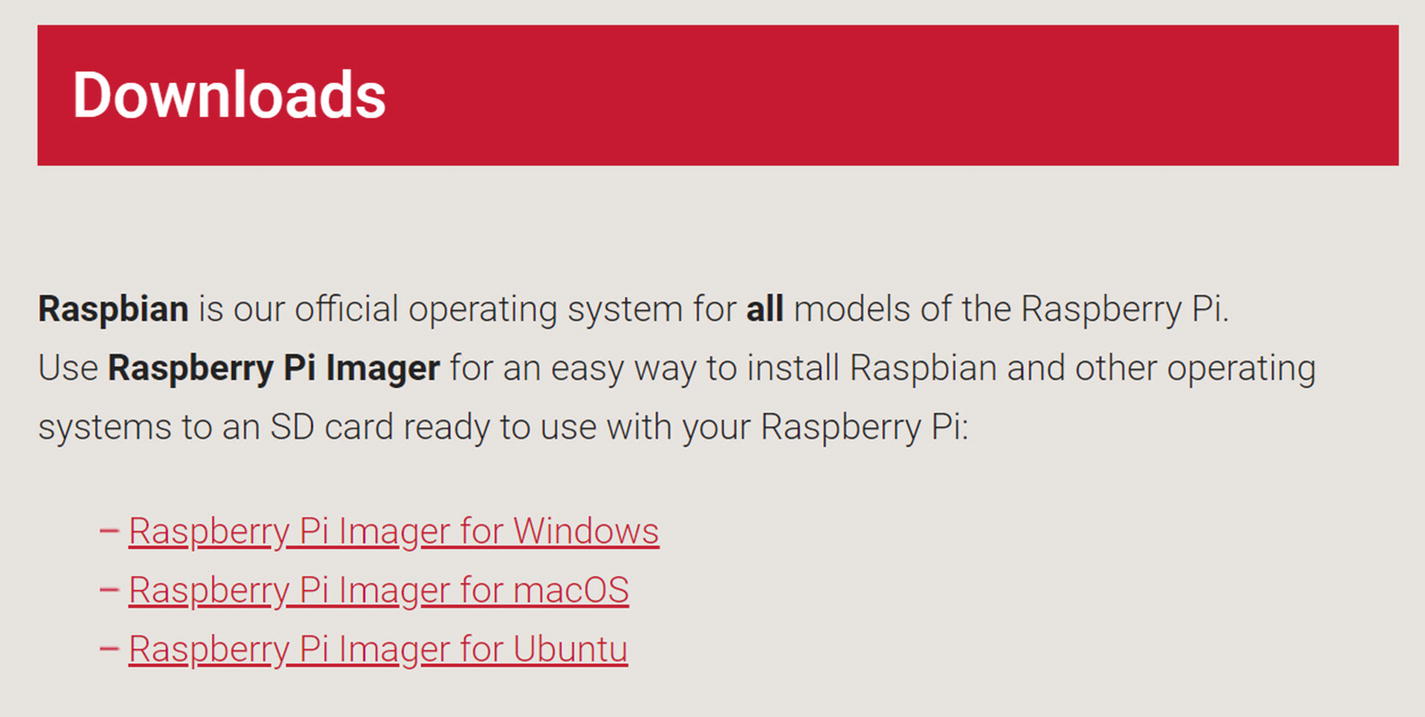
Select the Imager to be used
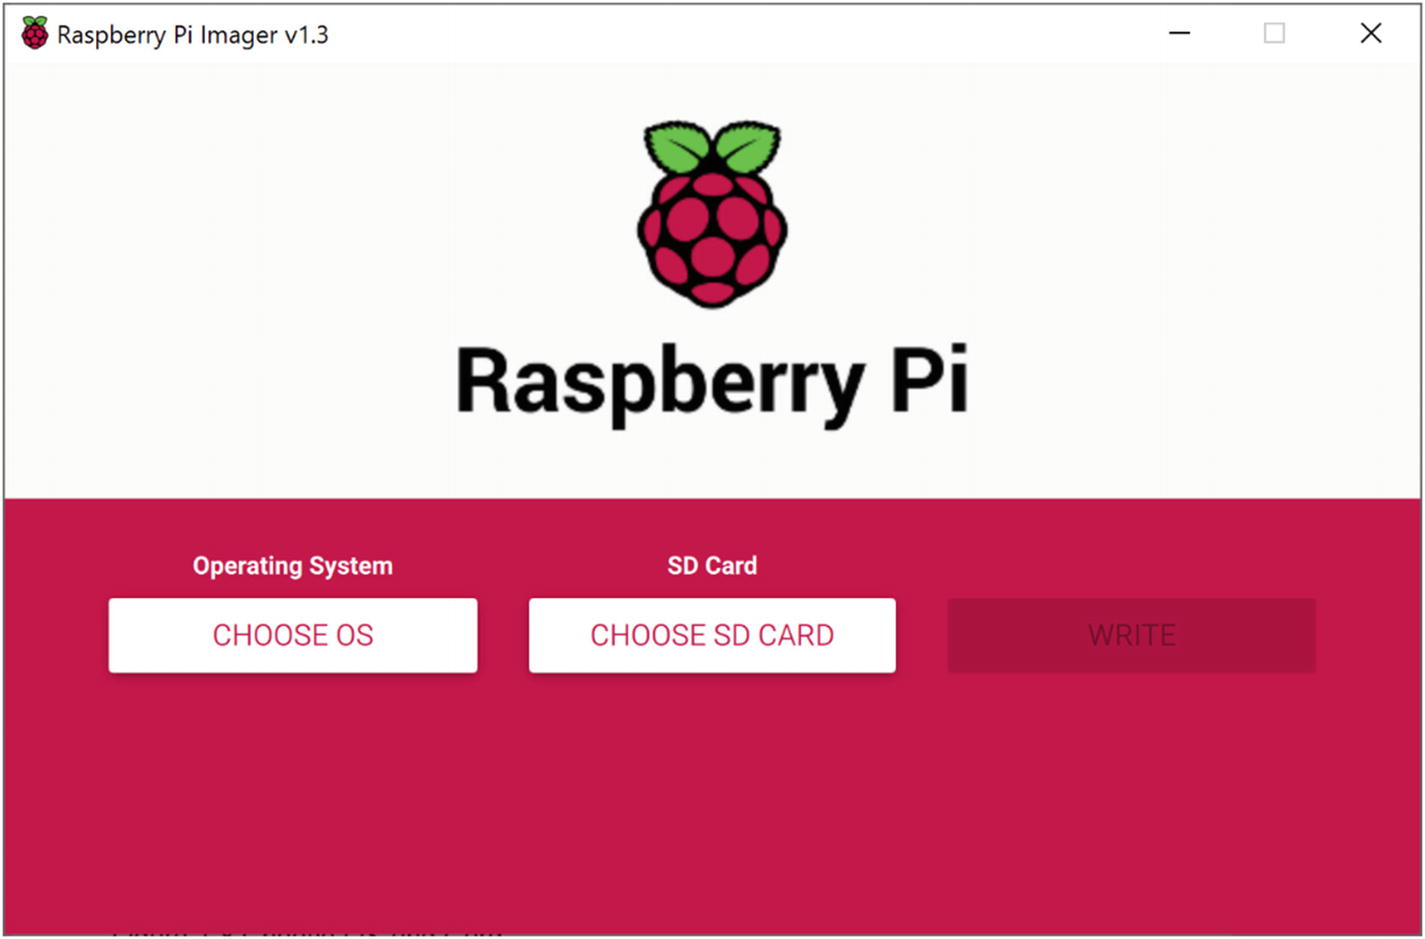
Choose the appropriate OS and card

After OS and SD card selection
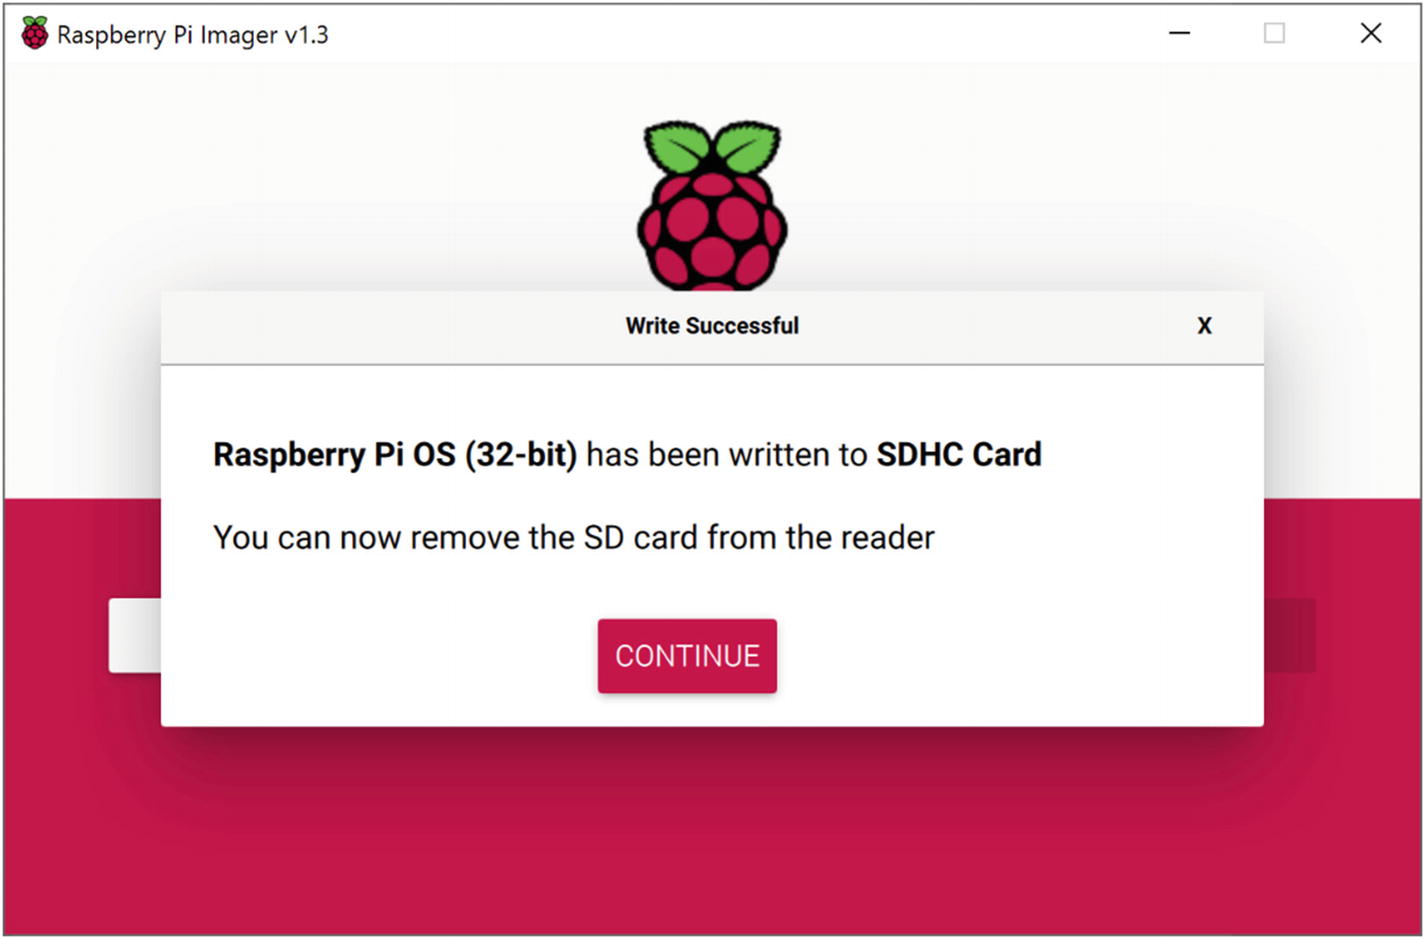
Raspbian OS installation complete
Manually Downloading the Image and Writing
7 Zip: Windows.
The Unarchiver: Mac.
Unzip: Linux.
Note that the File Explorer in Windows XP does not support ZIP64, but Windows Vista and later do.
Once you have unzipped the file, you can write this image to your SD card by using any image-writing tools. My recommendation is to use the balenaEtcher, which works on Windows, Linux, and macOS. If you are using balenaEtcher, you don’t have to unzip the Raspbian image, as the tool supports writing images directly from the ZIP file. You can learn more about this tool at the official website at https://www.balena.io/etcher/.
Using NOOBS to Install the OS
Raspbian.
Windows 10 IoT Core.
LibreElec.
Lakka.
RISC OS.
TLXOS.
Screenly OSE.
REcalbox.
OSMC.
- 1.
Format the SD card.
- 2.
Copy all the files from the extracted folder of the downloaded NOOBS file. Make sure you copy the contents, not the folder.
That’s it. When you boot the device the first time, it will ask you to select the OS you want to install.
Summary
What Raspberry Pi is
The specifications of the Raspberry Pi 4 device and the accessories that you can use with it
Operating systems to use with Raspberry Pi 4
How to install the Raspbian Operating System on Raspberry Pi 4
Now let’s move on to the next chapter.