
In the last chapter, we set up our machine. In this chapter, we are going to create a .NET Core application and deploy it to Raspberry Pi. This chapter assumes that you followed all the steps mentioned in Chapter 3. If you are not sure, please review that chapter.
Creating a .NET Core Application
This command will generate a new folder called raspberrypi.net.core and change the current working directory to that new folder. This cd command is also known as chdir (change directory).
Create an empty console application, since we provided the console template in the command.
Perform some post-creation actions, such as dotnet restore.
Add the package reference that we provided in the command. In this case, it is iot.device.bindings. This iot.device.bindings package gives us a set of device bindings that use system.device.gpio to communicate with a microcontroller.
Restore the given package.
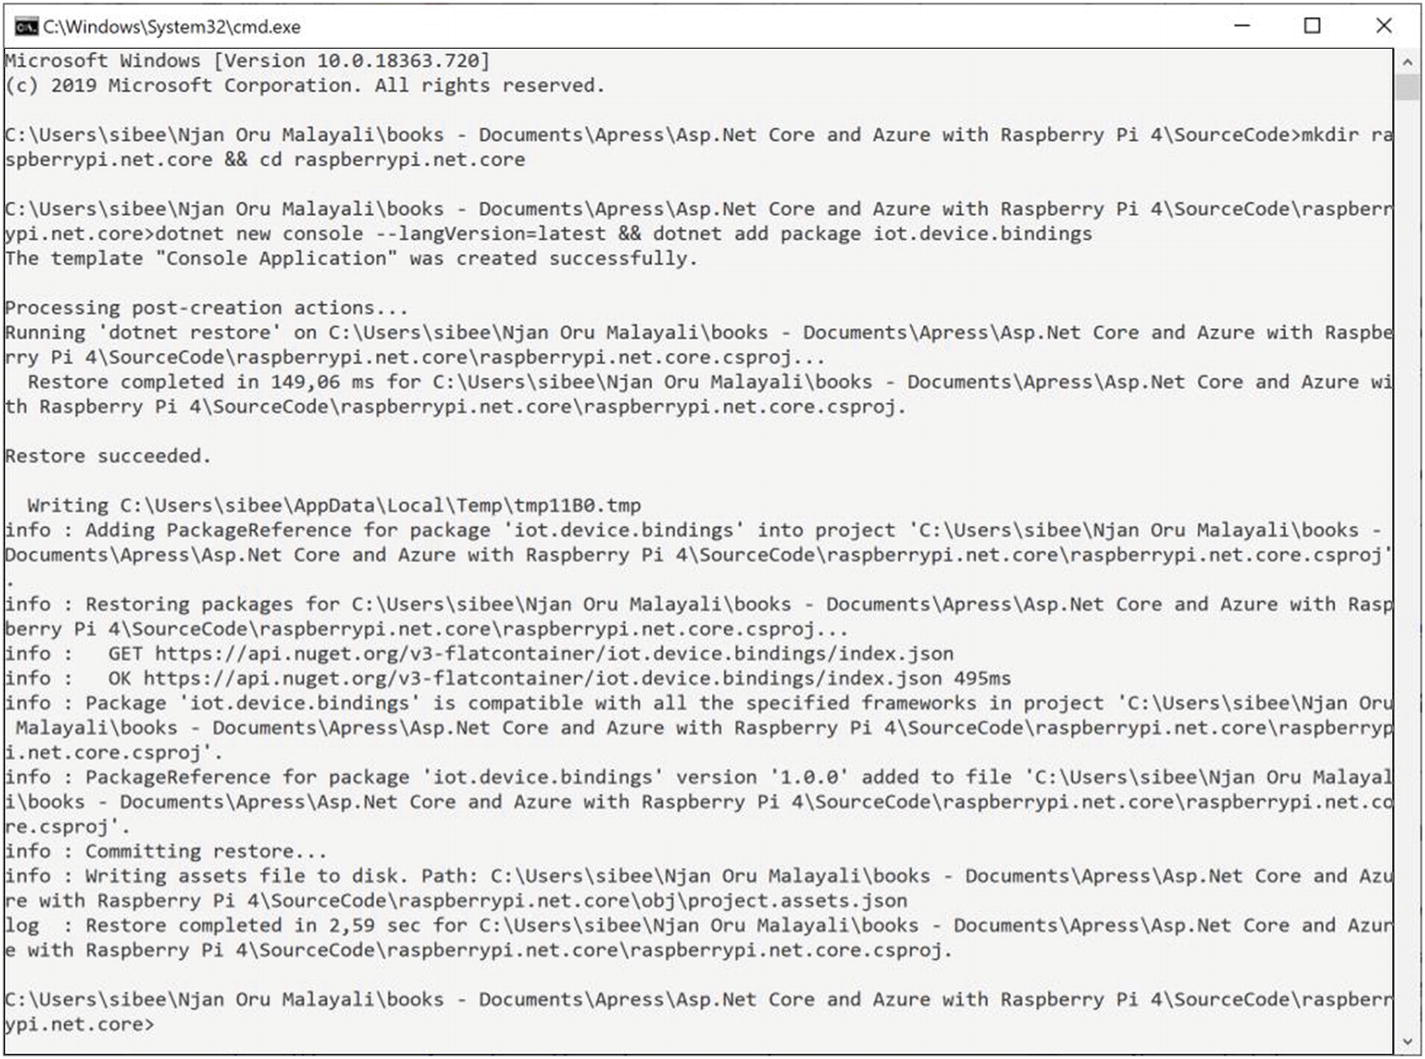
Project creation output

Created project folder structure
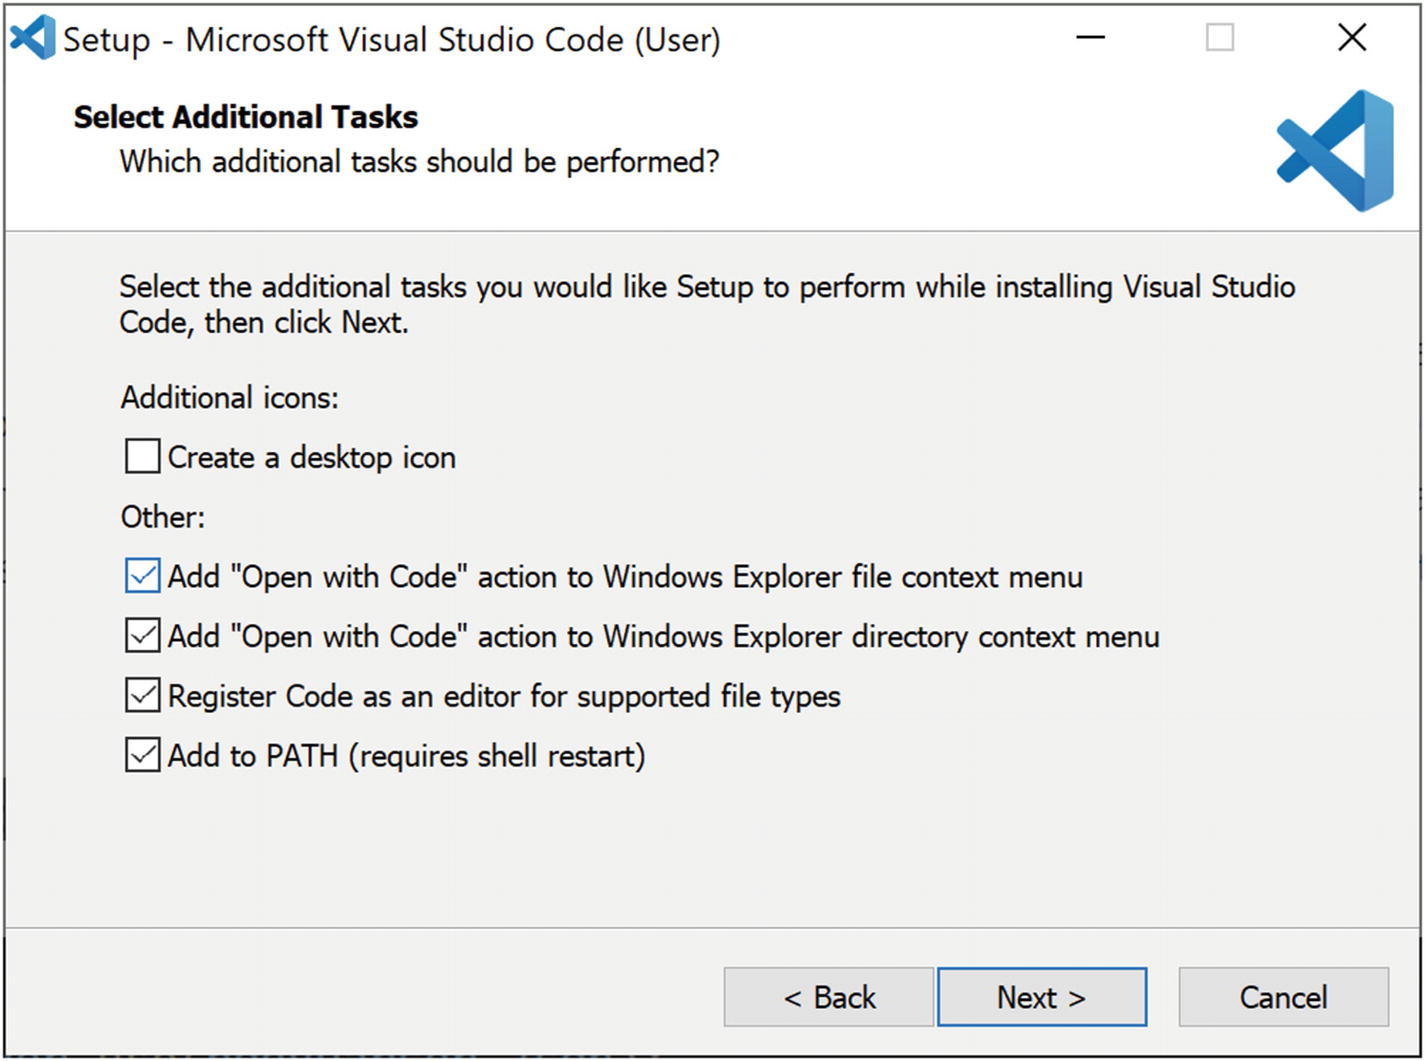
Open with Code options should be selected
Note that you can also run code . from the command-line tool itself. Visual Studio Code will then open the project in the current folder.
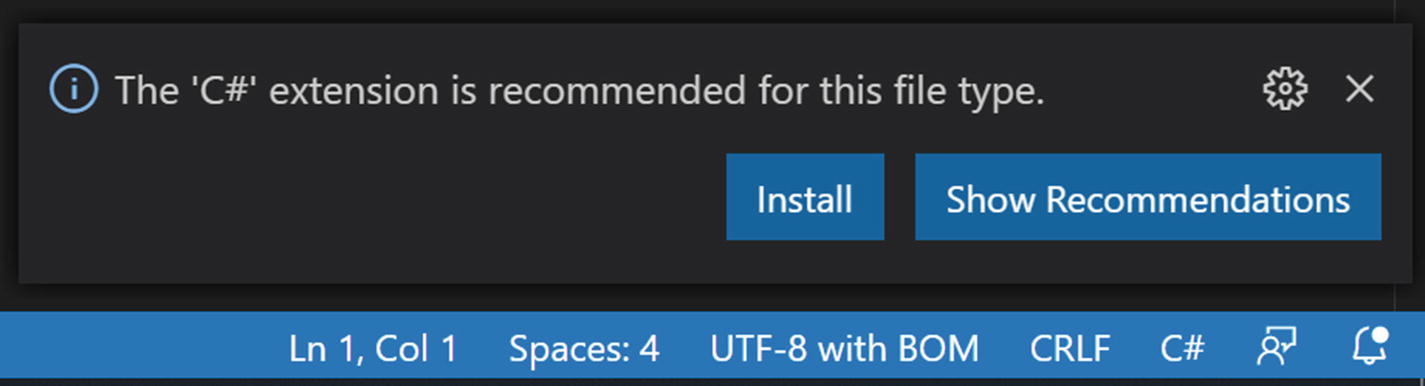
C# extension for VSCode

C# extension installation output
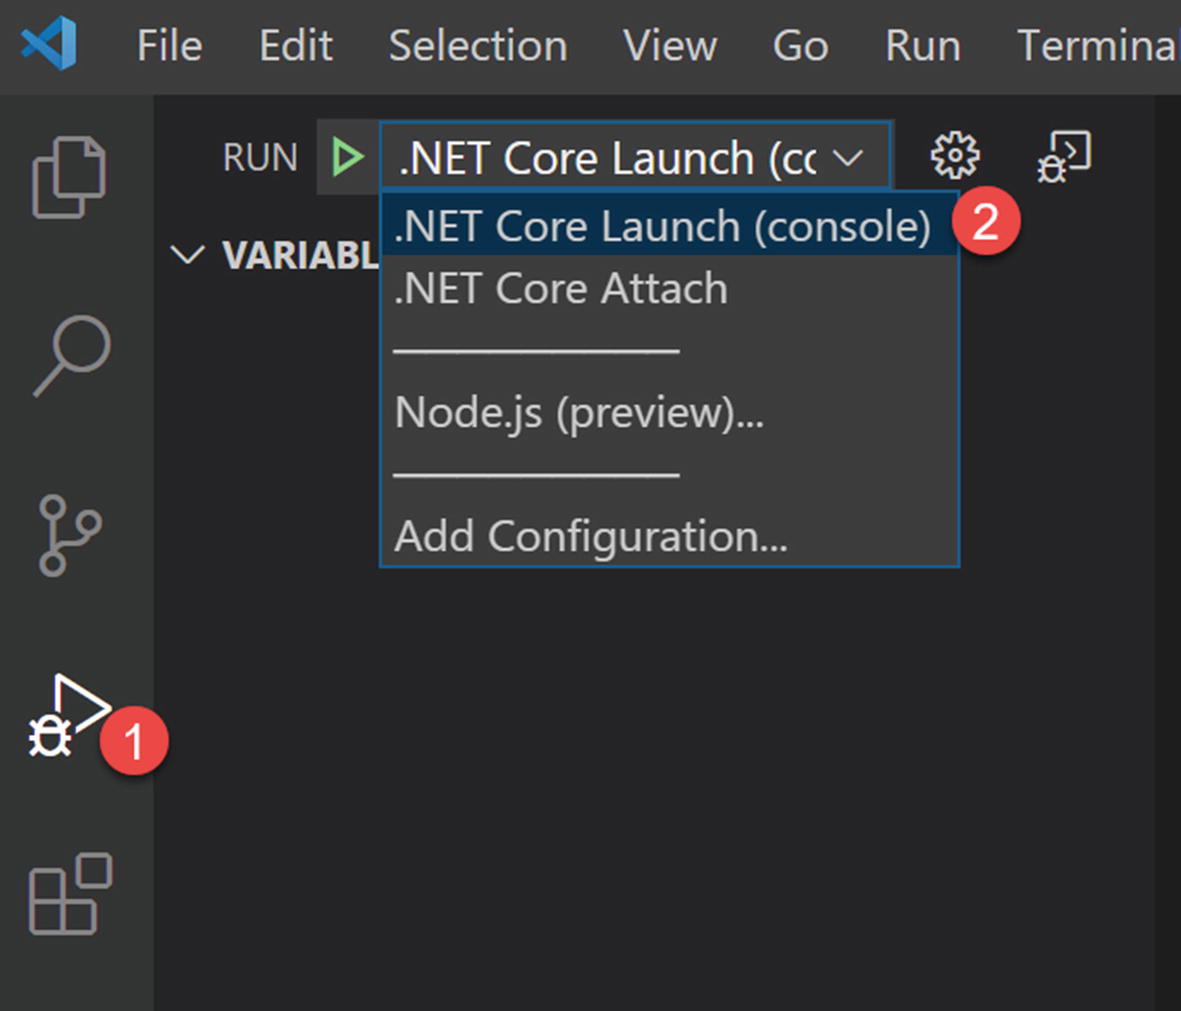
Now it’s time to run the application the first time. The easiest way is to press the F5 button; however, you can always go to the Run menu and click the Start Debugging submenu. If it asks you to select the environment, choose .NET Core.
A file called launch.json will be generated in the .vscode folder. This is where we set the debugging options for our application. You can also see that there is another file generated in the same folder, called task.json. This file specifies how to compile the project. We will be talking about these files in a coming section.
You will be rewriting this code later. But before you do that, you need to make some changes to the Visual Studio Code.
Installing Visual Studio Code Remote WSL Extension
If you have ever wondered how to use the Windows Subsystem for Linux (WSL) as your full-time development environment right from VSCode, Visual Studio Code Remote WSL extension is the answer. It allows you to use a Linux-based environment, including the toolchains and utilities, and run and debug Linux-based applications from Windows. Sound good?

Install Remote WSL
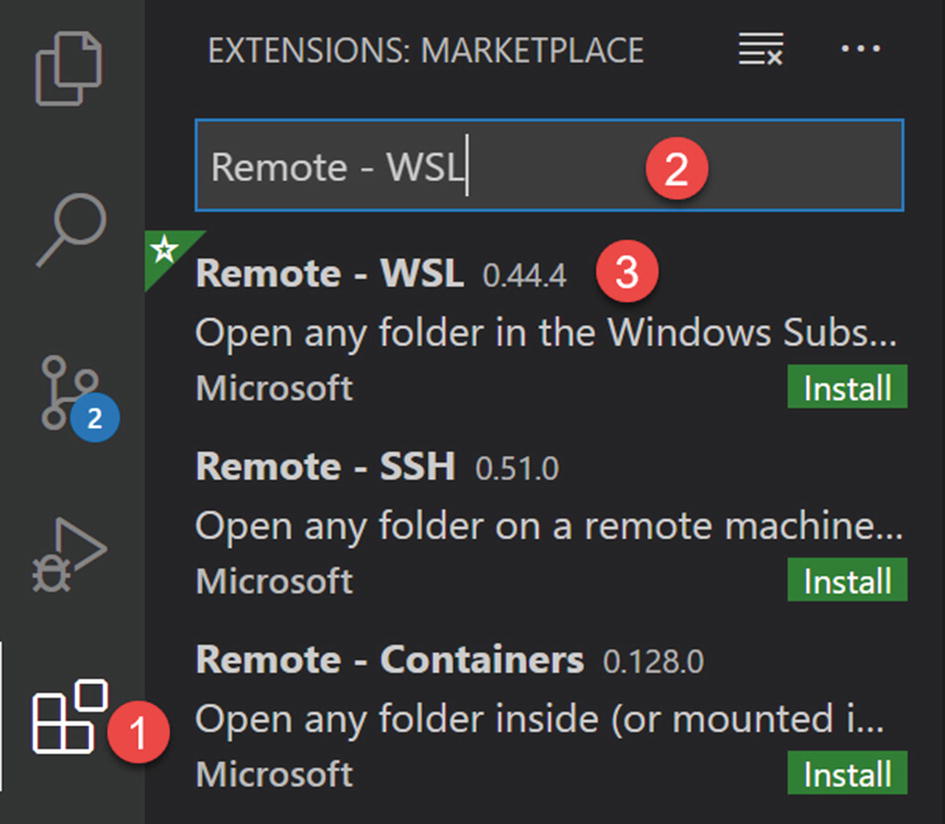
Install Remote WSL from the Extensions page

Required assets to build and debug

Reopen the folder in WSL

Editing on WSL Ubuntu
Rewriting the Application
Deploying the App to Raspberry Pi
The first thing to do is to make sure that your Raspberry Pi is switched on and connected to the Wi-Fi. We will be editing the launch.json file first. Let’s talk about that file now. It contains attributes such as name, type, and request. These are mandatory attributes of a launch.json file.
The Name Attribute
Launch JSON name attribute
The Request Attribute
Currently (as of June 2020), request has two supported values—launch and attach. The easy way to explain the difference between launch and attach is to think of a launch configuration as a recipe for how to start your application in debug mode before VSCode attaches to it, while an attach configuration is a recipe for how to connect VSCode’s debugger to a process that is already running.
The Type Attribute
This attribute sets the type of debugger to use with this launch configuration. It depends on the environment. As you select an environment, each debug extension has a different type. For example, the node type is for the built-in node debugger.
Another important attribute in the launch.json file is preLaunchTask. This launches a task before the start of a debug session. We will define this task in the task.json file and use that task name here.
To deploy the application to Raspberry Pi, we must compile this application for Linux arm, and we can do that by configuring our VSCode. We do this configuration using the task.json file. Once we compile the application, we will copy our program to Raspberry Pi, using Rsync.
The Rsync Attribute
SCP stands for Secure Copy Protocol. It reads the source file and writes to the destination by performing a plain linear copy. Rsync also does the same, but with an efficient algorithm and a few optimizations that make the transfer faster.
Instead of just copying, Rsync will check for the file sizes and modification timestamps to make sure only changes or differences are copied. This makes the transfer a lot faster. It’s also easier to synchronize the files on the source and destination.
Rsync has an option for resuming the transfer if it is interrupted, whereas SCP doesn’t have this feature.
Last but not the least, according to OpenSSH developers on Wikipedia in 2019, the SCP protocol is outdated, and they recommend using modern protocols like Rsync.
Feel free to check out more about Rsync at https://rsync.samba.org/.
Compiling the application.
Copying the code to Raspberry Pi (yes, we use Rsync for this purpose).
Here, RpiPublish is our task name and you might have noticed that we use the rsync -rvuz command. This copies the files from our computer to the Raspberry Pi.
Calling the build tasks.
Asking Raspberry Pi to start the Visual Studio Code debugger.
Loading the application.
Note that I used [email protected] everywhere, because I am running WSL version 1. If you are running in Linux or using WSL2, you should change that to [email protected].
Variables in VSCode
VSCode Variables
Variable Name | Description |
|---|---|
${workspaceFolder} | The path of the folder opened in VSCode |
${workspaceFolderBasename} | The name of the folder opened in VSCode without any slashes (/) |
${file} | The current opened file |
${relativeFile} | The current opened file relative to workspaceFolder |
${relativeFileDirname} | The currently opened file’s dirname relative to workspaceFolder |
${fileBasename} | The currently opened file’s basename |
${fileBasenameNoExtension} | The currently opened file’s basename with no file extension |
${fileDirname} | The currently opened file’s dirname |
${fileExtname} | The currently opened file’s extension |
${cwd} | The task runner’s current working directory on startup |
${lineNumber} | The currently selected line number in the active file |
${selectedText} | The currently selected text in the active file |
${execPath} | The path to the running VSCode executable |
${defaultBuildTask} | The name of the default build task |

Showing the VSCode variables
Debugging the App from Raspberry Pi

Install the ms-dotnettools extension

How to debug


Summary
How to create a .NET Core application?
How to install Visual Studio Code Remote with the WSL extension?
How to read the CPU temperature of the Raspberry Pi device?
How to deploy the application to Raspberry Pi?
What Rsync is?
The variables in VSCode.
How to debug the application running in the Raspberry Pi device in VSCode?
Are you excited for the next chapter? I can’t wait to see you there.