In this chapter, you learn how to set up your Raspberry Pi for development and deployment. You will be performing the following tasks, to be precise:
Enabling SSH on the Raspberry Pi
Adding the network information to the Pi so that it can connect to the Wi-Fi
Connecting the Pi to the Wi-Fi
Connecting the Pi over SSH
Although these steps might sound a bit difficult, they are easily doable if you follow the instructions in this chapter.
Enabling SSH
Before you jump in and learn how to enable SSH, it is a good idea to understand what SSH is. The key points about SSH are as follows:
SSH stands for Secure Shell, and it is a cryptographic network protocol.
SSH uses operating network services securely over an unsecured network.
All the operations performed—such as authentication, commands, output, file transfer, and so on—are encrypted to protect against network attacks.
Here are the usual steps involved in any SSH connection.
1.
The client tries to contact the server and initiate the connection. In our case, we perform this task in a terminal.
2.
The server sends the public key.
3.
Next is the negotiation process. Once that is done, the secure channel will be opened.
4.
Users log in to the server and performs the actions they are intended to perform.
To manually connect and deploy our applications to the Raspberry Pi and allow remote login, we must enable the SSH. If we don’t enable the SSH, we will get the error ssh: connect to host raspberrypi port 22: Connection refused, as shown in Figure 2-1.
Figure 2-1
Port 22 connection refused
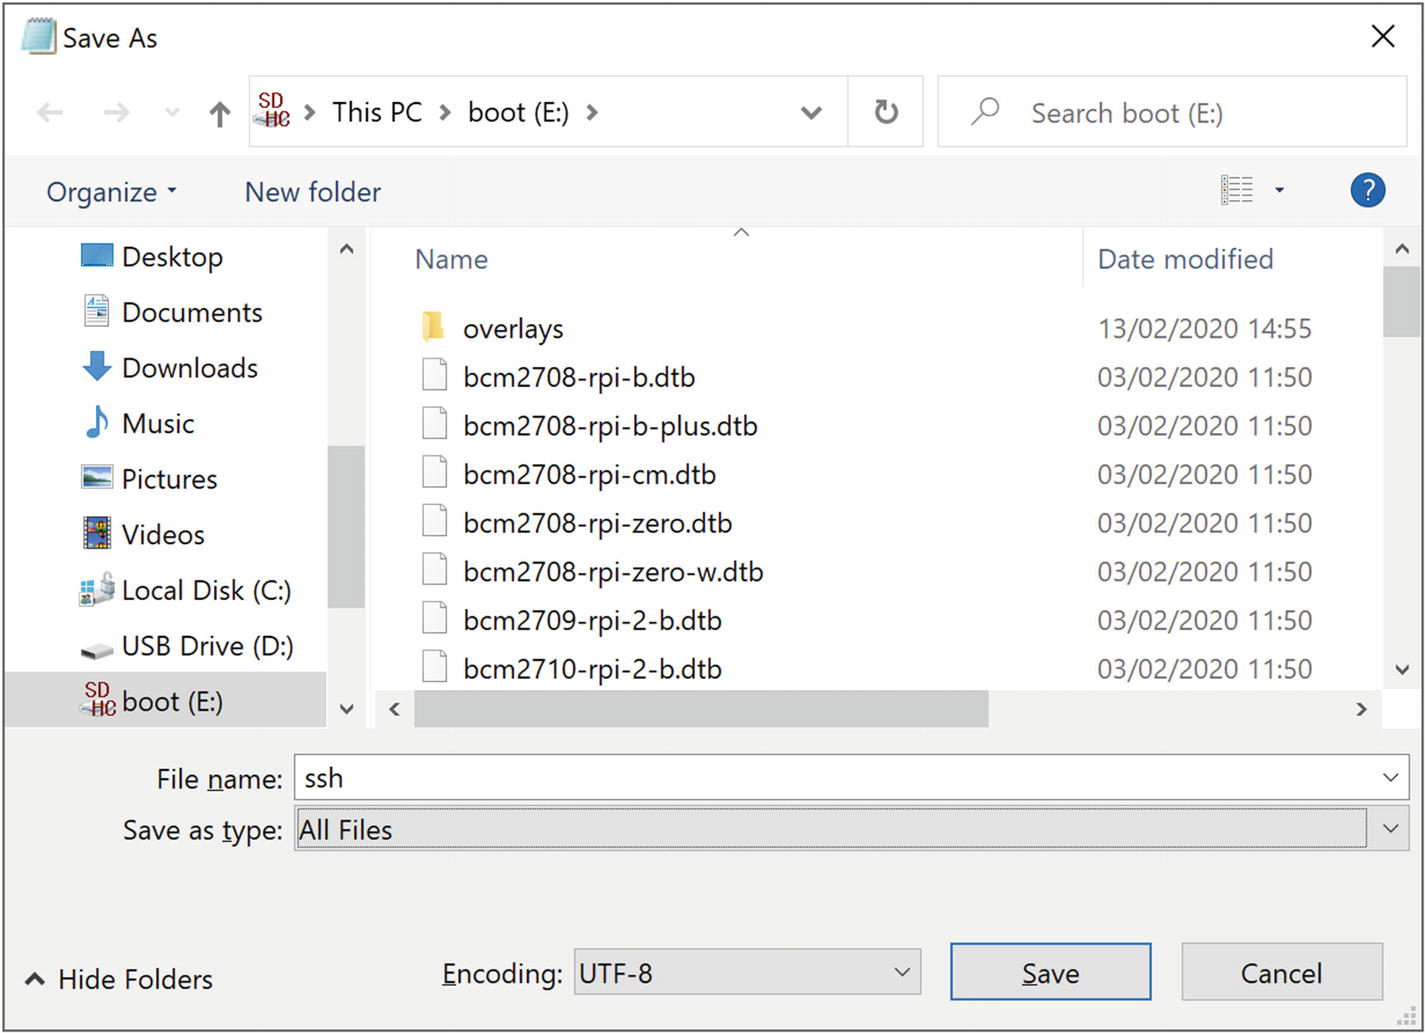
To enable the SSH, follow these steps.
1.
Run Notepad.
2.
Click File ➤ Save As.
3.
Be sure to set the Save As Type option to All Files to make sure that it is not saved as a text file. By default, Notepad files are saved with a .txt extension. See Figure 2-2.
Figure 2-2
Save the SSH File
4.
Save the file to the boot drive of your SD card.
5.
Close the file.
If you are running on a Mac, you can directly run this command in the Terminal:
touch /Volumes/boot/ssh
Enabling Wi-Fi Configuration
In this section, you are going to connect the Raspberry Pi to the Wi-Fi. There are many ways you can do this; the easiest way is to follow these steps.
1.
Run Notepad.
2.
Paste the following code into a Notepad file. Don’t forget to change the country code, network name, and network password to yours:
Be sure to set the Save As Type option to All Files to make sure that the file is saved with the given extension. By default, Notepad files are saved with a .txt extension.
5.
Name the file wpa_supplicant.conf and save it to the boot drive of your SD card.
6.
Close the file.
If you are running on a Mac, you can use this command to generate the wpa_supplicant.conf file:
touch /Volumes/boot/wpa_supplicant.conf
Once the file is generated, open it and add the code mentioned above.
Checking Whether the Pi Is Connected to Wi-Fi
You have done enough configuration for now, so you can eject the SD card and put it back to the Raspberry Pi. Make sure that you connect the power cable to the Pi and wait for a minute or two to ensure it’s connected to the given network.
To check the connection, you can go to the IP address of the default gateway of your network. The IP address will typically be 192.168.1.1 or 192.168.0.1. Just typing the IP address in the browser will open the Admin portal, where you can set the LAN, WAN, network management, and other options. Once you are logged in, you can see all the devices connected to the network. Figure 2-3 shows my router page as an example.
Figure 2-3
All devices connected to the Wi-Fi
Connecting the Raspberry Pi via SSH
Now that the device is configured and connected to the network, you can connect the Pi by using SSH. To do this, you need three things:
Hostname of the network.
Username of the device.
Password of the user.
By default, the username of the Raspberry Pi is Pi, the password is raspberry, and the hostname is raspberrypi.local. Open any command tool and enter the following command:
"The authenticity of host 'raspberrypi.local (2a02:8071:4191:aa00:5aa1:8961:c3e2:9398)' can't be established.
ECDSA key fingerprint is SHA256:AkWljiM/KOrojYTMXJDxcP/GPmj4TFY+AkVM/QDtYs8.
Are you sure you want to continue connecting (yes/no)?"
You must provide yes here.
In the next step, you will be asked to type the password of the user Pi. If you provide the right username and password and if the connection is successful, you will get the output shown in Figure 2-4.
Figure 2-4
SSH command output
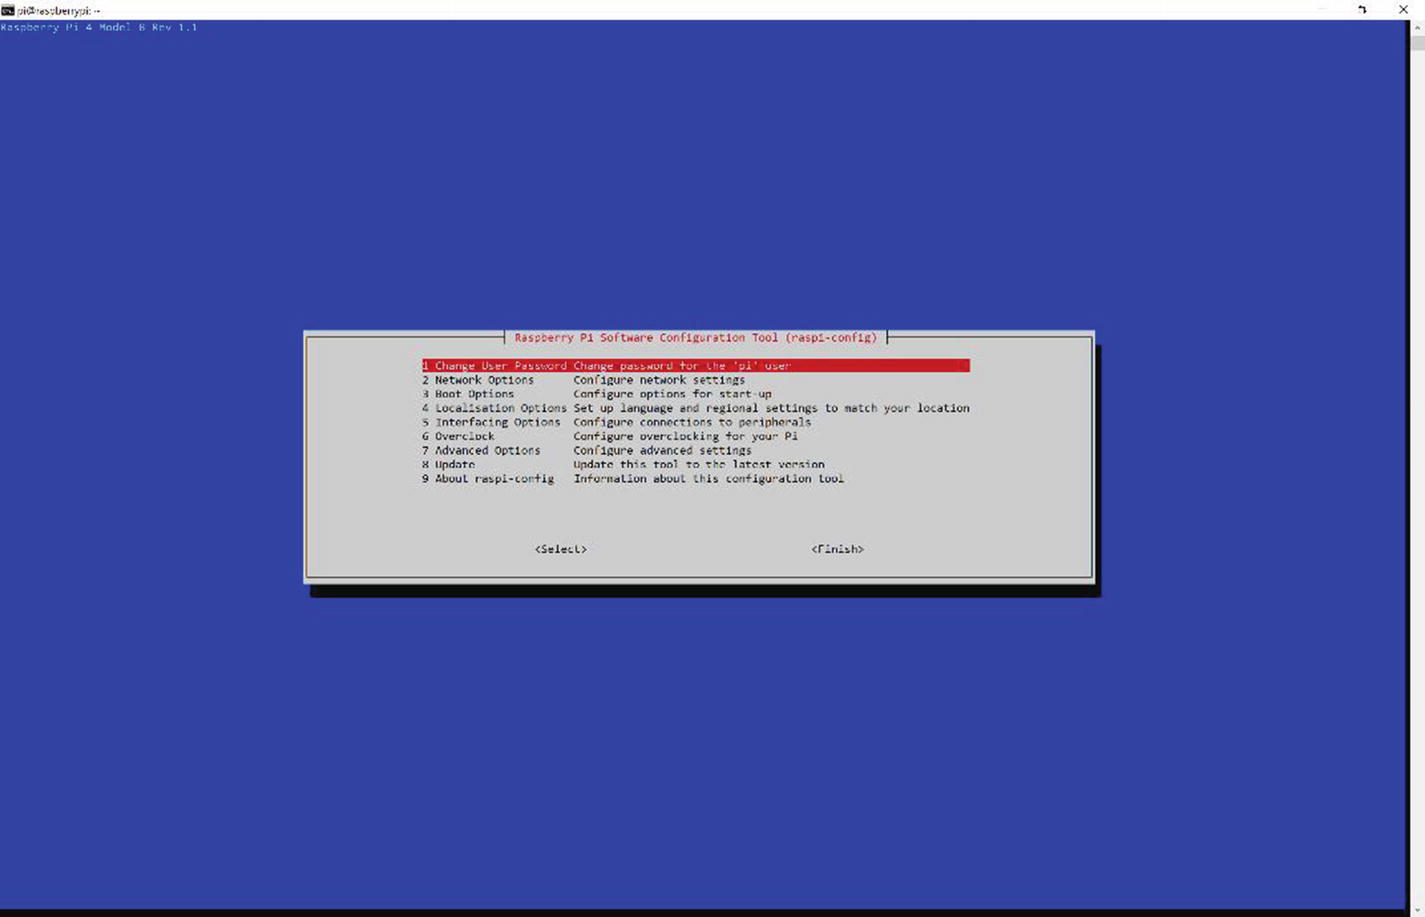
Now that you have connected to the device remotely and it’s on the network, it’s a good idea to change the user password to something more secure. You can easily do that by running the following command in the SSH session you created:
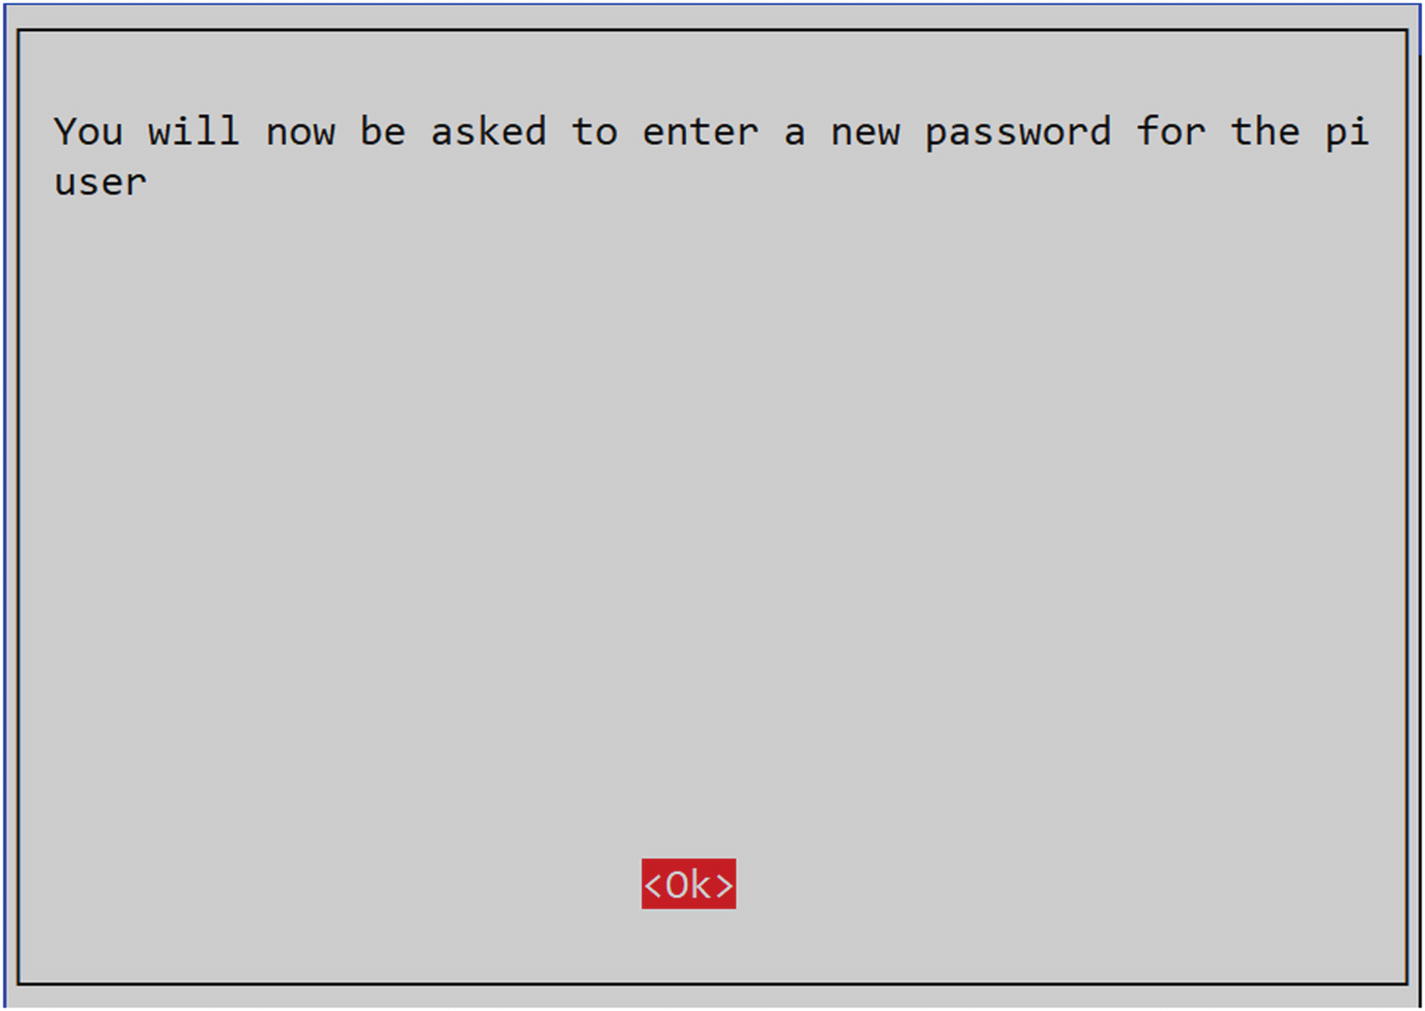
Now select the Change Password option. Select OK from the next screen, shown in Figure 2-6.
Figure 2-6
Change Password warning window
You will be asked to enter the new password for the user. Once you are done typing, press Enter. If everything went well, you should see the window in Figure 2-7.
Figure 2-7
Password Changed Successfully window
Once you click OK and press Enter, the next screen will load, shown in Figure 2-8. Click the the Finish button and press Enter.
Figure 2-8
Finish the configuration
Summary
In this chapter, you learned the following:
What SSH is and how to enable SSH on a Raspberry Pi device.
How to set up Wi-Fi on a Raspberry Pi device.
How to connect a Raspberry Pi device remotely using SSH.
How to change the default password of the Pi user.
We have many things to cover and an application to develop. Let’s jump on to the next chapter.