Besides the mounting of disks via USB, the Banana Pi provides a SATA interface. This interface provides greatly improved performance compared to USBs for hard disk drives (HDD) or solid state disks (SSD).
This recipe requires the following ingredients:
- A Banana Pi
- USB power supply unit
- An SD card containing a Linux distribution
- A hard disk drive or solid state drive
- A SATA-to-SATA cable and a SATA power supply for your drive or SATA cable with power supply terminals
- Access to the Banana Pi's shell
All these products can be bought from retailers. The SATA cable with power supply terminals is quite rare. You might search for that item on online stores that specialize in single-board computers. If you search for Banana Pi SATA cable with power terminals or similar on your desired search engine, you will find retailers for that product.
The mounting of an external drive via SATA is similar to the mounting of a USB flash drive we discovered in the previous recipe. The only difference is the attaching of the drive before powering on the Banana Pi.
- Before powering on your Banana Pi, attach one end of the SATA cable to your external drive.
- Attach the other end to your Banana Pi.
- Attach the power supply for your SATA drive.
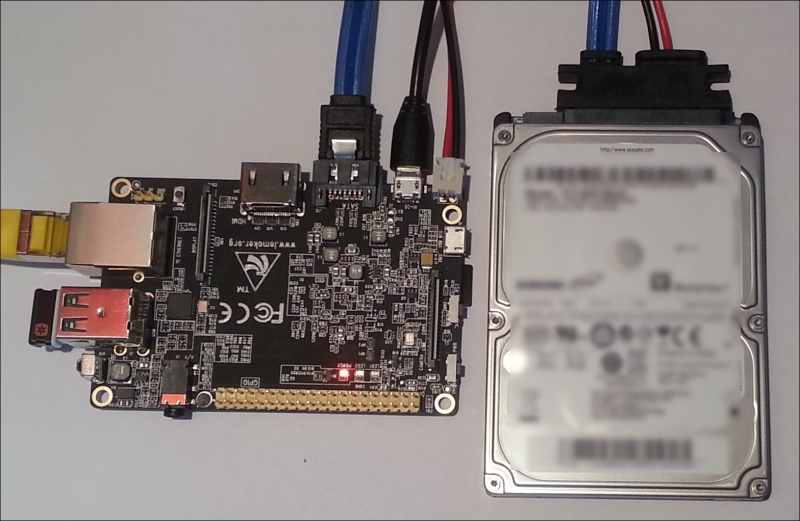
- If you have a SATA cable that comes with power supply terminals, attach the terminals to your Banana Pi. The following picture shows a 2.5" HDD attached to the Banana Pi via this combination.
- Power your Banana Pi and initiate the boot sequence.
- Open a shell.
- Determine the SATA drive using the
fdiskcommand:$ sudo fdisk –l - Create a directory to mount the SATA disk into:
$ sudo mkdir /mnt/sata_drive - Mount an NTFS or FAT32 partition of the SATA disk into that directory:
$ sudo mount -o umask=000 /dev/sda1 /mnt/sata_drive - If you have a partition with a Linux filesystem (such as ext4), you cannot use the
umaskoption; in this case, you have to omit this option:$ sudo mount /dev/sda1 /mnt/sata_drive
You have mounted your SATA disk successfully.
Make sure that your external drive is supplied with a sufficient power source. The Banana Pi can supply 2.5" drives with enough power. However 3.5" drives usually require too much energy. Therefore, you have to use an external power supply if you want to attach a 3.5" HDD to your Banana Pi.
The mounting itself works just like the mounting of a USB drive or any other disk using the mount command. Just as before, we need a destination directory, which we created earlier.
If you try mounting a partition containing a Linux filesystem, you cannot use the umask option. In contrast to FAT32 or NTFS, Linux filesystems fully support the Unix-permission concept. Therefore, you have to work with the standard tools chmod, chown, and chgrp to assign or revoke access rights.