
Switching on an LED by a command is one thing. The other is controlling the LED programmatically. In this recipe, we are going to write a real program in C and in Python to switch the LED on and off periodically.
We require the very same breadboard construction from the previous recipe:
- A Linux system on the Banana Pi
- Access to the shell
- A 5 mm LED (forward voltage 2.0 V)
- A 470 Ω resistor
- A breadboard
- Two female to male jumper wires
Construct the circuit as we have seen previously.
Once we have the construction, we can proceed with the steps given in the following sections.
We start by programming the LED in the classic C programming language.
- Power on your Banana Pi.
- Open a shell.
- Create a source code directory and change location to it:
$ mkdir ~/source
$ cd ~/source
- Create a source file using nano:
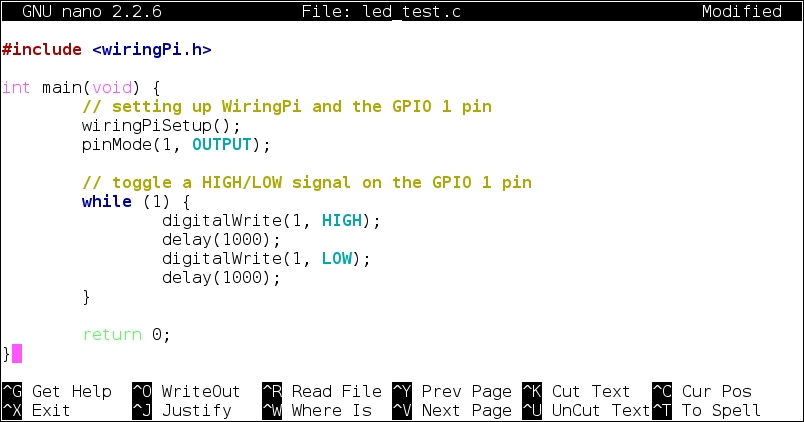
$ nano led_test.c - The nano editor will open. Write the following code in C:
#include <wiringPi.h>

int main(void) {
        // setting up WiringPi and the GPIO 1 pin
        wiringPiSetup();
        pinMode(1, OUTPUT);

        // toggle a HIGH/LOW signal on the GPIO 1 pin
        while (1) {
                digitalWrite(1, HIGH);
                delay(1000);
                digitalWrite(1, LOW);
                delay(1000);
        }

        return 0;
}
In the following screenshot, you see the C code written in the nano editor:
- Exit the nano editor and save the changes by pressing Ctrl + X, followed by Y and Enter.
- Compile the program:
$ gcc -Wall -l wiringPi -o led_test led_test.c - Run the program with root privileges:
$ sudo ./led_testThe LED will begin to blink.
- Abort the program by pressing Ctrl + C.
You successfully programmed the LED to toggle it on and off at an interval of one second.
A lot of applications are programmed in Python these days. We are going to port the previous C code into the Python language:
- Power on your Banana Pi.
- Open a shell.
- Install the required Python packages:
$ sudo apt-get install python-dev - Download the GPIO library for Python:
$ cd ~
$ git clone https://github.com/LeMaker/RPi.GPIO_BP -b bananapi
- Change into the downloaded source files directory and build the library:
$ cd ~/RPi.GPIO_BP
$ python setup.py install
$ sudo python setup.py install
- Change to our source directory:
$ cd ~/source - Create a source file using nano:
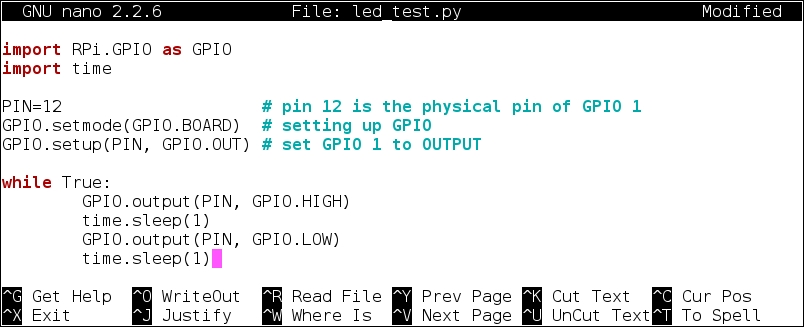
$ nano led_test.py - Write the following Python code:
import RPi.GPIO as GPIO
import time

PIN=12                    # pin 12 is the physical pin of GPIO 1
GPIO.setmode(GPIO.BOARD)  # setting up GPIO
GPIO.setup(PIN, GPIO.OUT) # set GPIO 1 to OUTPUT

while True:
        GPIO.output(PIN, GPIO.HIGH)
        time.sleep(1)
        GPIO.output(PIN, GPIO.LOW)
        time.sleep(1)
In the following screenshot, you can see the Python code written in the nano editor:
- Exit the nano editor and save the changes by pressing Ctrl + X, followed by Y and Enter.
- Run the program with root privileges:
$ sudo python led_test.py - Abort the program by pressing Ctrl + C.
You successfully programmed the LED to toggle it on and off at an interval of one second.
You successfully learned to control the LED using C and Python programming languages.
In this recipe, we have two different approaches to access the GPIO 1 pin: the WiringPi approach and the RPi.GPIO approach using the BOARD constant. The WiringPi library is used in our C code while the RPi.GPIO library is used in our Python code.
The RPi.GPIO library addresses the pins by its physical numeration on the Banana Pi board (therefore the BOARD constant). WiringPi identifies the programmable pins mainly by its GPIO numeration. To translate the GPIO number into the physical pin numeration and vice versa, refer to the pin layout tables in the previous recipe.
Both the blocks of code look a bit different, but have the same behavior. Let's take a closer look at the blocks of code.
When programming in C, we often require external libraries to make use of additional features. In our case, we are requiring the WiringPi library to program the GPIO interface. This is why we are including the WiringPi header file that defines the functions that we need later in the code:
#include <wiringPi.h>
Every C program starts with the obligatory main function:
int main(void) {A function has a return type (int in our case) and optional parameters (void in our case).
All code within the first curly braces ({ and }) is called the body of the function and contains all the code that is executed when the function is executed. The main function is executed once the program itself is executed (therefore, it is called the main function).
The first two lines of the main function are required to set up the WiringPi environment. The wiringPiSetup()function initializes WiringPi within our program and the pinMode(1, OUTPUT) function sets the GPIO 1 pin to the output mode. Do not forget the semicolon (;) at the end of each instruction.
The next instruction starts a so-called infinite loop:
while(1) {Just like for a function, all code within the curly braces belong to the while loop. This means the next four lines are executed by the while loop. It is called an infinite loop, because the loop never ends. The while loop loops as long as the condition in the brackets has the status true. In C, the integer (whole number) 1 means the status is true; this is why our while loops forever (or at least as long as the program is not aborted).
The next call is digitalWrite(1, HIGH). This instructs to write a logical high signal to the GPIO 1 pin. This switches on the LED. Then we call delay(1000). This lets the program wait for 1000 milliseconds (which is equal to 1 second) until the next instruction is executed. The next two lines are similar, except that this time a logical low signal is written to the GPIO pin, which means we need to switch off the LED. The closing curly braces end the while loop.
The last line of the main function is return 0. As we defined the main function to have an integer return type, we are returning 0 at the end of the program. Zero is the exit code for a normal exit of programs.
The Python code behaves exactly like our C program. We require a library to access the GPIO pins (that is, RPi.GPIO in our case). As RPi.GPIO does not provide a waiting function such as delay() in our C program, we also have to import a library that lets our program wait for some time. That is solved by the time library.
Therefore, we are importing the packages RPi.GPIO and time:
import RPi.GPIO as GPIO
import time
In Python, we do not need a main function necessarily (still we could implement one). Therefore, we start immediately by defining our GPIO 1 pin that is used—PIN=12.
Unlike WiringPi that uses the number of the GPIO pin, we need to access the pin by its physical number (that is number 12 in our case). Therefore, we declare the variable PIN with the value 12. This way, we can just use the PIN variable in the upcoming function calls to refer to the GPIO 1 pin.
The next two lines are initializing the GPIO environment. We want to use the BOARD definition (to access the pin by its physical location):
GPIO.setmode(GPIO.BOARD)
And we want to set our GPIO pin to the output mode:
GPIO.setup(PIN, GPIO.OUT)
The next instruction is an infinite while loop:
while True:
Like in C, we do not have a condition that can be false (as we always use True). In Python, we do not use curly braces to define parts of code such as in C. Instead, we are using tabs to indicate that the next four lines belong to the while loop.
You probably already assume what the next line does. We just apply a high signal at the GPIO pin, which we referred to by the PIN variable:
GPIO.output(PIN, GPIO.HIGH)
This will enlighten our LED. To pause our application for 1 second, we use the sleep function of the imported time library:
time.sleep(1)
The next two lines are similar, except that a low signal is written to the GPIO pin meaning to switch off the LED.