
Populating Page Content Using Data in Front Matter
When you created your Project archetype, you created some placeholder content that you could replace. Over time, you might want to change the content on these pages, and going through each one manually to get them all looking the same could be a lot of work.
Let’s refactor the project pages so they’re more data-driven.
Modify the default archetype for Projects to include the image, the image’s alternative text, and the “Tech Used” content. You’ll also add a summary that you can use in various places:
| | --- |
| | title: "{{ replace .Name "-" " " | title }}" |
| | draft: false |
| | image: //via.placeholder.com/640x150 |
| | alt_text: "{{ replace .Name "-" " " | title }} screenshot" |
| | summary: "Summary of the {{ replace .Name "-" " " | title }} project" |
| | tech_used: |
| | - JavaScript |
| | - CSS |
| | - HTML |
| | --- |
| | |
| | Description of the {{ replace .Name "-" " " | title }} project... |
Notice that you’re using the name of the file to generate some of the default text for the summary, the image alt text, and even the main content.
Generate a third project using this template. Stop your server and execute the following command to create a page for a project called “Linkitivity.”
| | $ hugo new projects/linkitivity.md |
| | /Users/brianhogan/portfolio/content/projects/linkitivity.md created |
Open content/projects/linkitivity.md and you’ll see this content:
| | --- |
| | title: "Linkitivity" |
| | draft: false |
| | image: //via.placeholder.com/640x150 |
| | alt_text: "Linkitivity screenshot" |
| | summary: "Summary of the Linkitivity project" |
| | tech_used: |
| | - JavaScript |
| | - CSS |
| | - HTML |
| | --- |
| | |
| | Description of Linkitivity project... |
The name “Linkitivity” is placed throughout the front matter, making it easier for you to maintain consistency.
Before moving on, modify the two existing project pages you created to reflect these changes. Remove the placeholder text and move it all to the front matter section instead, under those keys. For reference, here’s what your Awesomeco project should look like:
| | --- |
| | title: "Awesomeco" |
| | draft: false |
| | image: //via.placeholder.com/640x150 |
| | alt_text: "Awesomeco screenshot" |
| | summary: "Summary of the AwesomeCo project" |
| | tech_used: |
| | - JavaScript |
| | - CSS |
| | - HTML |
| | --- |
| | |
| | Description of the Awesomeco project... |
Next, modify the project layout to use this data. Open themes/basic/layouts/projects/single.html and locate the {{ .Content }} section. Below that line, add code that adds the image and alternative text from the front matter, and then iterates through the values in the tech used field to display those values on the page:
| | <section class="project"> |
| | <h2>{{ .Title }}</h2> |
| | |
| | {{ .Content }} |
| » | <img alt="{{ .Params.alt_text }}" src="{{ .Params.image }}"> |
| » | |
| » | <h3>Tech used</h3> |
| » | <ul> |
| » | {{ range .Params.tech_used }} |
| » | <li>{{ . }}</li> |
| » | {{ end }} |
| » | </ul> |
| | |
| | </section> |
Notice that the image, alt_text, and tech_used fields are prefixed by .Params. Any custom fields you add to the front matter get added to this .Params collection. If you don’t add that prefix, Hugo won’t be able to find the data. Fields like description and title are predefined fields that Hugo knows about, so you don’t need the params prefix when referencing them. You can find the list of predefined fields in Hugo’s documentation.[18]
Save the layout and start the development server with hugo server. Visit http://localhost:1313/projects/awesomeco.md and your project displays, but this time it’s driven by front matter data instead of hard-coded content:

This will give you a much more uniform approach for adding projects. There’s absolutely nothing wrong with continuing to define your content using the method you used before, where you used placeholder content, but you might find this method more appropriate for things that need to be developed in a more uniform fashion. However, by taking advantage of Hugo’s data-driven features, it’s easier to make list pages more interesting.
The information you’ve added to the front matter is available in other templates. Let’s add the information in each project’s summary field beneath each entry on the project listing page, so it’s more than just a list of projects. Open themes/basic/layouts/projects/list.html and add the summary beneath the project link:
| | {{ range .Pages }} |
| | <section class="project"> |
| | <h3><a href="{{ .RelPermalink }}">{{ .Title }}</a></h3> |
| » | <p>{{ .Summary }}</p> |
| | </section> |
| | {{ end }} |
| | </section> |
| | |
| | {{ end }} |
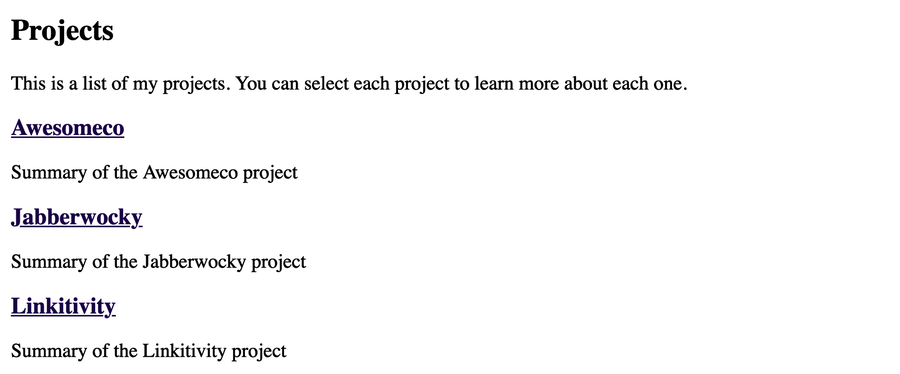
Save the page and visit http://localhost:1313/projects. The summaries now appear after each header as shown in the screenshot.
Remember, when you’re working with range, it’s iterating over each entry. Inside the block, the range is pointing at the current entry, so you can access any of the properties of that item, including content or front matter data.
In addition to displaying data, you can also use the data in pages to make decisions about what to display.