
CHAPTER 2
Do-It-Yourself Guide for Basic Mastering
This chapter covers the things you need to know to get started with mastering right away. Sometimes a fast start is the best way to begin with something new. Also, mastering seems to appeal to those who are naturally hands-on. Even for readers who are experienced with mastering, this chapter may help to frame the concepts of the rest of the book.
The Most Basic CD Mastering
Let’s start with the most basic approach for creating a CD. You would collect all the mixes, arrange them in the right sequence, and burn them on a CD with one of the many applications available for the task. That’s it, you can play the CD.
Issues with Such a Basic Approach
With the previous approach, when you listen to the CD, the tonality may be far different from that of professional recordings, and to some people, tonality is everything. If the mixes were 24-bit and considering that CDs are 16-bit, bit truncation would have occurred. Also, the loudness may be uneven and lower than that of commercial releases. Professional duplicators/replicators may refuse to work with the CD for a number of reasons. Basically, it might not sound professional and is not yet ready for duplication/replication. These are some of the main issues with which mastering is concerned.
MP3 Encoding Without Other Processing
Instead of burning a CD, you may instead make an MP3 file from the 24-bit mix. This avoids the problem with truncated bits, but still the tonality and loudness issues remain.
Selecting a Digital Audio Workstation
A digital audio workstation (DAW) is a computer program that helps users work with audio. Some DAWs have been specifically designed with mastering in mind. Magix Samplitude and Sequoia, both of which run on the PC only, are great choices for mastering engineers at all levels. A complete list of mastering DAWs is included in Chapter 5.
Basic Mastering Processing Chain
Digital audio workstations (DAWs) usually include equalizers, compressors, limiters, and dithering. Also, DAWs have a way to arrange the processing in any order you wish. For mastering, a good starting point is a sequence of equalization, compression, limiting, and then dithering. The processing sequence is very important in mastering.
Processing Packages
There are several digital mastering plug-in packages that contain a suite of audio mastering processors. These include iZotope Ozone, T-Racks, Plugin Alliance Big-4 Bundle, and Waves Masters Bundle. These plug-ins work with a variety of DAWs. Each is shown in Figure 2-1, and any one is perfect for getting started.
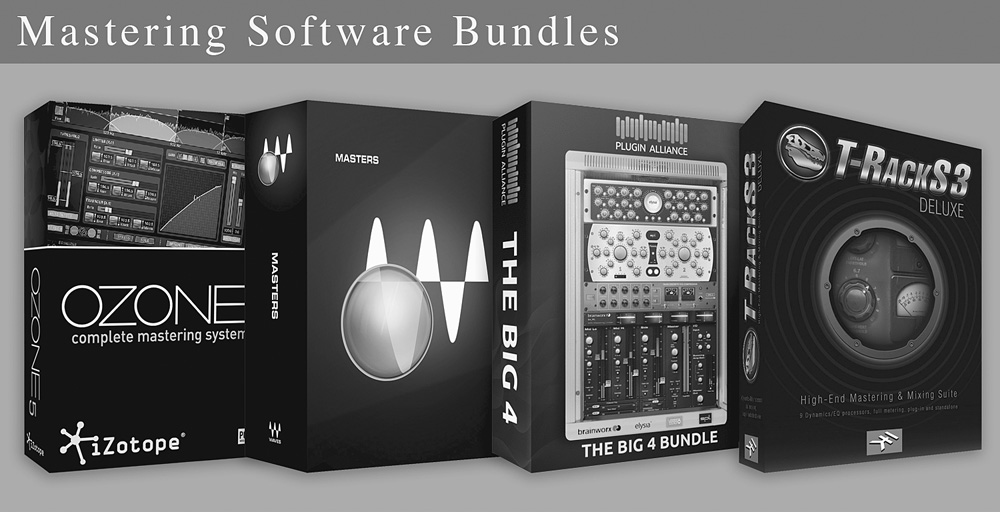
FIGURE 2-1 iZotope Ozone, T-Racks, Plugin Alliance Big-4 Bundle, and Waves Masters Bundle are popular digital mastering plug-in bundles.
Basic Equalizer
The equalizer is the main tool for adjusting tone, which is a major part of mastering. Perfecting the art of professional equalization is something that takes considerable time. For quick-start purposes, I will list a few basic techniques.
Plug-in equalizers usually sound best if they have a minimum phase mode and it is selected (as with the DMG EQuality plug-in). If necessary, try using parametric equalization with a medium Q (a value of 1-2, but perhaps as high as 4) to reduce any resonant frequencies in the lower midrange (120–400 Hz). Resonant frequencies are actually quite rare, but if present, they sound like a ringing and may affect the entire spectrum. You may boost to find them and then cut to reduce or remove them.
Harshness is very common, unlike resonant frequencies. Use a parametric equalization bell, at 3.15 kHz, with a Q value of 3.5 to reduce harshness.
A bell with a broad width (lower Q value) may be used to affect large areas of the spectrum.
Use shelves to adjust entire ranges, such as the entire bass range (120 Hz and below) or the entire high-frequency range, if necessary. No adjustment should be made unnecessarily. These techniques are shown in Figure 2-2.
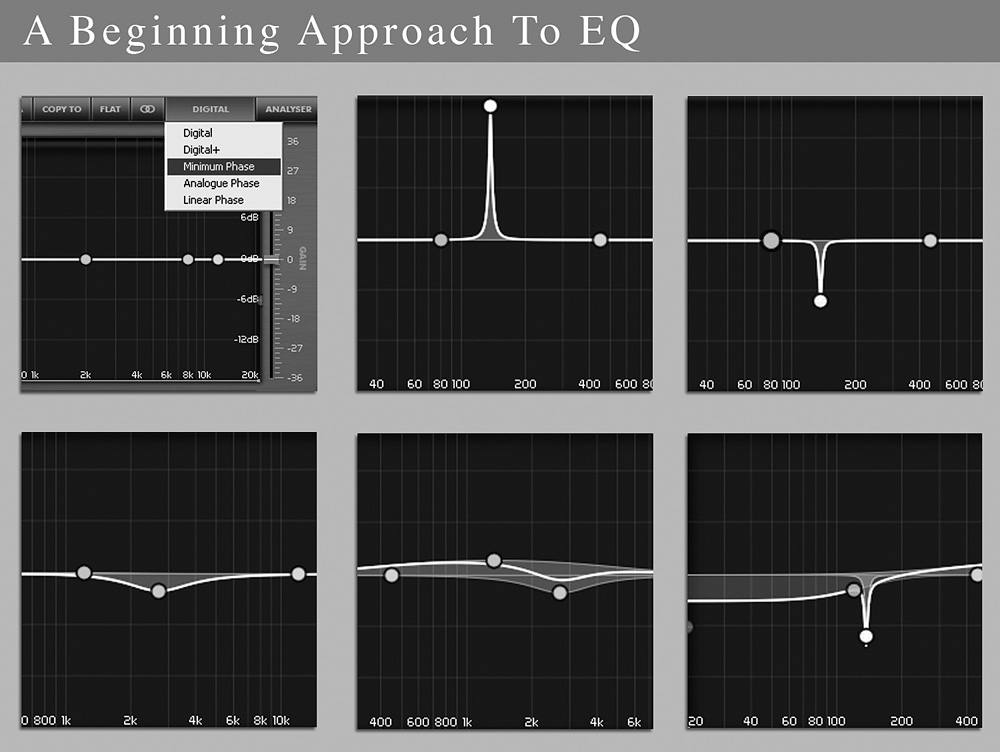
FIGURE 2-2 Minimum phase option; boost to find a resonance; cutting a resonance; 3 kHz cut; broad equalization; using shelves to adjust ranges.
Basic Compression
When just starting out, barely use any compression, and consider using none at all. Compression is basically an automatic loudness control. It’s much less of a factor in professional mastering than most people think.
Basic Limiting
Limiters are processors with two main controls: a gain control and a ceiling. The gain control is used to adjust the loudness of the recording, and the ceiling is the maximum level that can occur. The ceiling has much less of an impact on the perceived loudness than the gain control. This is so because it is the average level that gives the perception of loudness much more than the maximum level.
Okay, so how do you set the limiter? The limiter’s gain control should be set for each recording in such a way that when you listen, each recording of the album or extended play (EP) has the same or similar loudness. You might compare your limiting to a recording in a similar genre. You also might just set the limiting where loudness is maximized but without too much of the negative side effects that can come from limiting. Also, it is very typical that the output ceiling is set to –0.3 dB.
Compare the Processed Version with the Original
When comparing the processed and original recordings, each must be compared at the same loudness. This task is a little more complicated when using analog equipment and will be covered in Chapter 7 in more detail. When mastering with digital plug-ins, comparisons are a bit easier. A processor with a gain control can be added at the very end of the sequence of processors. Gain controls allow the loudness of a recording to be altered. Basically, you’ll be using this gain control at the end of the chain so that when all plug-ins are bypassed, the loudness is the same as when they are all active. Be honest about making the loudness the exact same; otherwise, the louder version may always seem better, even when it is not. Remember to bypass or delete the processor used for loudness matching when exporting. An example of such a processor is shown in Figure 2-3.
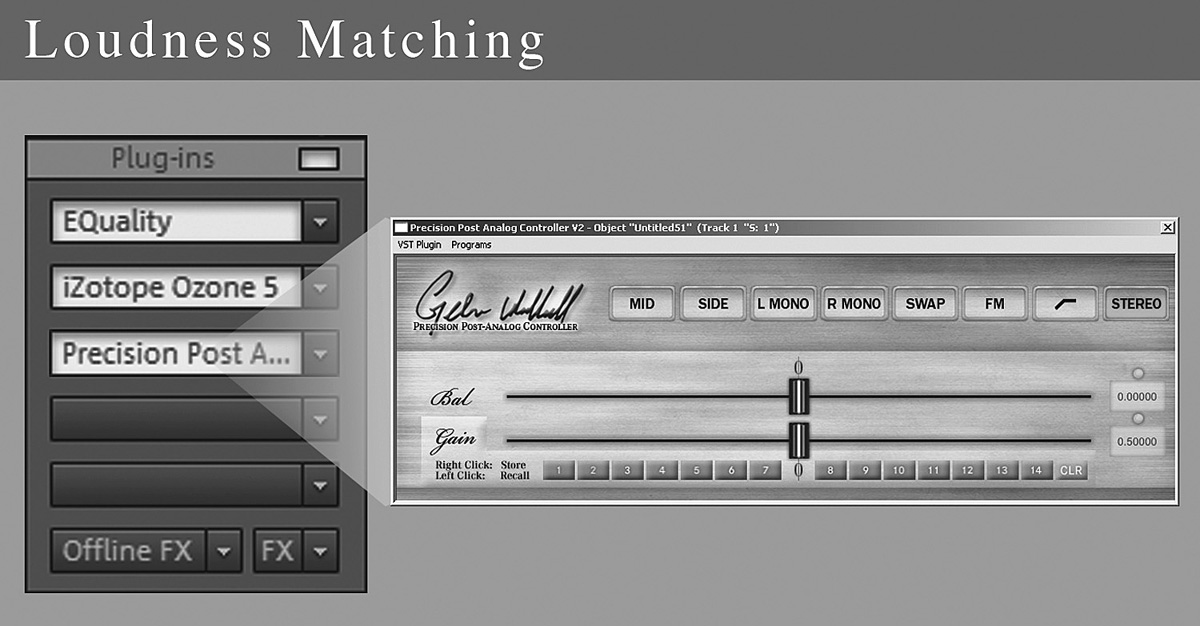
FIGURE 2-3 Using a tool such as Gebre Waddell’s Precision Post-Analog Controller to carefully match loudness is essential for making comparisons.
Sample-Rate Conversion
A sound is represented in the digital world with many points called samples. The sample rate is the number of digital samples in time that make up an audio waveform. DAWs usually display the sample rate, so it’s easy to find. If the audio sample rate of the recording at hand is not 44,100 (often abbreviated as 44.1k), then it must be converted to create a CD. Conversion to a sample rate of 44.1k is usually preferred to be done in sequence just before dithering.
Dithering
While the sample rate is the number of digital samples, the bit rate is the range of the samples. Dithering is noise added in with audio to help reduce the effects of converting from a higher bit rate to a lower one. Dithering is performed as the last step before converting to a lower bit rate. This is important because mastering processing is typically performed at 32 or 24 bits, and the final output is 16 bits. Many limiters have a dithering feature, as well as most DAWs.
Export to CD
It’s easy to create a Red Book audio CD; you just need the right software. Just export a WAV file at 16 bits, and burn it with CD-burning software or use the burning feature of your DAW. Use burning software that allows the creation of a Red Book master and that allows you to enter CD-Text details.
Exporting for Internet Release
If a recording is intended for an Internet release, then usually an MP3 file will be needed. MP3s are best created from your 24- or 32-bit sources instead of from the 16-bit CD files. After the mastering has been performed, most DAWs have an MP3 export option that can be used to easily create MP3 files.
This Portion Is Only a Basic Guide
Please keep in mind that this portion of the book is a basic guide. It helps in getting started and helps frame the topics of the book.