2. create the workbook file
Excel documents are called workbook files. A workbook can include multiple sheets of information.
Excel supports two kinds of sheets for working with data:
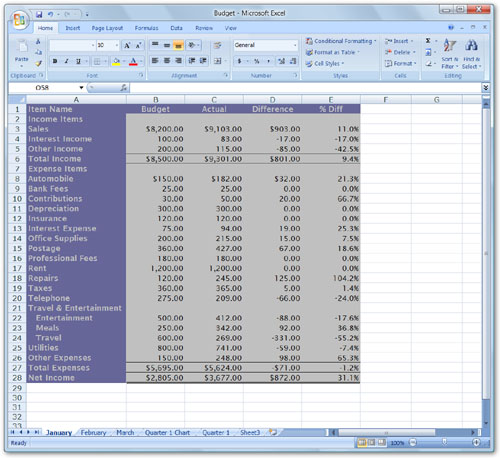
• Worksheets, which are also known as spreadsheets, are for recording text and numerical information and performing calculations. Our project will use worksheets for the monthly budget information and the consolidation.
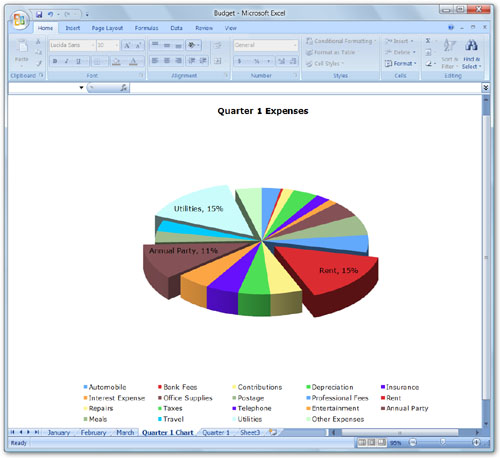
• Chart sheets are for displaying worksheet information as graphs or charts. Excel supports many types of charts, including the pie chart that’s part of our project.
You can think of Excel sheets as pages in an Excel book—that’s what I do. Then, when you create a workbook for a project—like our monthly budget with consolidation and chart—you can fill it with the sheets that apply to that project to keep everything together.
In this chapter, we’ll create and save the workbook file we’ll use to build our project.
create the workbook
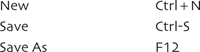
Excel offers a number of ways to create a blank workbook file. One way is with the New command.
1. Click the Microsoft Office button.
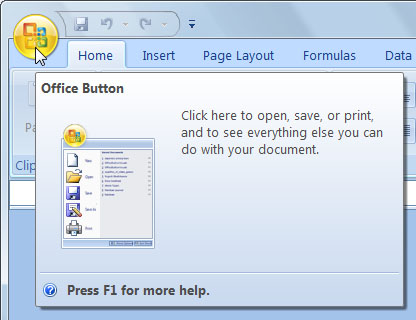
2. Click the New command.
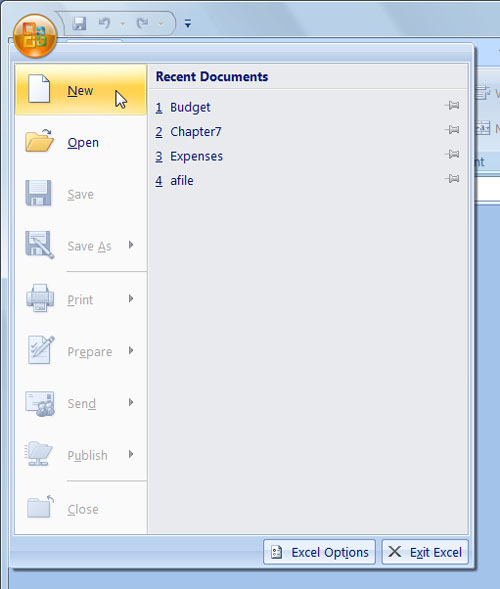
The New Workbook dialog appears.
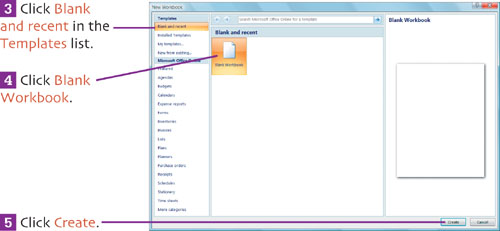
A new workbook document appears. It displays a worksheet window, like the one on page 5.
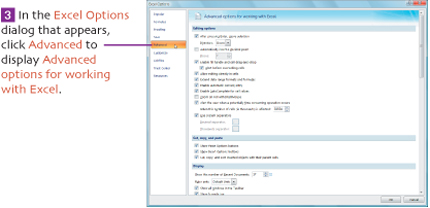
set display options
You can set display options to determine which screen elements appear while you’re working with Excel. It’s a good idea to display the tools you’ll need to complete this project before you start creating worksheets.
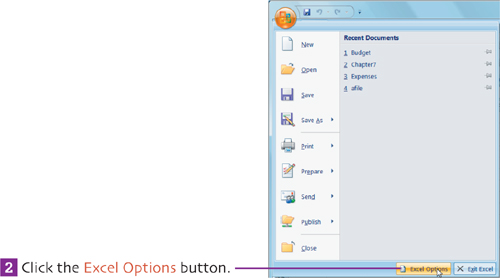
1. Click the Microsoft Office button.
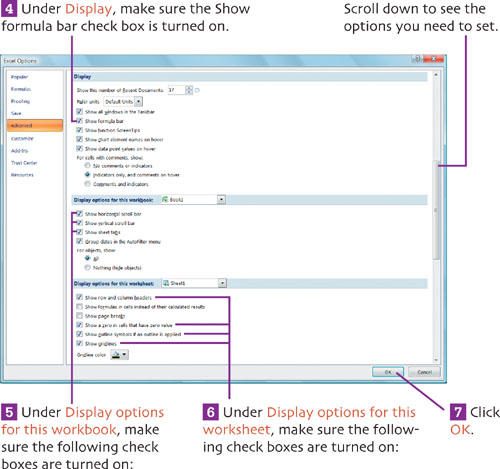
• Show horizontal scroll bar
• Show vertical scroll bar
• Show sheet tabs
• Show row and column headers
• Show a zero in cells that have zero value
• Show outline symbols if an outline is applied
• Show gridlines
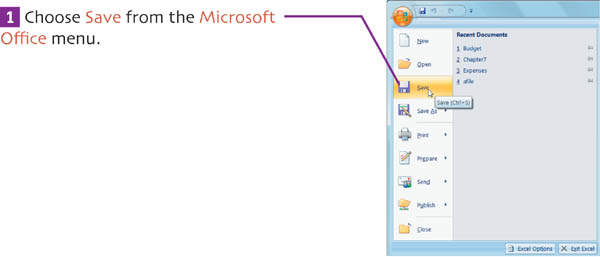
save the workbook
You can save a workbook file to keep a record of it on disk or to open and work with it at a later date. For this project, we’ll save the workbook in the Documents folder.
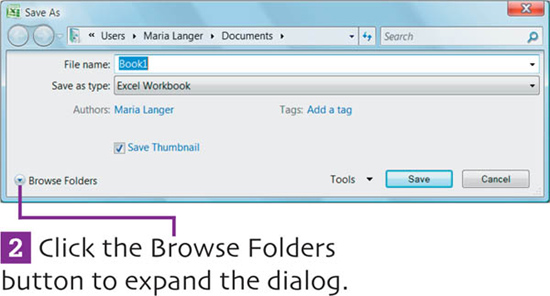
The Save As dialog appears. You use this dialog to set options for saving the file.
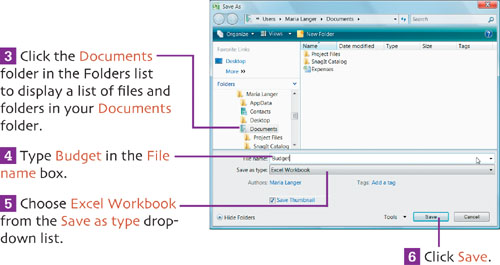
The document is saved in your Documents folder. Its name appears in the title bar.
![]()
extra bits
create the workbook p. 18
• A new workbook is automatically created when you launch the Excel program.
save the workbook p. 21
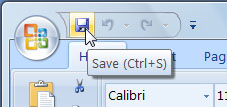
• It’s a good idea to save your workbook file occasionally as you build it. Just choose Save from the Microsoft Office menu, click the Save button on the Quick Access toolbar (shown here), or hold down Ctrl while pressing S. Excel saves the current version of the file without displaying a dialog.
• To save a file with a different name or in a different disk location, choose Save As from the Microsoft Office menu. Then set options in the Save As dialog that appears to save a copy of the file. Remember that the original version of the file remains on disk but is not updated with any changes that you made since you saved it.
• If you’re running Excel 2007 on Windows XP instead of Windows Vista, the Save As dialog will look different. Save the file into your My Documents folder, which you can quickly open by clicking its icon in the dialog’s sidebar.
shortcut keys for this chapter