50. NIGHTTIME CITYSCAPES

AS A KID, New York City at night felt like a whole other place. I fell in love with the way the city’s energy changed after dark. The air would cool, the pace would shift from focused to meandering, and the world would come alive with colorful lights. Though I didn’t get out after dark very often (the tragedy of early bedtimes), when I did, I got to visit places like Times Square and Fifth Avenue. Those nights felt like magic.
I think those early experiences are why I still feel a little sense of whimsy when I photograph in a city at night. When I travel, I make photographing nighttime cityscapes a priority. They introduce a different side of my destinations and make me feel nostalgic even on my first visit.
Prepping for a Night Out
Shooting cityscapes at night doesn’t have to be a big gear-heavy production. In fact, the less equipment you carry the happier you’ll be if you end up in a crowded setting or are concerned about potential theft (always a big consideration at night). For night shoots I like to carry a light load: my camera, one or two lenses, a remote trigger, and a tripod (obviously snacks as well, but do I even have to mention that anymore?).
Regardless of how fantastic your camera is in low light, you’ll want to shoot longer exposures for starbursts and light trails, so a tripod is a must. I find a full-sized tripod to be ideal because it allows me to shoot from close to my normal perspective, and I don’t have to spend long exposures crouching down next to my camera.
The remote trigger is also a must. You can get away with setting the camera to a 2-second shutter delay to help avoid vibrations from pressing the shutter, but only for exposures less than 30 seconds. If you intend to keep the shutter open longer by putting the camera into Bulb setting, you’ll need the remote trigger to engage the shutter, or else you’ll end up holding down the shutter button to keep the shutter open. That’s gonna be a vibration nightmare. Avoid camera shake. Get a remote trigger.
Sometimes using a remote trigger isn’t quite enough and the camera is still getting some shake from the shutter opening. In those cases, I turn on Mirror Lockup. Each shot will take slightly longer to achieve—when you press the shutter, the mirror flips up and there is a short delay before the shutter opens—but your photos will be much sharper.
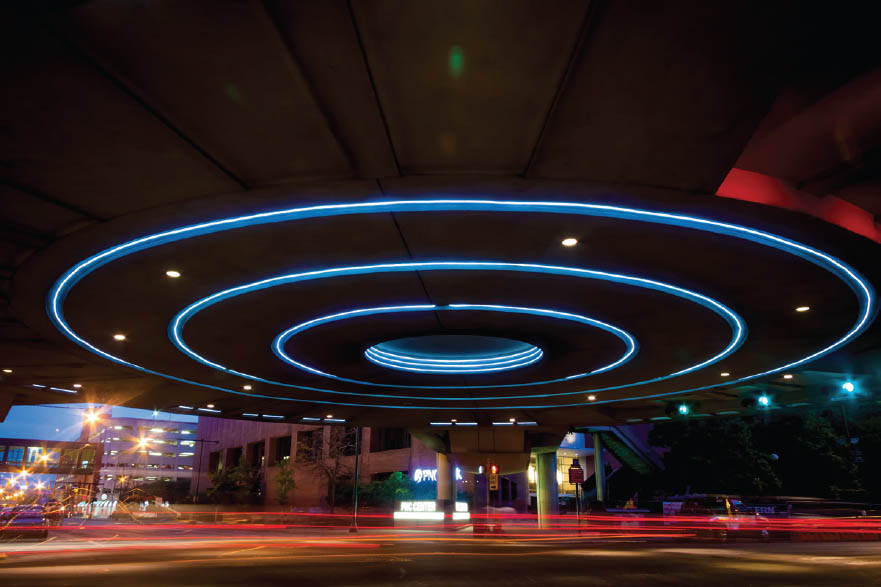
When shooting in a city at night, I tend to use a wide lens for shots within the city (Figure 50.1) and a zoom lens for shots of the skyline (Figure 50.2). Whatever lenses you choose, make sure you’re familiar with which apertures will provide the best clarity.
Settings Are Important
Because you’ll be working in low light, it’s a good idea to have a settings plan before you go out. Fiddling with buttons in the dark is no fun, and trial and error takes a lot longer when each shot is at least 10 seconds long.
Generally I try to keep my ISO in the range of 100–400. If I need to work faster for some reason then I’ll push it to 800, but with a tripod I have the luxury of avoiding the noisier range of ISOs. I select my aperture based on sharpness for that particular lens and I select my shutter speed by how trippy I want my light trails to be. Remember, the narrower the aperture, the more of a starburst effect you’ll get from stationary lights.
Metering is where things get a little bit more complicated. If your subject is the light source itself (like a fire, fancy backlit signs, the moon, or reflected colored light), then you want to set your camera to Spot Metering. This will allow you to use the camera’s autofocus point to meter the entire image for the subject/light source (Figure 50.3). Essentially, the light source will be perfectly exposed in all its bright glory while the rest of the image is thrown into darkness.
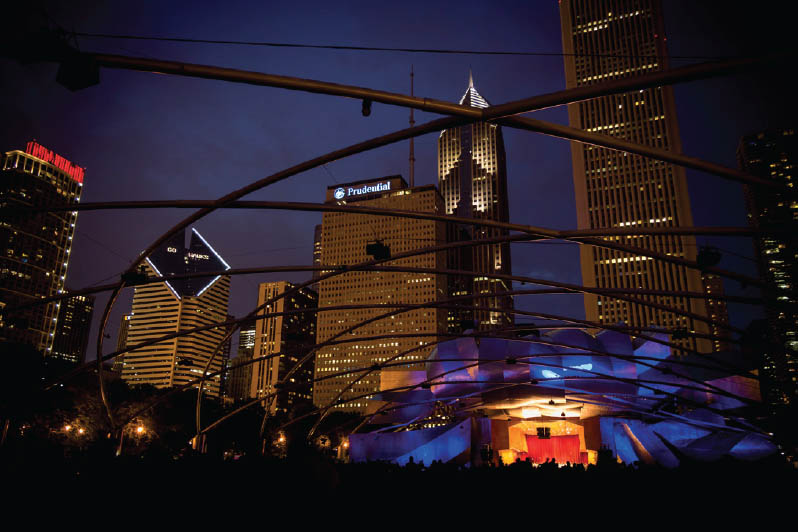
50.1 Jay Pritzker Pavilion, Chicago, Illinois
ISO 100; 2.5 sec.; f/4; 17mm
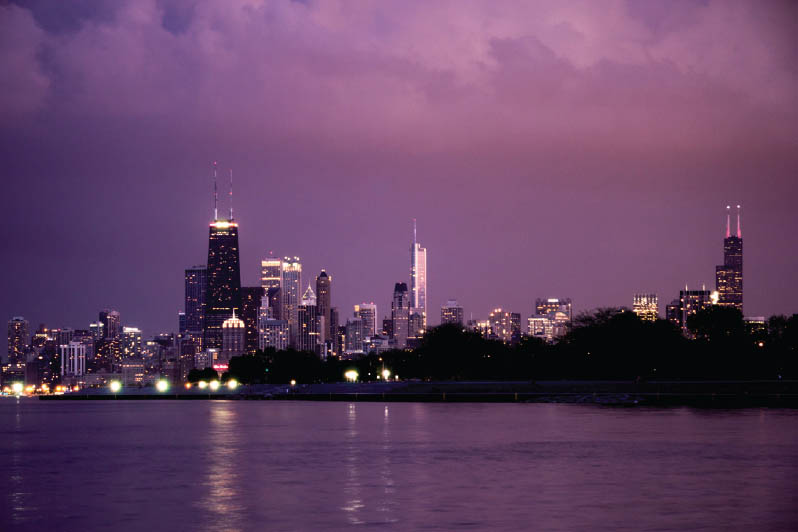
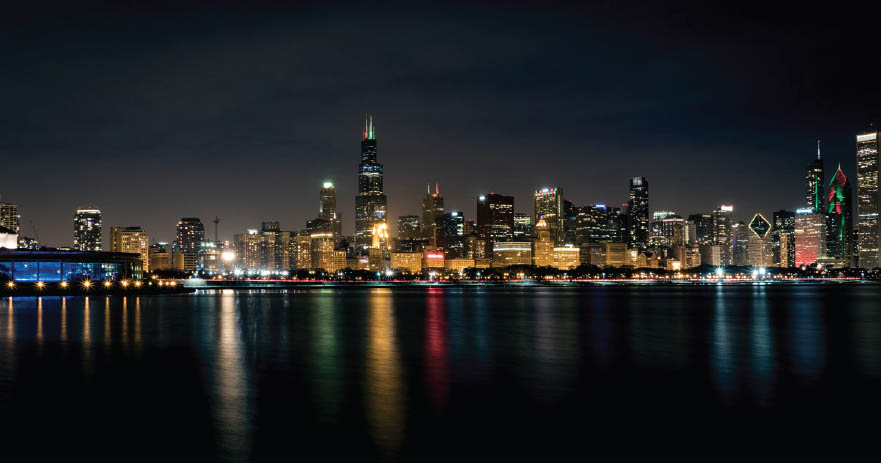
50.2 Chicago, Illinois
ISO 200; 1.3 sec.; f/5.6; 70mm
50.3 Indianapolis, Indiana
ISO 100; 1/2 sec.; f/9; 85mm
If your subject is a larger scene with multiple light sources (like wider cityscapes, a building with many lit windows, or a busy intersection with traffic/light trails), then you can work in Evaluative/Matrix Metering. This will allow your camera to take several readings across the frame and find a good exposure setting overall (Figure 50.4).
Finally, make sure you pay attention to white balance. Cityscapes will usually have a mix of LED, metal halide, and high-pressure sodium lamps, all of which have different color casts. For the most flexibility, make sure you’re shooting in RAW (which hopefully you’re doing anyway) and set your WB to Auto White Balance. You’ll be able to dial the colors in later on. As you shoot, if things are looking too yellow or too blue, you can set adjust your WB accordingly (lower numbers are warmer, higher numbers are cooler).
Sweet Compositions
Many times it’s easy to find killer compositions at night in a city, but if you’re feeling stuck, here are a few ideas to get your creative juices flowing:
- Find reflections: Seek out a body of water (Figure 50.5), a puddle (Figure 50.6), or even the hood of a dark car to mirror bright lights, a building, or a whole skyline. Right after it rains can be the ideal time. When the streets are wet they are more reflective, so the pavement will glow with the color of the lights and it will be easier to find puddles. For faster moving bodies of water, it will take a really long exposure to get the waves or motion to smooth out. Totally worth it (Figure 50.7).
- Focus on traffic: I think light trails are pretty sweet. For the best trails, make sure you’re shooting during green lights in areas of low congestion. Headlights and taillights will flow into a smooth line instead of a choppier dotted line (Figures 50.8 and 50.9).
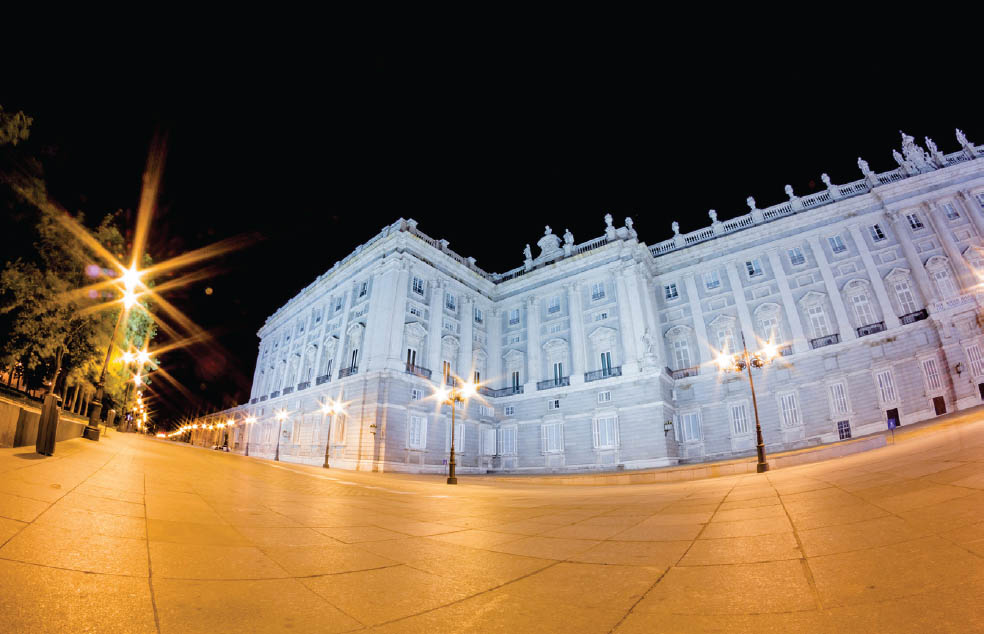
50.4 Royal Palace of Madrid, Madrid, Spain
ISO 160; 20 sec.; f/7; 8mm
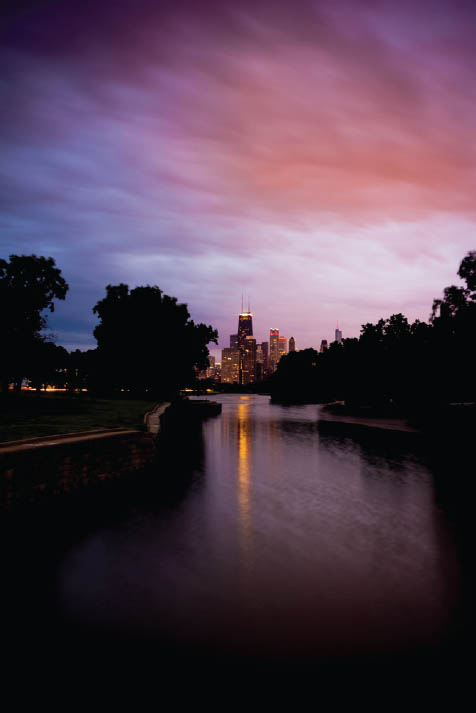
50.5 Chicago, Illinois
ISO 100; 13 sec.; f/7; 20mm
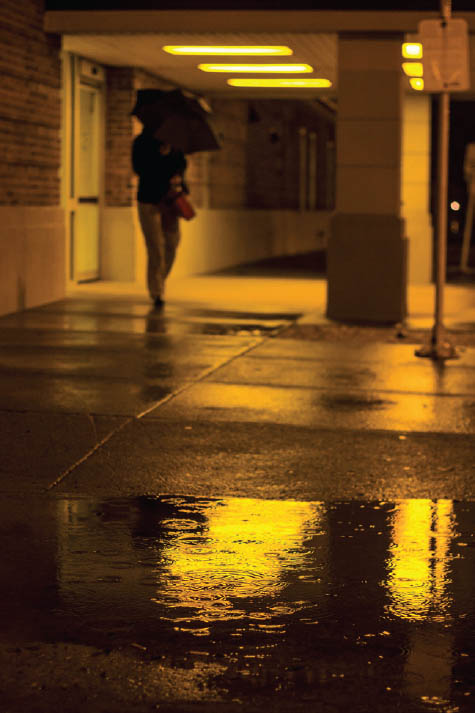
50.6 Chicago, Illinois
ISO 640; 1/60 sec.; f/2.5; 50mm
50.7 Chicago, Illinois
ISO 160; 30 sec.; f/16; 22mm
50.8 Indianapolis, Indiana
ISO 100; 4 sec.; f/11; 17mm
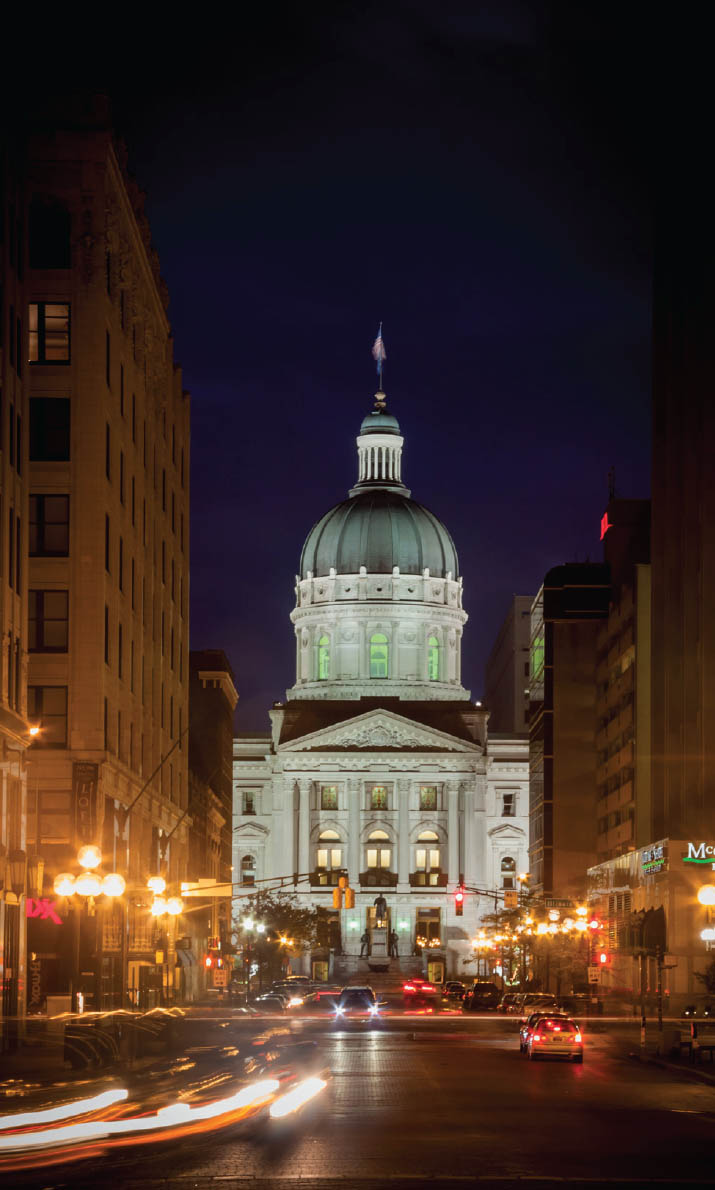
50.9 Indiana State Capitol, Indianapolis, Indiana
ISO 100; 6 sec.; f/16; 53mm
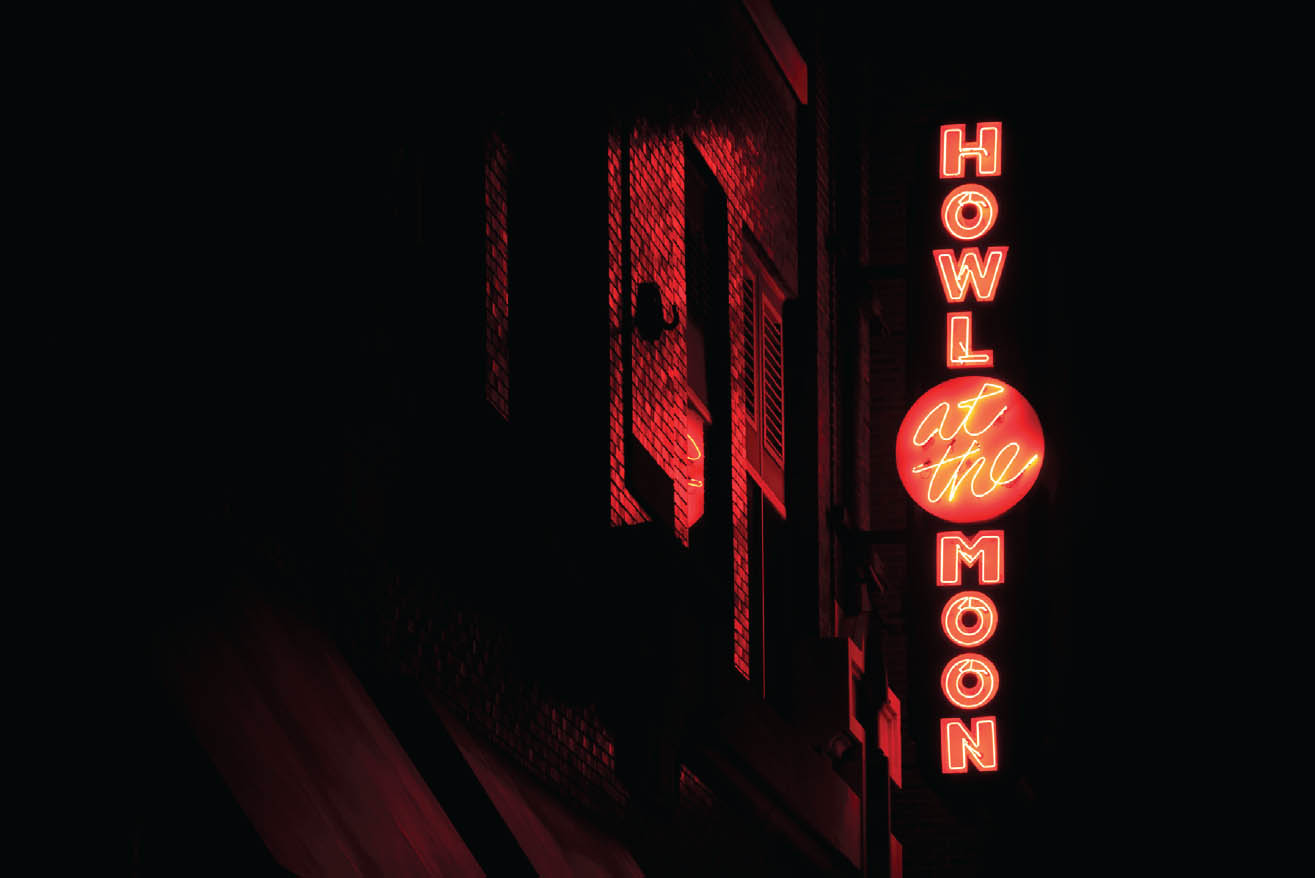
- Marquees and neon: Theater districts and areas with a lot of bars, restaurants, and tattoo shops are great for night photography. Whether you’re shooting wide (Figure 50.10) or focusing in on a particular storefront or sign (Figure 50.11), you’ll have loads of interesting material to play with.
- Seek higher ground: Visit an observation deck or a restaurant at the top of a skyscraper for a wide, light-filled cityscape (Figure 50.12).
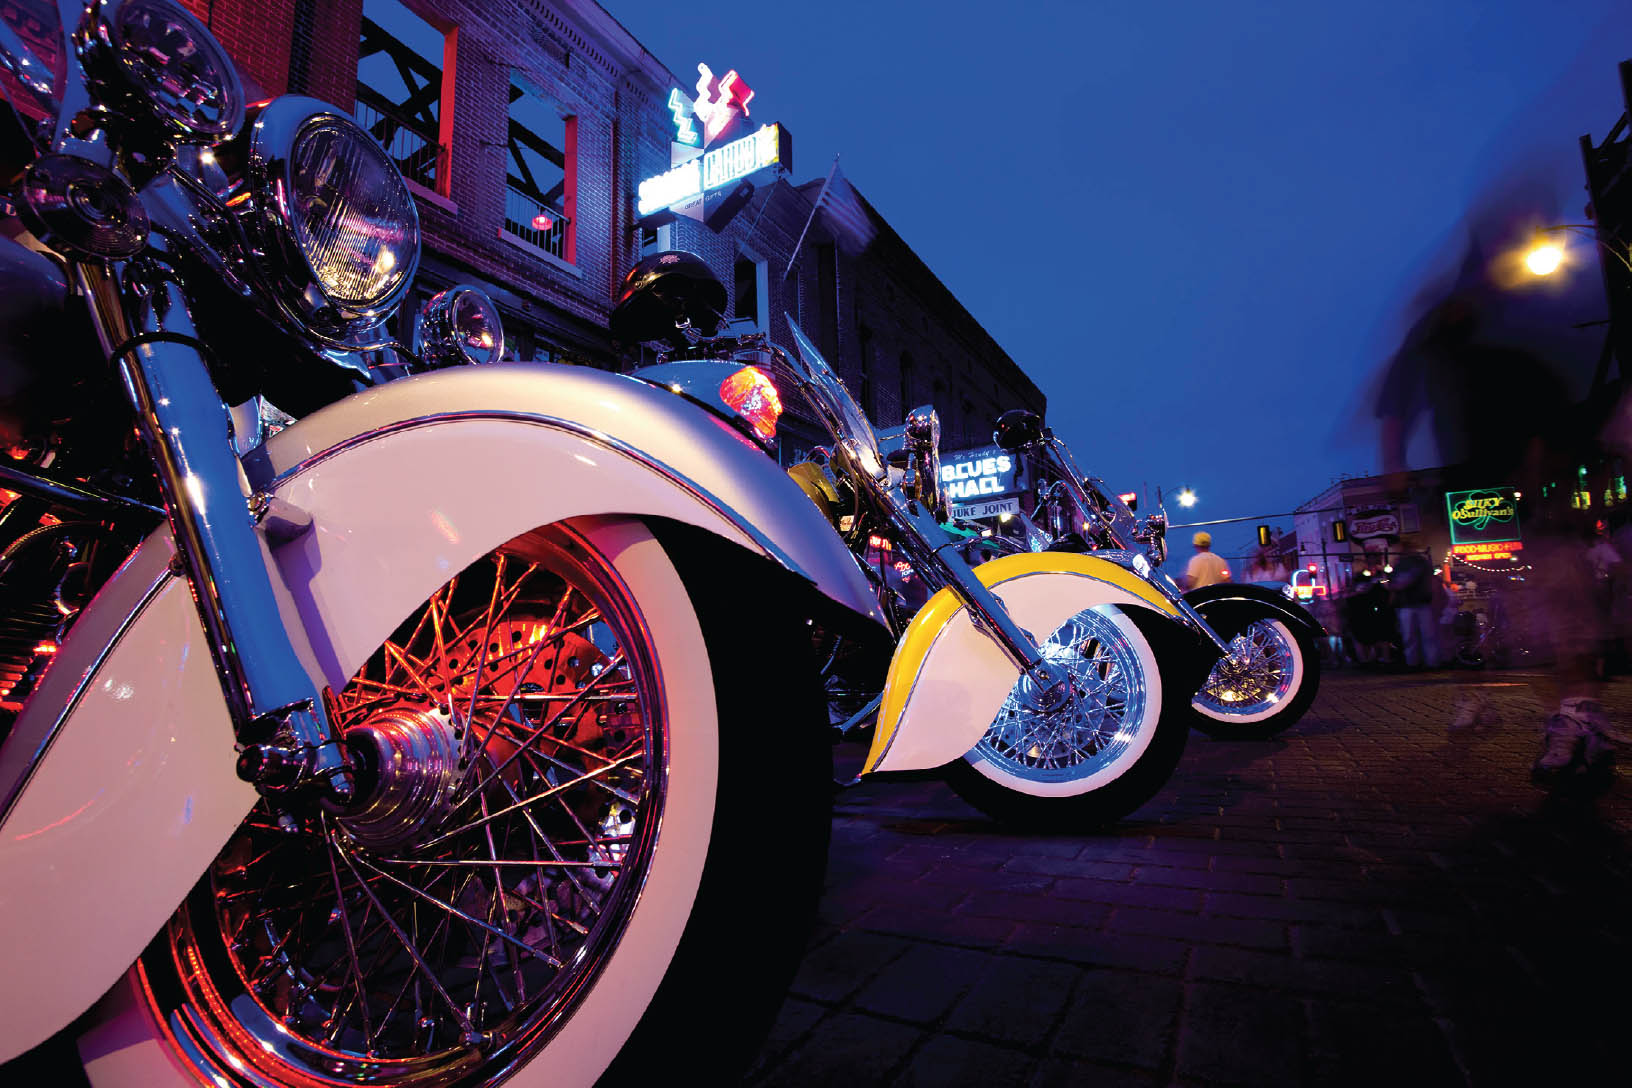
50.10 Beale Street, Memphis, Tennessee
ISO 100; 2 sec.; f/6.3; 10mm
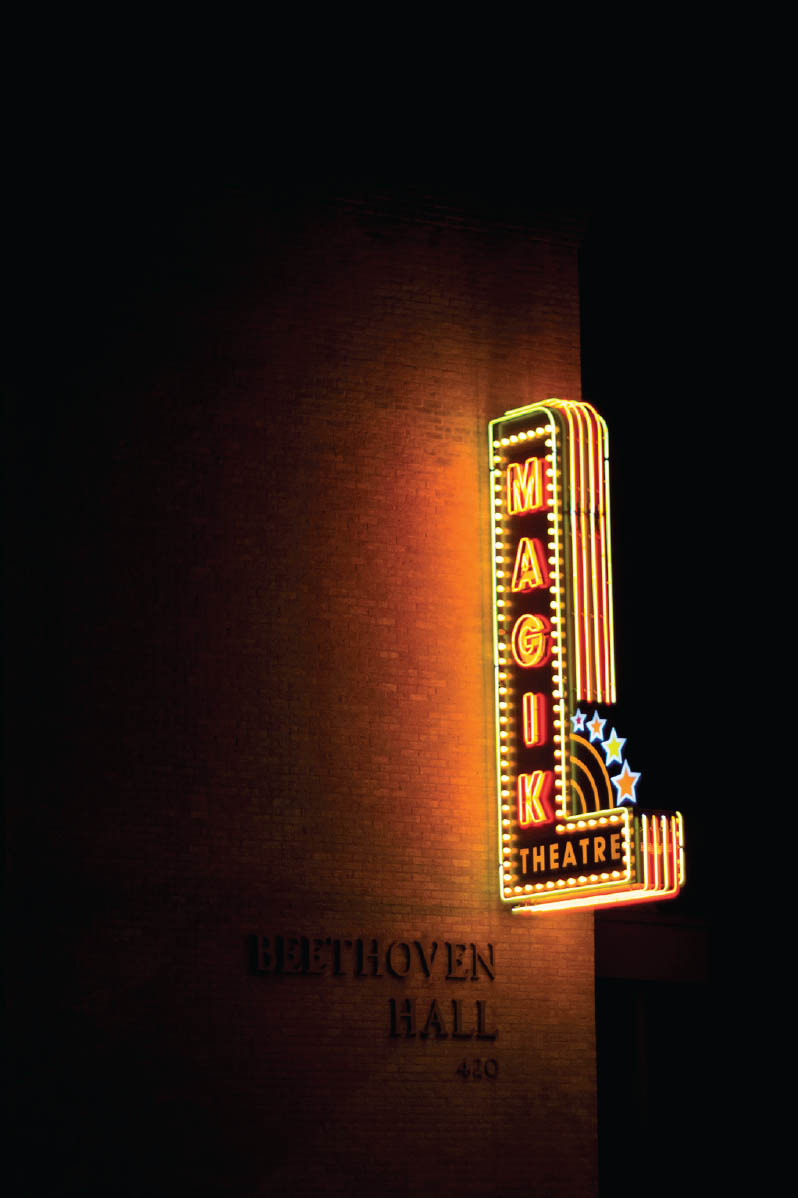
50.11 San Antonio, Texas
ISO 500; 1/200 sec.; f/1.8; 50mm
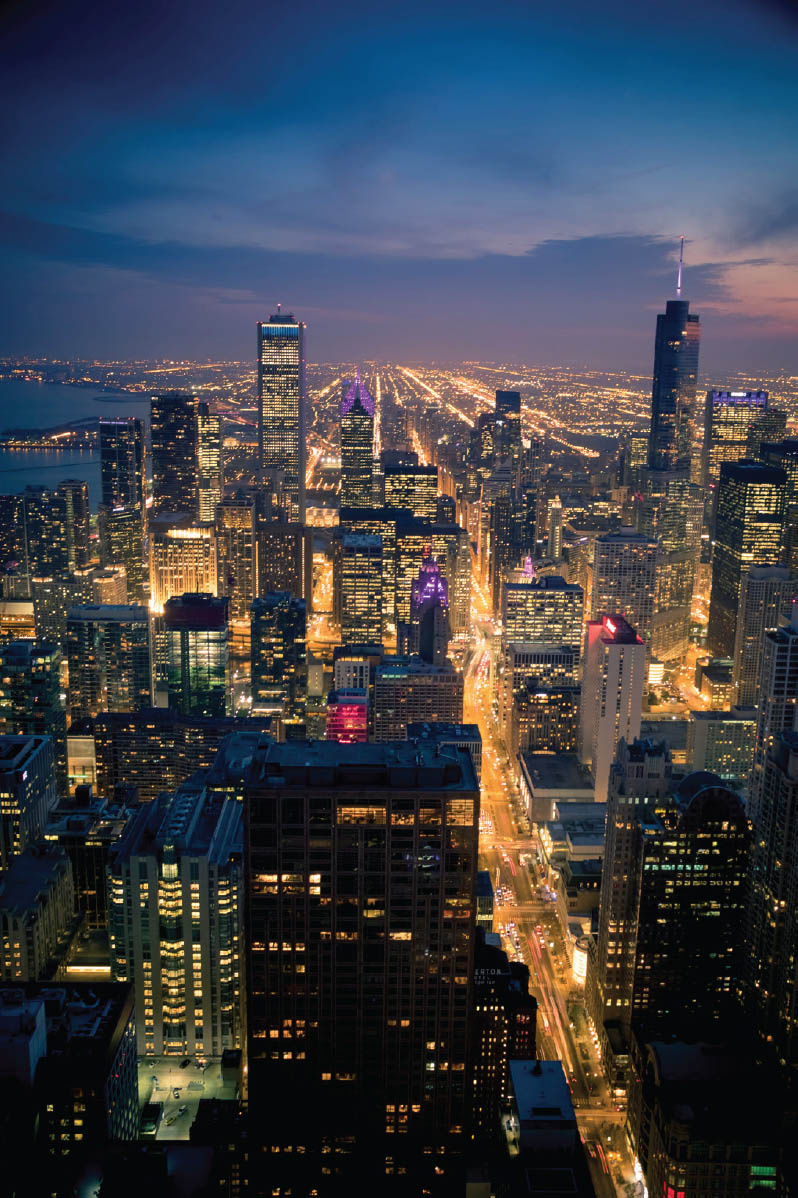
50.12 Chicago, Illinois
ISO 125; 5 sec.; f/5.6; 22mm