
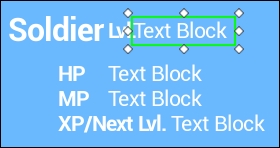
At this point, if you test the build, the party members will gain experience from battle and level up accordingly (you will be able to tell by watching the stats grow if a party member has gained enough experience to level up), but we will not yet display the proper level or experience points of the party members. We can easily do this by binding these values to our pause menu. Navigate to Content | Blueprints | UI. Open the Pause_Main Widget Blueprint. In the Designer view, select the Editable_Soldier_Level Text Block on the right-hand side of Soldier Lvl that we created in Chapter 4, Pause Menu Framework:
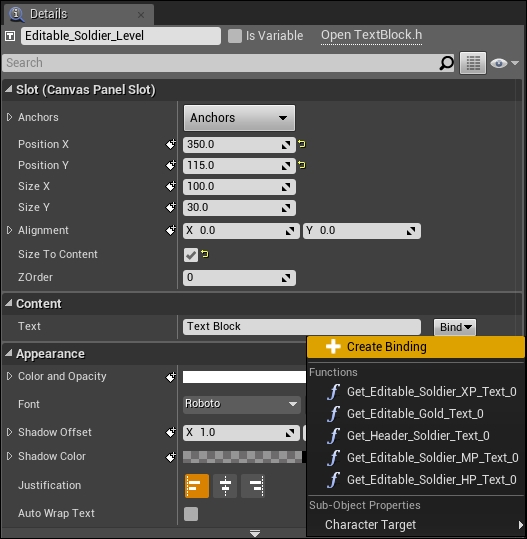
In the Details tab under Content, create a bind to that text by clicking on the Bind drop-down menu and selecting +Create Binding:
This will automatically open the graph of the Get Editable_Soldier_Level_Text function. In the graph, we need to simply get the variables from the RPGGameInstance, like we did before, but this time, we are specifically getting the current Lvl variable and returning it as text:

In this example, we are only getting the level for one party member (our soldier), which is in an index 0 in the array. If you have more than one party member, you will just need to change the index in your GET function to the proper index; for instance, an index of 1 will find the second party member in your array of party members and their stats, and would, therefore, return a different set of stats.
The only undefined Text Block that we have in our pause menu is the Editable_Soldier_XP Text Block located on the right-hand side of the XP/Next Lvl text. Select this Text Block, navigate to the Details tab, and under Content, add a binding for the Text Block, like we did for our last Text Block, and the graph for the function labeled Get Editable_Soldier_XP_Text will pop up. Just like the last Text Block, we will get the correct party member's current data; in particular, we will get XP and MXP because we want this Text Block to show the cumulative XP and the XP needed to get to the next level:

You will notice that ReturnNode can only take one Return Value pin, and we have two separate values. We can easily solve this problem using the Append function and appending the text. We will find the Append function by simply right-clicking on our Blueprint, navigating to Utilities | String, and selecting Append:

Append takes two strings at a time. Since the Text Block should have a / to separate the current XP with the XP needed to make it to the next level, we will need two Append functions. For the first Append, link XP to the A pin, and in the B pin, simply append a /:

Next, create another Append function, and connect the Return Value of the first Append function to the A pin of the second Append function. Then, connect MXP to the B pin of the second Append function in order to have MXP append the last set of strings:

When you are done, simply connect the Return Value of the second Append function to the Return Value of the ReturnNode:

At this point, if you test your game by going into battle and leveling up, you will see that all of your stats will update correctly in the pause menu (the following screenshot is from after we have tested combat and gaining experience with foes):
