
The build pipeline is responsible for running the steps needed to create the artifacts of your application. The artifacts that are produced by the build pipeline will then proceed to another pipeline–the release pipeline–to be deployed to your cloud environment.
Perform the following steps in your Azure DevOps project portal:
- Click on the Pipelines | Build menu item to access the build pipelines of your project:

- Click on the New pipeline button. In the New pipeline wizard, select the use the visual designer option:

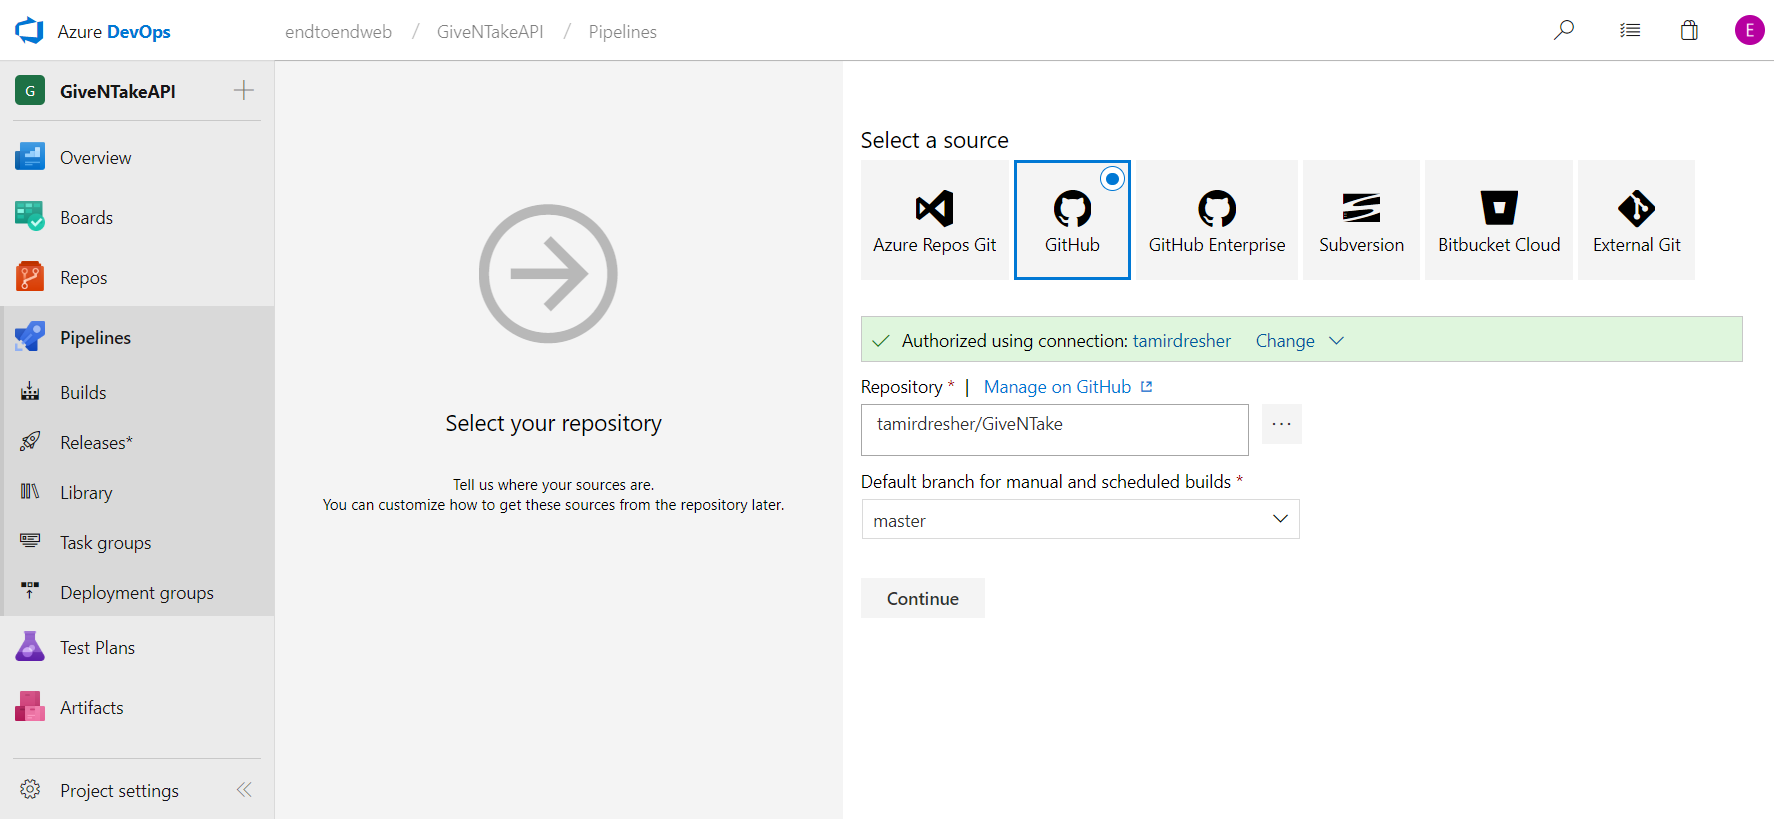
- Select the source control that your project source code resides in.
The code of the GiveNTake API is stored on GitHub at: https://github.com/tamirdresher/GiveNTake.
- I've granted permissions to Azure Pipelines to access my GitHub as instructed and have chosen the repository and branch:
- Now it's time to select a template for the way the pipeline should work—in our case, ASP.NET Core:

This will generate a pipeline with the necessary tasks for:
- Restoring NuGet packages
- Building the code
- Running unit tests (if they exist)
- Publishing artifacts as a ZIP file
- Storing artifacts

The text in this screenshot is not important. The purpose of this screenshot is to show you what the Build Pipeline looks like.
After creating the pipeline, you need to choose the Agent pool that will be used to run your pipeline.
Make sure you select the Hosted VS2017 option.
Make sure you select the Hosted VS2017 option.
- By default, the Publish task will try to find web projects by looking for a web.config file or a wwwroot folder in the repository. If your code doesn't include those, you will get an error during the build process. To fix that, click on the publish task and uncheck the Publish Web Projects option:

The text in this screenshot is not important. The purpose of this screenshot is to show you what the Publish task looks like.
- Click on the Save & Queue button to save your build pipeline and to add a request to run it in the Build Agent queue. This will open the Queue build window, where you can set build variables, such as the build configuration and platform, and custom variables that you can add in the build definition:

- Click on the Queue button. You should see a title with the queued build identifier appear on the screen. Click on the ID of the queued build, which will appear at the top of the screen, to see the build progress. Note that the build process could take several minutes to complete:
