
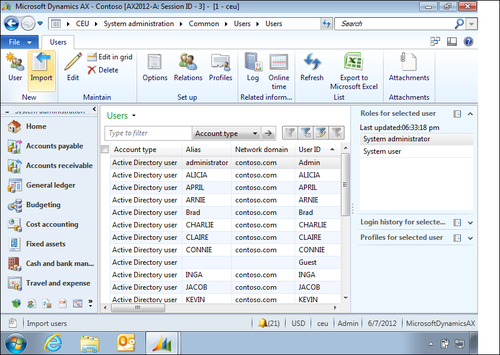
From the user window that we saw in the previous screenshot, click on Import (as shown in the following screenshot) and start the Active Directory Import Wizard:
We are going to take a look at the steps necessary to import users from Active Directory:
- Go to System administration |Common |Users |Users.
- From the upper left-hand corner of the user list page, click on Import.

- A new window called Active Directory Import Wizard appears.
- Click on Next.
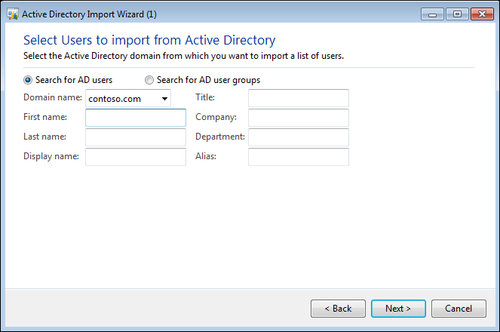
- A window appears asking you whether to search for users or user groups from Active Directory. Select Search for AD users.
You can determine a specific user to import by entering the First name, Last name, or Display name fields.
Click on Next, if you want to select all users created in Active Directory.
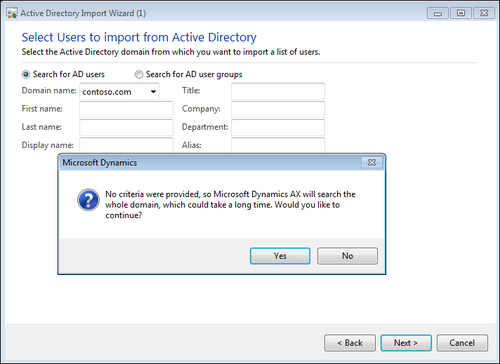
- After you click on Next, a pop-up window will display a message, as shown in the previous screenshot. Click on Yes to proceed to the next step.
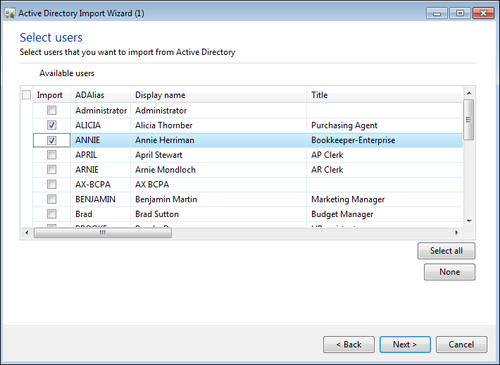
- Select the users you want to import to the system by marking the checkbox beside each username, or click on Select All to select all users and then click on Next.
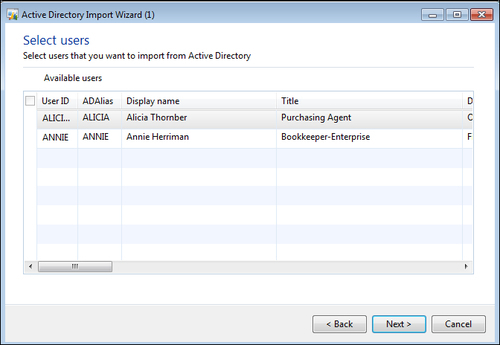
- This window will display only those users that were selected in the previous step.
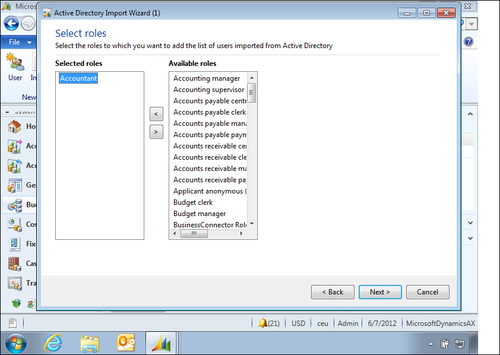
- Select the role you want to add to the selected users by using the arrow buttons.
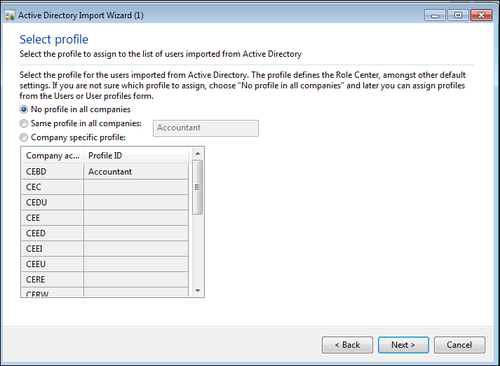
- Select No profile in all companies. You can assign profiles from the user or user profile form later. Click on Next.
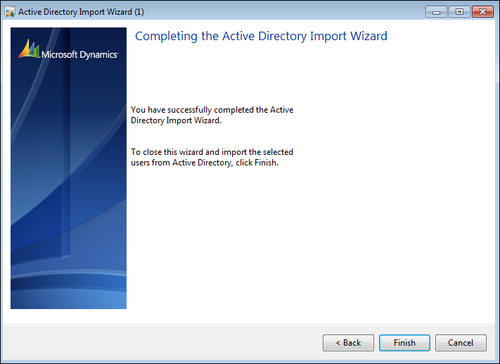
- The next window will display that you have successfully imported the users from Active Directory. Click on Finish to close the window.
This is the easiest and simplest way to create your users. You just have to select the required users from Active Directory and make the necessary security settings; then follow the previously mentioned steps to import all users and user groups, and also assign predefined roles and user profiles to the imported users.