
In this section, we are going to take a look at how to complete the user's setup.
After creating a new user, whether created on AX 2012 or imported from active directory, you have to configure the setup that is needed for every user. The steps are as follows:
- Assign user to user group
- Set up user options
- Set up user relations
- Set up user profile
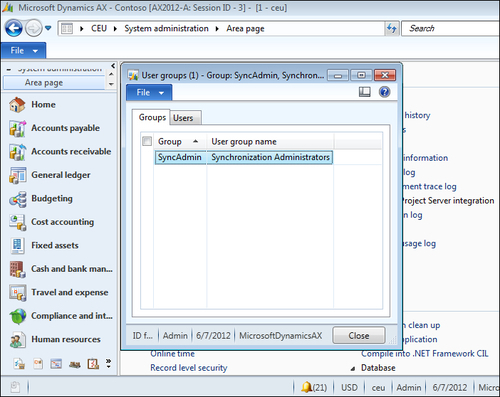
The following screenshot shows the user group form that has two tabs—one for user groups and the other to assign all users listed to the selected group. Also notice the file drop-down menu that enables you to save, edit, and print your work in this form.
We are going to take a look at the steps necessary to set up user groups, options, relations, and profiles:
- Go to System administration |Common |Users |User Group.
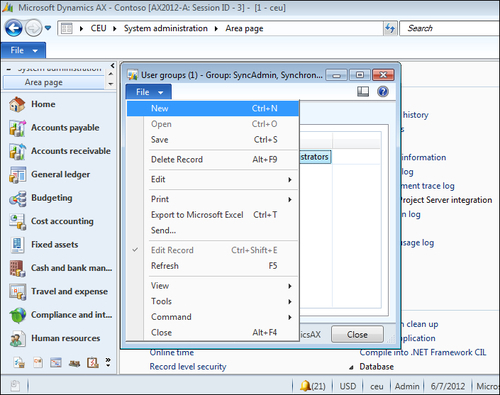
- Click on Fileand select New, or press Ctrl + N, to create new user groups.
- Enter the group ID in the Group ID field.
- Enter the group name in the User group name field.
- Click on Save, or press Ctrl + N, to save your record.
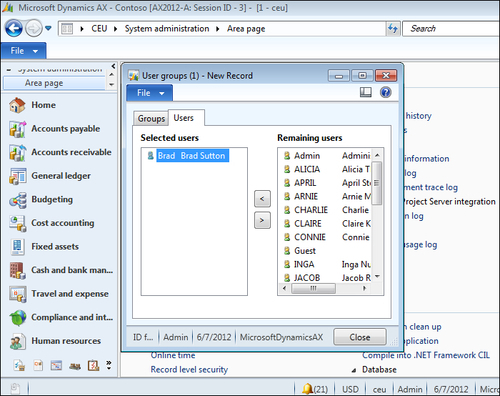
- Switch to the Users tab.
- Select the users related to the created group from the Remaining users table using the arrows at the center of the window.
- Click on Close to close the window.
In this form you can create a user group or assign users to user groups by selecting the appropriate group, and move to the users tab to view the list of users created before. By clicking on the upper arrow in the middle of the screen, you can move the user from the Remaining user table (right-hand side column) to the Selected users table (left-hand side column). To remove a user from the selected group, just click on the lower arrow in the middle of the screen and you will notice the movement of the selected user from the left-hand side column to the right-hand side column.