
In the previous section, we wrote a program to make an LED blink. Let's look at the electrical connection to observe the output of our program. We will connect a resistor between the GPIO pin and the anode of the LED. We will connect the cathode to the ground pin of the Raspberry Pi.
We will connect the LED and the resistor to the GPIO pin and the ground pin, as shown in this image:
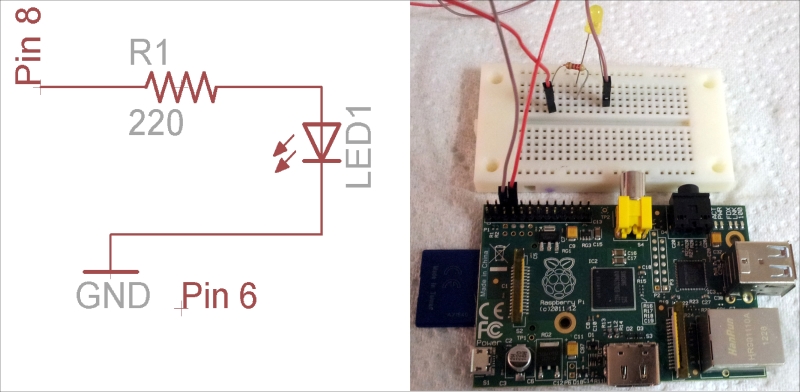
LED blinking circuit
Note
If we are not careful with the handling of the Raspberry Pi GPIO pins, it may either temporarily reset the Raspberry Pi or sometimes even permanently damage the GPIO pin. There are several tutorials in basic electronics available over the Web. It is important that you familiarize yourself with the basics of electronics.
Once we connect the circuit as shown in the preceding image, we will be able to execute the program and conclude our experiment.
We can execute the program by running the module, as shown in the following screenshot:
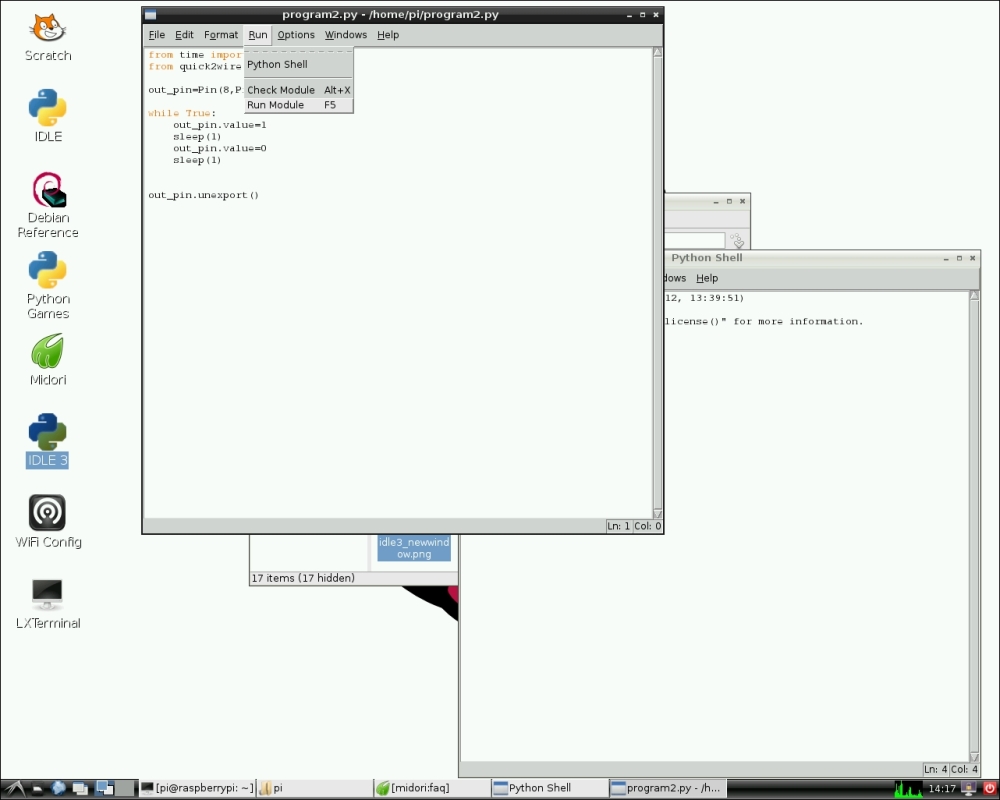
Executing the Python example
That's it! We have wet our feet by saying Hello World by blinking an LED! On our way to bigger and better things, let's stop and examine the Pi Crust for a moment.
Now that our Hello World example is done, we will leave you with one more thing. Throughout this book, we will review some add-on hardware to access the GPIO peripherals on the Raspberry Pi. In this project, we will discuss the Pi Crust board for the Raspberry Pi.
The Pi Crust board was designed by Joe Walnes. It is a board that is stackable on the Raspberry Pi and eliminates the need for a breadboard to prototype circuits.
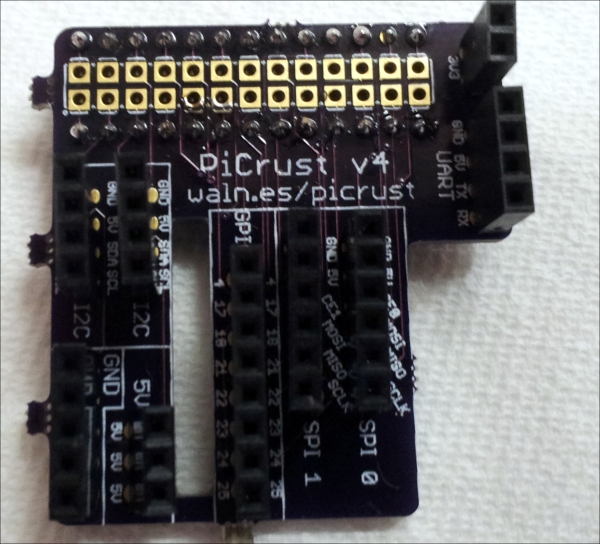
A Pi Crust board
The Pi Crust is an open source add-on hardware and costs approximately $14 to build one ourselves. The design can be downloaded free of cost from http://picru.st.
So, it is up to you to decide whether you want to simply buy one, build one, or as we are prone to encourage, improve upon it and open source it for others to benefit!
The main advantage behind Pi Crust is that it is aids prototyping. It allows easy access to the I2C interface, SPI interface, UART port, and the GPIO pins. The following figure shows BlinkM—an I2C-driven RGB LED mounted on top of the Pi Crust.
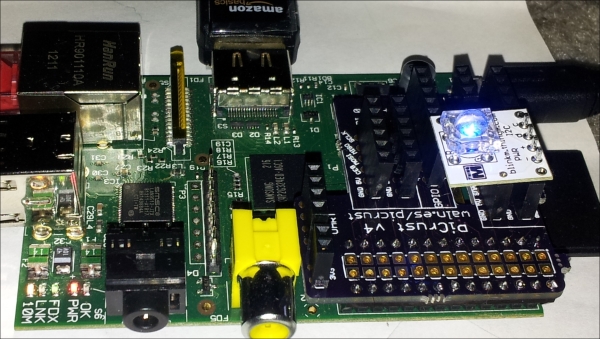
Pi Crust stacked on top of the Raspberry Pi