
Raspberry Pi is currently the most basic, ideal hardware environment to get started with learning to code in a particular language or advanced systems development.
While writing this book, we found it convenient to write Python scripts on our laptop/desktop, copy them over to Raspberry Pi, and test them via remote login. This was especially useful when we had Raspberry Pi controlling interfaced to tools on a Christmas tree. It is difficult to set up a monitor and keyboard for Raspberry Pi and work from there.
We used WinSCP (http://winscp.net/eng/index.php—since we were using a laptop running Windows) to transfer files from the laptop to Raspberry Pi. Then, we used the PuTTY SSH client (http://www.putty.org/) for a remote login to Raspberry Pi and tested the scripts:
- In order to remotely log in to Raspberry Pi or transfer files using WinSCP, OpenSSH is required. The Raspbian Wheezy image comes with SSH installed and enabled by default.
- Let's log in after downloading and installing WinSCP. The username would be
piand the passwordraspberry(unless you've changed the default password).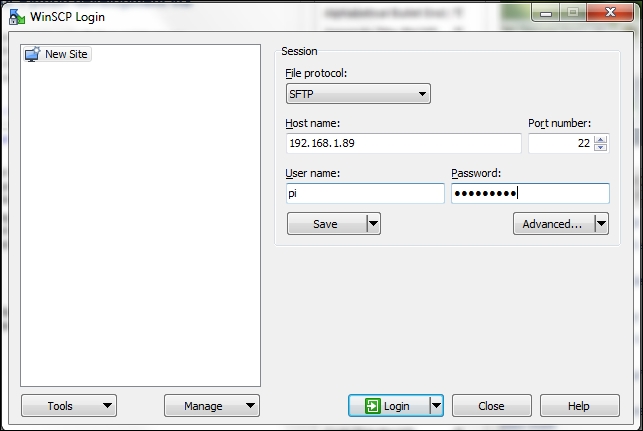
The WinSCP login window
- The next step is it to locate the files to be transferred on the local machine as well as identifying the folder where the files need to be copied to Raspberry Pi. The files on the local machine are located on the left-hand side, while the files on Raspberry Pi are located on the right-hand side of the window.

Transferring files using WinSCP
- Once the files are transferred, we can make use of PuTTY for remote login to Raspberry Pi. As shown in the following figure, we can connect to the Raspberry Pi using the IP address of Raspberry Pi and log in using the credentials provided earlier.

Connecting to Raspberry Pi using PuTTY
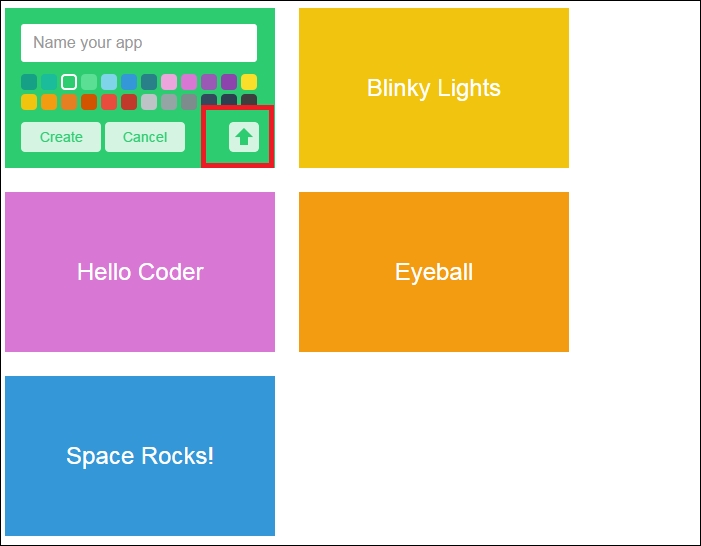
Google released an open source tool based on the Raspberry Pi platform called Coder (http://googlecreativelab.github.io/coder/). We made use of the Google Coder tool in Project 9, The Raspberry Pi-enabled Pet/Wildlife Monitor. Google Coder is an open source tool to learn web development, but its use has expanded and as an open source tool, it is ready for your projects as the need arises. For example, it is possible to build a web interface to read/write to the GPIO interface of Raspberry Pi (for example, http://googlecreativelab.github.io/coder-projects/projects/blinky_lights/).
Adafruit Industries released a version of Raspbian, Occidentalis that enabled easier hardware development as it featured drivers for all standard communication protocols. Adafruit Industries also released a web-based development tool that comes with several Python examples.

Oracle has released a tutorial set that teaches Java development using Raspberry Pi. This includes tutorials on interface pressure sensors and writing Java code to read barometric pressure data from the sensor via the I2C interface.
The ThingBox Project (http://thethingbox.io/) is a tool that allows you to enable projects that are related to the Internet of Things on Raspberry Pi. It is a set of tools that allows you to interface sensors and appliances to the Internet, available as an OS image that can be flashed on to an SD card and run on Raspberry Pi. One of the tools available with the ThingBox Project is Node-RED (http://nodered.org). The Node-RED tool (shown in following screenshot), in fact, is a graphical interface tool that eliminates the need for you to program to control the devices connected to your Pi. As the name suggests, any application is built using nodes and the control flow is shown by connected wires.

A Hello world project using Node-RED