So far, we've been reading a lot of theory. Now let's actually get our Raspberry Pi working. Before we get started, here is a list of things you need at the bare minimum to get your Pi up-and-running:
- The Raspberry Pi (duh)
- An SD card (8 GB or higher)
- A micro USB power source (many phone chargers are of this type so you might have one already)
- A keyboard and mouse
- Any screen or display with an HDMI port and cable
- A laptop (optional)
Have everything? Awesome! Let's move on...
There are lots of operating systems and lots of ways to install them on the Pi. However, the easiest way by far is to use the official NOOBS installer. NOOBS, which stands for New Out Of Box Software, is the officially recommended way to install a fresh OS on the Pi for newcomers, and it's terribly easy.
Download the NOOBS archive from official website (https://www.raspberrypi.org/downloads/noobs/). Once the archive is downloaded, unzip it into a new folder anywhere on your computer.
If you are using NOOBS v2.3.0, the directory structure, once you unzip the archive, should look like this:
BUILD-DATA
INSTRUCTIONS-README.txt
RECOVERY_FILES_DO_NOT_EDIT
bcm2708-rpi-0-w.dtb
bcm2708-rpi-b-plus.dtb
bcm2708-rpi-b.dtb
bcm2708-rpi-cm.dtb
bcm2709-rpi-2-b.dtb
bcm2710-rpi-3-b.dtb
bcm2710-rpi-cm3.dtb
bootcode.bin
defaults
os
overlays
recovery.cmdline
recovery.elf
recovery.img
recovery.rfs
recovery7.img
riscos-boot.bin
Most of these files have no meaning to us except the INSTRUCTIONS-README.txt file. Open this file in any text editor (such as Notepad), and you will find instructions on how to format your SD card.
After formatting your SD card, transfer all these files and folders to the root directory of the SD card. As described in the instructions, all files and folders should be copied in such a way that the INSTRUCTIONS-README.txt file is at the root.
Once your SD card is ready and loaded, connect everything to your Pi:
- Insert the SD card into the slot.
- Using the HDMI cable, connect the HDMI port of the Pi with the external display.
- Connect the keyboard and mouse to the USB ports of the Pi
- Connect the power cable to the Micro USB port of the Pi

Once all the connections are made, switch on the power supply to your Pi. You should now see the monitor light up. After a few boot screens, you should see a friendly little GUI that will lead you to this:
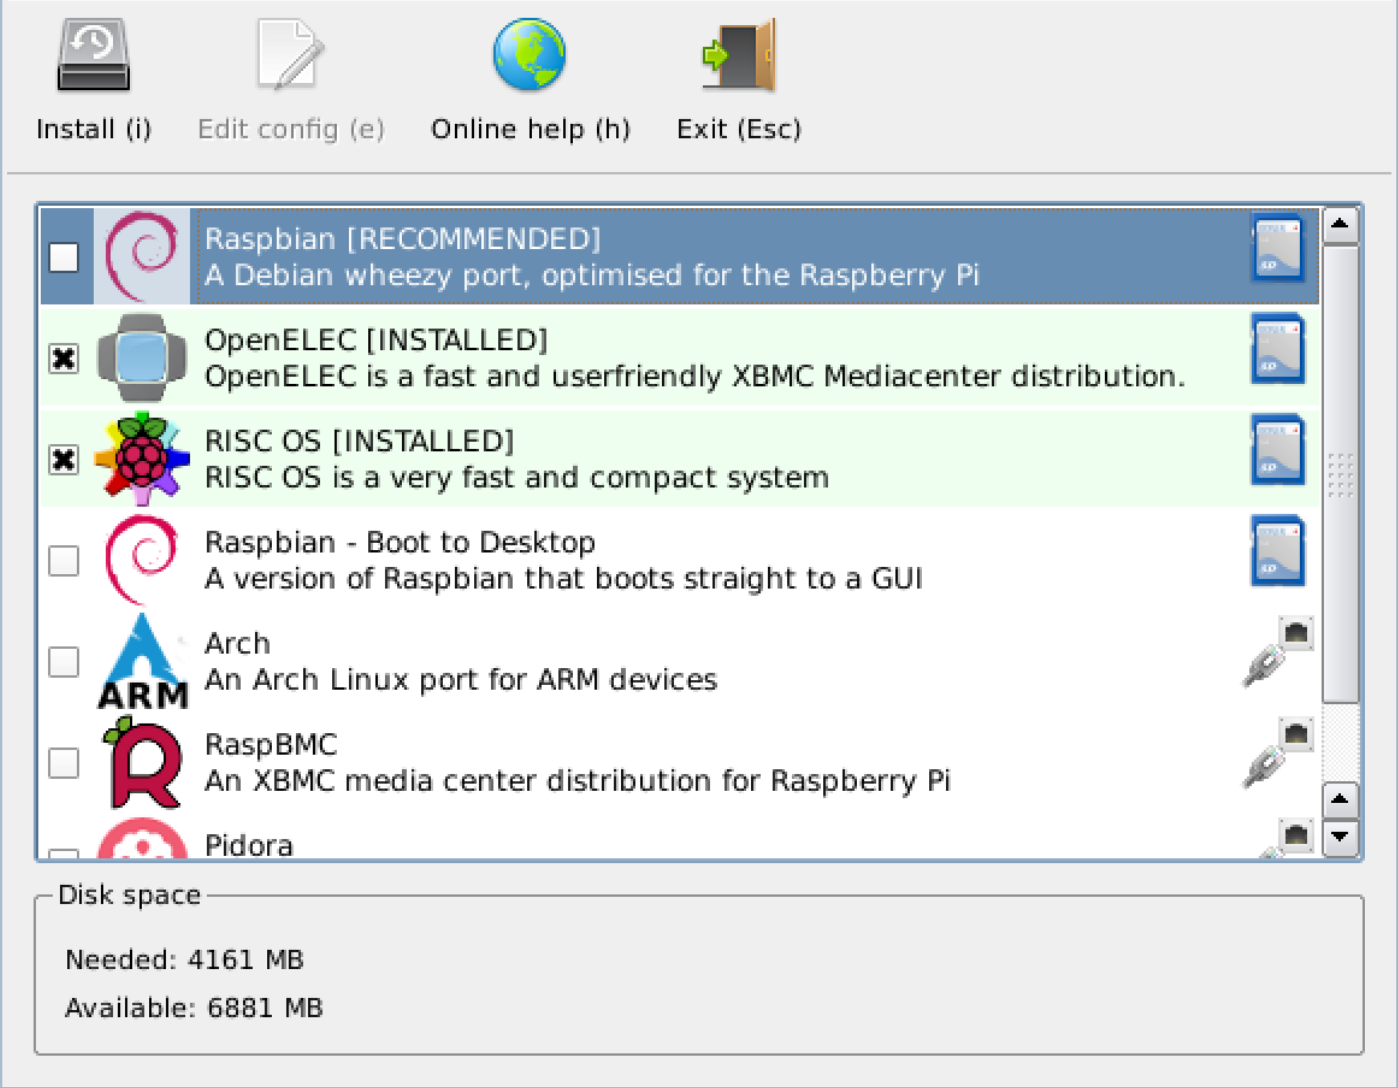
It's here that you can select the OS you want in order to install to your Pi. For this book, we will be working with Raspbian.
Raspbian is a port of the Debian Linux OS, that has been optimized for the Pi. It is currently the most popular OS that runs on the Pi. Follow the installation wizard, and you should be done with the installation in a few minutes.
Once your installation is done, your Pi will boot into the OS, and you should now see a complete desktop on your monitor screen, something that looks like this:
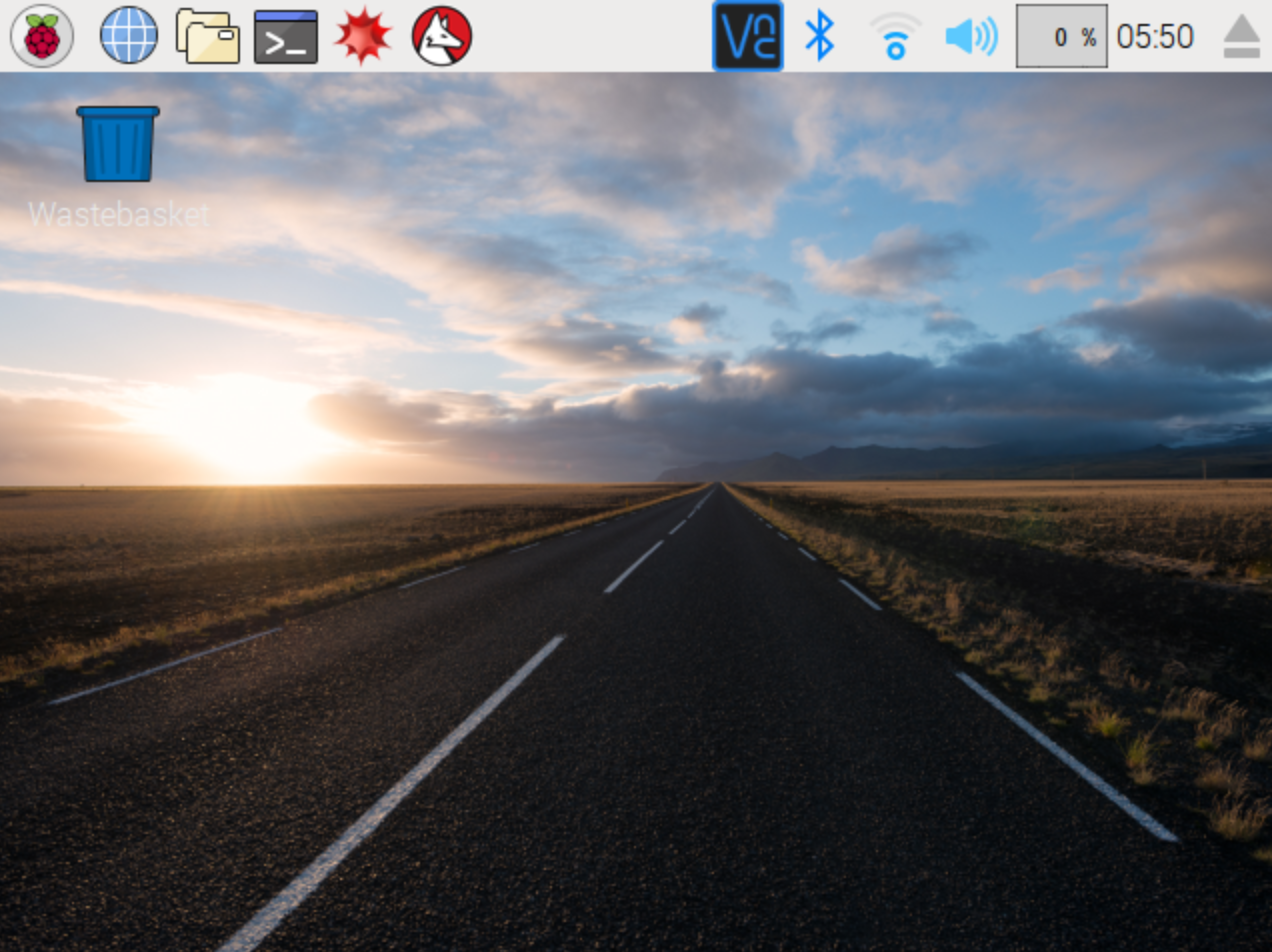
Congratulations! You have successfully set up your Raspberry Pi computer. Amazingly, there are a lot of things you can do like you're using a regular desktop computer. The Raspberry Pi, along with the Raspbian OS, comes with a variety of programs, such as a text editor, a file explorer, and even an HTML5 web browser!