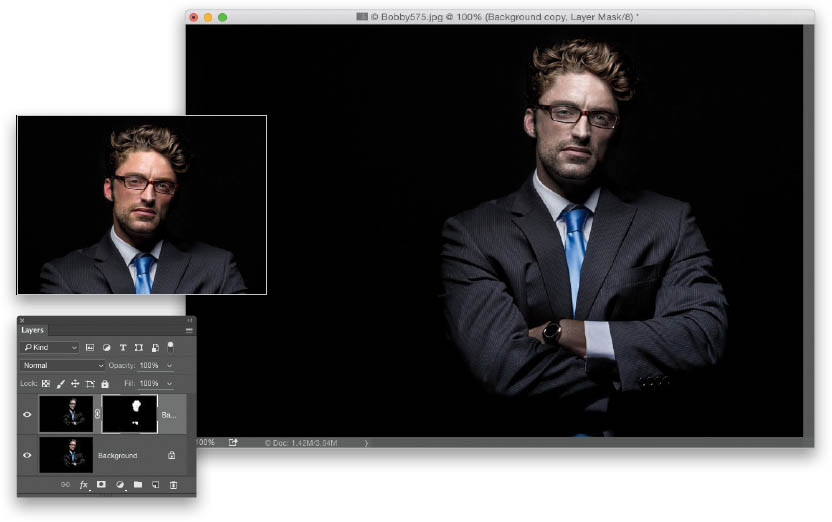
Create a Desaturated-Skin Look?

There are a number of different ways to do this, and one way is to first duplicate the Background layer by clicking-and-dragging it onto the Create a New Layer icon at the bottom of the Layers panel (it’s the second one from the right). Then, go under the Filter menu and choose Camera Raw Filter. In the Basic panel, simply drag the Vibrance slider to the left until the skin looks desaturated. This actually desaturates the color from the entire layer, but that’s why we created this duplicate layer before applying the Camera Raw filter. Click OK, and now we can add a layer mask to this layer and just paint the desaturated look over the subject’s skin. So, click on the Add Layer Mask icon at the bottom of the Layers panel (it’s the third one from the left), then press Command-I (PC: Ctrl-I) to Invert this mask, filling it with black. This hides your desaturated layer behind a black mask. Press X to set your Foreground color to white, get the Brush tool (B) and choose a soft-edged brush from the Brush Picker up in the Options Bar, then paint over your subject’s skin, and it now has the desaturated look. You’ll find another way to do this effect on the next page, where we’ll look at adding a high-contrast look to your image.

