See a Proof Before I Print?

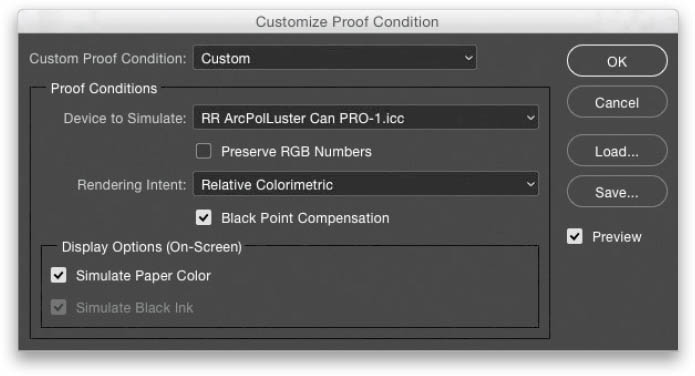
You can get a reasonable preview of how your image might look in print using a particular color profile by creating a soft proof. This is an onscreen preview you can see before you print, so you don’t waste a bunch of ink and paper. You create a soft proof by going under the View menu, under Proof Setup, and choosing Custom. This brings up the Customize Proof Condition dialog, where you can choose which device you want to simulate (you want to simulate printing to your printer, using the ICC color printer profile you downloaded from your paper manufacturer [as seen above]—see page 175 in this chapter for how to find and install one). Next, choose the Rendering Intent (I always choose Relative Colorimetric, as it seems to provide the best results), then leave the Black Point Compensation checkbox turned on (it should be on by default), and then turn on the Simulate Paper Color checkbox. Click OK, and you’ll now see a kind of yucky gray preview that, if it actually looked like this, nobody would ever print anything ever. But, luckily, it’s overcompensating, and your print won’t look nearly this awful. So, what you’re seeing is only kinda, sorta, a little bit helpful in some way to some people somewhere, however I find it just about useless and never use it myself (hey, do you want the truth or do you want me to pretend this is good?). Still, some people swear by soft proofing, but I would hate to see their images (just kidding. It’s a joke. Etc.). Anyway, at least you know how to use it, and I hope you find it much more useful than I do.

