
Nessus supports almost all the popular operating systems. Depending on the availability of the operating system, the required installation steps given in this section can be followed to install Nessus. The latest information/steps can also be fetched from Nessus's official website. At the time of writing this book, Nessus supports the following operating system platforms:
- Microsoft Windows – XP, 2003, 2008, Vista, 2012, 7, and 8
- Linux – Debian, Red Hat, Fedora, SuSE, Ubuntu
- Solaris
- Mac
- Free BSD
- Checksums and GCP keys
The latest details about the preceding list can be obtained from Tenable Nessus's official website at http://www.tenable.com/.
The scanning machine should have 4 GB of memory (preferably). However, refer to Nessus's official website http://www.tenable.com/ for the latest requirements.
A better processor will support facilitating a fast scan. The scanning machine should be selected by keeping the scope of the Nessus scan in view; if you plan to do a vulnerability assessment for a big enterprise, it is recommended that a high-end server machine be used.
Note
No firewall should block the traffic generated by Nessus to reach scanning target systems. If a firewall is in place, a firewall rule should be configured to allow all the traffic generated by the Nessus machine to reach scanning targets. Please don't forget to deactivate this firewall rule once the scan activity is completed.
If you reach out to scanning machines using a web proxy, proxy authentication credentials should be keyed in Nessus. This is an optional setting depending on your scanning environment.
You should have administrative rights on the machine to install Nessus, and the Nessus plugin feed activation code is required to update plugins.
For the latest Nessus package, either to buy or to evaluate, you should browse through to Tenable Nessus's official website at http://www.tenable.com/:
- Log in to the Nessus website to buy and download the latest Nessus software from the Products section.
The Nessus software package should be downloaded according to the operating system you want to install Nessus for. The steps given on Nessus's website should be followed for downloading the Nessus package.
It is important to note that Nessus should be downloaded as per the scanning machine operating system from which you plan to scan other systems, not by the operating systems which you are going to scan. For example, if you need to scan 10 Linux machines, one Solaris machine, and five Windows machines from a Windows 2008 server machine, download the Nessus package for the Windows 2008 operating system. Depending on the bit count of the operation system, you may choose a 32-bit/64-bit package.
- Once you have downloaded the Nessus executable file (the Nessus setup package), double-click on it to begin the installation. In case you don't have administrative privileges, press Shift and right-click on the executable file; click on Run as to run the installer with an administrative account.
- You might receive a security warning Do you want to run this file?. Click on the Run button.
- After clicking on Run, the installer will pop up a window to proceed with the installation.
- Click on Next, and this will pop up the window with the Nessus license agreement. It is very important for everyone to read through the license agreement and abide by the same.
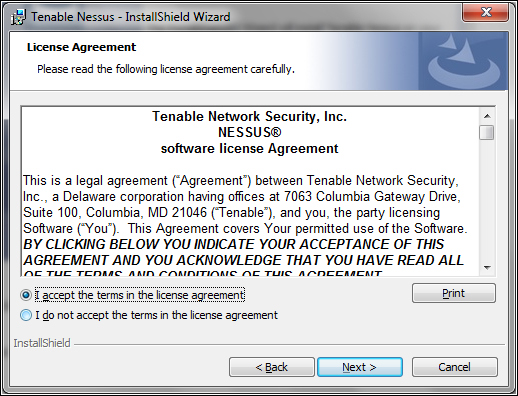
- To proceed further with the Nessus installation, you need to accept the license agreement and click on Next.
- You have an option to change the directory where you want to install Nessus. Click on Next to proceed further.
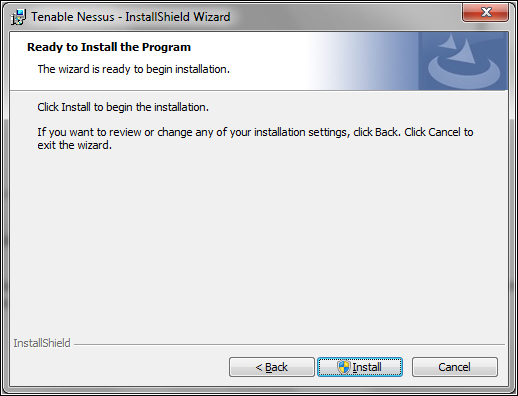
- Click on Install to proceed further.
- During the installation, you might get one more prompt saying Would you like to install this device software?. Select the checkbox Always trust software from Tenable network security Inc. if you need to trust all software from Tenable. This option is not mandatory to select. Click on Install on this security window pop up to proceed further.
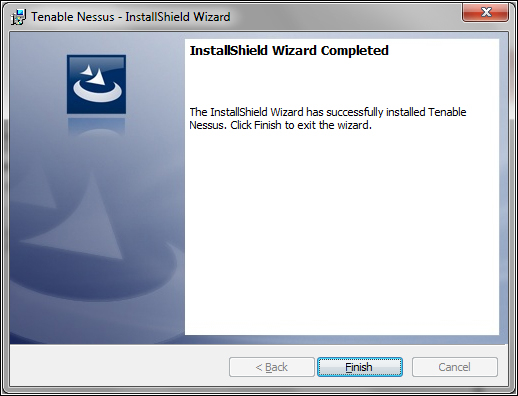
- The following screenshot indicates successful installation. Click on Finish to proceed further:
Post successful Nessus installation, it takes you to basic configurations such as default settings, user creations, and activation code.
The following screenshot shows the web view of the Nessus installed. Nessus runs on port 8834 by default:

Nessus warns about the SSL certificate. It doesn't come with an SSL certificate by default. Nessus administrators have to get an SSL certificate to configure Nessus with SSL.
If you want to install an SSL certificate now itself, install it; otherwise, click on Proceed anyway. This will take you to the kind of introduction page to begin with.
Click on Get Started to proceed further.
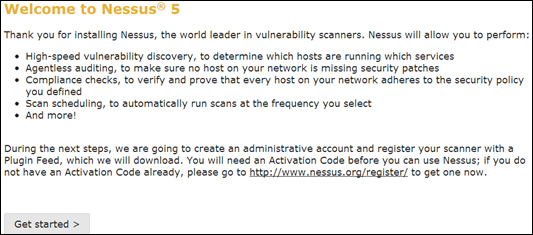
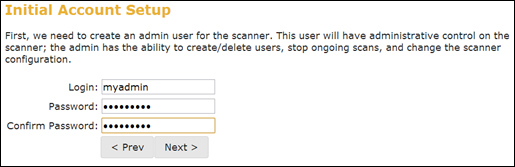
The first thing you need to do after this is the administrative account setup. This account is created on the Nessus server. This account should always be remembered for Nessus administration.
After the administrative account creation, Nessus will prompt for plugin feed registration and proxy settings, which is optional.
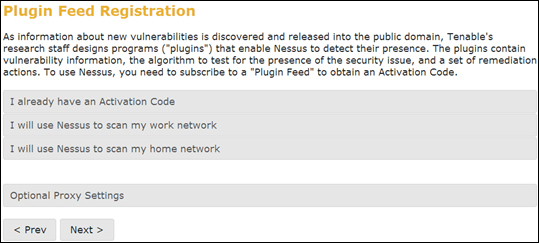
Plugin feed registration has to be done as per your anticipated use. After registration, you get an activation code that you need to use for plugin subscription.
For the latest Nessus package, either for buying or evaluation purposes, you should visit Tenable Nessus's official website at http://www.tenable.com/:
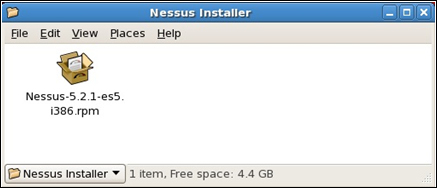
- Log in to the Nessus website to buy and download the latest Nessus software from the Products section as per your operating system and version. The steps outlined here are for Red Hat Linux 5.2.
- Once you have downloaded the Nessus executable file (the Nessus setup package), double-click on it to start the installation procedure. Administrative/root rights are required for installation.
You will see the Installing packages window shown in the following screenshot:
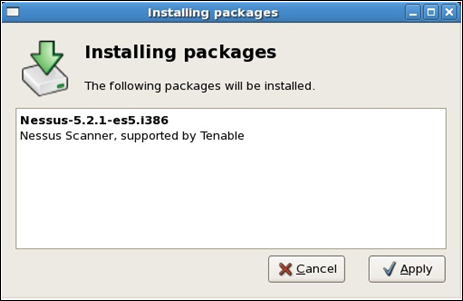
- Click on the Apply button.
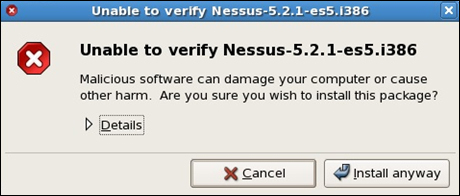
- Click on Install anyway to proceed further with the installation.
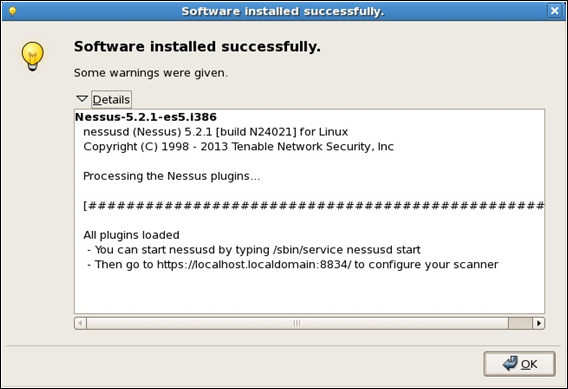
The preceding screenshot shows that Nessus is installed successfully on the Red Hat Linux environment. To begin with this, the Nessus service should be started.
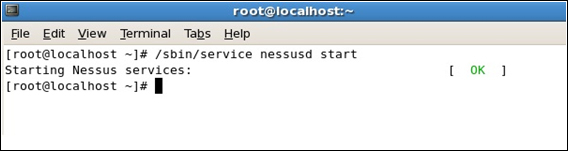
- The following command should be executed to start the Nessus service on the Linux terminal:
# /sbin/service nessusd startThe following screenshot shows the Nessus service starting up with the status OK:
- To configure the Nessus scanner, type the URL
https://localhost.localdomain:8834/into the Linux box web browser.This page displays the secure connection error, which can be rectified by adding an exception to the web browser.
- Click on the Or you can add an exception link.
- Click on Add Exception and on Get Certificate. This will activate the button Confirm Security Exception. Once you click on this , the web browser will display the Nessus scanner home page.
To configure further, the same steps as outlined for the Windows installation can be followed for registration, activation, updating plugins, user management, and so on.