
It's important that you have OMNeT++ correctly installed onto your Windows or Linux operating system. OMNeT++ has some prerequisites and optional add-ons that we will also be installing to ensure a fully working OMNeT++ environment. The Linux operating system I am using throughout this book is Ubuntu 12.10. The Windows version I will be using is Windows 7. It's also important that you read the licenses for each tool and package you install so that you are aware about what you are allowed to do with those tools and packages.
OMNeT++ is not available on the community website as an executable program; only its source code is available. This means that you need to compile the source code in order to run OMNeT++. If you are not a confident Linux user, I suggest that you use Windows as it's much easier to install on Windows.
First, go to the OMNeT++ download page at the following URL: http://www.omnetpp.org/omnetpp. Once there, you need to click on OMNeT++ Releases . Now you will see two download selections:
- OMNeT++ x.x.x win32 (source + IDE + MINGW, zip)
- OMNeT++ x.x.x (source + IDE, tgz)
If you are using Windows, click on option 1; you can click on option 2 if you are using Linux. Throughout this chapter, you will only need to read the content for the operating system you are using.
Once you have downloaded the ZIP file, you need to unzip it to a folder of your choice. To unzip it, you need to right click on the zipped file and then click on Extract All. I recommend that you can easily find it on the root folder of your local drive.
Once you have downloaded the tarball, you need to extract it either using the file manager you have installed (this is typically done by right-clicking on the tarball and then clicking on Extract Here, or double-clicking on the file and selecting where to extract it) or entering the following code into your terminal:
tar xvzf ~/Downloads/omnetpp-4.2.2-src.tgz -C ~/
You may need to change 4.2.2 to match the version you have downloaded. This also assumes that the tarball was downloaded into your Downloads folder. What this command does is extract the tarball into your home directory. The parameter xvzf used in the command stands for the following:
x: Extractv: Verbose (so that you can see what is happening while the command is running)z: Uncompressf: File to extract followed by the tarball that you downloaded
-C is then used to declare the directory that we want to extract the files into. If you wish to change the directory that the tarball is extracted into, you need to change the command to match what you want. For more information about using the tar command, enter man tar into your terminal to bring up the manual for the tar command.
While the command is running, you should see something like the following in your terminal:
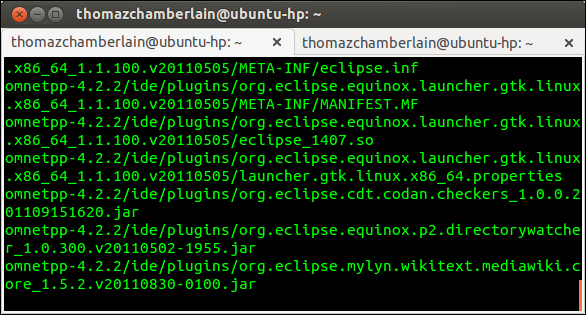
You will know that the extraction is complete when the terminal stops outputting the files it's extracting.
You can double check if the extraction worked by locating the extracted folder which will be in your home directory or where you have otherwise specified.