This is the introductory chapter to Spark in order to set the initial foundation for the rest of the chapters. This chapter is divided into three parts – understanding the evolution of data, core fundamentals of Spark along with its underlying architecture, and different ways to use Spark. We start by going through the brief history of data generation and how it has evolved in the last few decades. If we were to compare today, it certainly looks different from the days when the internet was still new and delete bursting upon the scene. Things have changed in so many ways over the last 20 years that it is hard to encapsulate everything in this introductory paragraph. Perhaps, one of the most prominent changes that stands out in this context is the amount of data being generated nowadays. People around the world are now using multiple applications on different digital devices that make their lives easier. These apps have opened up doors for the users to have instant access to things and hence immediate gratification – for example, ordering a chicken burger, fixing an appointment with a doctor, or registering for a yoga class the same day. For users of these apps, it is just a medium to interact with the platform and place the request, but in the background, it generates a series of data points. These data points could be a set of steps the user has taken on the app and associated information. As a result of multiple users accessing these apps, enormous data gets generated. Then come different devices and sensors that also churn out data at frequent intervals known as IoT devices. Now this data generated at the back end needs to be cleaned, aggregated, and persisted to help and make these apps more intelligent and relevant for the users. As they say, “data” is the new oil. Let's jump into the first section of this chapter.
Data Generation
Before the 1990s
The Internet and Social Media Era
The Machine Data Era
Before the 1990s
In those days, data was generated or accumulated by data entry operators. In essence, only the employees of different organizations could enter the data into these monolithic systems. Also, the number of data points were very limited, capturing only a few fields. For example, a bank or an insurance company would collect user data such as annual income, age, gender, and address using some physical forms and later provide it to the data entry person who would insert the details into the customer database (DB). Till this stage, the data was limited, and hence legacy databases were enough to run the show. The companies were sitting on this data, which wasn’t used much beyond the required cases. There were very basic applications that were running at that time that used the customer data. Most of these were limited to only internal use. Data was primarily stored for reference and validation purposes only.
The Internet and Social Media Era

Data growth in the Internet Era
For example, the users could now log in/sign up over the Internet by providing their own details and upload photos and videos on various social platforms. The users could go on different platforms to leave their comments and reviews for different products and services. In essence, multiple data points started getting generated from each user, and companies started to store the user data through websites or apps that included user decision, usage patterns, feedback, etc. Now this data was a mix of structured and unstructured forms, and the companies simply couldn't rely on traditional databases and hence also migrated to NoSQL DBs. The size of this new data was already so huge that a group of machines (known as clusters) were required to process it.
The Machine Data Era
We are currently in the Machine Data Era where machines/devices around us are generating data at an extremely fast rate. Things like smartphones, tablets, laptops, cars, and heavy machinery using sensors are populating data at every microsecond, which gets captured for different purposes. This data is even higher in magnitude than the user-generated data. In today’s economy, “data” is supercritical for companies to have the competitive edge over their competitors. Hence, a lot of third-party data is procured externally to augment the data crunching capabilities and derive powerful insights to take key business decisions and so on.
As mentioned earlier, when the data was still at the enterprise level, the relational database was good enough to handle the needs of the system, but as the size of data increased exponentially over the past couple of decades, there has been a pulsating need of looking at the approach to handle the big data in a different way, which has led to the birth of Spark. Traditionally, we used to take the data and bring it to the processor because data wasn’t very huge in size and volume, but now it would easily overwhelm the processor. Hence, instead of bringing the data to the processor, we reverse the approach and bring multiple processors to the data. This is known as parallel processing as data is being processed at a number of places at the same time.
Let’s take an example to understand parallel processing. Assume that you plan to travel and reach the airport to board your flight. Now typically you would see multiple counters for you to be able to check in your luggage, and it would take just a few minutes for you to finish the security check and go to the boarding gate. Sometimes, during peak season or holiday season, one might observe a long queue of passengers waiting for their turn on the counters. There are two reasons: a higher number of passengers flying during peak season or some of the counters being not operational. We can think of numerous such examples – waiting time at McDonald’s if just a single kiosk is operational vs. if multiple kiosks are running.
Clearly, if things can be run in parallel, they are much faster to execute. Parallel processing works on a similar principle, as it parallelizes the tasks and accumulates the final results at the end. Spark is a framework to handle massive datasets with parallel processing at high speed and with a robust mechanism. As a result, it is much faster and scalable compared with other traditional approaches. Now, there are certain overheads that come along with using Spark, but we will get into some of the limitations of Spark in the later chapters. Let’s go over Spark’s evolution and its architecture in detail in the next section.
Spark
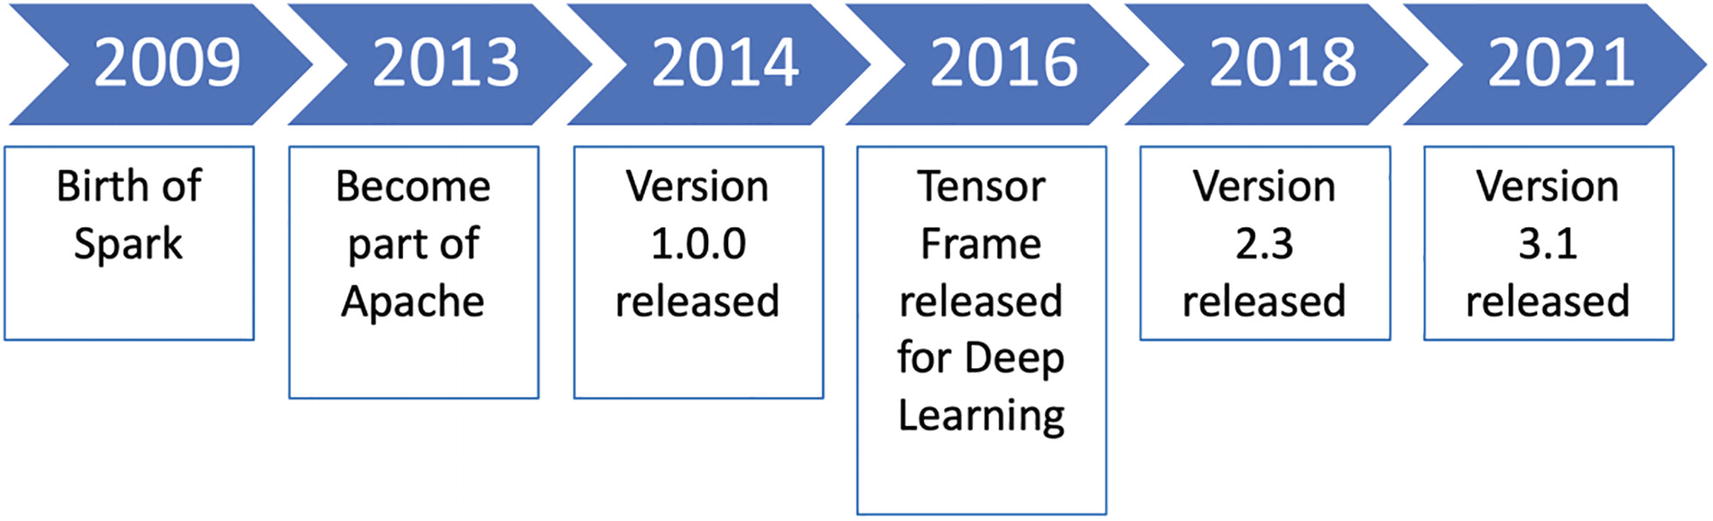
Spark evolution
Today, you would see Spark being used at many entities and different industries that are building numerous apps/products using Spark under the hood. By default, Apache Spark is considered to be the top choice for tackling various big data challenges. With more than 500 contributors and a user base of 0.3M+ members, Apache Spark has become a mainstream framework across all key industries. This year, they have come up with version 3.1 that brings a whole lot of improvements in terms of ML offerings, structured streaming, and other compatibilities.
The prime reason that Spark is hugely popular is the fact that Spark is very easy to use for data processing, Machine Learning, and streaming data and it’s comparatively very fast since it does all in-memory computations. Since Spark is a generic data processing engine, it can easily be used with various data sources such as HBase, Cassandra, Amazon S3, HDFS, etc. Spark provides the users four language options for its use: Java, Python, Scala, and R.

Spark architecture
- 1.
The Master process
- 2.
The Worker Process
- 3.
The Cluster Manager process
The Master process consists of something known as a driver program, which is the entry point to Spark. This driver program is responsible to run the main() function of the application. As a result, SparkContext is created. Spark Driver contains critical components such as DAG Scheduler and Task Scheduler to translate the code into jobs to be executed by the workers. Next is the Worker process, which contains multiple executors that are responsible for the execution of tasks. The code to execute any of the activity is first written on Spark Driver and is shared across worker nodes where the data actually resides.
Executors perform all the data processing–related tasks in parallel. The main role of executors is to read and write data to different sources after the in-memory computation and aggregation of final results. Finally, the Cluster Manager process helps to keep a check on the availability of various worker nodes for the next task allocation. Typically, cluster managers such as Hadoop YARN, Apache Mesos, and Spark’s stand-alone cluster manager are referred to as the cluster manager service.

Spark ecosystem
Spark SQL: Many data analysts, data engineers, and scientists still prefer to work in SQL, and that’s where the Spark SQL module shines through. It allows users to run interactive SQL queries for data processing. It also integrates seamlessly with the other components such as MLlib.
Spark Streaming: Sometimes things need to be done and executed in real time, for example, hyper-personalization. In such cases, batch data or historical data is not enough to build the application. One needs to apply transformations on real-time data. Spark Streaming is the module that allows the users to build real-time applications as it is capable of processing and analyzing data in near real time.
MLlib: This module is for Machine Learning at scale. Some of you who have faced issues in building large models using scikit-learn would definitely benefit from this module. It allows to build ML models on large datasets at a much higher speed, and majority of the ML algorithms are part of this module.
GraphX: This is a graph computation engine built on top of Spark that enables users to interactively build, transform, and reason about graph-structured data at scale. It comes with a library of common algorithms in this space.
Now that we have a good understanding of Apache Spark’s core architecture and key components, we can move on to setting up our environment to be able to use Spark. Please feel free to skip the section in case you already have Spark installed on your machine.
Setting Up the Environment
This section of the chapter covers setting up the Spark environment on the local system. Spark is written in Scala, and it is packaged in such a way that it can run on both Windows and UNIX-like systems (e.g., Linux, Mac OS). The prerequisite is to have Java installed on the system to run Spark locally.
Downloading Spark

Spark download
Installing Spark
For Windows computers, you can use either the WinZip or 7-Zip tool to unzip the downloaded file. Once the unzip is completed, you would observe the Spark directory with the same name “spark-3.1.1-bin-hadoop2.7”. Inside this Spark directory, there exist multiple folders with key files and dependencies to run Spark. The next step is to instantiate Spark shell, which gives the access to interact with and use Spark. As mentioned in the preceding section, Spark shell is in Python as well as Scala. Since most of the chapters are about PySpark , we will spin up Spark’s Python shell.

Spark Python shell
For the purpose of learning Spark, Spark shell is a very convenient tool to use on your local computer anytime and anywhere. It doesn’t have any external dependencies, other than the data files that you process will need to reside on your computer.
Docker
- 1.
Ensure Docker is installed on your local system.
- 2.Open the terminal and run the following command:[In]: docker run -p 8888:8888 jupyter/pyspark-notebook
- 3.
Go to the localhost and access port 8888 to get access to the Jupyter notebook with Spark.
- 4.
Import pyspark.
Databricks
Another way of using Spark is through Databricks’ Collaborative Notebooks. Databricks is the company founded by the creators of Spark to offer commercialized and well-managed Spark-based solutions to different businesses. The Databricks platform is a powerful way to quickly perform exploratory data analysis, as well as build machine learning models along with data visualization and model management.
The Collaborative Notebooks product has two versions, the commercial and the community edition. The commercial edition is a paid product for companies to leverage all the advanced features. The community edition is free and ideal for those who would like to try out Spark and use the Databricks platform. In this part, we will cover the community edition to keep things simple. It provides an easy and intuitive environment to learn Spark, perform data analysis, or build Spark applications. You can also refer to the Databricks user guide (https://docs.databricks.com/user-guide/index.html) for in-depth exploration.

Databricks Sign Up
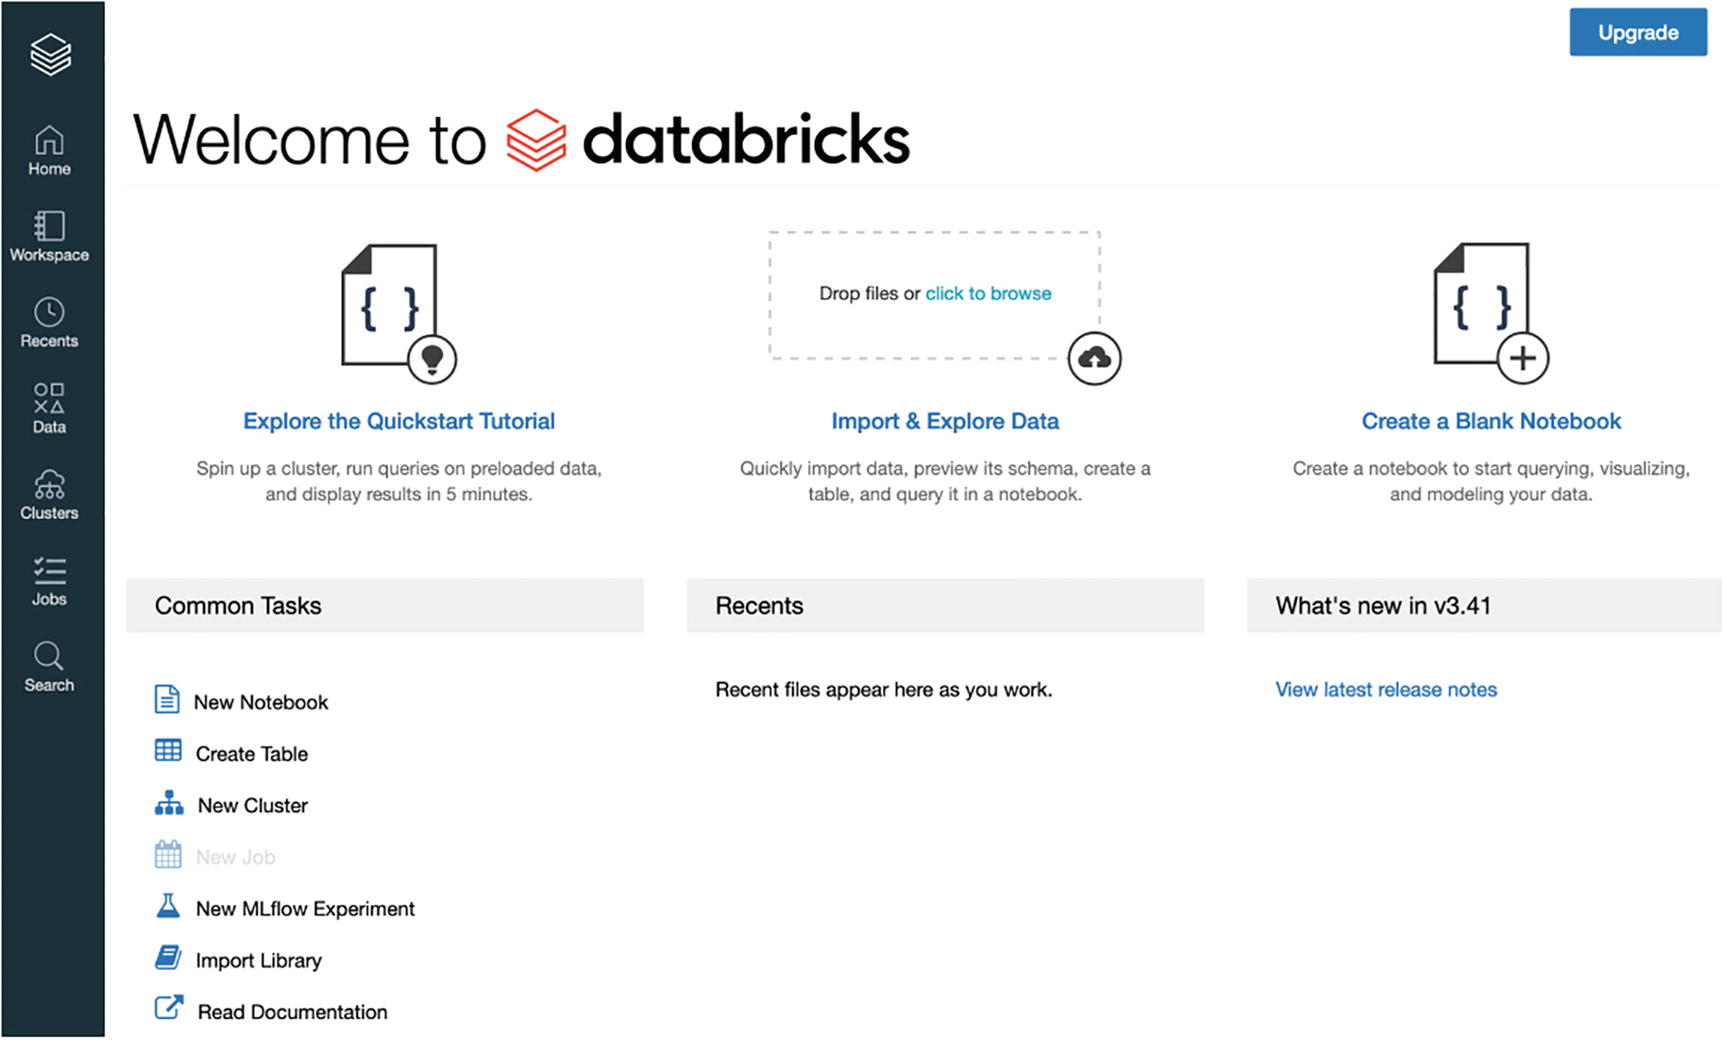
Databricks homepage
Spin a New Cluster

Databricks cluster

Databricks cluster form
Create a Notebook

Databricks notebook
Conclusion
In this chapter, we looked at Spark’s architecture and various components and different ways to set up a local environment in order to use Spark. In upcoming chapters, we will go deep into various aspects of Spark and build Machine Learning models using the same.