We will cover the following concepts in this chapter:
- Categories
- Hierarchy
- Top navigation
Magento provides a way of organizing your catalog into different categories and subcategories. You can organize your catalog internally in the admin panel and offer to the customers a clear way of browsing your products on the Storefront.
You can manage the categories in your store by going to the PRODUCTS | Inventory | Categories section in the admin panel:

Once that section is loaded in the admin panel, you will see the category tree on the left, and the form to add and the edit categories on the right:
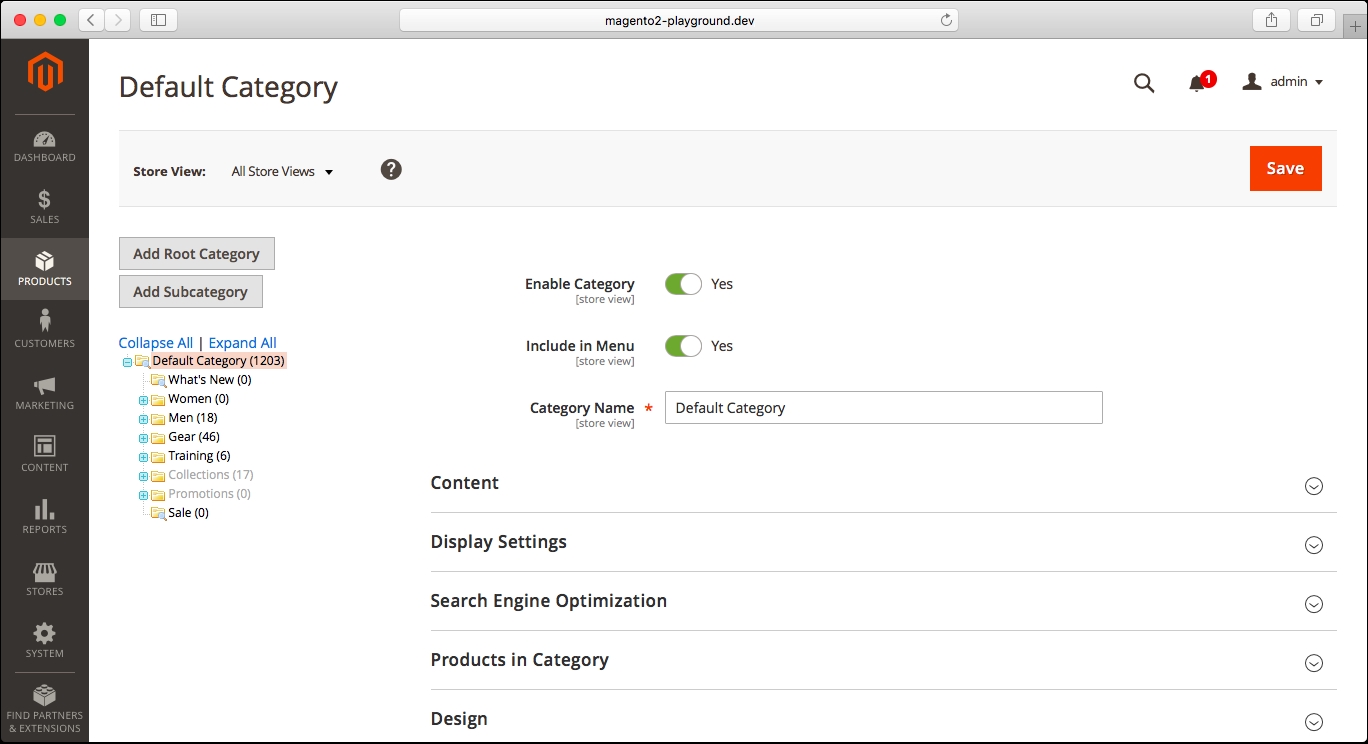
On top of the category tree, you will see two buttons:
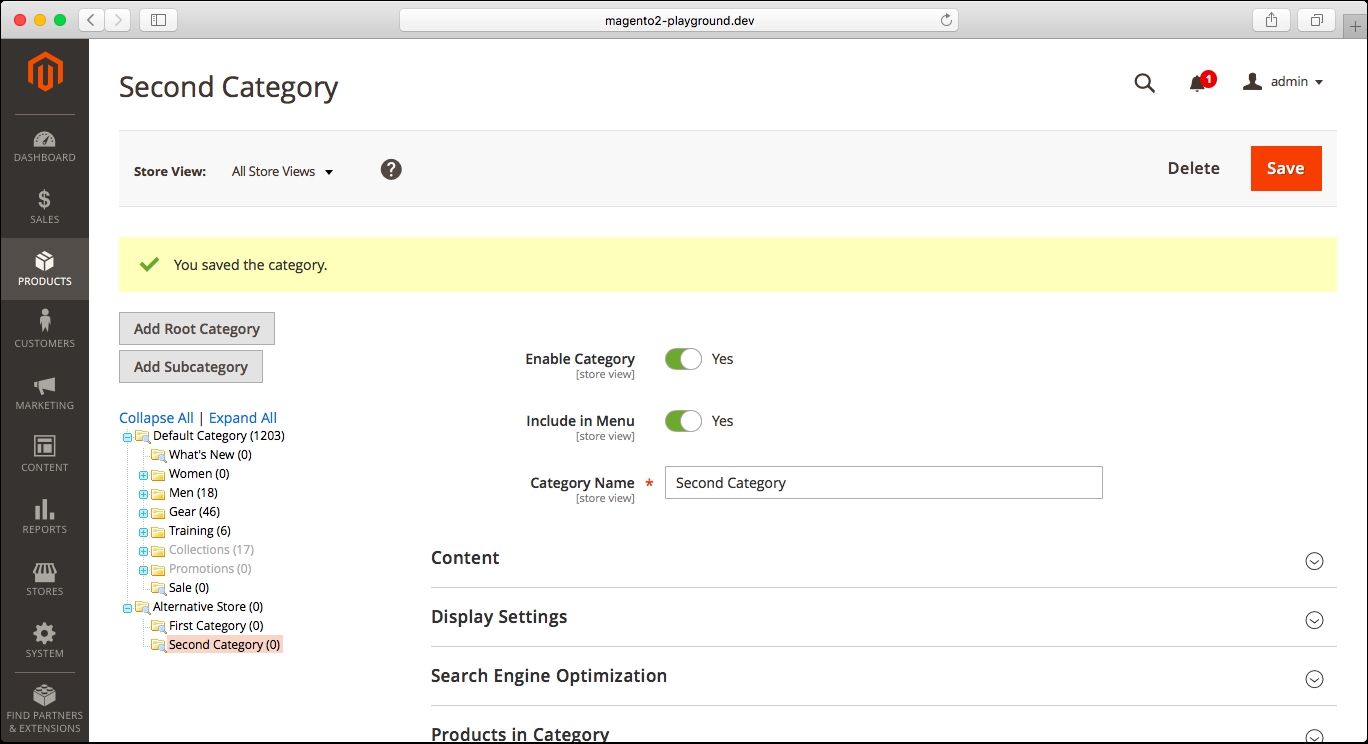
- Add Root Category: You can add root categories. This is useful to set up multiple store views, for example, a store for clothing and another store for electronics and computers. These stores will be separated store views, each one of them with a specific catalog contained in different root categories. An example of two root categories can be seen in the following screenshot:
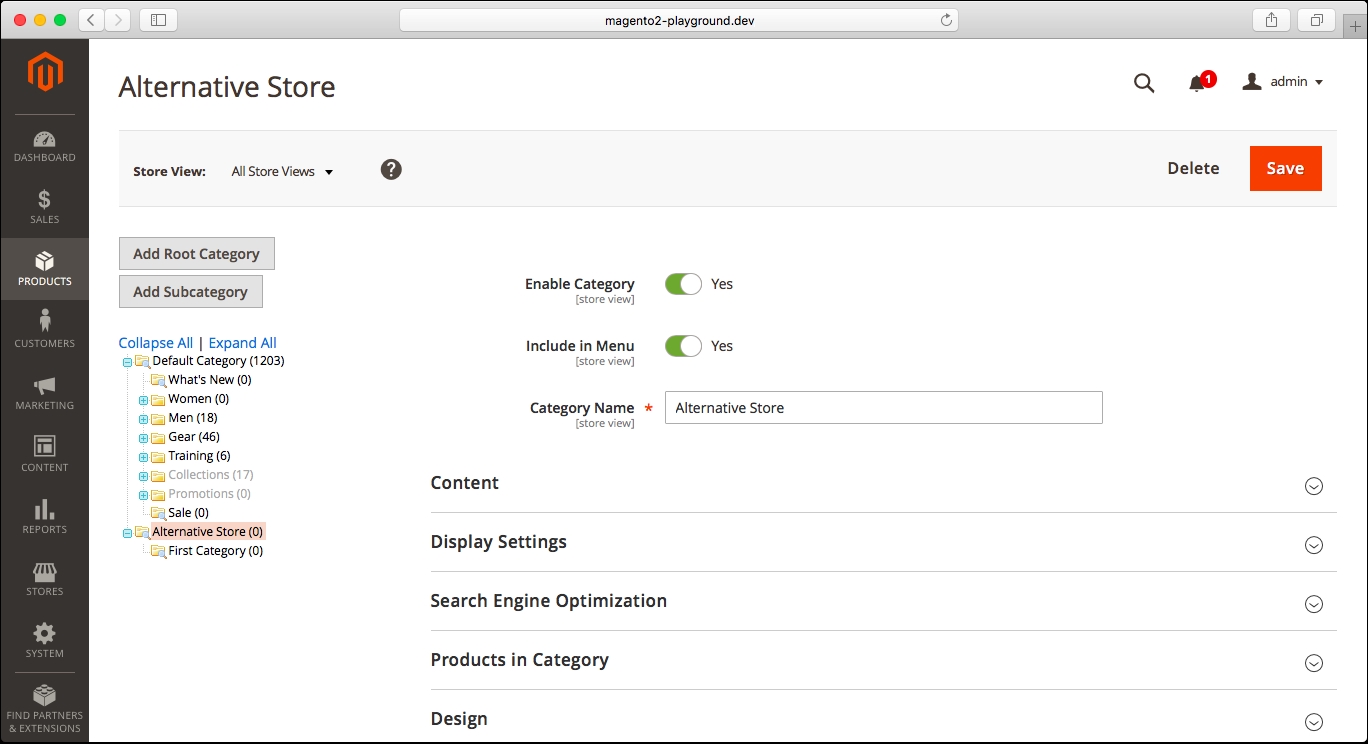
- Add Subcategory: You can add a subcategory for the current category. In the preceding screenshot, the Alternative Store root category was selected, so if we click on Add Subcategory, then the subcategory will be created, as you can see in the following screenshot:
We added a root category and a subcategory, but we haven't reviewed the form to create them. We will create a new category, and we will go through the process step by step:
- Click on the Default Category in the category tree to select it:

- Click on Add Subcategory on the top-left corner of the screen.
- Add the following information to the top section of the form:
- Enable Category: Yes
- Include in Menu: Yes
- Category Name:
Sample Category
These fields are self-explanatory. The Include in Menu field allows you to set whether the category should be included in the main navigation menu in the Storefront or not:
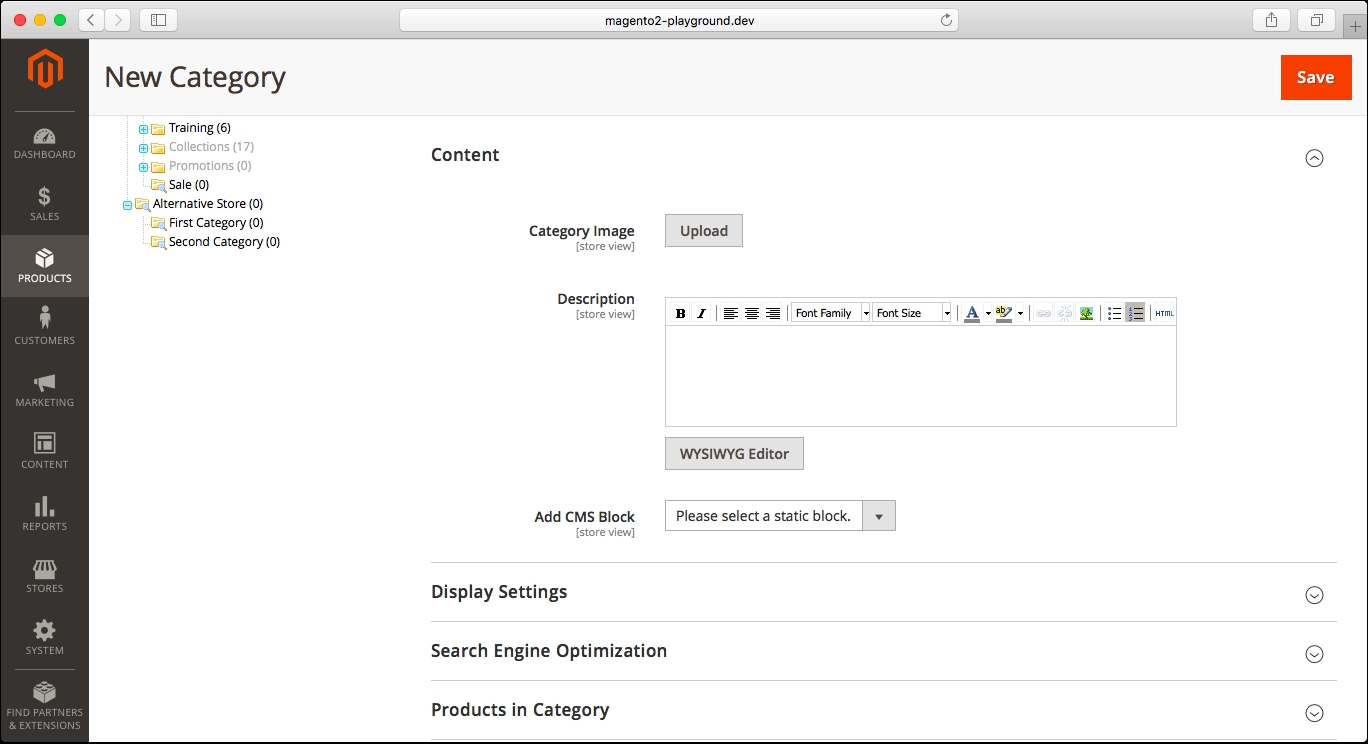
- Set the following information for the Content section:
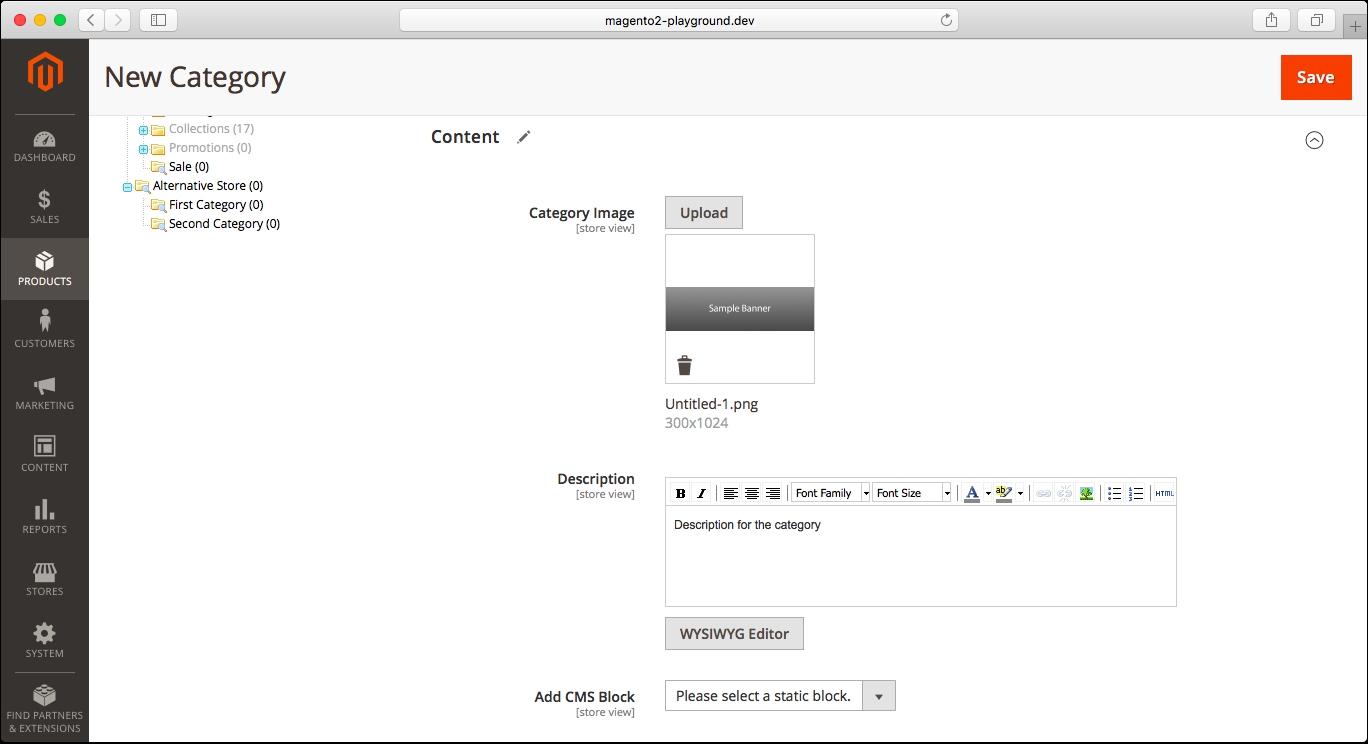
- Category Image: Add a banner image for the category, as shown in the following screenshot:
- Description: Add a sample description for the category
- Add CMS Block: You can add a static block to be displayed in the category
- Category Image: Add a banner image for the category, as shown in the following screenshot:
- Set the following section in Display Settings:
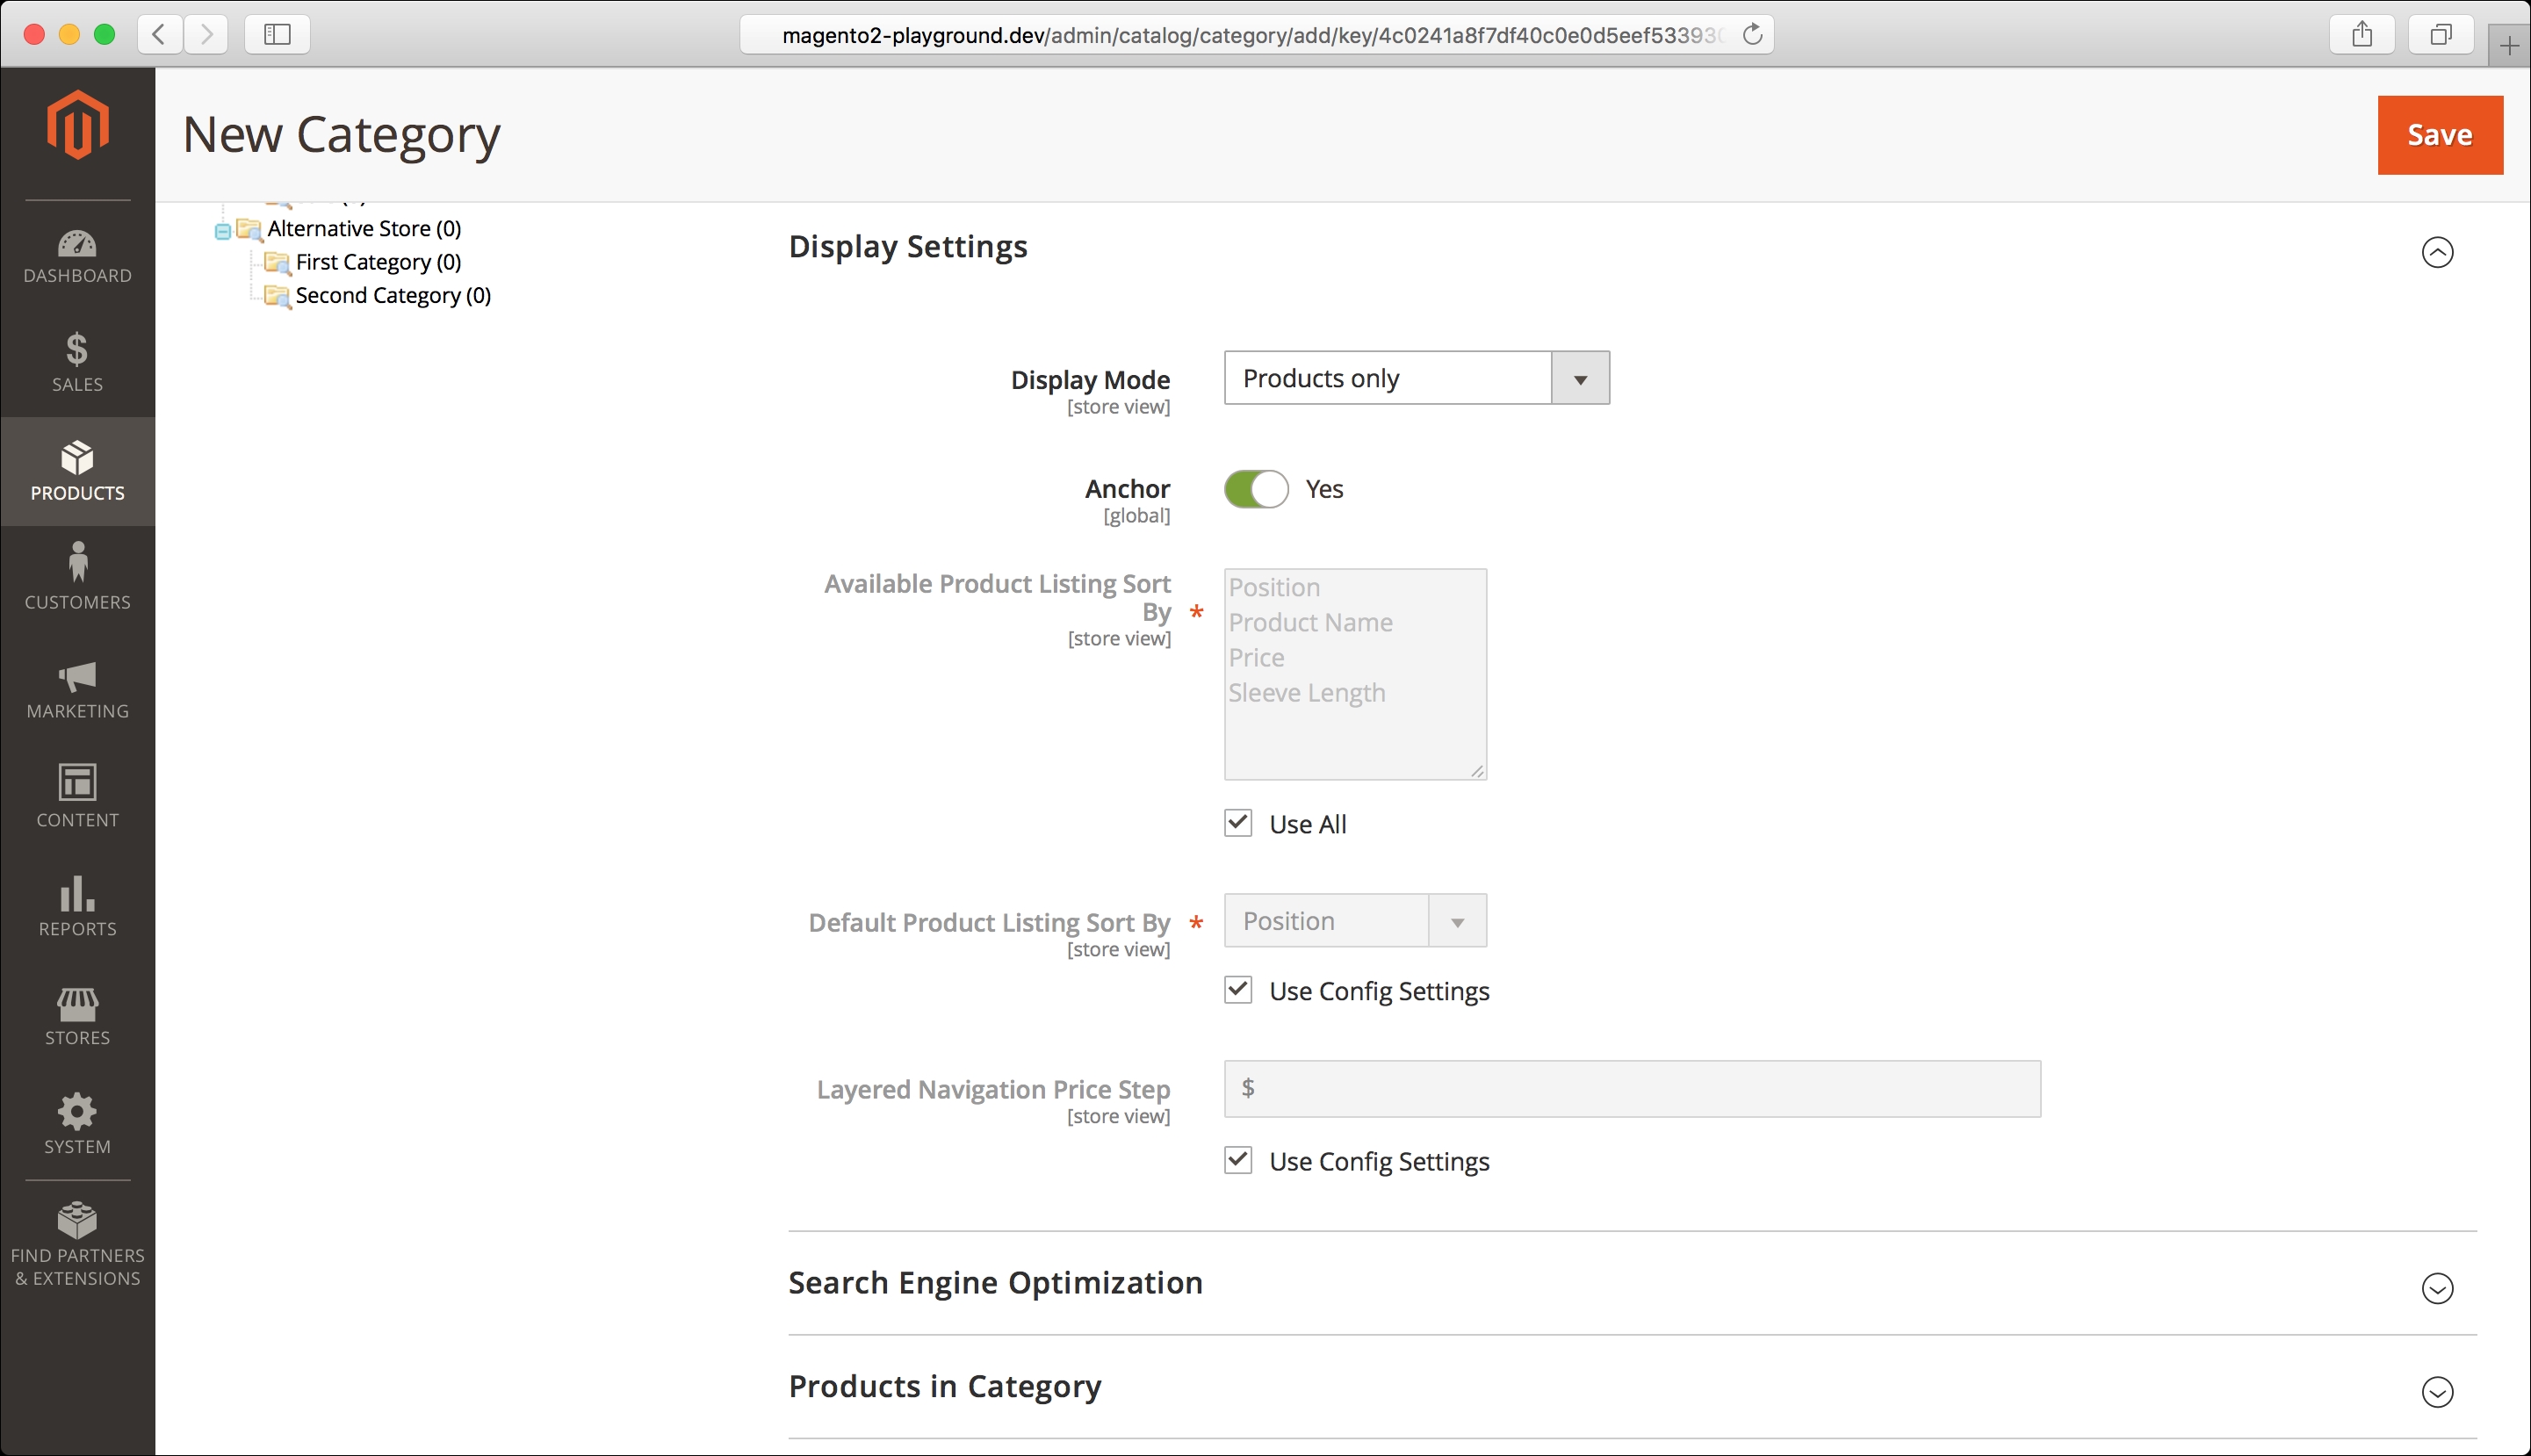
In this section, you can set:
- Display Mode: You can choose between showing only products, only the selected static block, or both. For this category, we will select Products only.
- Anchor: If you select Yes, then the category will have a layered navigation filter on the left sidebar. The layered navigation is the block that lets you filter the category by attribute, for example, by color or size. We will choose Yes for this category.
- Next, we will find the Search Engine Optimization section:

The following settings are available in this section:
- URL Key: You can set the specific URL key for the category. We will leave this empty for this category, and Magento will create the URL key based on the category title.
- Meta Title: You can set the title meta tag for search engine optimization.
- Meta Keywords: You can set the keywords meta tag for search engine optimization.
- Meta Description: You can set the description meta tag for search engine optimization.
We will leave the fields for Meta Title, Meta Keywords, and Meta Description empty, and Magento will assign the meta tags based on the category title.
- You can select the products that will be associated with this category in the Products in Category section:
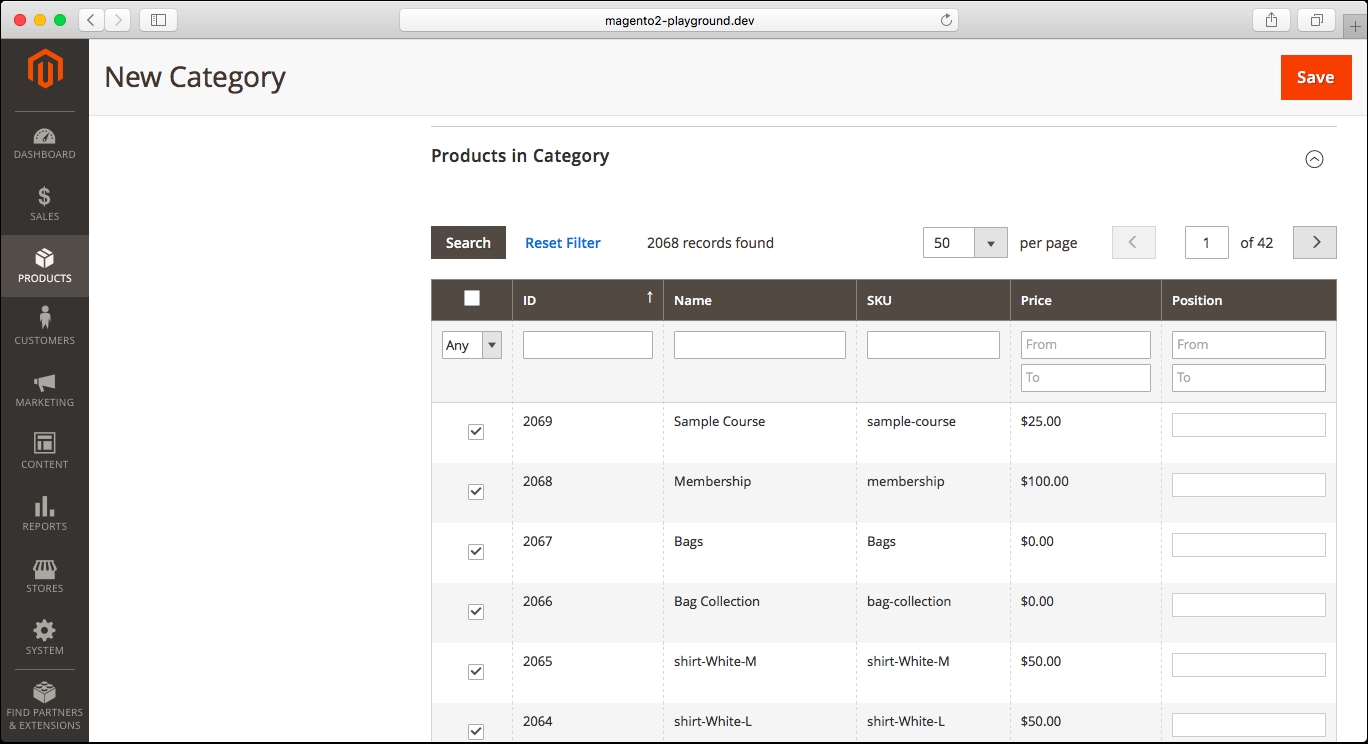
As per the preceding screenshot, select all the products that we created in the previous chapter.
- The next section is Design. Just like the products, you can set a specific design for the categories as well:
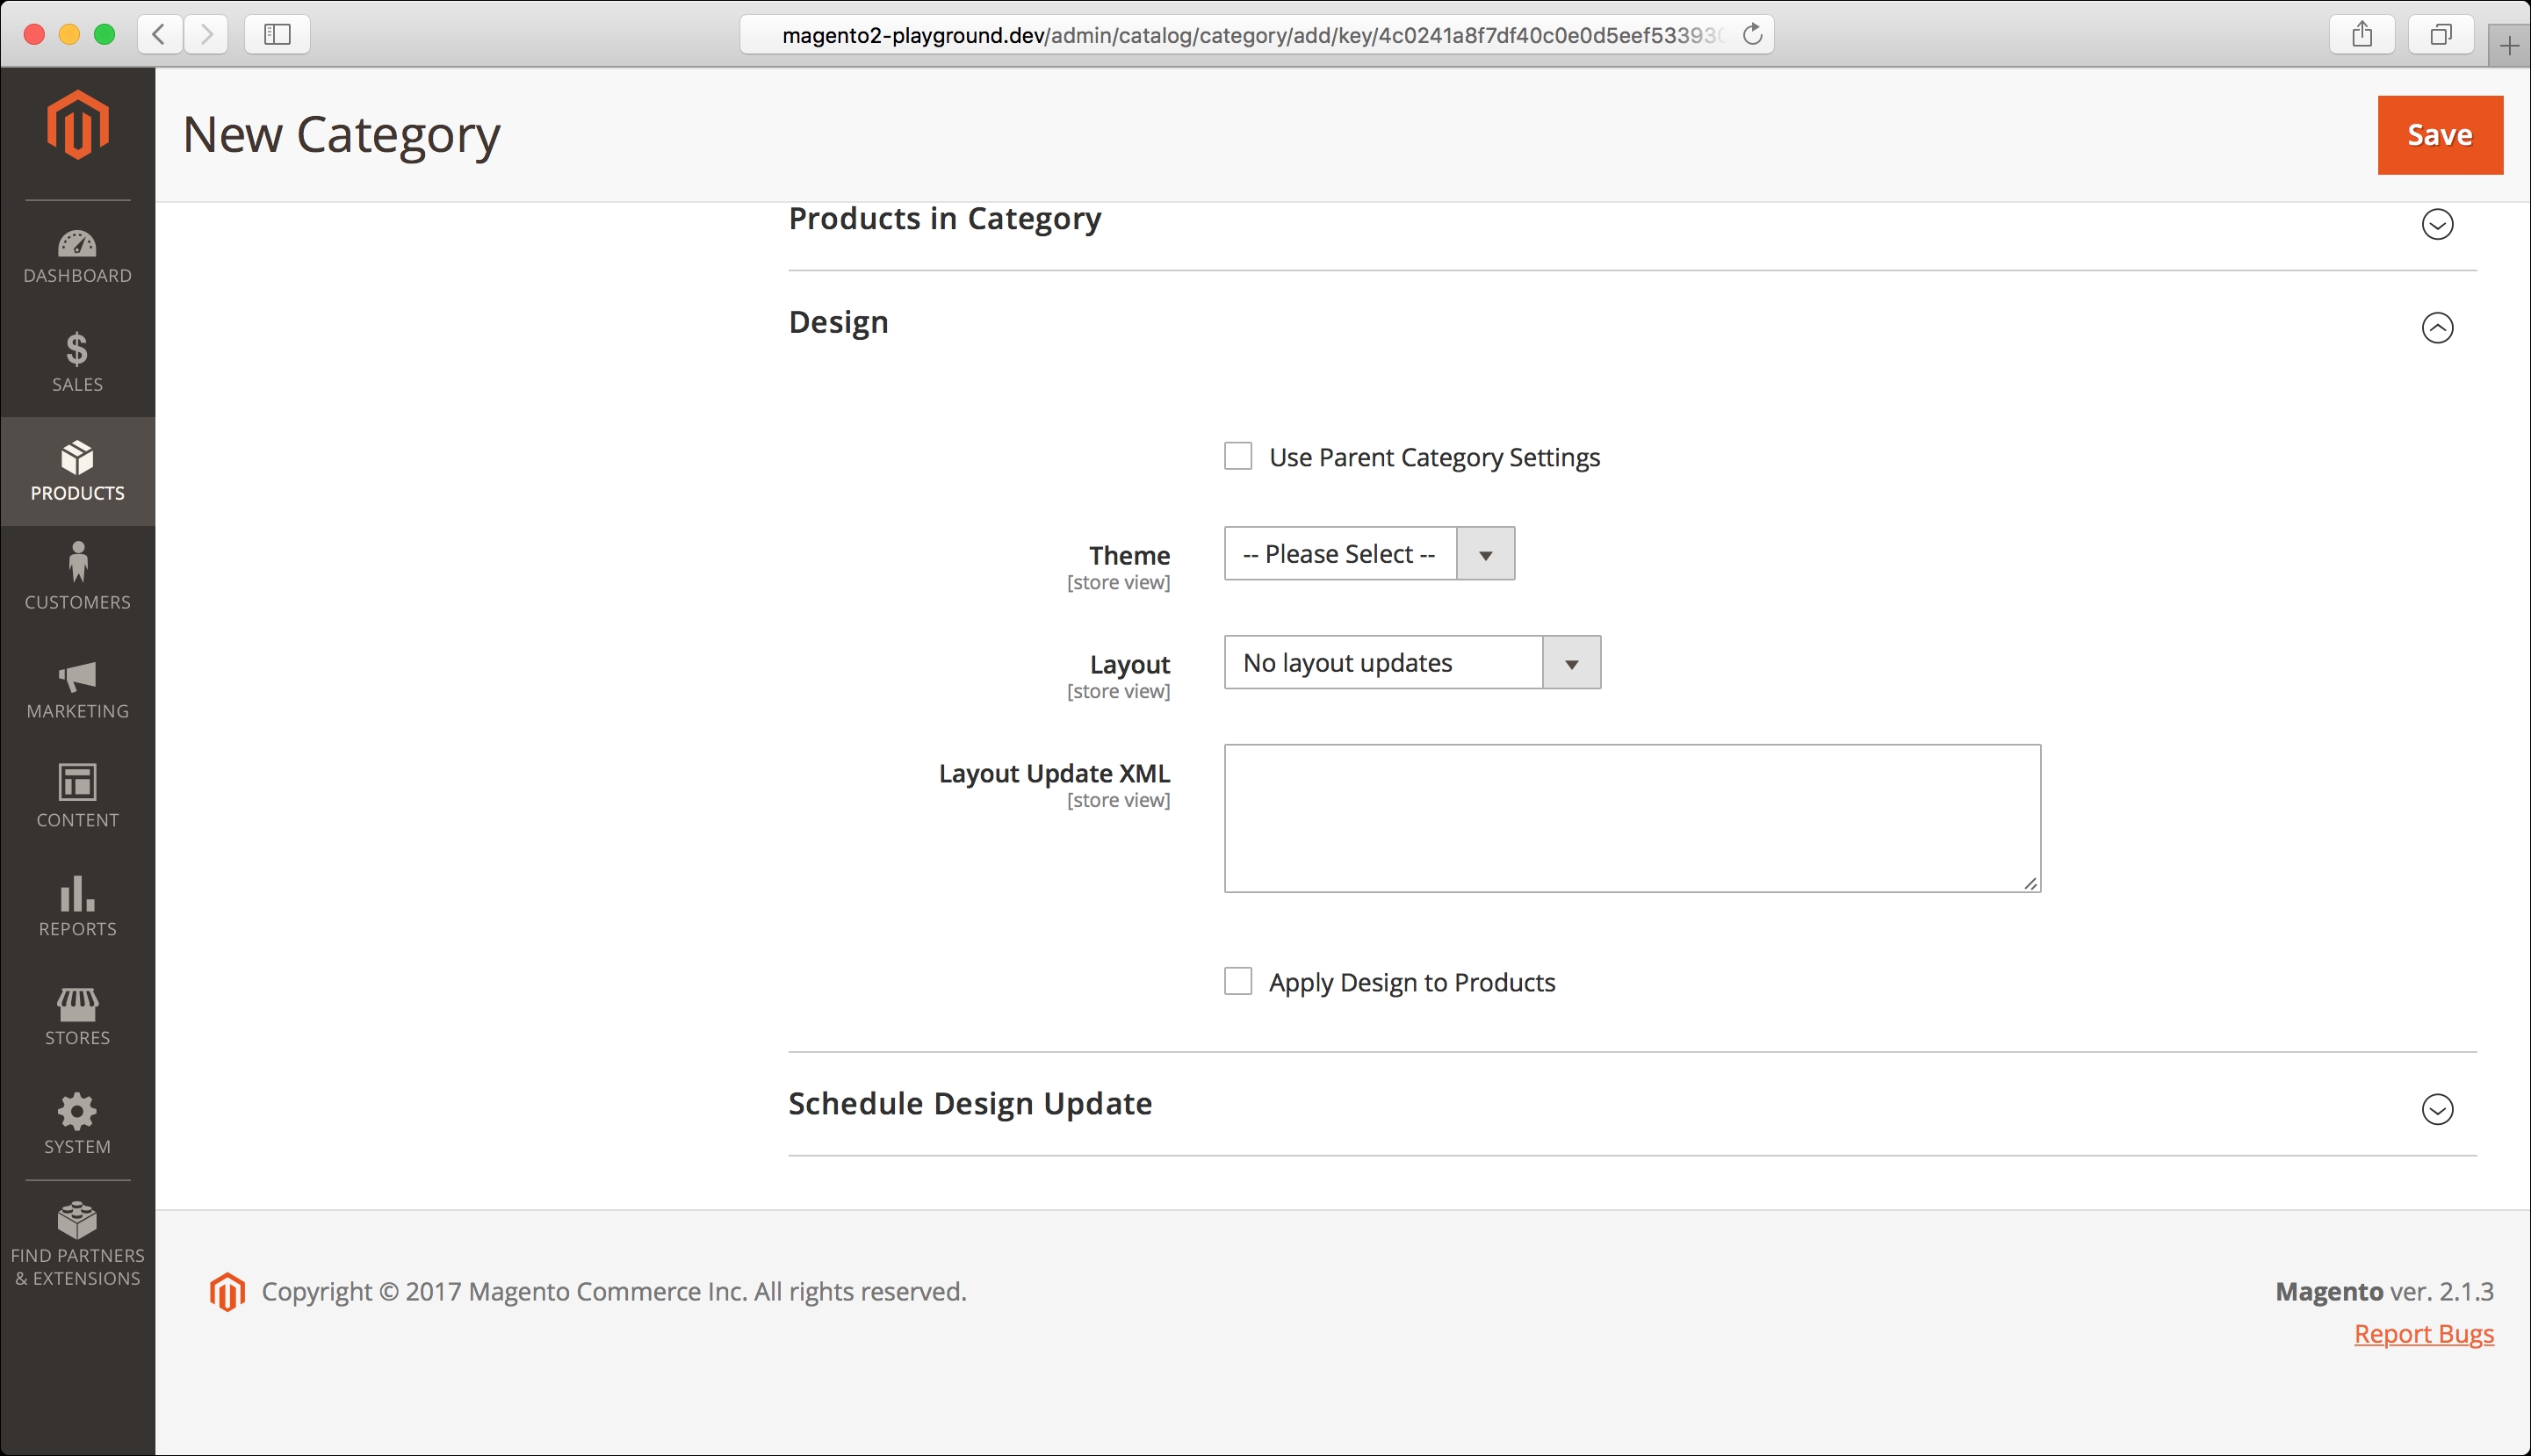
We will go through each of the fields, but we will keep the default values for all of them:
- Use Parent Category Settings: If you click on this checkbox, the category will inherit the design configuration from the parent category
- Theme: You can choose a specific theme for the category
- Layout: You can set a specific layout for the category:
- Empty
- 1 column
- 2 columns with left bar
- 2 columns with right bar
- 3 columns
- Layout Update XML: Add a custom XML configuration for the category layout, such as a custom style sheet
- Apply Design to Products: If you click on this checkbox, the associated products will inherit the design configuration from this category
- The section at the end of the form is Schedule Design Update. Here, you can specify a range of dates for the design update from the previous section. We will leave this empty as well for this category.
- Click on Save to add the new category.
When the category is saved, you will see the message confirmation and the category as a child of Default Category:

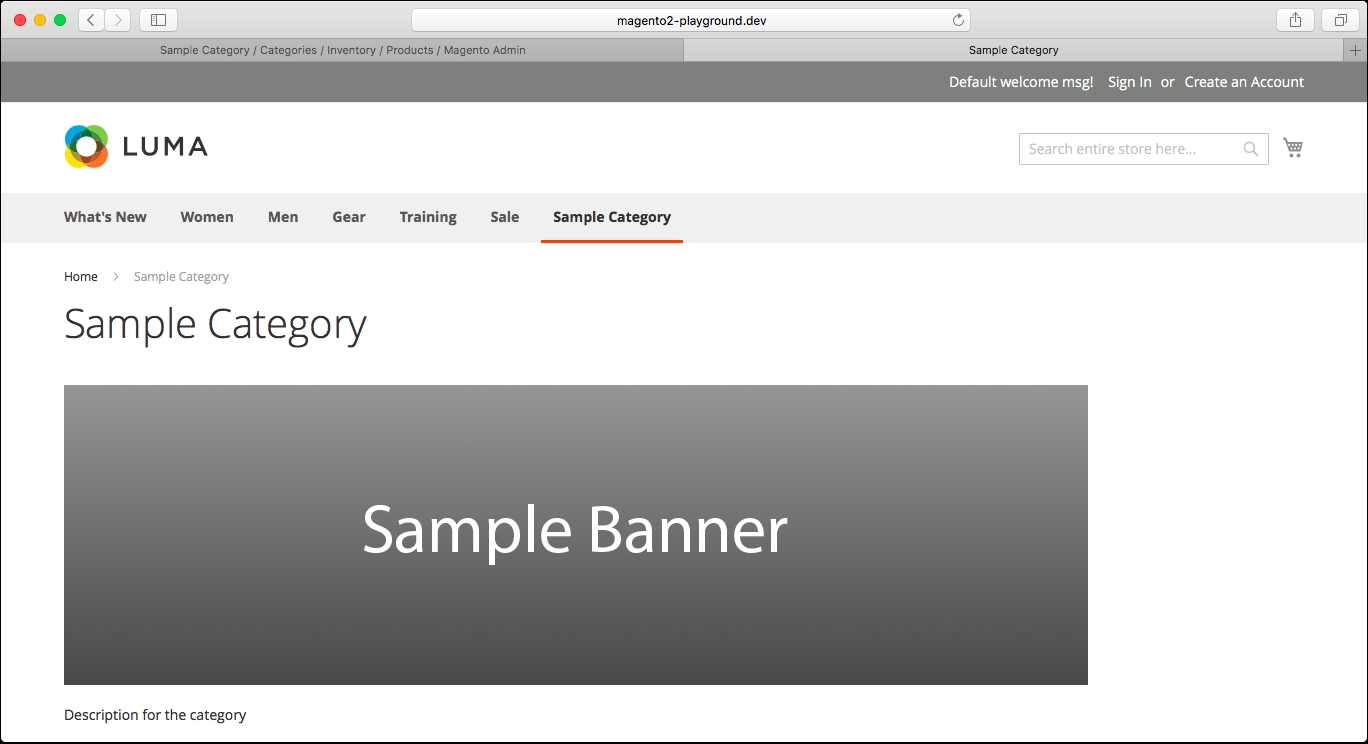
If you go to the Storefront, you will see the new category in the main navigation menu:
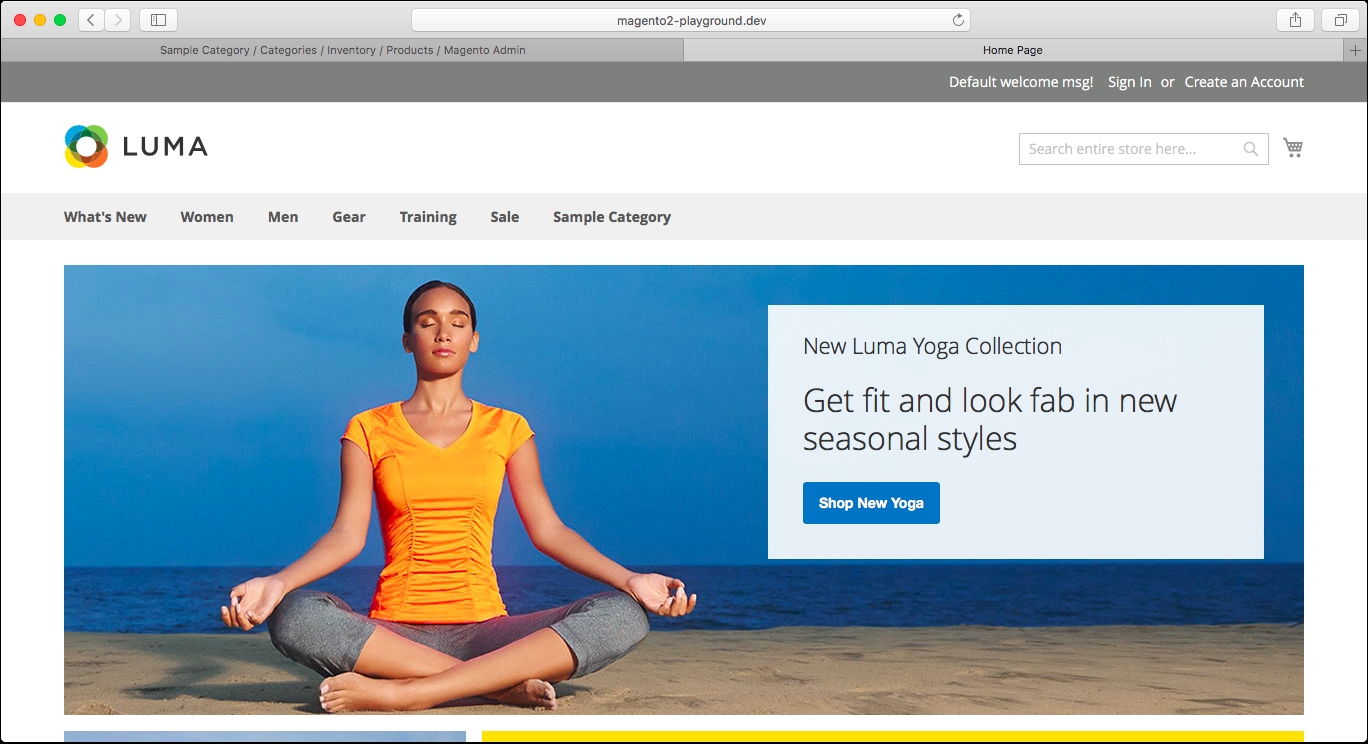
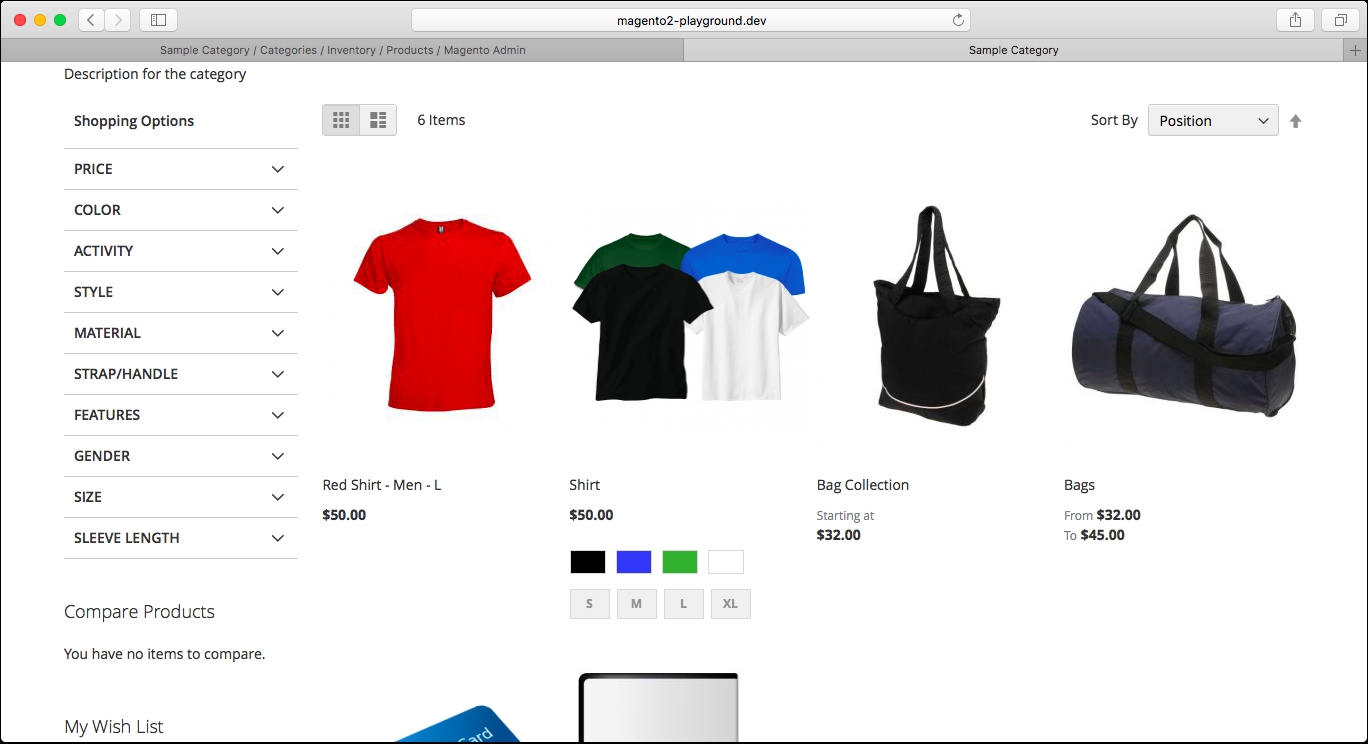
If you go to that category, you will see the configuration and the products that we set in the category form before: