
Okay, so maybe the firewall appliance with the built-in Snort isn't what you need right now. Maybe what you need instead is a full-blown NIDS. But, you're a busy person who needs something quick and easy, and your boss has put you on a rather strict budget. So, what do you do?
Security Onion is a free-of-charge specialty Linux distro that's built on top of the Xubuntu Long-term Support (LTS) distro. It includes a full implementation of Snort, complete with just about every graphical goody you can imagine to help you visualize what's happening on your network. If you can install a Linux distro and do some point-and-click configuration after the installation, then you can install Security Onion.
Also, if you want to try out Security Onion, you can set it up in a VirtualBox virtual machine. When you create the virtual machine, set it up with two network adapters, both in Bridged mode. For best performance, allocate at least 3 GB of memory.
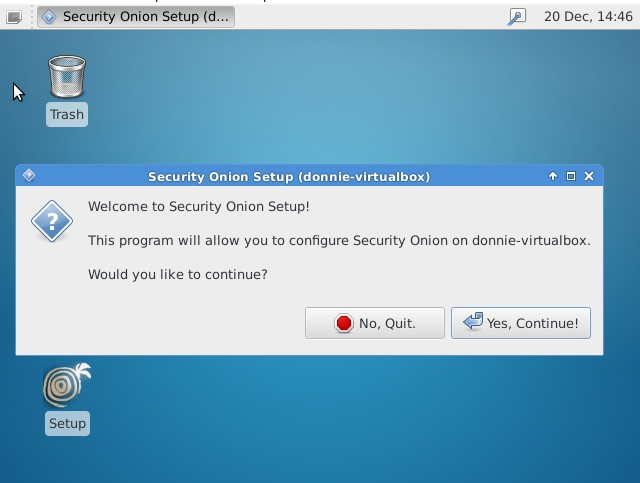
Once you've finished installing the operating system, the configuration is just a simple matter of double-clicking the Setup icon and then following through with the dialog boxes:
For setting up a machine with sensor capabilities, you'll need a machine with two interface cards. One interface, which will have an IP address assigned to it, will be the management interface:

You can set the management interface to automatically get an IP address via DHCP, but it's much better to assign a static IP address:

You'll use the other network adapter as the sniffing interface. You won't assign an IP address to it because you want that interface to be invisible to the bad guys:

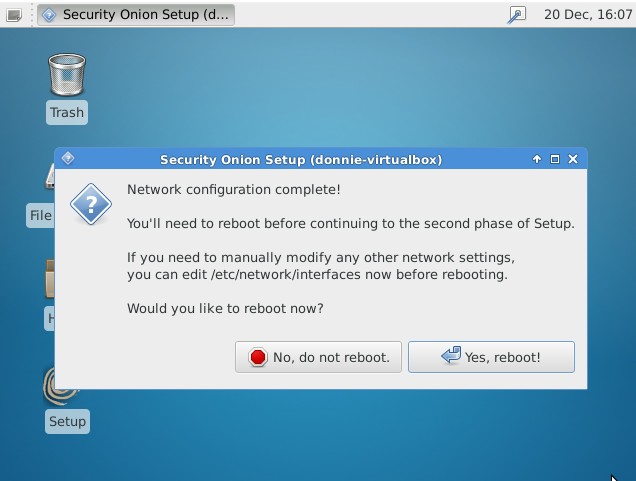
After you confirm the network configuration that you've selected, you'll reboot the machine:
Once the machine has rebooted, double-click on the Setup icon again, but this time choose to skip the network configuration. For a first-time user of Security Onion, Evaluation Mode is quite helpful because it automatically chooses the most correct options for most stuff.

From here on out, it's just a matter of confirming which network interface will be the sniffer interface and filling in login credentials for the different graphical frontends. And then, after waiting a few moments for the setup utility to download Snort rules and perform the final configuration steps, you'll have your very own operational NIDS. Now I ask, what could be easier?
Security Onion comes with several different graphical frontends. My favorite is Squert, which is shown here. Even with just the default set of detection rules, I'm already seeing some interesting stuff. The following screenshot shows Squert:

For one thing, I see that somebody on the network is mining some Monero cryptocoin. Well, actually, I'm the one who's doing it, so it's okay. But, that is a good thing to be able to detect because bad guys have been known to plant Monero mining software on corporate servers for their own benefit. Monero cryptocoin mining puts a big load on a server's CPUs, so it's not something that you want on your servers. Also, some sneaky website operators have placed JavaScript code on their web pages that cause any computer that visits them to start mining Monero. So, this rule is also good for protecting desktop systems.
Another thing I see is Dropbox client broadcasting, which again is okay because I'm a Dropbox user. But, that's something else that you may not want to have on a corporate network.
To see the Snort rule that's associated with a particular item, just click on it:

It's just a standard Snort rule that's already been set up for us.
https://www.v3.co.uk/v3-uk/news/3023348/cyber-crooks-conducting-sophisticated-malware-campaign-to-mine-monero
Click on Squert's VIEWS tab, and you'll see a graphical representation of the connections that your machines have established:

There's still a lot more than I could show you about both Security Onion and Snort, but alas, space doesn't permit. I've given you the gist of it, now go try it for yourself.
https://securityonionsolutions.com/.