
The appliance needs to be configured before it can send data about your on-premises machines to Azure. Therefore, we have to perform the following steps:
- Go back to Hyper-V Manager and select Virtual Machines. Then, right-click the appliance VM | Connect.
- Accept the license terms and provide the password for the appliance. Click Finish.
- Now, the configuration of Windows Server has been finalized. This means you can login to the appliance using the Administrator username and the password you provided in the previous step.
- After logging into the VM, click the Microsoft Migrate icon on the desktop again or wait for Internet Explorer to open automatically, along with the wizard to set up the server as a configuration server. The first step is to set up the prerequisites. First, you need to accept the license terms:

Accepting the license terms
- Check the box to be automatically redirected to the next step.
- After that, your network connectivity will be checked, a check will be performed to ensure that the time of the VM is in sync with the internet time server, and the latest Azure Migrate updates will be installed. Once you've done this, you will see the following output:

Checking the prerequisites
- Click Continue.
- The next step is to register the appliance with Azure Migrate. Click the Login button and log in with your Azure credentials (make sure that you use an account that has permission to create applications in Azure AD since Azure Migrate will create an application in there):
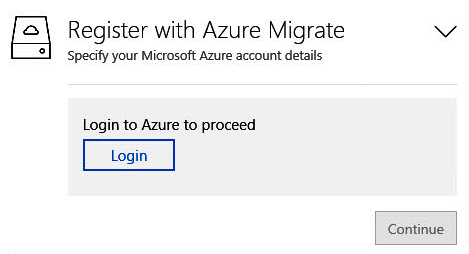
Logging in with your Azure account
- A new tab will open where you can log in using your credentials. By doing so, you'll be signed into Azure PowerShell at the appliance and you can close the tab.
- You will be taken back to the Register with Azure Migrate step in the configuration process. Now that you are signed into Azure Migrate, you can select the subscription where the Migrate project will be created. Then, select the project to migrate from the Migrate project dropdown and specify the appliance's name. You can obtain this value from the URL in Internet Explorer, as shown in the following screenshot:
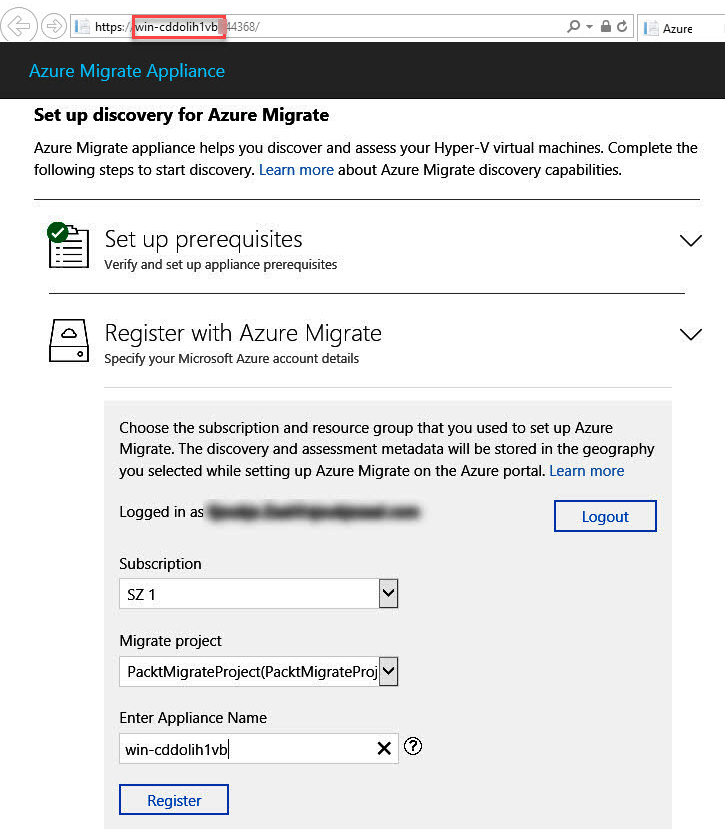
Registering the appliance
- Click Register.
- When the appliance has been successfully registered, you can click Continue.
- In the next step, we are going to configure continuous discovery. To do so, we need to provide the Hyper-V hosts details. For this, use an account that has permissions on the VMs that need to be discovered and give it a friendly name:

Adding an assessment account
- Click Save details.
- Finally, you have to specify the list of Hyper-V hosts and clusters to discover. Click Add and specify the host IP address or FQDN. Make sure that the VMs that need to be assessed are turned on. If validation fails for a host, review the error by hovering over the icon in the Status column. Fix the issues and then validate it again, as shown in the following screenshot:
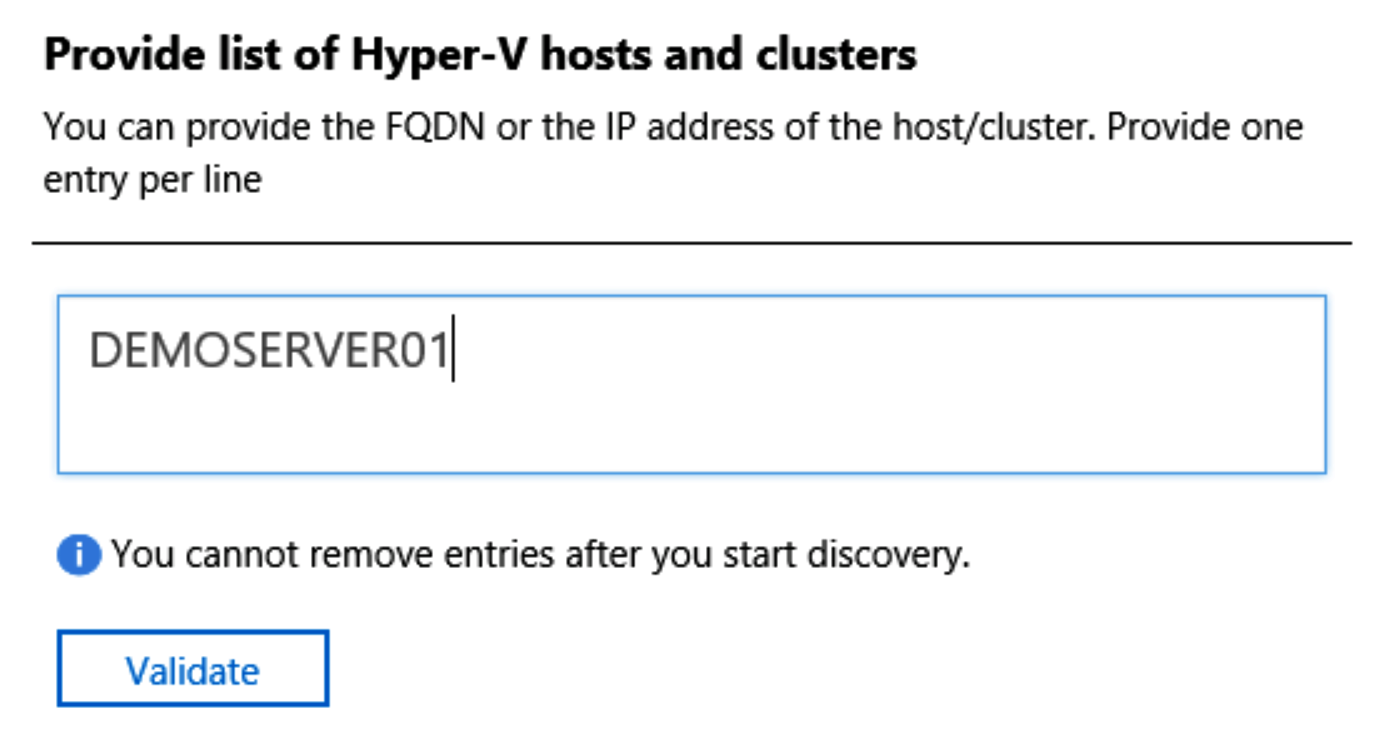
Validating the host IP address
- Click Validate.
- After validation, click Save and start discovery to start the discovery process. The appliance will start collecting and discovering the virtual machines. It will take around 15 minutes for the metadata of the discovered VMs to appear in the Azure portal. If you want to use performance data in your assessment, it is recommended that you create a performance-based assessment after 24 hours or more.
- Now, if you go back to the Azure Migrate project in the Azure portal and select Discovered items under Manage, you can select the subscription where the project has been created, the project, and the appliance's name.
The discovered VMs will be displayed in the overview:

Discovered VMs
In this section, we have configured the appliance and configured continuous discovery. In the next section, we are going to create an assessment from the Azure portal.