In this chapter, you learn how to make sure that your iPod touch has the contact information you need when you need it. Topics include the following:
</feature>Contact information, including names, phone numbers, email addresses, and physical addresses, is useful to have on your iPod touch. For example, when you send email, you want to be able to select the appropriate email addresses rather than having to remember them and type them in. Likewise, you might want to be able to pull up addresses on a map in the Maps application.
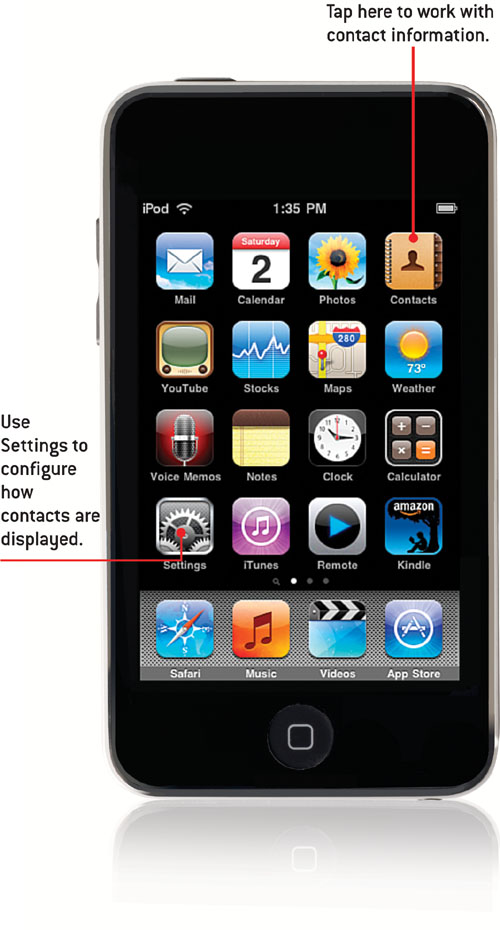
Before you start using contacts, make sure that contact information displays according to your preferences. You can determine how contacts are sorted on lists by first or last name, and you can choose which of those appears first on lists.
On the Home screen, tap Settings.
Scroll down until you see Mail, Contacts, Calendars.
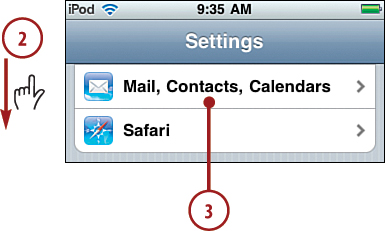
Tap Mail, Contacts, Calendars.
Scroll down until you see the Contacts section.
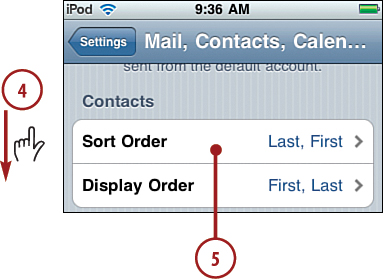
Tap Sort Order. The Sort Order screen appears.
To have contacts sorted by first name and then last name, tap First, Last.
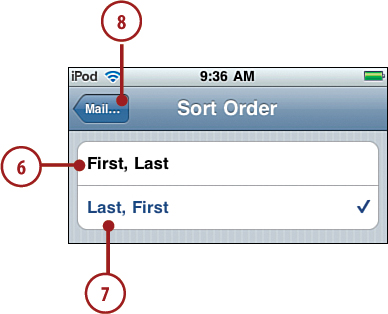
To have contacts sorted by last name and then first name, tap Last, First.
Tap Mail....
Tap Display Order. The Display Order screen appears.

To show contacts in the format first name, last name, tap First, Last.
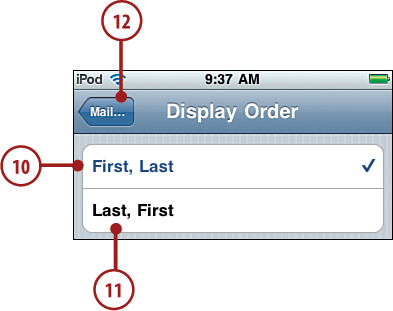
To show contacts in the format last name, first name, tap Last, First.
Tap Mail....
You can create new contacts on an iPod touch in a number of ways. You can start with some information, such as the email address on an email message you receive, and create a contact from it, or you can create a contact manually “from scratch.” In this section, you learn how to create a contact from an email message, a location on a map, and manually.
When you receive an email, you can easily create a contact to capture the email address. (To learn how to work with the iPod touch’s email application, see Chapter 9, “Emailing.”)
On the Home screen, tap Mail. The Mail screen appears.
Use the Mail application to read an email message (see Chapter 9 for details).
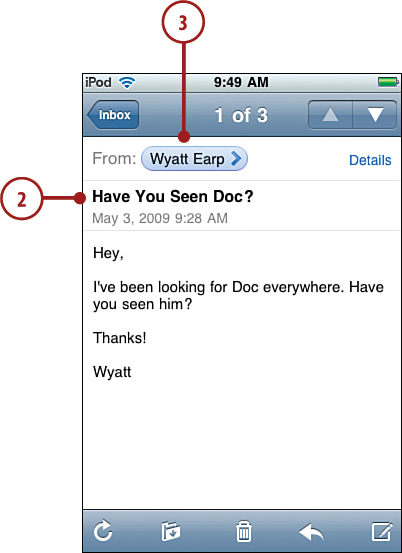
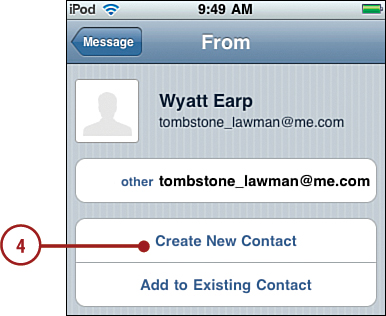
Tap the email address from which you want to create a new contact. The Info screen appears; the label of the screen depends on the type of email address you tapped. For example, if you tapped the address from which the email was sent, the screen is labeled From. You see as much information as your iPod touch could discern from the email address; this is typically the sender’s name and email address.
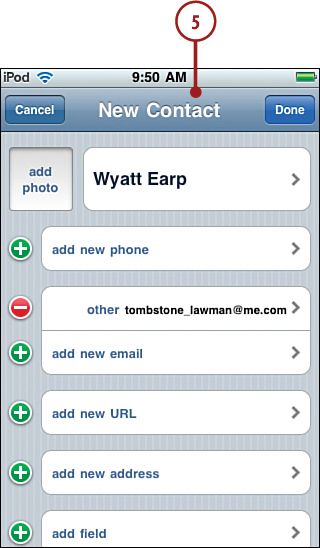
Tap Create New Contact. The New Contact screen appears. iPod touch adds the name and email address you selected to the new contact. The email address is labeled with iPod touch’s best guess, such as other or home.
Use the New Contact screen to enter more contact information and save the new contact. This works just like when you create a new contact manually, except that you already have some information, in this case, a name and an email address. For details, see “Creating Contacts on an iPod touch Manually,” later in this chapter.
When you view a location on a map, you can create a contact with that location’s information.
On the Home screen, tap Maps. The Map screen appears.
Use the map to find a location. (Chapter 12, “Using Maps and Other Preinstalled Applications,” covers the Maps application.)
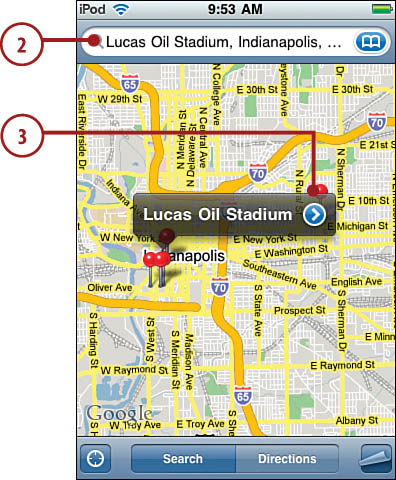
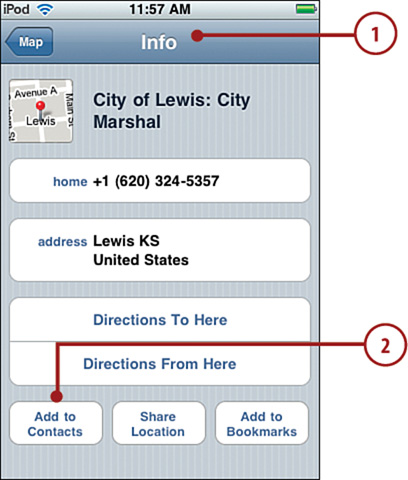
Tap the Info button for the location. The Info screen appears.
Scroll down the screen until you see the Add to Contacts button.
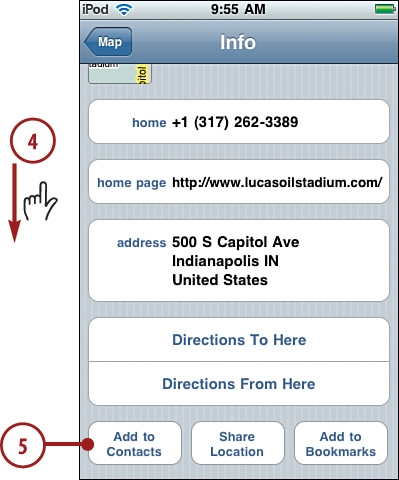
Tap Add to Contacts.
Tap Create New Contact. The New Contact screen appears. iPod touch adds as much information as it can based on the location, such as name, phone number, address, website, and so on.
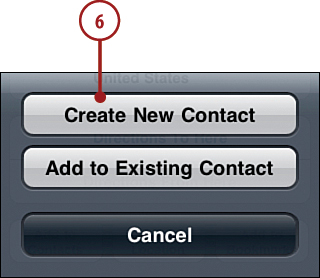
Use the New Contact screen to configure the new contact. This works just like when you create a new contact manually, except that you already have information for the new contact, in this case, the location name (if it has one), address, and so on. See “Creating Contacts on an iPod touch Manually,” next for details.
Most of the time, you’ll manage contact information on a computer and move it to iPod touch. Or you’ll use information on iPod touch to create new contacts so that you don’t have to start from scratch. When you do have to start from scratch, you can create contacts manually and add all the information you need to them. And you use the same steps to add information to an existing contact, as you learn later in this chapter.
On the Home screen, tap Contacts. You see the All Contacts screen.
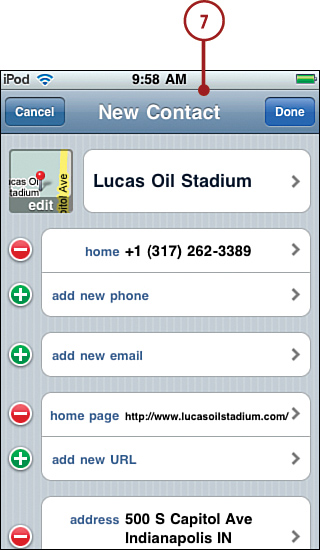
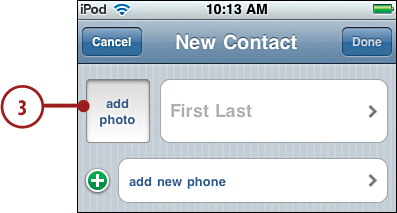
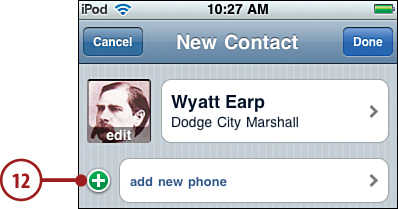
Tap Add. The New Contact screen appears. You see the information you can include for a contact. You can add more fields as needed using the add field command.

To associate a photo with the contact, tap Add Photo.
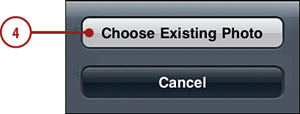
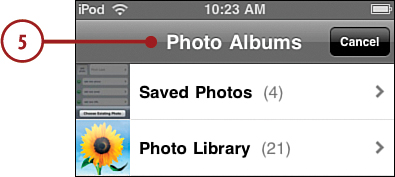
Tap Choose Existing Photo. The Photo Albums screen appears.
Use the Photo Album tools to move to, select, and configure the photo you want to associate with the contact (see Chapter 11).
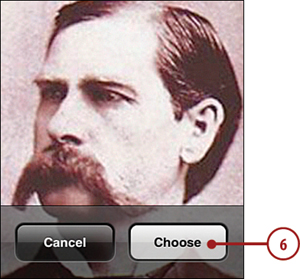
Tap Choose. iPod touch configures the photo and saves it to the contact. You return to the New Contact screen and see the photo you selected.
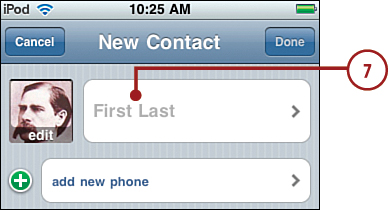
Tap First Last (or it could be Last First—the label you see depends on the display preference you set earlier). The Add Name screen appears.
Enter the first name.
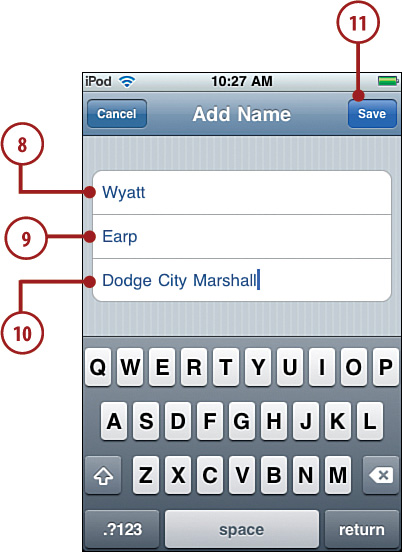
Enter the last name.
Enter the company for the contact, if applicable.
Tap Save. You return to the New Contact screen and see the information you entered.
Tap add new phone. The Add Phone screen appears.
Enter the phone number, including area code.
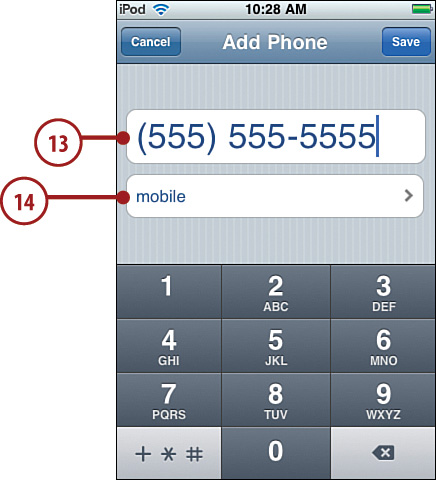
Tap the Label bar. The Label screen appears.
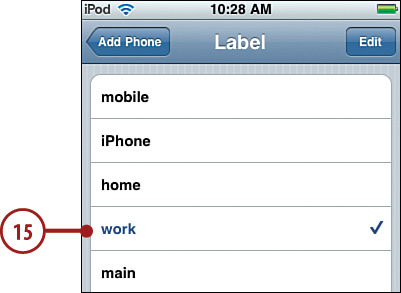
Tap the label you want to associate with the phone number. You return to the Add Phone screen, and iPod touch displays the label you selected.
Tap Save. You return to the New Contact screen and see the number and label you entered.
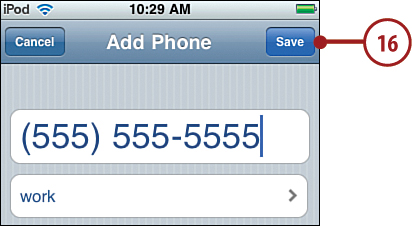
To add another number, tap add new phone and repeat steps 13 through 16.
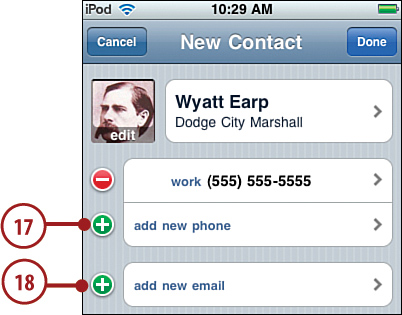
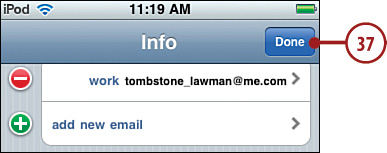
Tap add new email. The Add Email screen appears.
Enter the email address for the contact.
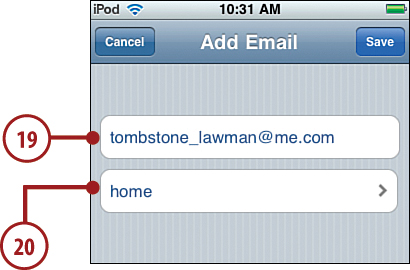
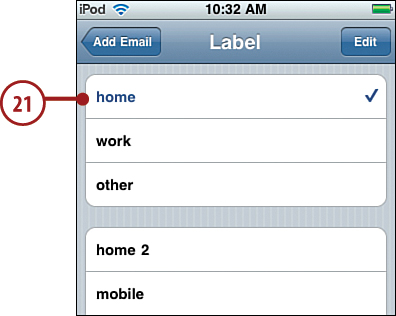
Tap the Label bar. The Label screen appears.
Tap the label you want to associate with the email address. You return to the Edit Email screen.
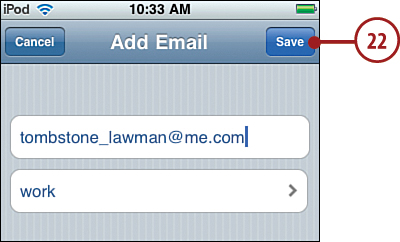
To add another email, tap add new email and repeat steps 19 through 22.
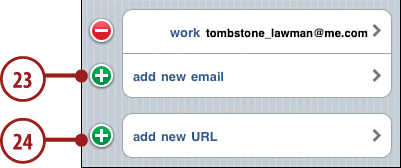
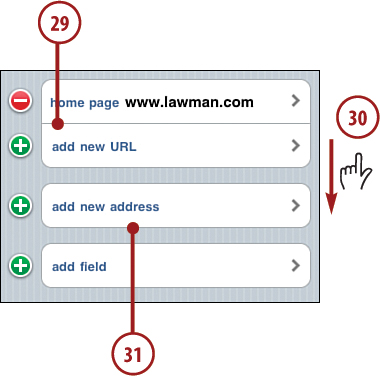
To associate a website with the contact, tap add new URL. The Add URL screen appears.
Enter the URL.
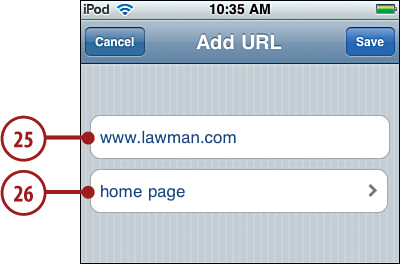
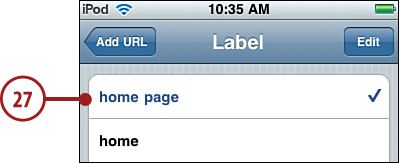
Tap the Label bar. The Label screen appears.
Tap the label you want to associate with the URL. You return to the Add URL screen.
Tap Save.
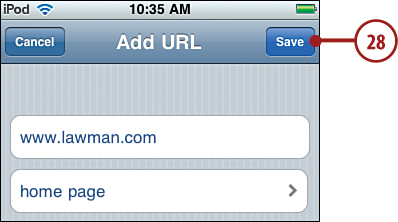
To add another URL, tap the add new URL button and repeat steps 25 through 28.
Scroll down the screen.
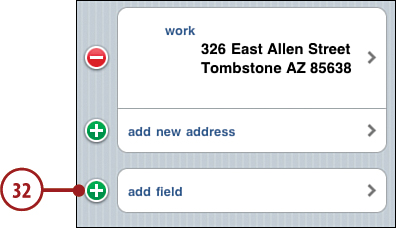
Continue adding information to the contact, such as a physical address.
To add more fields to the contact, tap Add Field. The Add Field screen appears. On this screen, you see all possible data that you can add to a contact.
Scroll the screen to see the types of data you can add to contacts.
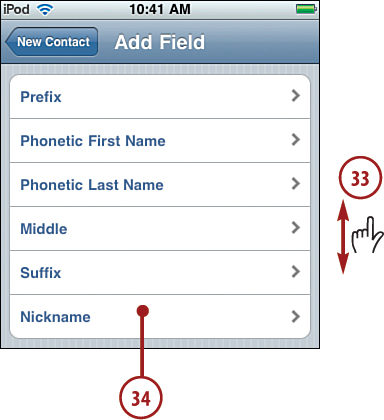
Tap the data you want to add. The related Add field appears. For example, if you selected Nickname, the Add Nickname field appears.
Use the Add screen to enter information for the field you selected. The tools on the Add screen depend on the kind of information you added.
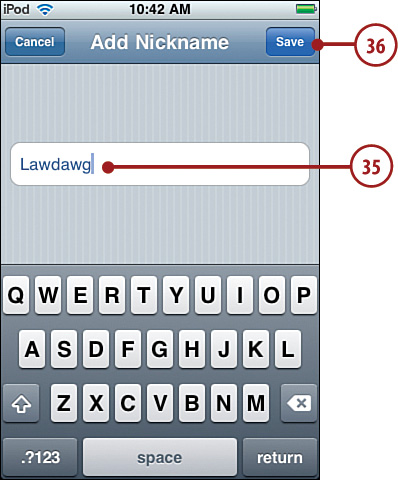
Tap Save.
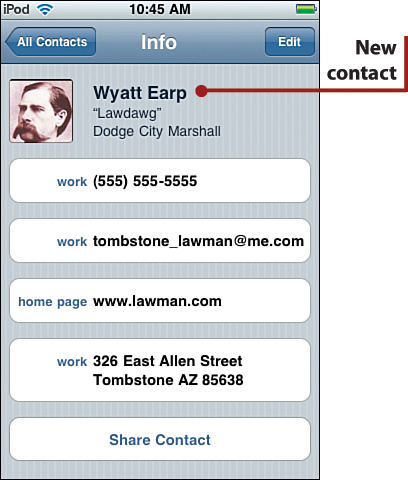
When you finish adding information, tap Done. The new contact is created and is ready for you to use, and you see the information you entered on the Info screen. It also is included in the next sync so that it will be added to your contact information on your computer.
There are many ways to use contact information. The first step is always finding the contact information you need. Next is to select the action you want to perform.
You can access your contact information in the Contacts application. For example, you can search or browse for a contact and then view the detailed information for the contact in which you are interested.
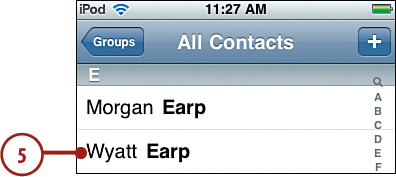
On the Home screen, tap Contacts. You see the All Contacts screen with the contacts listed in the format you selected, such as last name, first name.
Drag your finger up or down to scroll the screen to browse for contact information; flick your finger up or down to scroll rapidly.
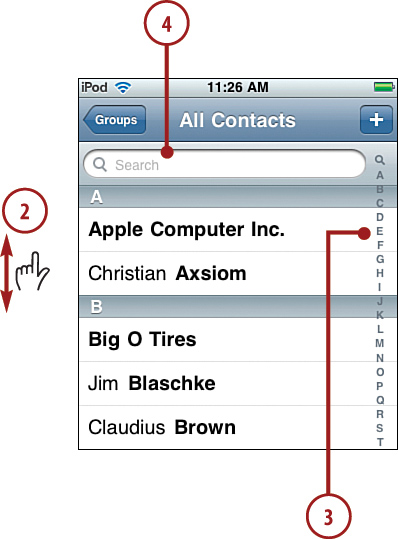
Tap the index to jump to contact information organized by first letter of the selected format.
Use the Search tool to search for a specific contact.
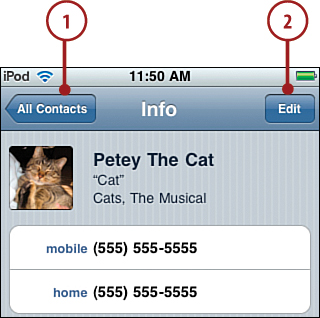
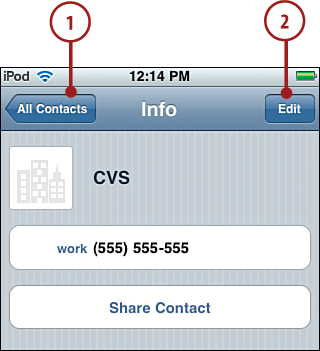
To view a contact’s information, tap the contact. The Info screen appears.
Scroll up and down the screen to view all the contact’s information.
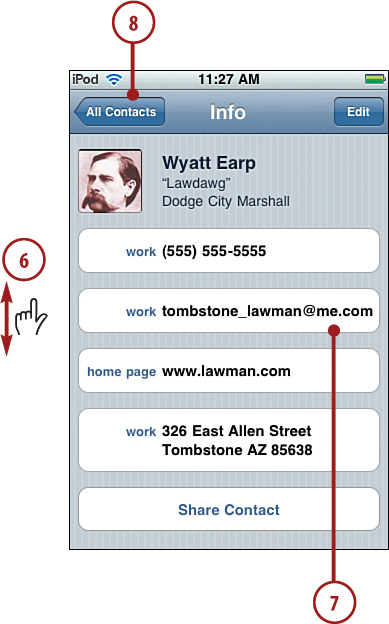
Tap the data and buttons on the screen to perform actions, including the following:
Email addresses. Tap an email address to create a new email to it.
URLs. Tap a URL to open Safari and move to that website.
Addresses. Tap an address to show it in the Map application.
Share Contact. Tap the Share Contact button. A new email message is created with the contact added as a vCard (virtual address card). Recipients of the message can add the contact information to their own contact applications by importing the vCard.
To return to the All Contacts list without performing an action, tap All Contacts.
You can also access contact information in the context of another application. For example, you can use a contact’s email address when you create an email message. When you perform such actions, you use the All Contacts screen to find and select the contact whose information you want to use. The following example shows using contact information to send an email message.
Open the application from which you want to access contact information (this example uses Mail).
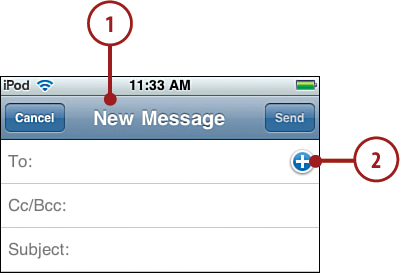
Tap the Add button. The All Contacts screen appears.
To search for a contact, tap in the Search bar. (As you learned earlier, you can also browse the list or use the index to find a contact.)
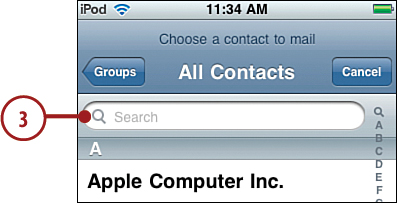
Enter the search text.
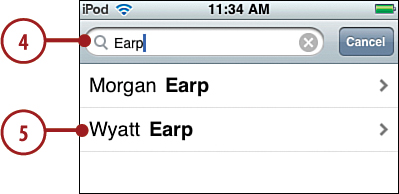
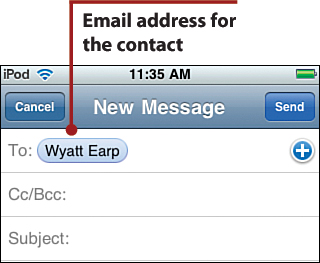
Tap the contact whose information you want to use. You move back to the application, and the appropriate information is entered.
When you sync contacts with a computer via iTunes or MobileMe, the changes go both ways. For example, when you change a contact on an iPod touch, the synced Contact Manager application, such as Outlook, makes the changes for those contacts on your computer. Likewise, when you change contact information in a Contact Manager on your computer, those changes move to the iPod touch when you sync it. If you add a new contact in a Contact Manager, it moves to the iPod touch during a sync operation and vice versa.
You can change any information for an existing contact on an iPod touch; when you sync, the changes you make are moved into your Contact Manager, such as Outlook or Address Book.
View the contact’s Info screen.
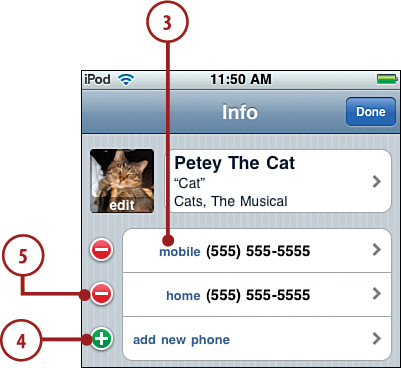
Tap Edit. The Info screen moves into Edit mode, and you see Unlock and Add buttons.
Tap a field to change its information. The related Edit screen appears, and you can make or save your changes. These Edit screens work just like when you create a new contact (see “Creating Contacts on an iPod Touch Manually” earlier in this chapter).
To add more fields, tap the related add command. These also work just like when you are creating a contact manually.
To remove a field from the contact, tap its Unlock button. The Delete button appears.
Tap Delete. The information is removed from the contact.
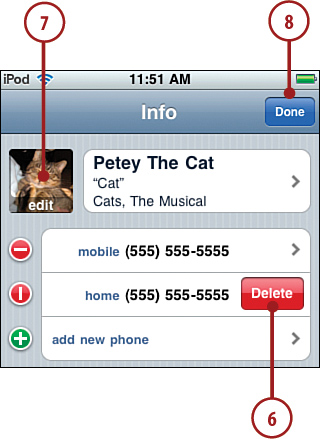
To change the contact’s photo, tap the current photo (which contains the text “edit”) and use the resulting tools to select a new photo or change the scale or position of the existing one.
When you finish making changes, tap Done. Your changes are saved, and you return to the Info screen.
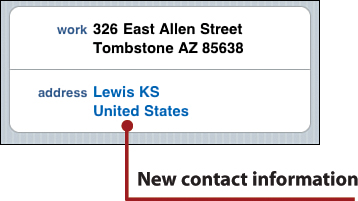
As you use iPod touch, you’ll encounter information related to a contact but that isn’t part of that contact’s information. For example, a contact might send you an email from a different address than you entered in that contact’s information. When that happens, you can easily add the additional information to an existing contact.
Locate the information you want to add to an existing contact, such as a physical address, email address, or website.
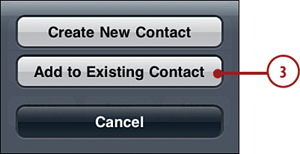
Tap Add to Contacts or tap Add to Existing Contact (which you see depends on the type of information you are working with).
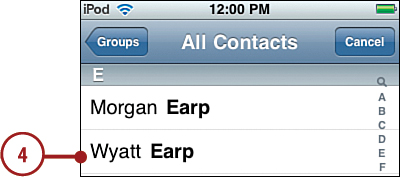
Tap Add to Existing Contact (skip this step if you tapped Add to Existing Contact in the previous step). The All Contacts screen appears.
Locate and tap the contact to which you want to add the information. The new information is saved to the contact and is highlighted in blue. To change the information, such as its label, tap Edit and follow the steps in the previous section.
To get rid of contacts, you can delete them from iPod touch.
Find and view the contact you want to delete.
Tap Edit.
Scroll to the bottom of the Info screen.
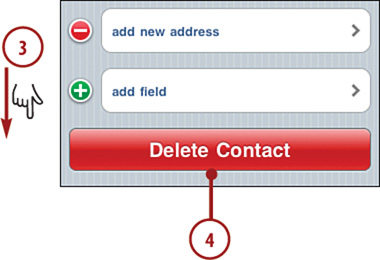
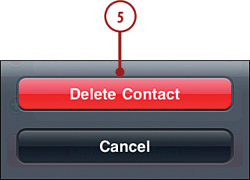
Tap Delete Contact.
Tap Delete Contact again to confirm the deletion. iPod touch deletes the contact, and you return to the All Contacts list. The next time you sync, iPod touch prompts you to approve the deletion on the computer’s Contact Manager, just like other changes you make (again, depending on the level of change that you’ve set to trigger these notifications).