Contents
foundation module
A structured learning approach
Using Bridge to access the project resources
A few key concepts before we start…
Rotating and cropping an image – Step 4
Setting Workflow Options – Step 9
Applying changes to multiple files – Step 10
Outputting processed files – Step 11
Saving, duplicating and resizing for web – Step 12
Straighten, crop and size – Step 2
Global tonal adjustments – Step 6
Controlling saturation and vibrance – Step 7
Grayscale conversion and toning – Step 9
Adding special effects – Step 10
Noise reduction and sharpening – Step 11
Preliminary enhancements – Step 1
Add Graduated Filter effect – Step 2
Adjust the Graduated Filter effect – Step 3
Reclaim some of the filtered detail – Step 4
Add a film-like grain effect – Step 5
Dust on the sensor – batch removal
Archiving Raw files as digital negatives
Select appropriate color setting
Open the profile target file in Photoshop
Assign a profile to the target file
Adjust the print settings in Photoshop
Create and install custom profile
Tag your images with the Adobe RGB profile
Test your color managed workflow
Assessing the test print for accuracy
Printing using a professional laboratory
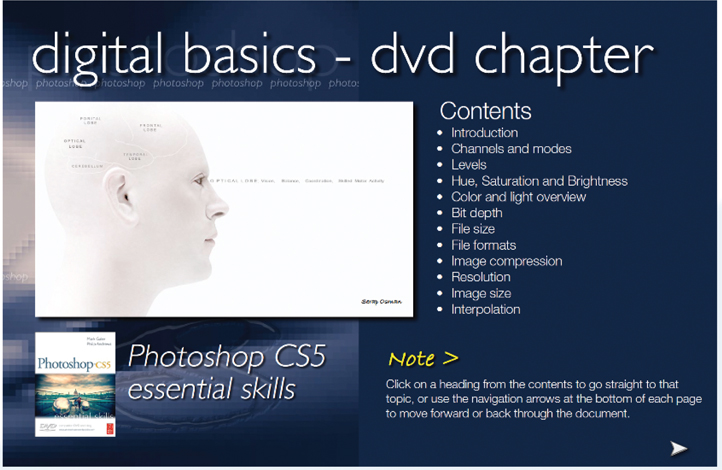
Digital Basics – DVD Chapter 1
Introduction
Channels and modes
Levels
Hue, Saturation and Brightness
Color and light overview
Bit depth
File size
File formats
Image compression
Resolution
Image size
Interpolation
Digital Darkroom – DVD Chapter 2
Digital setup
Monitor settings
Choosing a workspace
Getting started with Photoshop
Settings and preferences
Navigation and viewing modes
Rulers and guides
advanced skills module
Adjustment and filter layers and editing quality
Layer masks and editing adjustments
Shape-based selections with the Marquee Tools
Drawn selections using the Lasso Tools
Tone-based selections and masks
Installing and using third party filters
Filtering a shape or text (vector) layer
Correcting lens distortion with filters
imaging projects module
Correcting perspective – Project 2
Gradients and vignettes – Project 5
Advanced sharpening techniques – Project 6
Replace color and tone – Project 7
Paths, masks and blend modes – Project 2
Studio and location composite – Project 5
Replacing a studio background – Project 6
Manipulating tone and color – Project 2
Enhancing detail and depth – Project 3
Smooth tone and tonal mapping – Project 7
High Dynamic Range (HDR) – Project 8
Time Lapse photography – Project 9
Composite lighting and action – Project 1
Vertical panoramas – Project 3
Contents DVD
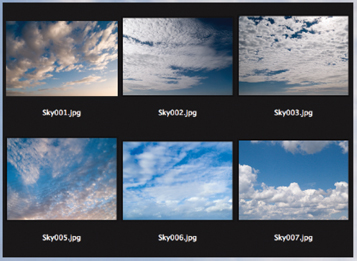
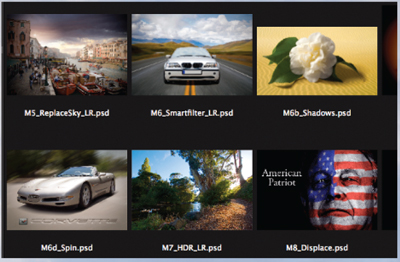
The DVD is a veritable treasure trove of supporting files for the projects in this book as well as a resource for your own creative projects. The images and movies on the DVD are divided into their respective chapters and can be accessed via Bridge (see Bridge > page 45). Most of the images in the Foundation and Advanced Skills modules of the book can be found on the DVD together with all of the images from the Imaging Projects module. The movies are an invaluable resource, allowing you to start, stop and rewind so that the skills can be quickly and easily acquired at your own pace. The DVD also contains multi-layered image files (PSDs) of the completed projects, TIFF files with saved selections and Camera Raw files. Loadable Actions and Presets are also available to enhance your software, together with a rich stock library of royalty-free images.
Contents
THE DVD PROVIDES EXTENSIVe SUPPORT IN THE FORM OF:
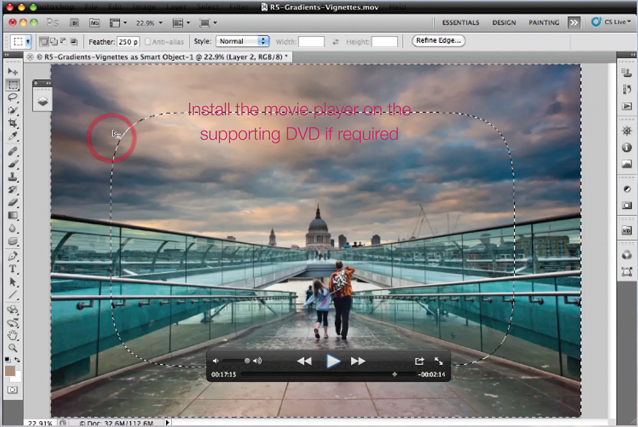
- Over twelve hours of movie tutorials to guide you through all of the projects in this book. You may need to install the QuickTime movie player from the supporting DVD to watch the movies.
- Digital Basics and Digital Darkroom chapters in PDF file format.
- High-resolution, high-quality JPEG images to support the imaging projects.
- Full-resolution TIFF images with ‘saved selections’ for users interested in completing the projects in the least amount of time whilst achieving maximum quality.
- Camera Raw files.
- Multi-layered Photoshop documents (PSD files) of completed projects.
- A stock library of 100 high-resolution, royalty-free images for creative montage work.
- Adobe presets (Layer Styles, Custom Shapes and Gradients) to enhance the performance capabilities of your Adobe Photoshop software.
- Photoshop Action files to fast-track your workflows and editing tasks.
- Printable PDF file of keyboard shortcuts to act as a quick and handy reference guide to speed up your image-editing tasks.