
RetroPie is a project based on Libretro, RetroArch, and EmulationStation. EmulationStation is an open source frontend that makes it easy to manage over 30 video game consoles and applications, and your associated game files. It includes a built-in joystick setup tool and can automatically download associated metadata for your files. This metadata includes items such as box art and game info, which gives your collection a polished finish.
Libretro is another open source project. It is designed to bring multiple emulators into one main package. Instead of having a separate application for each system, Libretro turns these emulators into a core, which hooks into the library. By having a common library for each emulator to hook into, a cohesive easy-to-use platform is created for the user. RetroArch is the main frontend for the Libretro library.
The RetroPie project combines the best of the emulation, gaming, and frontend systems into an easy-to-use platform for the Raspberry Pi.
RetroPie includes all of these systems and consoles:
- Amiga (UAE4All)
- Apple II (LinApple)
- Apple Macintosh (Basilisk II)
- Armstrad CPC (CPC4RPi)
- Arcade (PiFBA, Mame4All-RPi)
- Atari 800
- Atari 2600 (RetroArch)
- Atari ST/STE/TT/Falcon
- C64 (VICE)
- CaveStory (NXEngine)
- Doom (RetroArch)
- Duke Nukem 3D
- Final Burn Alpha (RetroArch)
- Game Boy Advance (gpSP)
- Game Boy Color (RetroArch)
- Game Gear (Osmose)
- Intellivision (RetroArch)
- MAME (RetroArch)
- MAME (AdvMAME)
- NeoGeo (GnGeo)
- NeoGeo (Genesis-GX, RetroArch)
- Sega Master System (Osmose)
- Sega Megadrive/Genesis (DGEN, Picodrive)
- Sega Mega-CD (Picodrive)
- Sega 32X (Picodrive)
- Nintendo Entertainment System (RetroArch)
- N64 (Mupen64Plus-RPi)
- PC Engine / Turbo Grafx 16 (RetroArch)
- Playstation 1 (RetroArch)
- ScummVM
- Super Nintendo Entertainment System (RetroArch, PiSNES, SNES-Rpi)
- Sinclair ZX Spectrum (Fuse)
- PC/x86 (rpix86)
- Z Machine emulator (Frotz)
RetroPie is hosted at http://blog.petrockblock.com/retropie/. The RetroPie forums, blog, and additional information are also available here. Once you have downloaded the SD card image, follow the instructions in Chapter 1, Getting Started with the Raspberry Pi, to move it to your SD card. A few moments after booting up your Raspberry Pi, you should be presented with a screen similar to the following:
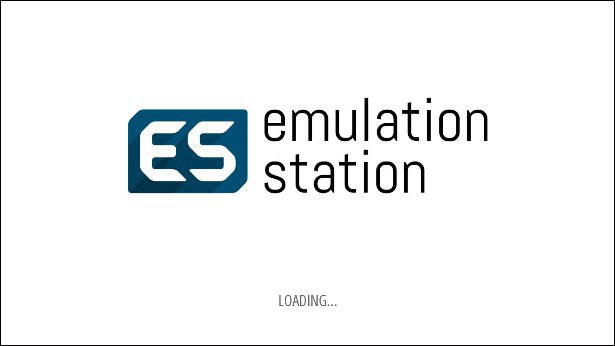
After the Raspberry Pi has finished booting up, you will be presented with the EmulationStation splash screen:
RetroPie also supports numerous joysticks and controllers. When you first run EmulationStation and it detects a game controller, it will launch a setup screen. This will allow you to configure your controller for the menu.

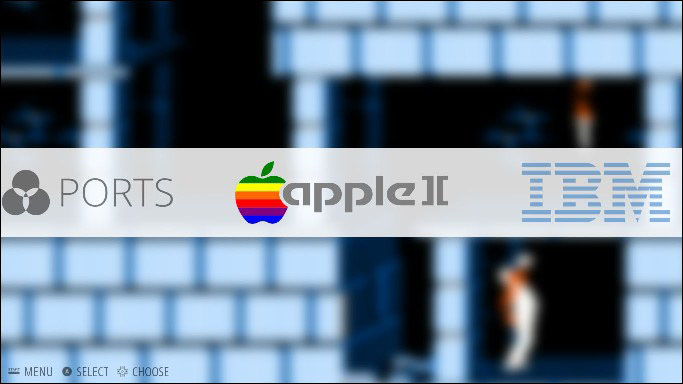
After your controller is configured, you will be at the menu screen, where you can select your system and game to be played.
When you first get to the menu, you will notice that it has few options available. This is because EmulationStation does not display emulators that do not have any game files available. Once you copy a ROM over, the system will appear.
To setup your controller for the game systems, you will need to exit back out to the terminal. Then complete the following steps:
- Run sudo chown pi /opt/retropie/configs/all/retroarch.cfg.
- Then, run cd /opt/retropie/emulators/RetroArch/installdir/bin.
- Finally, run sudo ./retroarch-joyconfig -j 0 >> /opt/retropie/configs/all/retroarch.cfg.
- You will then be prompted to press your controller buttons.
- When this is complete, run sudo reboot to reboot your Raspberry Pi.
Your controller will now be configured.
RetroPie has two ways to copy game files onto the Pi. The first is using SAMBA shares. These are essentially folders shared over your network. The following steps will explain how to use SAMBA shares to copy game files onto the Pi:
- On Windows, you can access the folders by going to the network tab, or by entering the IP address of your Pi into the folder menu starting with two backslashes, for example,
\192.168.0.63.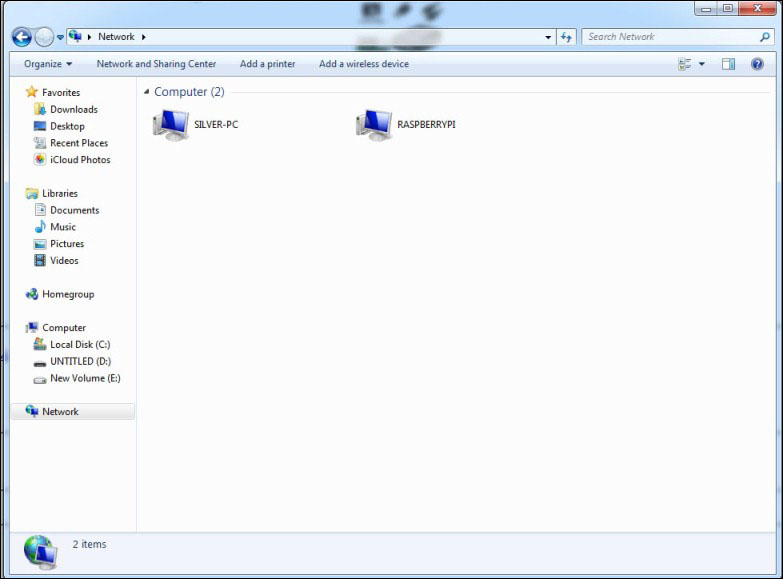
- Double-click on
roms, then on the system you wish to copy games to.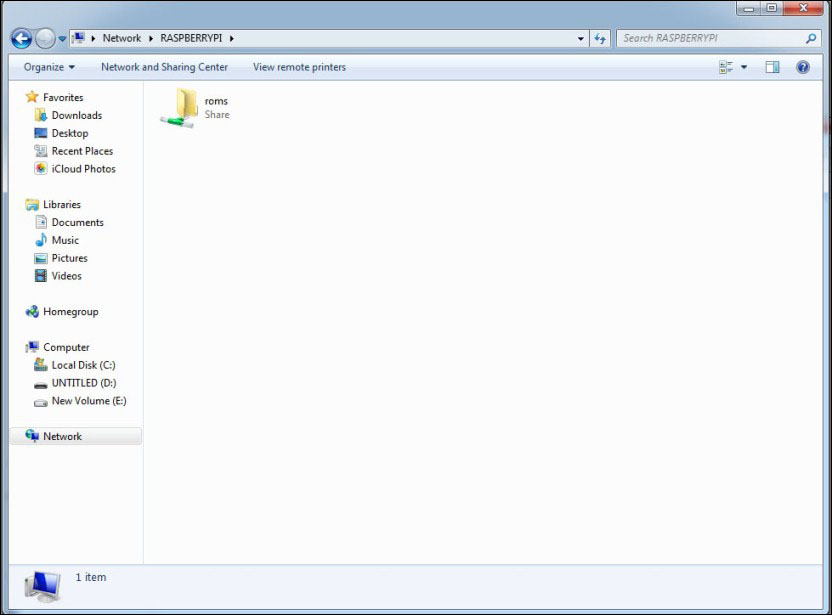
- To copy your game files, drag and drop your game files into the folder.

- On OS X, select Go, select Connect to Server, and enter the server's IP address, for example,
smb://192.168.0.63.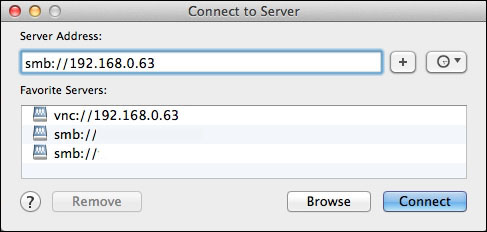
- After clicking on Connect, you will be asked to log in as Registered User or as Guest. Choose Guest.
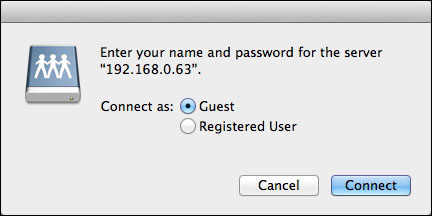
- Then, click on Connect again and double-click on the
romsmenu choice. Theromsfolder is now shared to your computer. You will now have access to all the game file folders for RetroPie: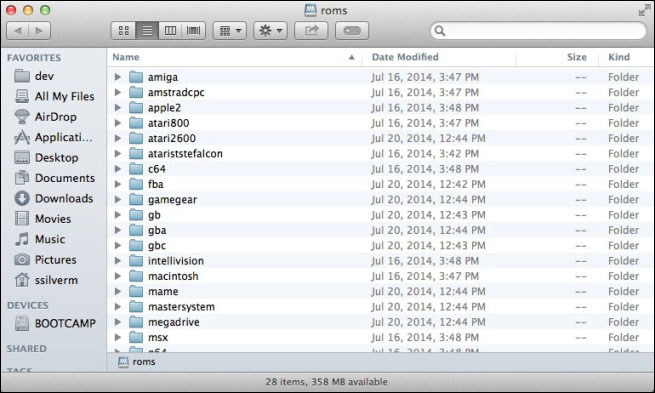
- Now, simply drag and drop your game files to the proper folder, and get ready to play!
The second way is via USB drive. RetroPie keeps a service running in the background that detects when a new USB drive is inserted. The service checks for roms and game files on the drive via folders matching the system names. The service will automatically create the blank folders the first time you insert your USB drive. Just copy your files to the correct folder, and they will be moved to your SD card.